In this article, we will explore how we can export the Plotly figures into static images using the Plotly.js toImage() function.
Without much further ado, let’s dive in.
Plotly.toImage()
To export a Plotly.js figure into a static image, we use the toImage() function. The function syntax is as shown in the following:
As we can see, the function has a relatively simple and straightforward syntax.
Example 1: Plotly.js Export Figure to Static PNG File
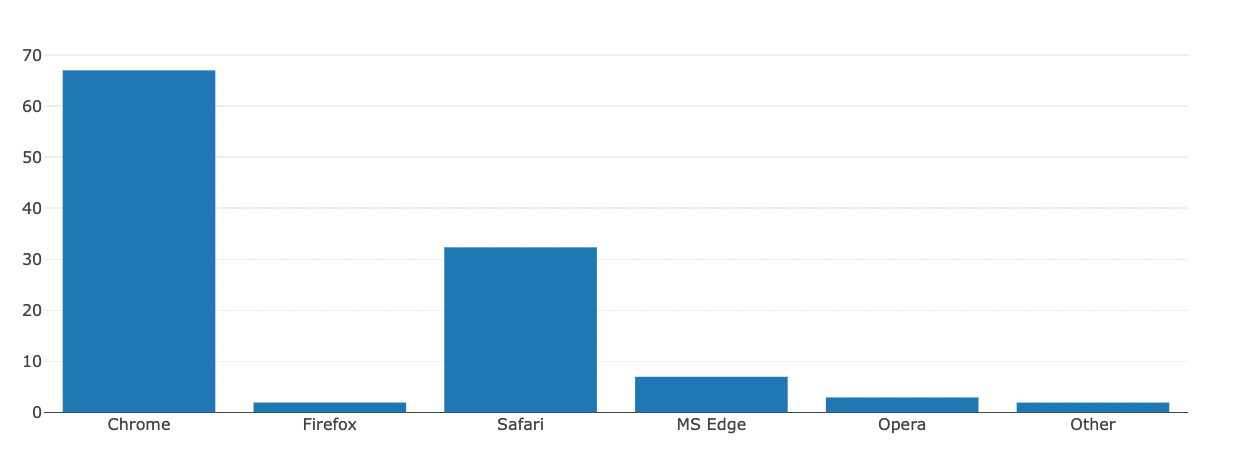
Let us illustrate how we can export a plotly.js figure using the toImage() function. For this tutorial, we create a simple bar plot as shown in the following code:
<html lang="en">
<head>
<meta charset="UTF-8">
<meta http-equiv="X-UA-Compatible" content="IE=edge">
<meta name="viewport" content="width=device-width, initial-scale=1.0">
<script src='https://cdn.plot.ly/plotly-2.12.1.min.js'></script>
<title>Simple Bar plot using plotly.js</title>
</head>
<body>
<div id="myDiv"></div>
<script>
var data = [
{
x: ['Chrome', 'Firefox', 'Safari', 'MS Edge', 'Opera', 'Other'],
y: [67, 1.92, 32.33, 6.96, 2.92, 1.91],
type: 'bar'
}
];
Plotly.newPlot('myDiv', data)
</script>
</body>
</html>
In the given code, we use the plotly.js to create a bar plot of the browser usage. We can run the code and view the plot as shown in the following:
We can now save the Bar plot into a static image as shown in the following code:
<html lang="en">
<head>
<meta charset="UTF-8">
<meta http-equiv="X-UA-Compatible" content="IE=edge">
<meta name="viewport" content="width=device-width, initial-scale=1.0">
<script src='https://cdn.plot.ly/plotly-2.12.1.min.js'></script>
<script src="http://d3js.org/d3.v3.min.js" charset="utf-8"></script>
<title>Simple Bar plot using plotly.js</title>
</head>
<body>
<div id="myDiv"></div>
<img id="png-export"></img>
<script>
var img_png = d3.select('#png-export')
var data = [
{
x: ['Chrome', 'Firefox', 'Safari', 'MS Edge', 'Opera', 'Other'],
y: [67, 1.92, 32.33, 6.96, 2.92, 1.91],
type: 'bar'
}
];
Plotly.newPlot('myDiv', data).then(
function(gd) {
Plotly.toImage(gd, {format: "png", width: 1200, width:800}).then(
function(url) {
img_png.attr('src', url)
}
)
}
)
</script>
</body>
</html>
In this example, we use the d3 library to plot. We start by calling the Plotly.toImage() function and pass the data including the function to export the image. We also pass the format in which we wish to export the image, in this case, as png file.
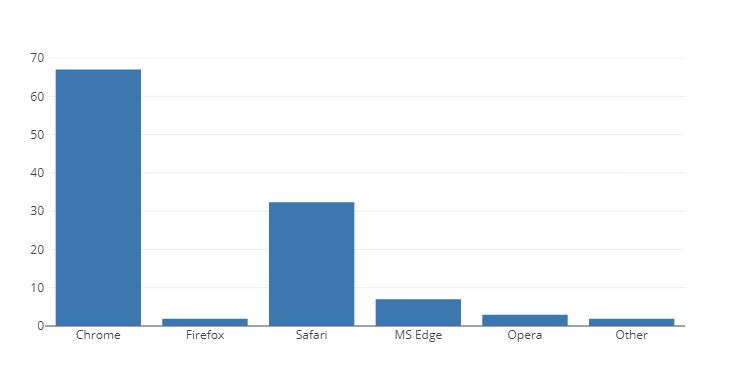
Finally, we plot the image to the img tag with the ID of png-export as specified in the variable.
We can run the code in the browser.
You can now use the browser tools to export the image into a file on your disk.
Example 2: Plotly.js Save Image as JPEG/JPG
You can also export a figure as a JPG/JPEG format by specifying the format parameter. An example code is as shown in the following:
Plotly.toImage(gd, {format: "jpeg", width: target_width, height: target_width});
The same case applies when exporting an image as svg.
Plotly.toImage(gd,{format:'svg', width:target_width, height:target_height});
Conclusion
In this tutorial, you learned how you can export a Plotly figure into a static png, jpg, or svg format using the toImage() function from plotly.js. Happy coding!!


