In this tutorial, we will learn how to export plots to static images using the write_image() function.
Installing Required Dependencies
Before you can perform any static image exports, you need to install an export engine. For static image exports, Plotly supports the kaleido and orca engines.
Although it will depend on your needs, Plotly recommends using Kaleido for plots with Plotly version 4.9 and above. For Legacy versions, use Orca package.
You can install these packages using the following commands:
$ sudo pip3 install kaleido
If you are using Anaconda, run the command:
For Orca, use pip or conda. The commands are as provided:
$ sudo pip3 install -c plotly plotly-orca
$ sudo conda install -c plotly plotly-orca
Once installed, you can use the write_image() function to generate static images of your plots.
Plotly.io.write_iamge()
As mentioned, the write_image() function allows you to convert a figure into a static image and save it to disk as a writeable object.
The function syntax is as shown:
The function parameters are as described below:
- Fig – specifies the figure object or dictionary to convert to a static image.
- File – defines the path to the filename or a writeable object.
- Format – specifies the desired target image format. Accepted values include:
- ‘png’
- ‘webp’
- ‘jpg or jpeg’
- ‘svg’
- ‘pdf’
- ‘eps’
If the image format is not specified, the function will default to the engine’s default format.
- Width – specifies the width of the exported image in pixels.
- Height – sets the height of the exported image in pixels.
- Scale – defines the scale factor used when exporting the image.
- Validate – a Boolean value that specifies if the figure should be validated before exporting it to a static image.
- Engine – specifies the target image export engine. Accepted values include “kaleido’, ‘orca’, or ‘auto’.
The function returns a None type.
Example – Creating a Figure
Let’s illustrate how we can use the write_image() function to export a figure to a static image.
Let’s start by generating a plot. The code is as provided below:
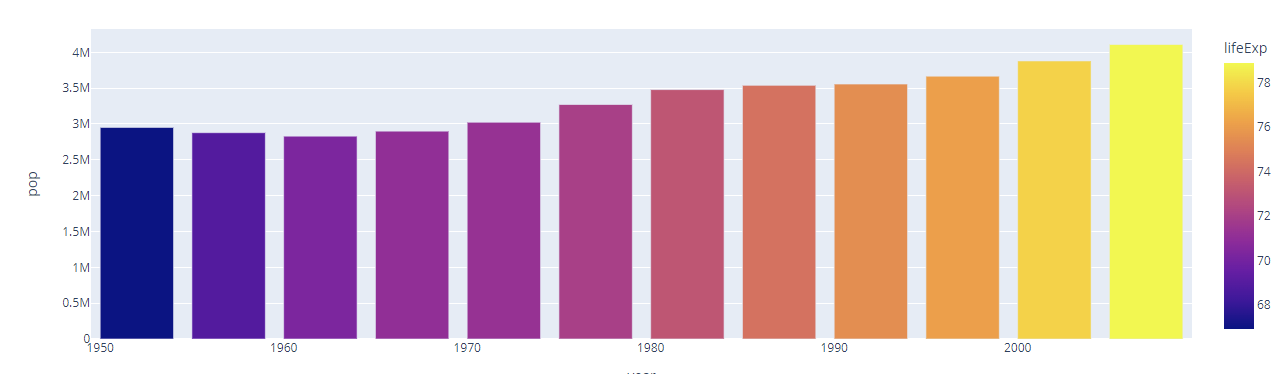
df = px.data.gapminder().query("country == 'Ireland'")
fig = px.bar(df, x='year', y='pop', color="lifeExp")
fig.show()
In the example above, we create a simple bar graph using the gapminder data. The resulting figure is as shown:
Write Image to File
To write the figure above to an image file, we can use the write_image() function as shown:
The code above should export the figure as a PNG image under the name my_figure.png.
Other examples include:
fig.write_image('my_figure.webp', format='webp')
fig.write_image('my_figure.svg', format='svg')
fig.write_image('my_figure.pdf', format='pdf')
The above code should export the images in JPG, WEBP, SVG, and PDF, respectively.
Writing Image with Custom Dimensions
Plotly allows you to specify custom dimensions when exporting a figure to a static image. Here’s an example code:
The code above should save the image in at 1200 x 800 pixels.
Specifying Export Engine
If kaleido is installed on the system, Plotly will use it as the export engine by default. We can override this parameter by setting the engine parameter as shown:
The above code requires you to have orca installed on your system.
Closing
In this tutorial, you learned how to export figures into static images using the plotly.io.write_image() function.