In this article, we will explore how we can use the to_html function from the Plotly io module to export a figure into an HTML string.
Function Syntax and Parameter List
The function has a relatively simple syntax, as shown below:
Parameters:
- fig – specifies the figure to convert into an HTML string.
- config – defines the plotly.js configuration options.
- auto_play – specifies whether the figure animation, if any, should automatically start after page load.
- include_plotlyjs – defines the method in which the Plotly.js library is included in the HTML file. Accepted options include:
- True – Plotly.js is included as a script tag containing the source code for the Plotly.js library. This can lead to the offline use of the files but leads to a large file size.
- ‘cdn’ – this option includes the Plotly.js library as a script tag that references a CDN link.
- ‘directory’ – if set to a directory, the function will include the Plotly.js library as an external plotly.min.js bundle stored in the same directory as the HTML file.
- ‘require’ – If set to require, Plotly.js is loaded using require.js.
- False – Plotly.js is not included in the HTML file.
- include_mathjax – specifies how the mathjax.js library is included. Accepted options are similar to the plotly.js library.
- post_script – Specifies the JavaScript snippets included in the div after plot creation.
- Full_html – sets if the function should convert the figure into an entire HTML document starting with <html> tags or a partial HTML string starting with the <div> element.
- validate – specifies if the figure should be validated before converting to HTML.
The function will then return an HTML string representing the specified figure.
Create Sample Figure
Before we learn how to convert a figure into an HTML string, let us have sample data we can use.
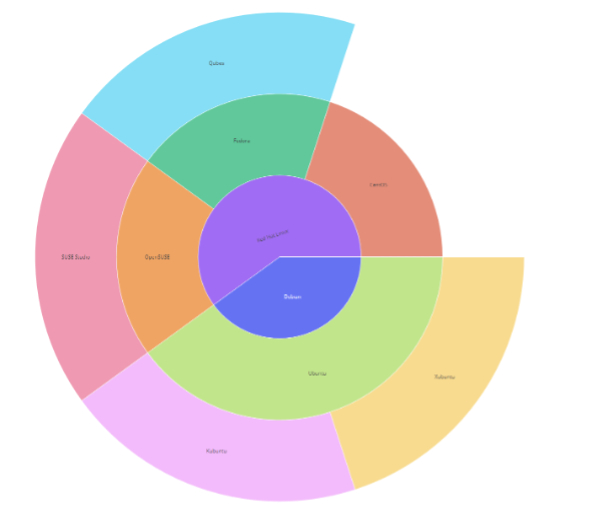
For this tutorial, we will use a simple Sunburst figure as shown in the code below:
data = dict(
distros=['Debian', 'CentOS', 'Fedora', 'Red Hat Linux', 'OpenSUSE', 'Qubes', 'SUSE Studio', 'Ubuntu', 'Kubuntu', 'Xubuntu'],
parents=['', 'Red Hat Linux', 'Red Hat Linux', '', 'Red Hat Linux', 'Fedora', 'OpenSUSE', 'Debian', 'Ubuntu', 'Ubuntu']
)
fig = px.sunburst(data, names='distros', parents='parents', color='distros')
fig.show()
The code above should return a figure as shown:

Export Figure as HTML String
To export the figure above as a static HTML string, we can run the code as shown:
io.to_html(fig, include_plotlyjs='cdn')
The code above will return an HTML string representing the above sunburst plot. Keep in mind that the html string will include the plotly.js library as CDN as specified above.

From the output above, we can see that the HTML document starts at the <div> element.
To generate a full HTML document, we can set the full_html parameter to true as shown:
io.to_html(fig, include_plotlyjs='cdn', full_html=True)
Save HTML String to File
One useful feature of the to_html function is writing the resulting HTML string to an HTML file.
An example is as shown:
with open('sunburst.html', 'w') as f:
f.write(io.to_html(fig, include_plotlyjs='cdn', full_html=True))
The code above should write the HTML string from the to_html function into the sunburst.html file.
You can then view this file by opening it in your browser.
Since we include the plotly.js library as a CDN, you will require a network connection for the library to download and get the full interactivity of the figure.
Conclusion
In this article, we learned how we could convert a Plotly figure into an HTML string using the io.to_html() function.
Thanks for reading &Happy coding!!