Let us explore how we can use the renderers object in Plotly.
Plotly Renderers Framework
The renderers framework in Plotly is responsible for determining how and where to show a figure when you call the show() function or pass the figure to the plotly.io.show() function.
For example:
df = px.data.stocks()
fig = px.line(df,x="date", y="NFLX")
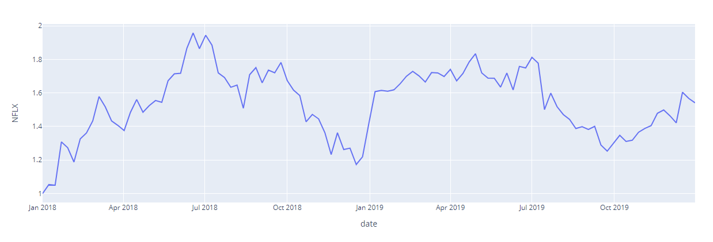
In the example above, we are plotting a simple line graph of the Netflix stocks from Plotly.
To display the image, we can call the show function as shown:
Plotly will use the renderer framework to determine the best renderer engine and the appropriate dimensions to show the image.
In other cases, we can skip the show() function and allow the figure to display itself as shown:
For a figure to display itself. Two conditions must be true:
- The last expression must evaluate to a Plotly figure.
- The plotly.py must be running from an interactive Python Kernel.
Plotly Show Default Renderer
To view the default renderer, we use the plotly.io.renderer object as shown in the code below:
io.renderers
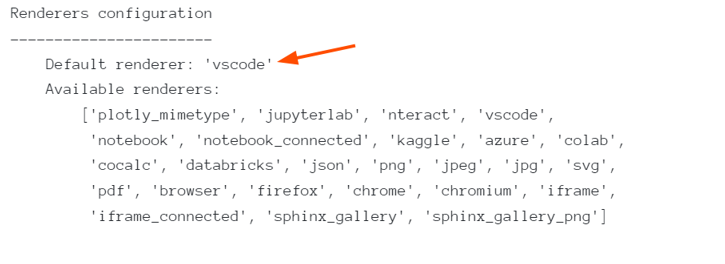
The code above should return the default and available renderers as shown in the output below:
In our example above, we can see that the default renderer is set to ‘vscode’.
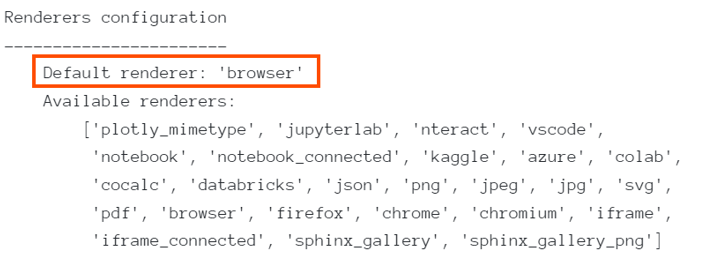
Keep in mind that this value will change depending on the running environment. For example, the output below shows the default renderer in Jupyter Notebook.
Setting Default Renderer
In some cases, you may need to update the default renderer regardless of the current environment. For that, we can use the renderers.default value and set it to the target renderer as shown:
The above command sets the default renderer to a browser.
We can confirm this by running:
This should return:
Overriding the default renderer
The best way to change the default renderer is by overwriting it during runtime. This prevents you from changing the default renderer and allows Plotly to choose one depending on the environment.
We can do this by setting the renderer parameter when calling the show() function as shown:
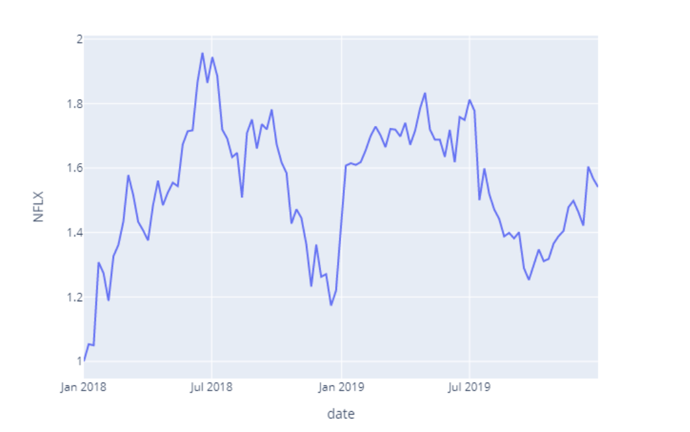
In this case, we are setting the renderer to a static png image as shown in the result below:
You will notice that changing the renderer to a static value will result in a distorted image and incorrect dimensions.
It is therefore good practice to allow Plotly to determine the best renderer values.
Specifying Multiple Renderers
Plotly allows us to specify multiple renderers by joining their names with the addition operator.
For example, to specify the browser and vscode renderers, we can do:
The above example will show the figures in both the browser and vscode interactive session.
Closing
In this article, we discovered how to view and modify various parameters when working with Plotly renderers.


