Through this tutorial, you will learn how to use the plotly.io.to_image() function to save a figure as an image.
Plotly.io.to_image()
The plotly.io.to_image() function allows you to convert a specific plotly figure to a static image.
The function syntax is as shown:
The function accepts the parameters as shown:
- fig – represents the figure to be converted to a static image.
- format – this parameter defines the target image format. Supported values include: “png,” “jpg,” “jpeg,” “svg,” “webp,” “eps,” and “pdf.”
- width – specifies the width dimensions of the exported image. This value is provided in pixels.
- height – defines the height dimension of the image in pixels.
- scale – represents the scale factor when exporting the specific figure.
- validated – specifies if the image should be validated before converting to image. By default, this value is set to true.
- engine – used to define the image export engine. Supported engines include: “kaleido”, “orca”, and “auto.”
The function returns the image data in bytes.
Example #1
The following example code shows how to export a simple figure into a static image using the to_image.
import numpy as np
x = np.random.randn(50)
y = np.random.randn(50)
fig = px.scatter(x=x, y=y)
fig.show()
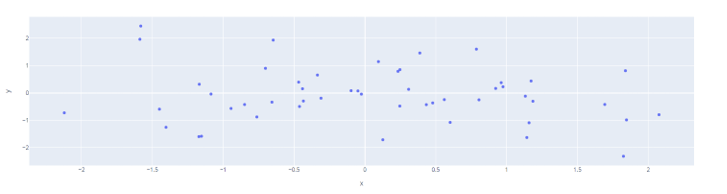
In the code above, we use the Plotly Express module to create a simple scatter plot with random data from the NumPy randn function.
The resulting figure:
To export this figure, we can run the code as:
plt.io.to_image(fig, format='png')
The code above should return bytes data of the image as shown:
\xdfY\xfe\xdf\x00\x00
----truncated
Note that you may sometimes face the kaleido required error when running the to_image() function.
You can resolve this by using the kaleido package with pip as:
$ pip3 install kaledio
Once installed, relaunch your development environment and re-run the code above.
Example 2 – Saving Bytes to File
In most cases, having bytes of data is not very useful. However, we can use this byte and write it to an image file as shown in the code:
with open("target_filename.png", 'wb') as f:
f.write(plt.io.to_image(fig, format='png'))
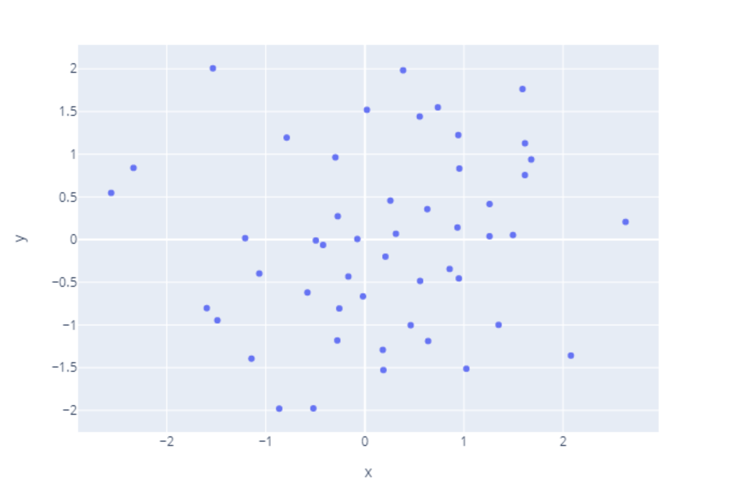
In the example above, we use the Python file operation to create a file and write the bytes from the to_image() function. The above method should create a file with the specified filename and save the image.
The resulting image is as shown:
Example 3 – Specifying Image and Height Dimensions
To export the image with specific width and height dimensions, we can specify these parameters as shown:
with open("target_filename.png", 'wb') as f:
f.write(plt.io.to_image(fig, width=1200, height=800, format='png'))
In the example above, we save the image in 1200×800 dimensions. We can verify this by running the command:
This should return output as shown:
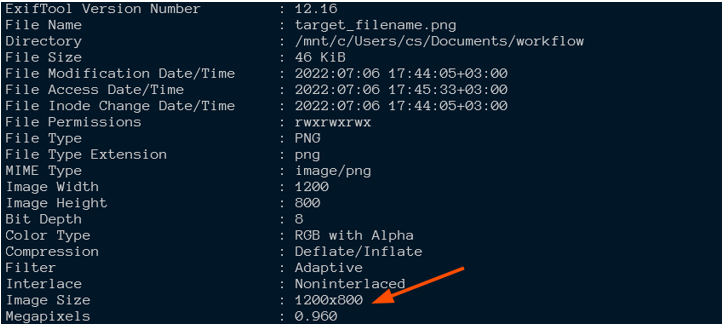
As we can see, the resulting image has 1200 x 800 dimensions.
Example 4 – Specify Image Export Engine
Plotly also allows you to specify the engine you wish to use when exporting the image. It supports kaleido and orca as the engines.
An example of how to specify the export engine is shown below.
Before specifying an engine, ensure it’s installed and available in the path of your system.
For example, to install kaleido, run the command:
For Orca, run the command:
$ pip3 install plotly-orca psutil requests
Example:
with open("target_filename.png", 'wb') as f:
f.write(plt.io.to_image(fig, width=1200, height=800, format='png', engine="kaleido"))
The example above illustrates how to specify the image export engine to kaleido.
Keep in mind that Plotly will default to the auto value. This means, if kaleido is not installed, Plotly will use orca and vice versa.
Conclusion
In this article, we learned how we can export a figure into a static image as bytes using the io.to_image() function. We also learned how to specify a custom image size, write the bytes to disk as an image, etc.