Let’s dive in.
Syntax and Parameters
The surface class provides a relatively simple syntax, as shown below:
**kwargs)
The parameters are discussed below:
- x – defines the values for the x coordinates.
- y – sets the values for the y coordinates.
- z – represents the values used for the z coordinates.
Basic Surface Plot
Let us start with the basics and discover how we can create a simple surface plot using graph_objects.
Consider the sample code provided below:
import numpy as np
x = [1,2,3,4,5]
y = [1,2,3,4,5]
z = np.ones(25).reshape(5,5)
fig = go.Figure(data=go.Surface(
x=x,
y=y,
z=z
))
fig.show()
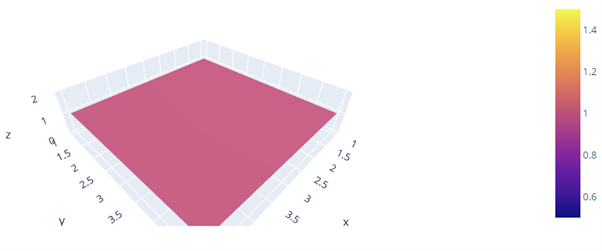
The code sample above will create a flat surface, as shown in the output figure:
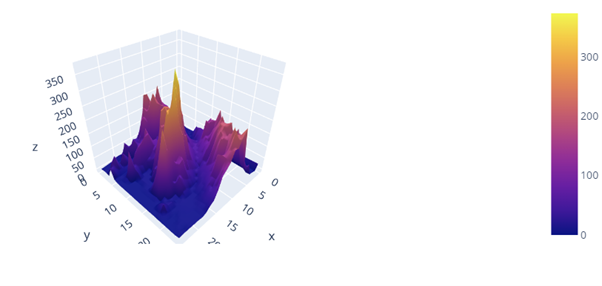
Topographical 3D Surface Plot
We can also use a dataset to create a surface plot. For example, the code below uses the Plotly elevation dataset to create a topographical surface plot.
import pandas as pd
df = pd.read_csv('https://raw.githubusercontent.com/plotly/datasets/master/api_docs/mt_bruno_elevation.csv')
fig = go.Figure(data=go.Surface(
z=df.values
))
fig.show()
Resulting output:
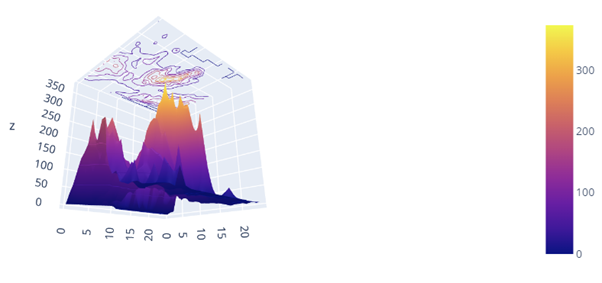
Adding Contours
To add contour data, we can use the update_traces function as illustrated below:
import plotly.graph_objects as go
df = pd.read_csv('https://raw.githubusercontent.com/plotly/datasets/master/api_docs/mt_bruno_elevation.csv')
fig = go.Figure(data=go.Surface(
z=df.values
))
fig.update_traces(contours_z=dict(
show=True,
usecolormap=True,
project_z=True
))
fig.show()
The code above will add the contour data along the z-axis, as shown in the figure below:
End
This article covers the fundamentals of creating surface plots using the Plotly graph_objects module. Explore the docs for more.