This guide will showcase creating a silhouette (and working with it) in GIMP.
Prerequisites
Performing the steps demonstrated in this guide requires the following pre-conditions:
- The latest version of GIMP is installed. At the time of writing, it’s GIMP v2.10.30.
- Two images for practice. I have grabbed two royalty-free images from Unsplash. Check out image 1 and image 2.
Creating A Silhouette In Gimp
Open the images in GIMP.

The primary goal is to create a silhouette of the puppy. Then, we will place the silhouette on top of the water image.
Selecting The Target Image
On the puppy image, first, add an alpha channel.

Select the Path tool by pressing the keyboard shortcut “B“. Alternatively, go to Tools >> Paths.
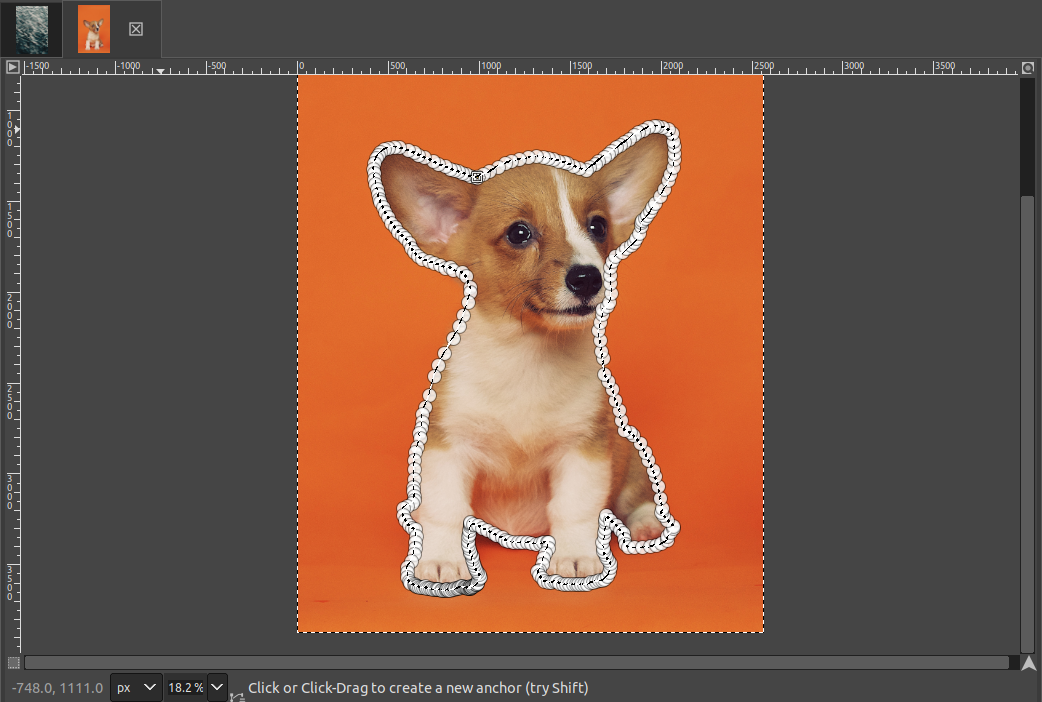
Zoom in the picture and outline the puppy. This is the most tedious part of the entire process. The outlining doesn’t have to be perfect.
Removing The Rest Of The Image
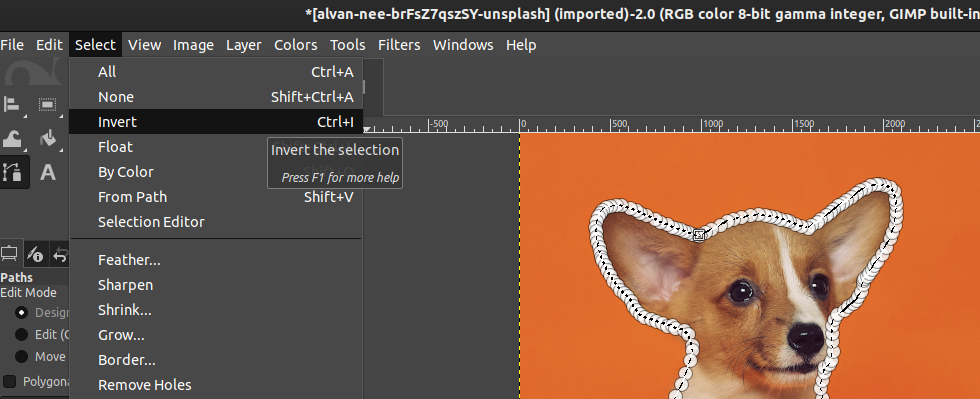
As our goal is to work with the puppy only, we can discard the rest of the image. We will invert the selection and remove the rest of the image to do this.
To invert the selection, go to Select >> Invert. Alternatively, use the keyboard shortcut “Ctrl + I“.
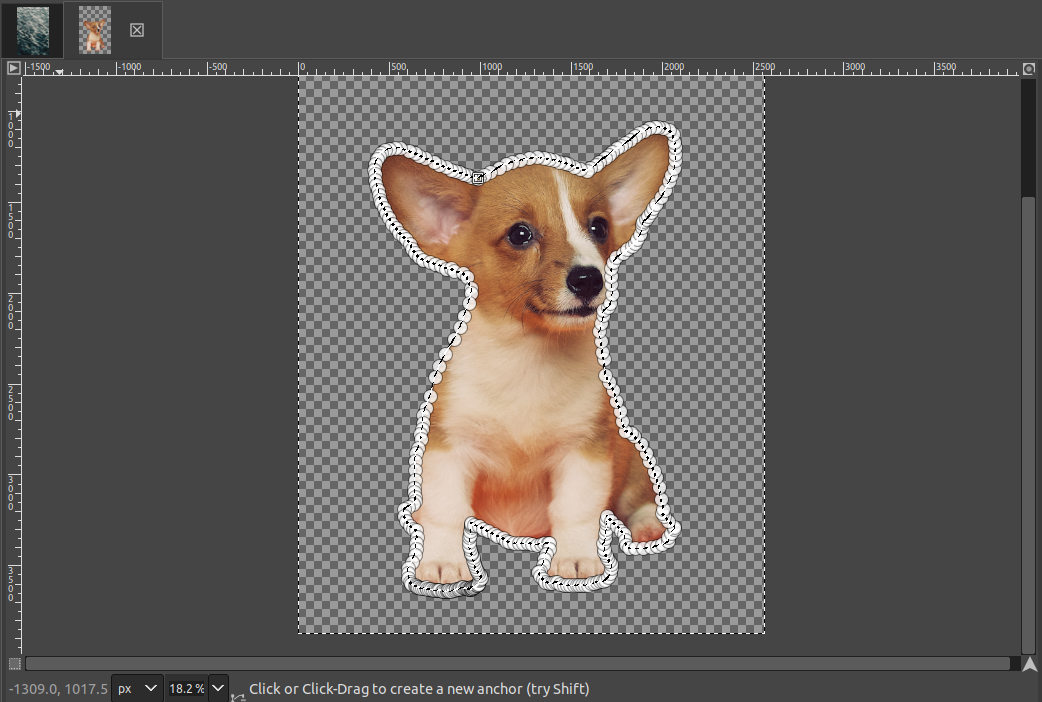
Pressing “Delete” will delete all the selected areas (the inverted selection, in this case).
Creating A Silhouette
To transform the image into a silhouette, we need to modify the image color level so that the darks are a little darker and the lights are a little lighter.
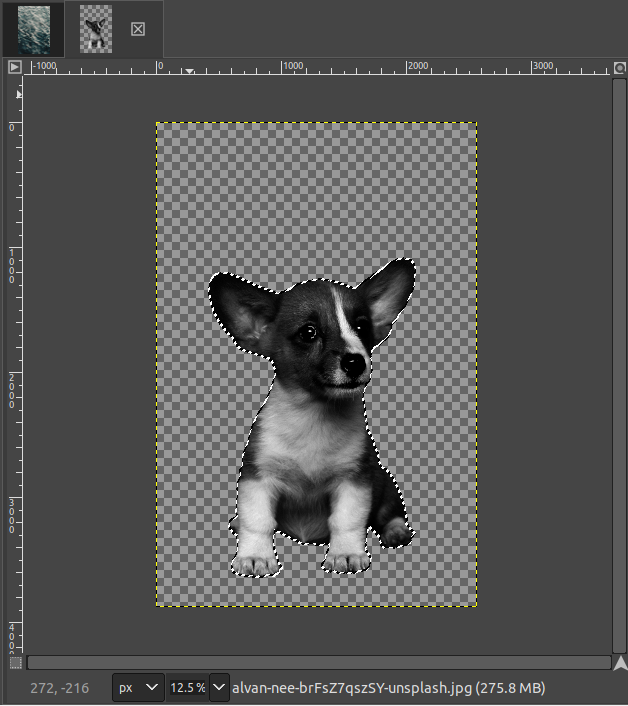
For ease of use, convert the image to grayscale first. To do so, go to Image >> Mode >> Grayscale.

Go to Colors >> Levels.

On the new dialog box, notice the two arrows underneath the graph. Pull the left one to the right (darks will be darker) and the right one to the left (lights will be lighter). Note that there’s no fixed value to aim for. Every image is different, so you have to try different values and find out what looks the best.
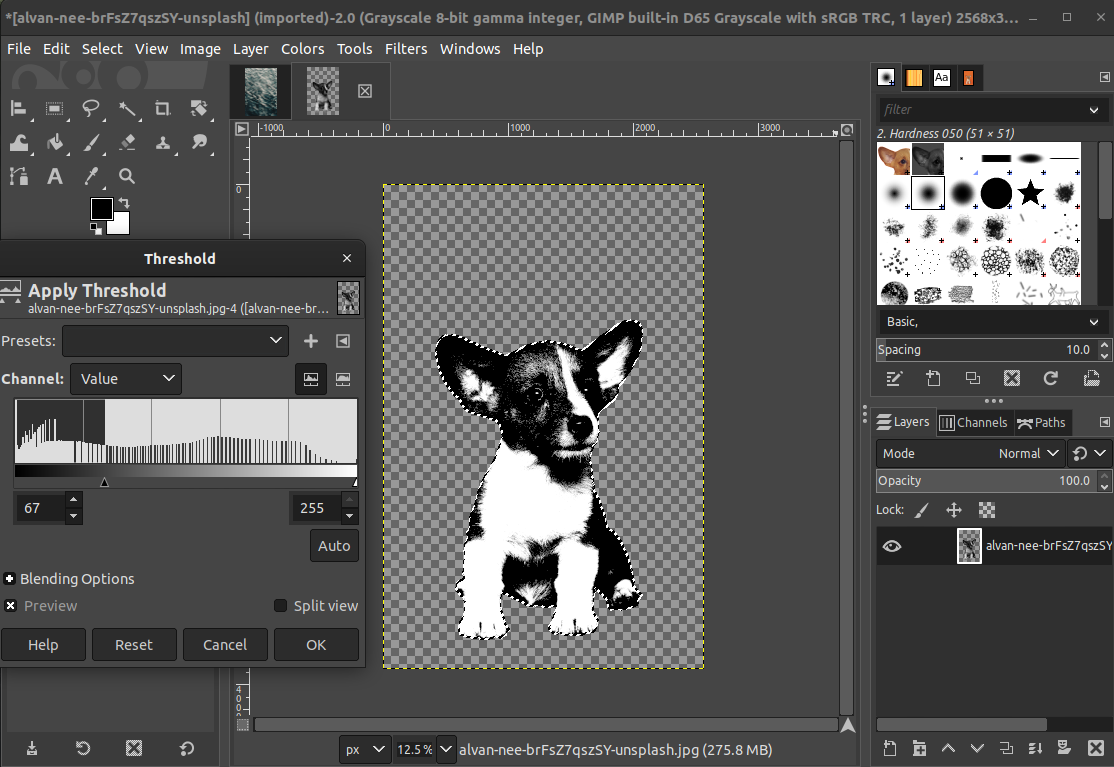
Now, go to Colors >> Threshold. Using this feature, we will bring the colors all the way to black/white.
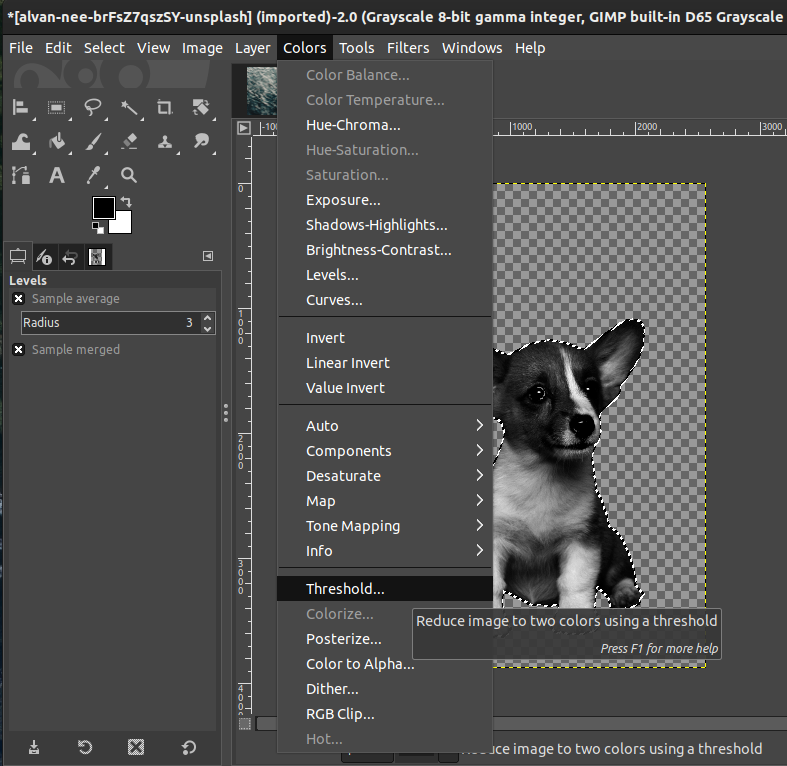
Use the arrow underneath the graph from the new dialogue box to adjust the output. Again, there’s no fixed value. You have to decide what look is the best suited.

All we need now is to remove the whites from the image. To do so, go to Tools >> Selection Tools >> By Color Select. Alternatively, use the keyboard shortcut “Shift + O“.
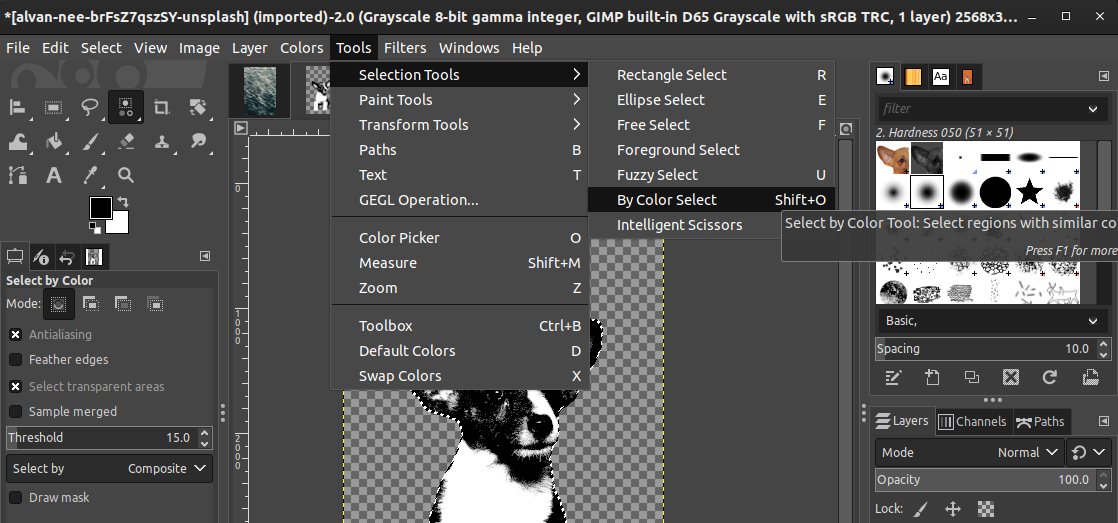
Now, select all the white spaces by clicking the white color.

Press “Delete” to remove the white spaces.

Voila! We’ve successfully created a silhouette of the puppy!
Placing The Silhouette On A Different Image
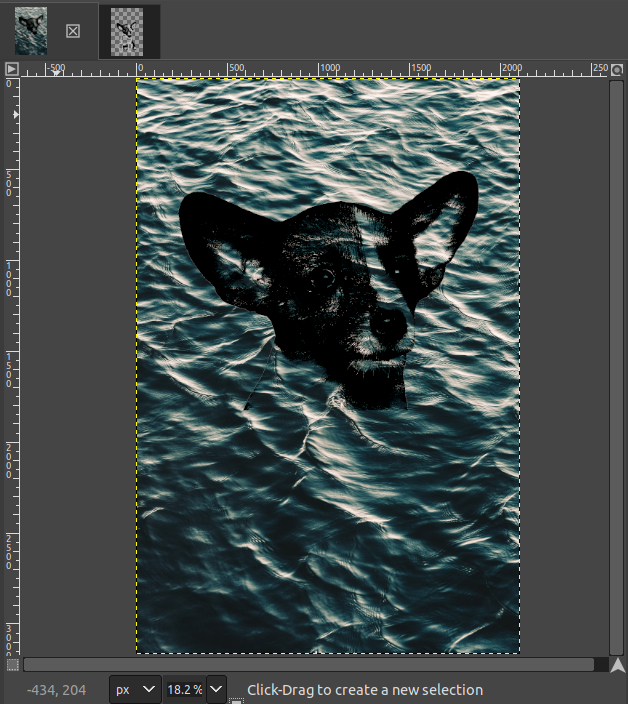
This is just an extra step in demonstrating what you can do with the silhouette. We will put the puppy silhouette on top of the water image.
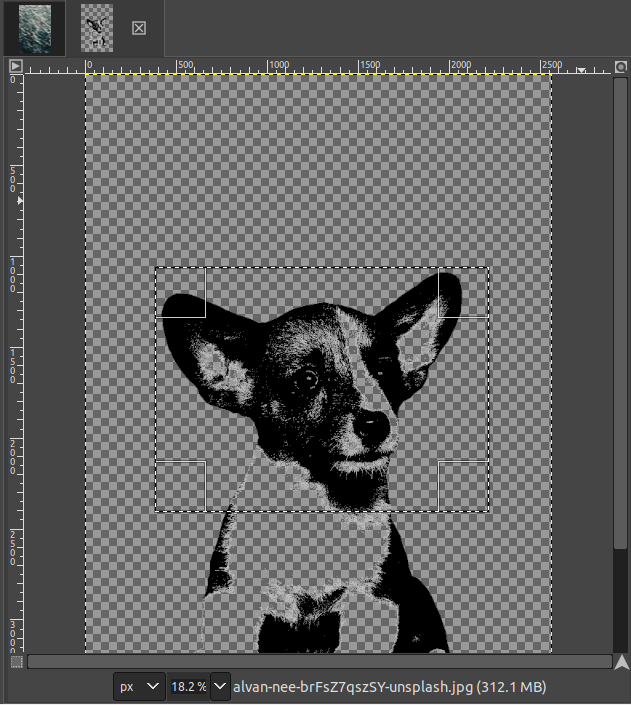
Grab the puppy’s head using the Rectangle Select tool (located at Tools >> Selection Tools >> Rectangle Select). Copy the selection and paste it on top of the water image.
Final Thoughts
Creating a silhouette on GIMP is a simple procedure. The key steps are selecting the target area, transforming its color (grayscale/desaturation), thresholding, and removing the white color. We performed the steps on a royalty-free image of a puppy. The last section also showcases what you can do with the silhouette, for example, placing it on top of a royalty-free image of water.
GIMP packs an extensive collection of features for manipulating images. Check out creating patterns, cropping, background color in texts, etc.
Happy computing!