In this guide, we will work with guide lines in GIMP.
GIMP Guide Lines
When working with images, proper positioning is important. GIMP comes with the image grid by default to help in this endeavor. However, a more flexible positioning aid its guides. These are temporary horizontal/vertical lines that you can apply to the picture while working on it.
It’s always recommended to use the latest version of GIMP. At the time of writing, the latest version available is GIMP v2.10.30 (from FLATHUB). Note that the methods demonstrated in this guide will also apply to GIMP running on different platforms.
Creating Guide Lines
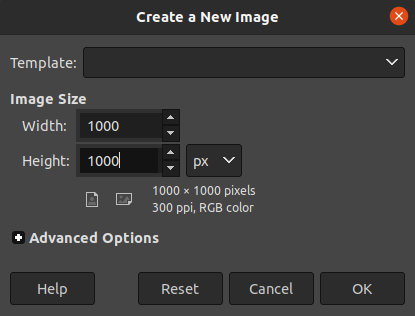
Launch GIMP. For demonstration, we are going to create a blank image. To create a new image, go to File >> New. Alternatively, use the keyboard shortcut “Ctrl + N”.

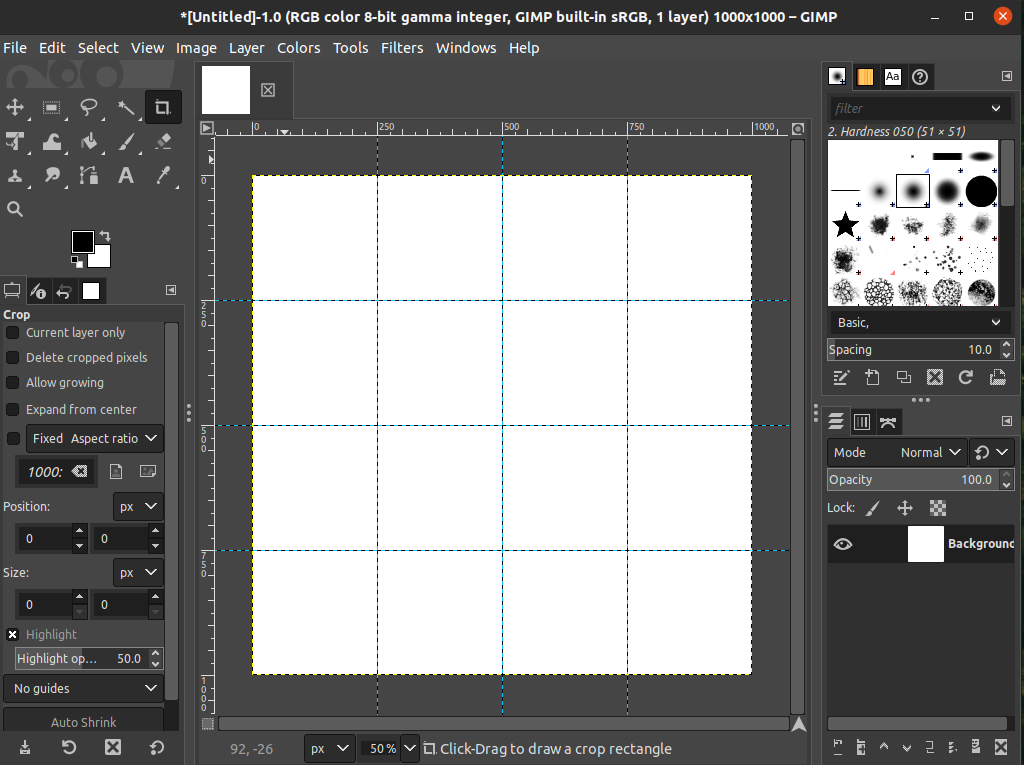
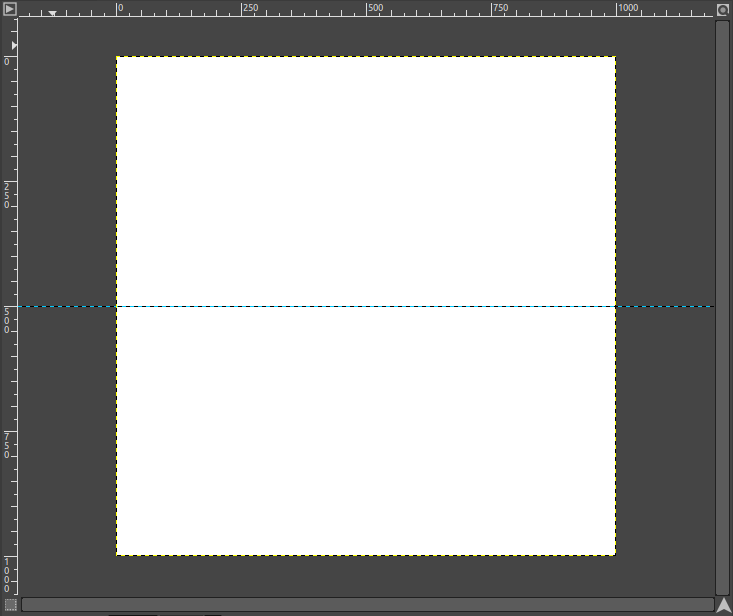
I’ve created a blank image (1000 x 1000 pixels).
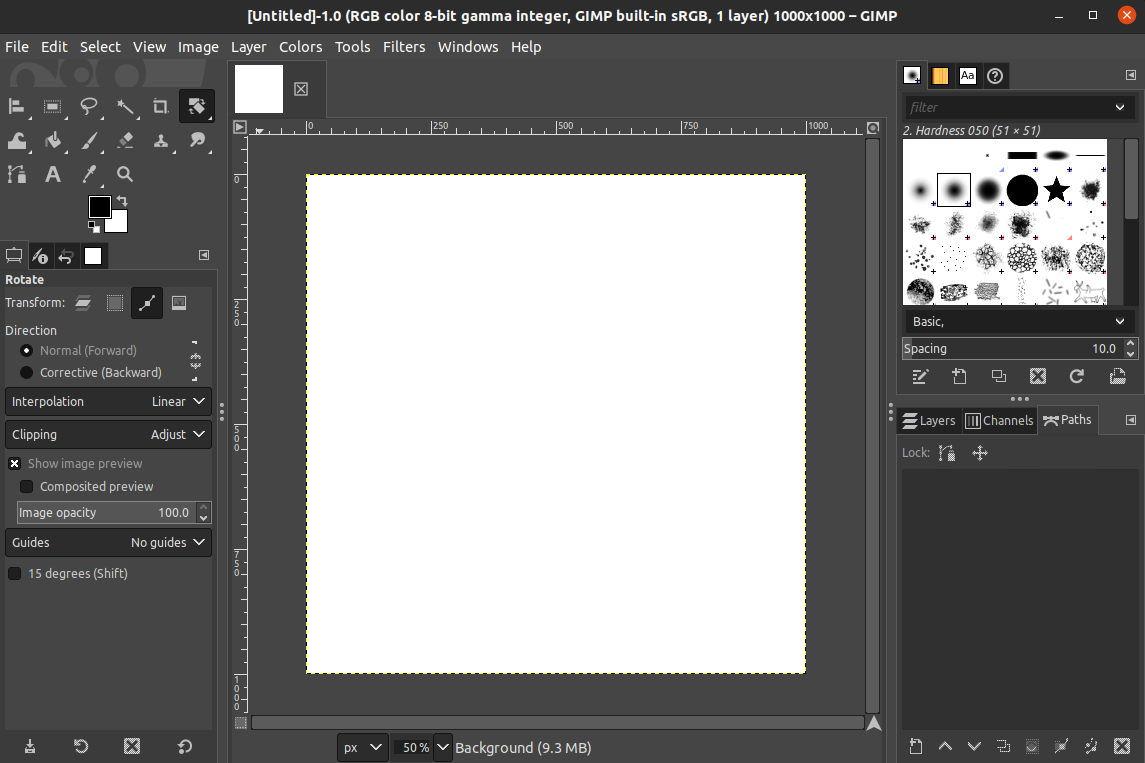
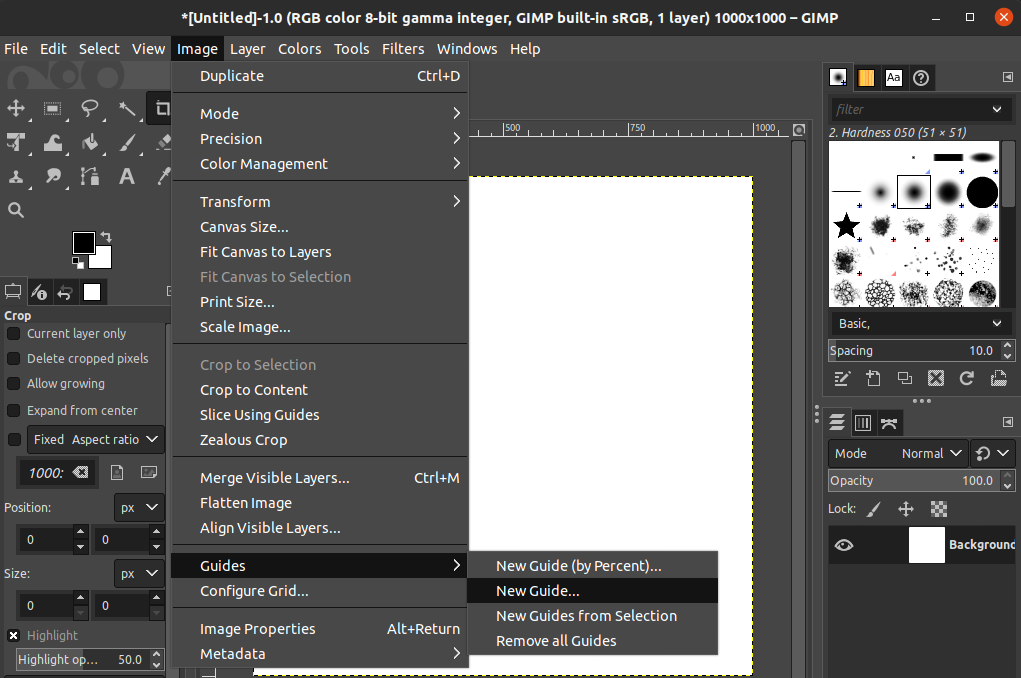
To create a new guide line, go to Image >> Guides.
As we can see, there are multiple different types of guides we can create.
Creating Guides by Percent
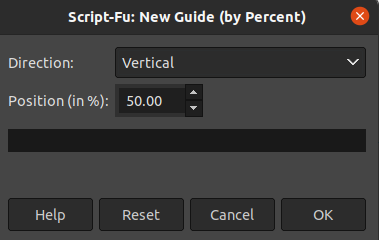
Go to Image >> Guides >> New Guide (by Percent).
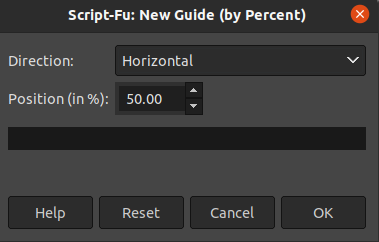
The new guide can be created in two directions: Horizontal or Vertical. By applying the value of the guide position to 50%, we are creating a center guide.
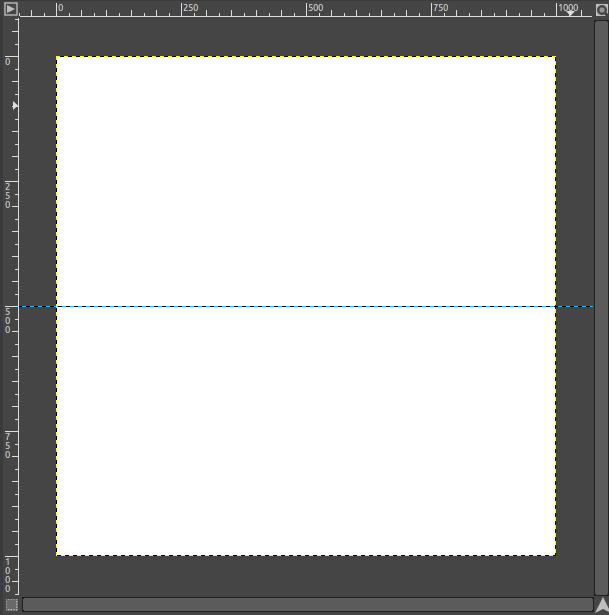
Let’s add a vertical guide:
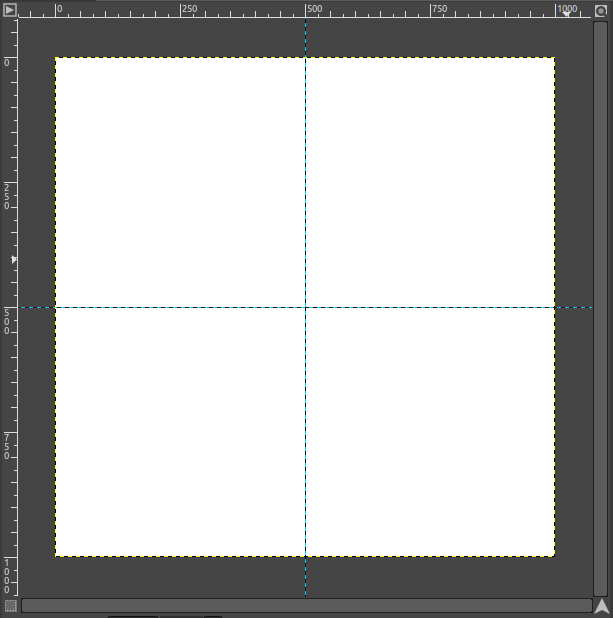
Using the steps demonstrated, we can create 4 x 4 guide lines:
Creating Guides by Pixel
An alternate method is creating guides based on the pixel position on the image. This technique comes in handy when you’re working on a complex image.
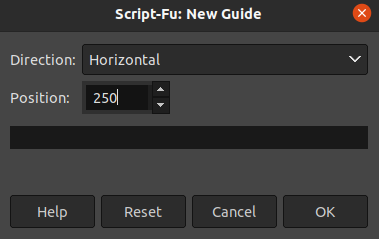
To do so, go to Image >> Guides >> New Guide.
Similar to before, there are two directions available: Horizontal and Vertical. However, unlike before, we can specify the location of the guides’ positions in pixel.
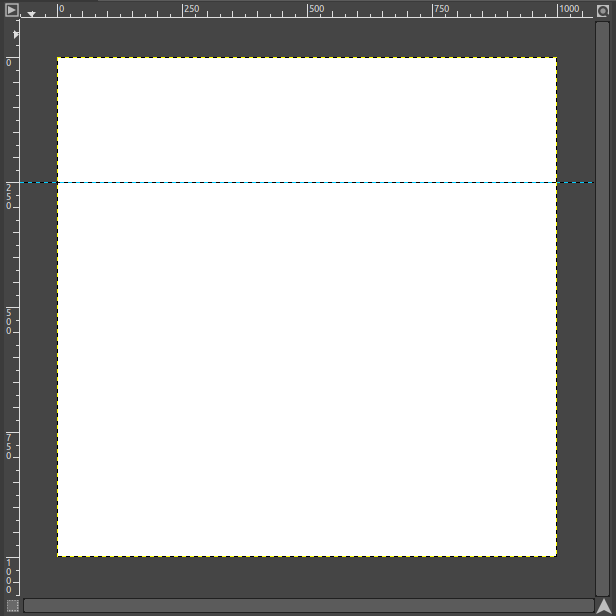
For example, create a horizontal guide on pixel 250:
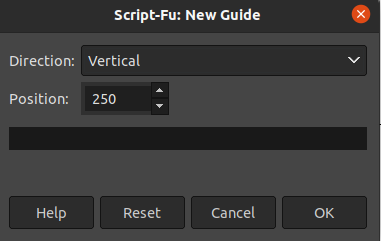
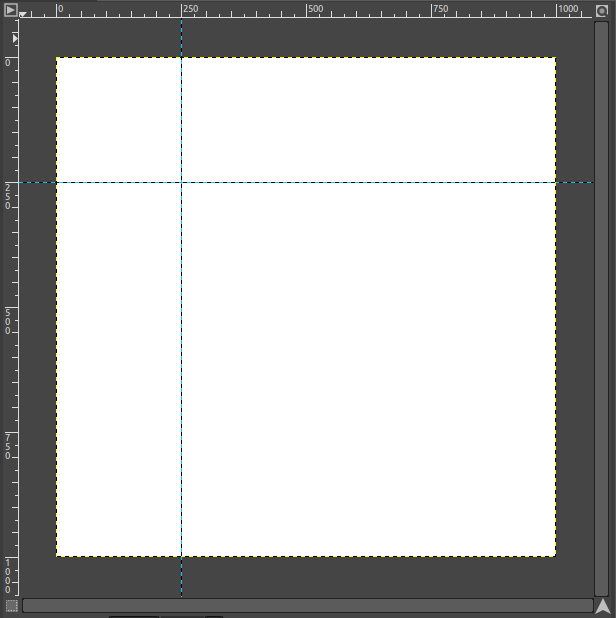
Next, create a vertical guide on pixel 250:
Creating Angular Guides
All the guide lines we’ve created so far are always perpendicular. What if we wanted guide lines from a different angle?
Unfortunately, GIMP doesn’t support angled guide lines. But that’s not an excuse for us to stop. We can use the Paths tool and some revisions to create an alternative guide line that can be at a different angle.
Creating Angular Paths
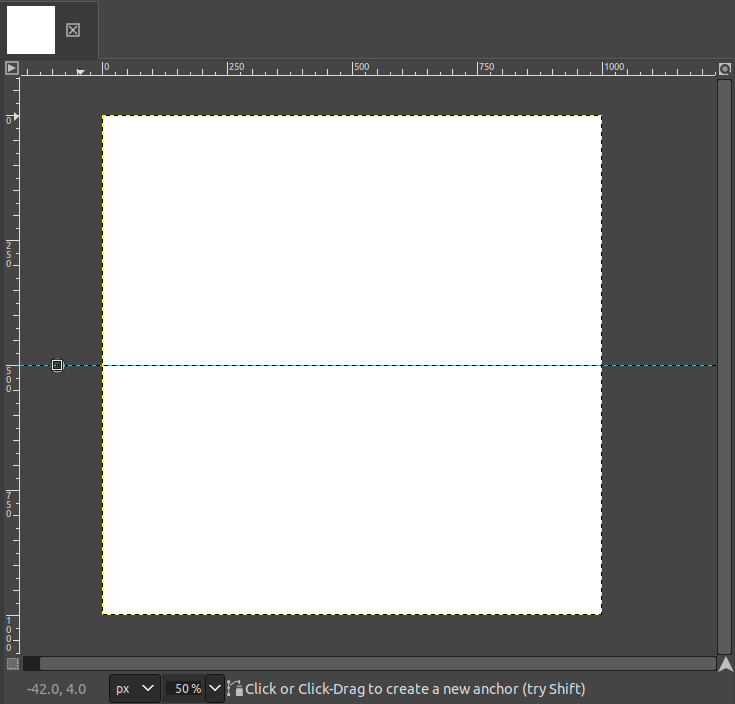
First, we need a reference to create our path using the Paths tool. So, create a center horizontal/vertical guide line, as reference:
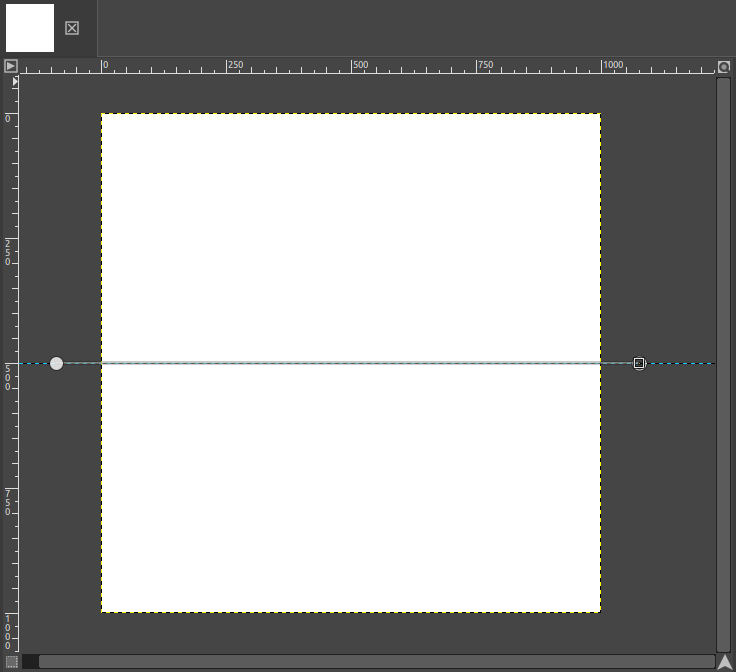
Select the Paths tool by pressing B. Now, mark two points on the ends of the guide line. It’s recommended to mark the points outside of the actual image.
Now, head over to the Paths tab in the bottom-right corner. Create a duplicate of the path for good measures.
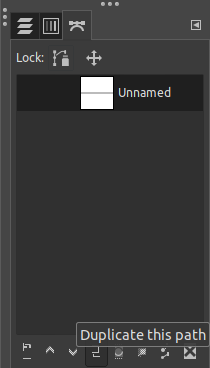
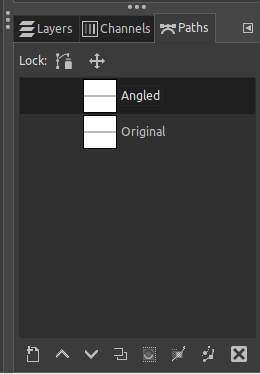
We can also rename the paths by double-clicking on their names.
As the label suggests, we are going to angle the path named “Angled”. The original one, “Original”, will remain if we mess things up with its copy.
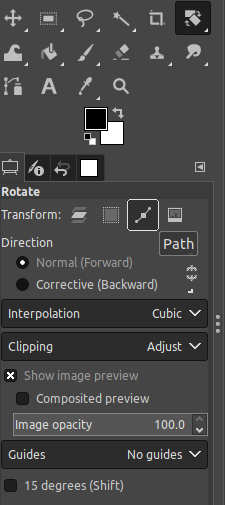
Grab the Rotate tool. From the “Transform” section, make sure that you have the “Path” option selected as it generally defaults to “Layer”.
Now, press “Shift + R”.
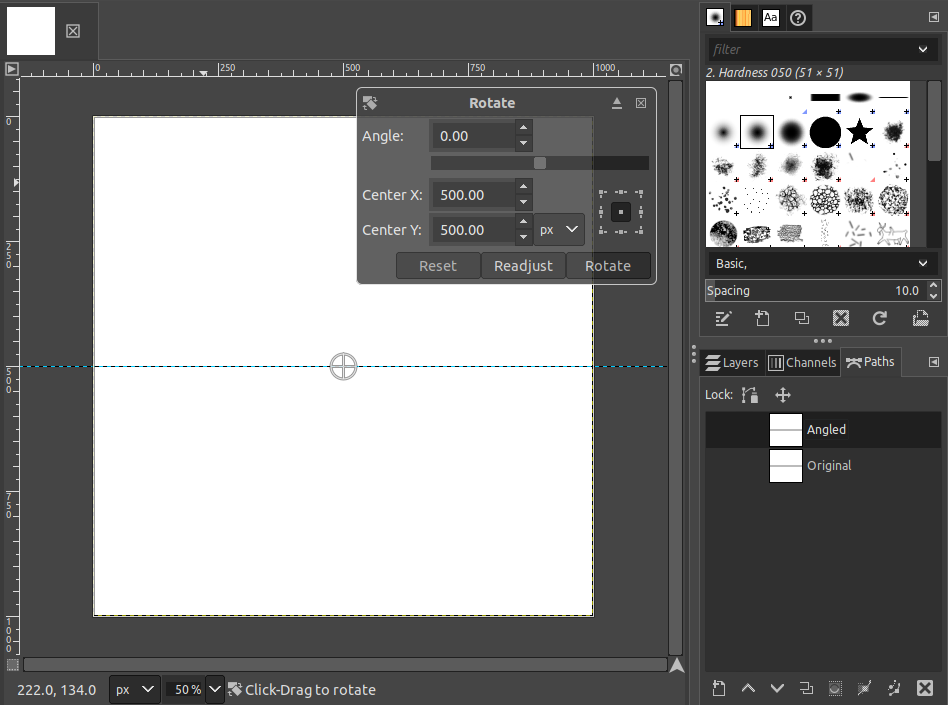
- Enter the angle in degrees of rotation in the field “Angle”. The value can range from -360° to 360°.
- Positive values rotate the path clockwise.
- Negative values rotate the path counterclockwise.
- The center point value determines the center of rotation of the path.
- It can also be used to position the path at the exact location.
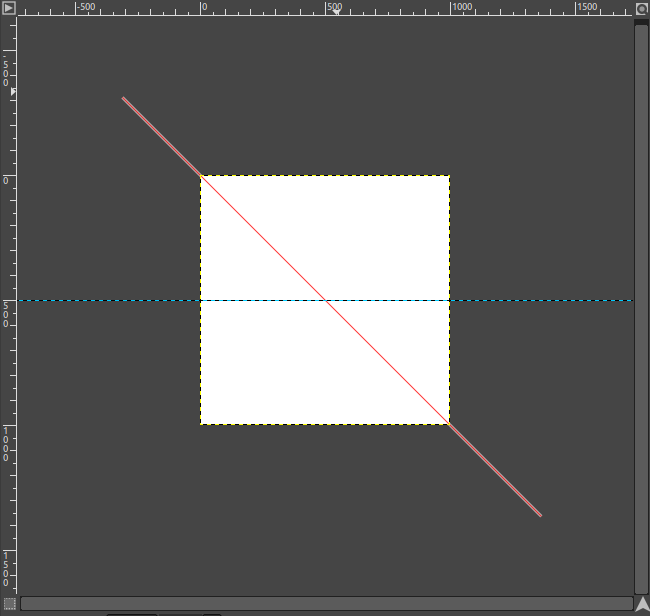
Here’s what the 45° rotation of the path looks like:
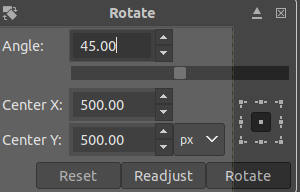
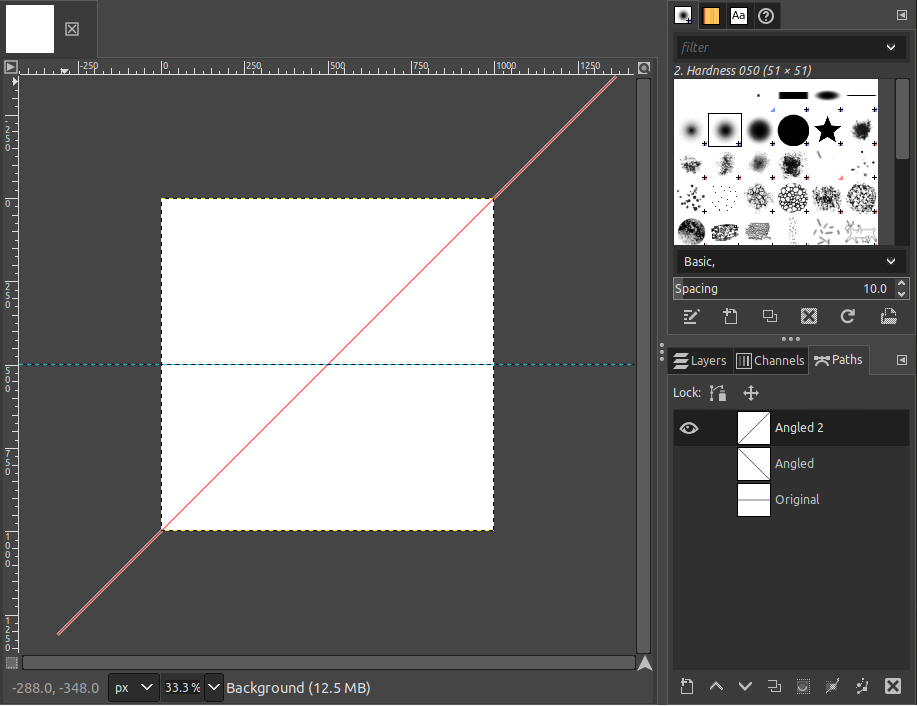
Using the same method, we can create another path that rotates at -45°.
Using the Paths as Guides
A critical feature of the guide lines is that GIMP will automatically snap the object you’re working with on the guide line. By default, paths don’t have this feature. However, we can enable it on a path.
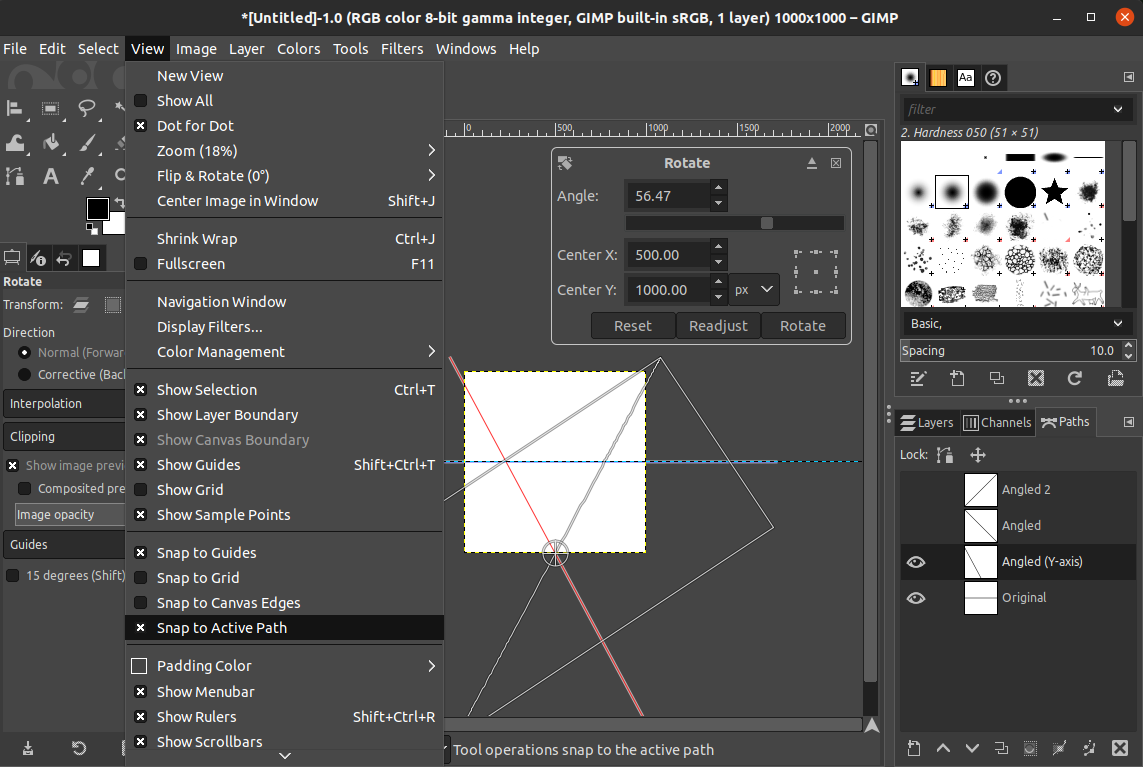
To do so, select the desired path from the bottom-right dialog box. Then, go to View >> Snap to Active Path.
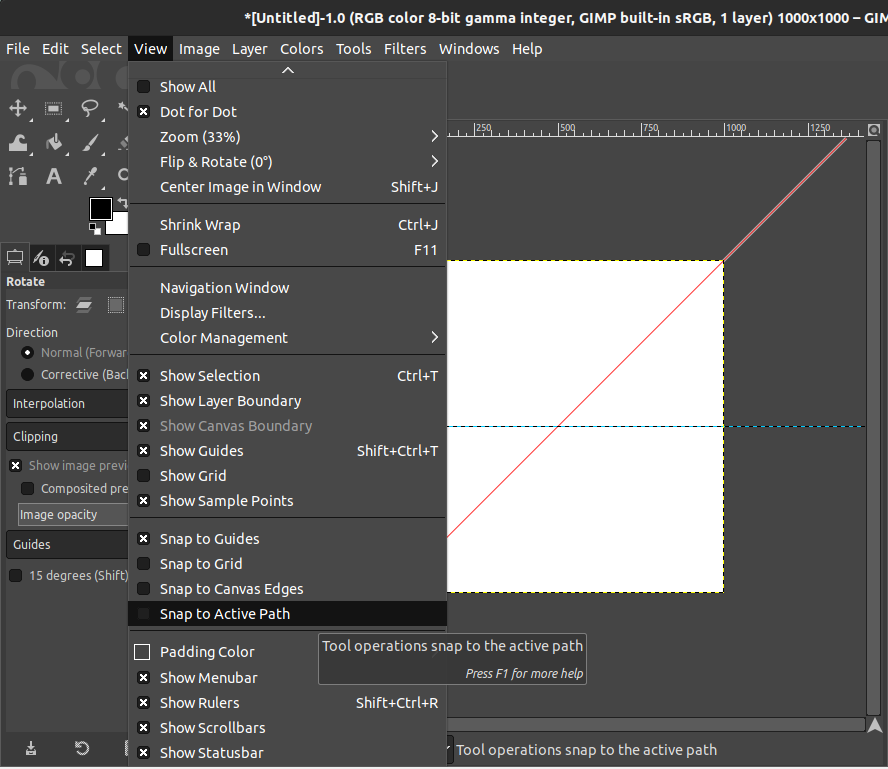
The path is now ready to be used as a guide.
Changing the Axis of Rotation
In this section, we will test out the limits of the axis of rotation.
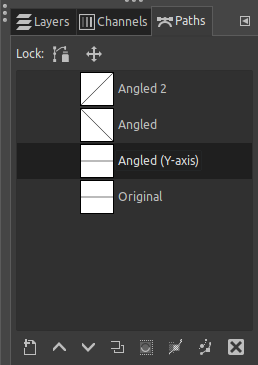
First, create a duplicate of the original path.
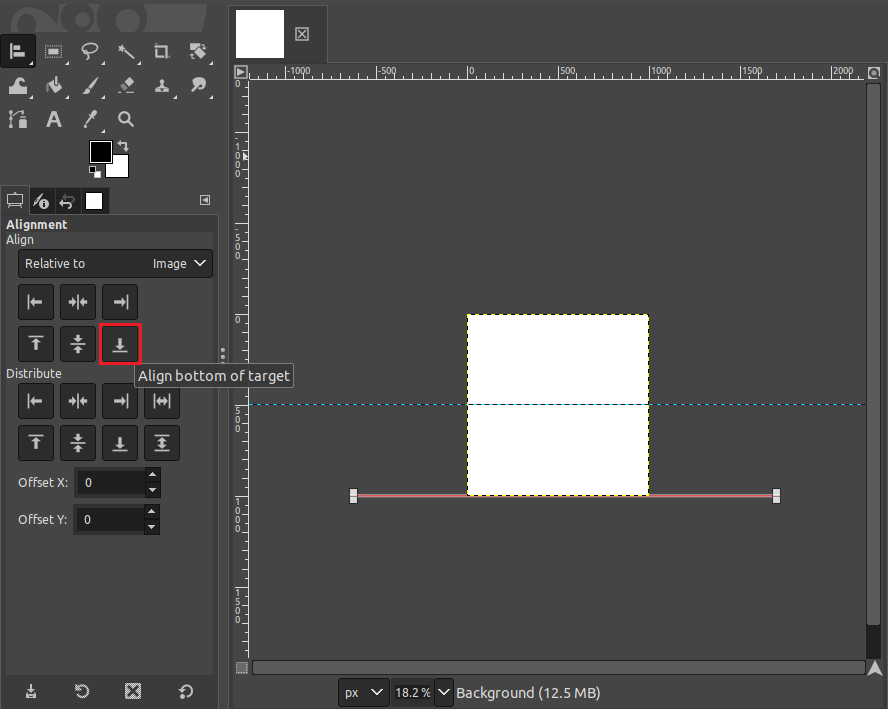
Now, select the Alignment tool. It should be under the Move tool. Alternatively, use the keyboard shortcut “Q”.

Change the value of “Relative to” to “Image”.

Now, select the centered path. If the path is selected correctly, you will notice the little boxes at the ends of the path.
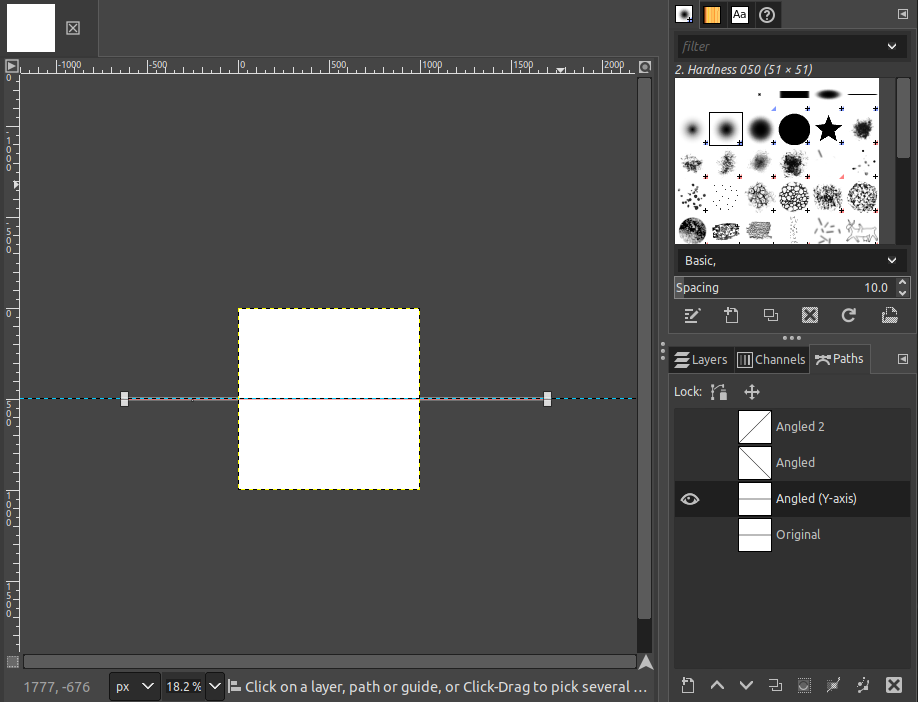
Under the Alignment tool options, click “Align bottom of target”. It will snap the path to the bottom of the image.
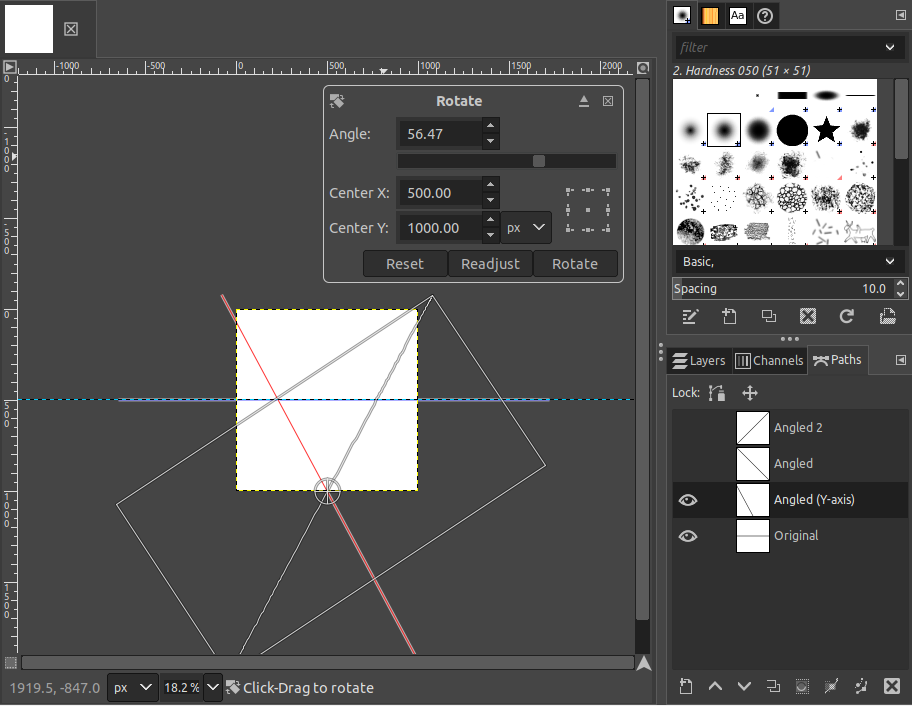
Like before, click “Shift + R” to select the Rotation tool. Enter the desired angle. It’s also important to double-check if the center values are set correctly.
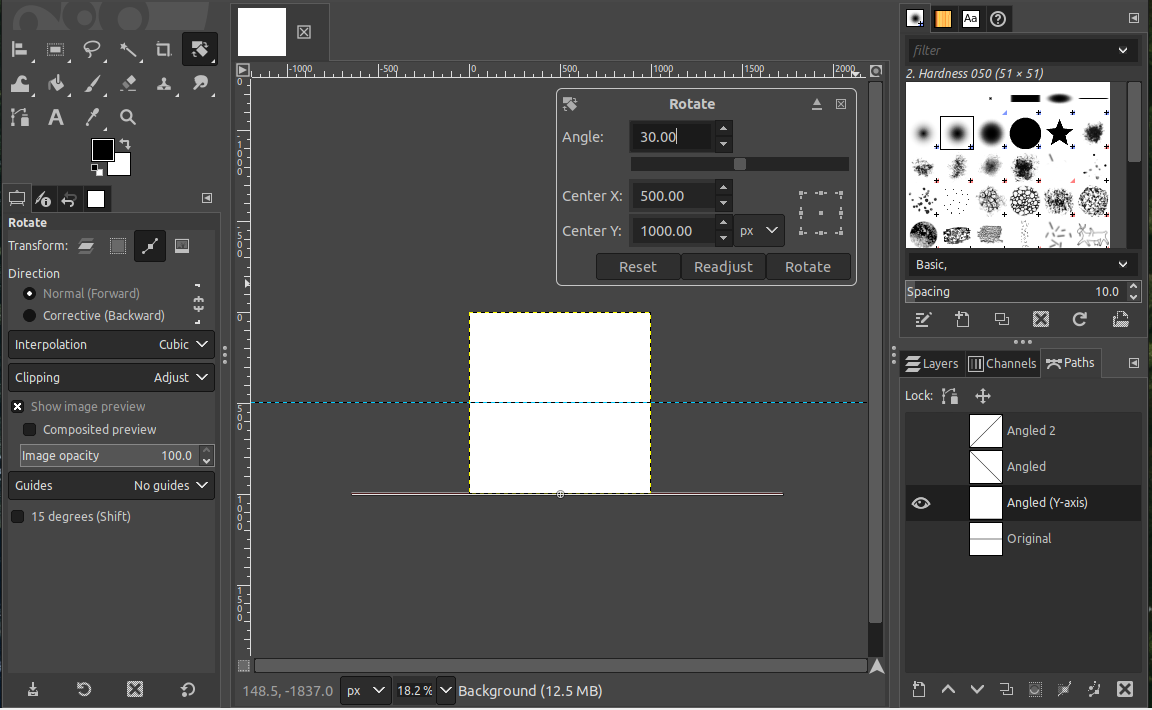
A few points to note:
- If you want the rotation axis to be positioned at the farthest left, then “Center X” = 0.
- If you want the rotation axis to be positioned at the farthest right corner, then “Center X” = the width of the image.
Similar to our earlier action, we need to enable snapping to the axis.
Conclusion
In this guide, we demonstrated how to show guide lines in GIMP. The default guide lines are perpendicular. However, we can hack our way around and create angular guides using the Path tool.
GIMP comes with many exciting features. Learn more about adding glowing effects, image outlining, and pattern creation using GIMP.