In this guide, we will explore how to perform an invert selection in GIMP.
Selection in GIMP
To select a specific part of an image, GIMP comes with the Selection Tools. It’s a collection of multiple tools that selects part of the image as defined. The associated keyboard shortcuts are noted in parentheses.
- Rectangle Select (R)
- Ellipse Select (E)
- Free Select (F)
- Foreground elect
- Fuzzy Select (U)
- By Color Select (Shift + O)
- Intelligent Scissors (I)
For demonstration, I’ve grabbed a royalty-free image from Pexels. Open it up in GIMP.
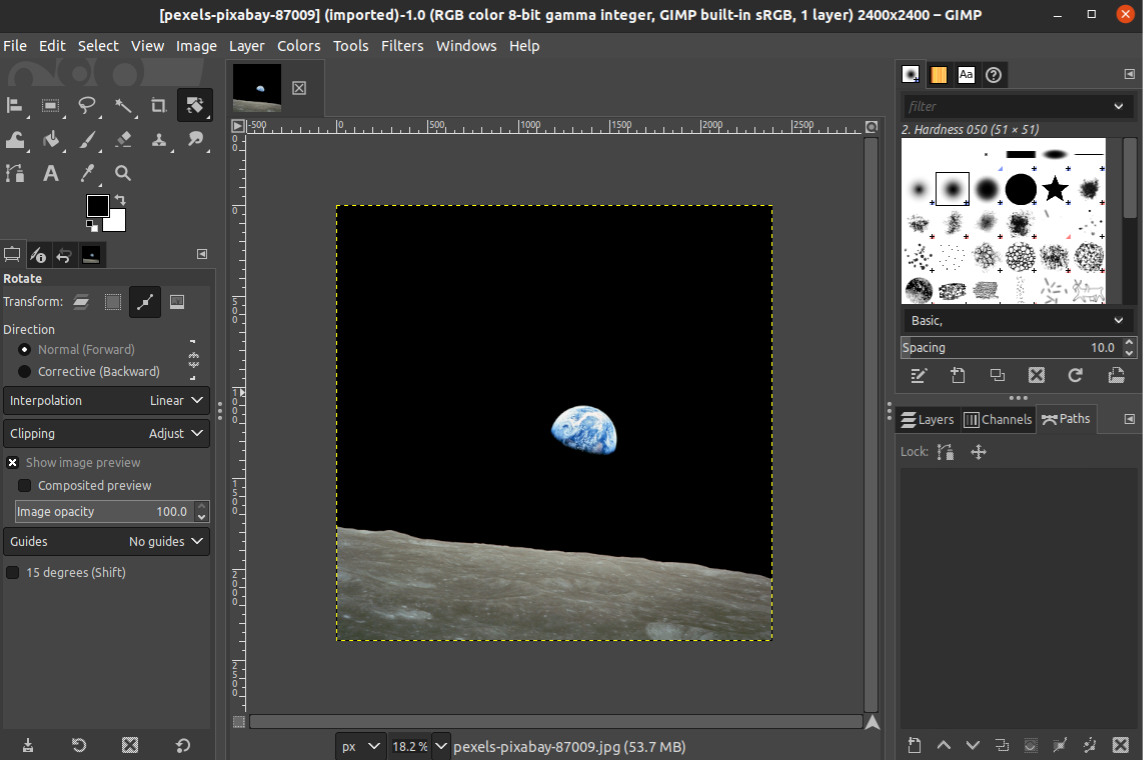
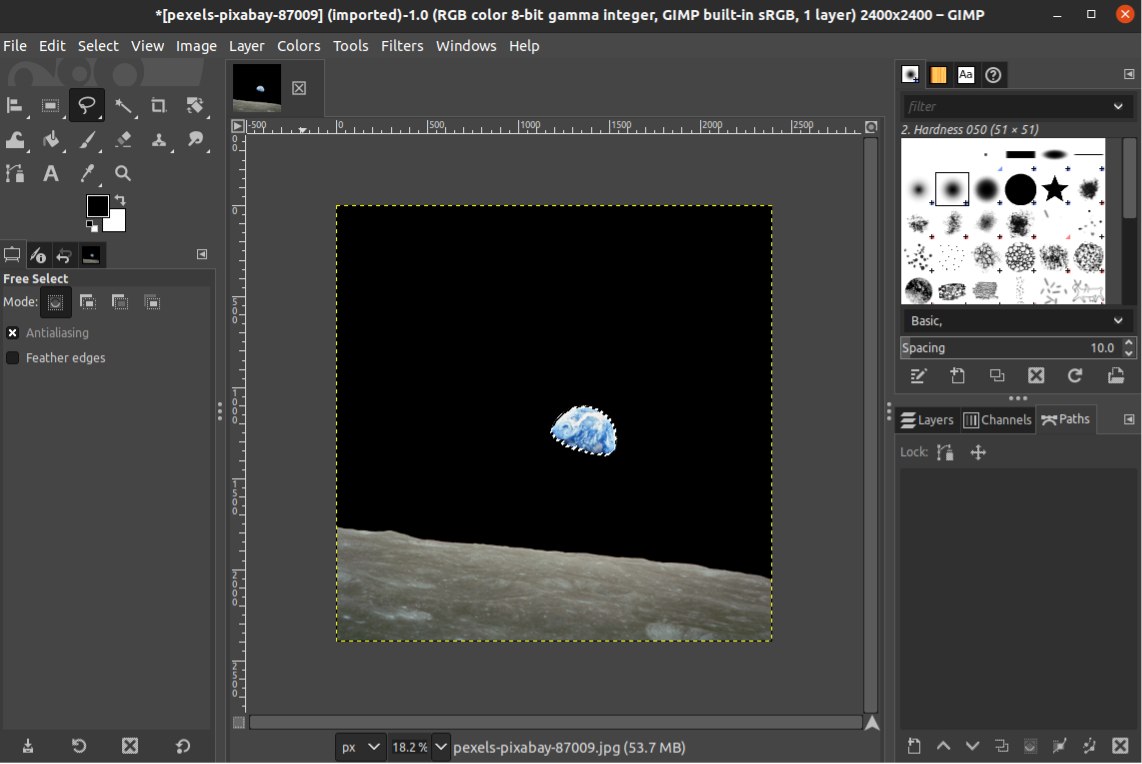
Here, I have selected the Earth using the Free Select tool.
Inverting selection in GIMP
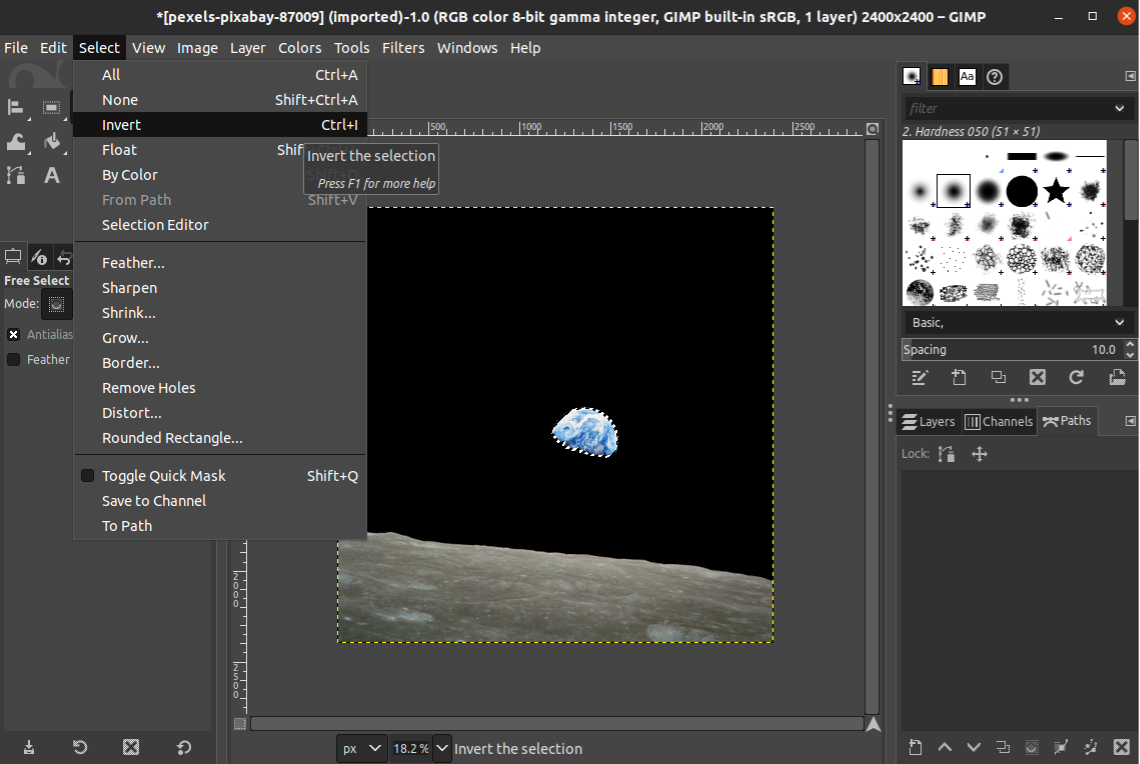
In this section, I will “invert” the selection of the image. Basically, it will be selecting the rest of the image while ignoring the Earth part I selected first.
As the description suggests, manually selecting the rest of the image is really tedious. Thankfully, GIMP comes with the selection inversion option. To invert the selection, go to Select >> Invert. Alternatively, use the keyboard shortcut “Ctrl + I“.
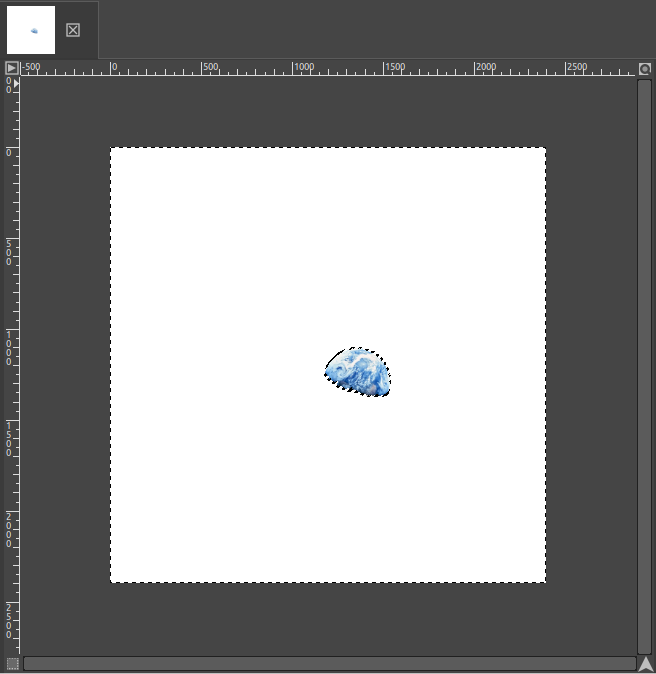
This is what the selection will look like after applying the invert selection:

To verify, simply press “Delete“. It will remove the selected area of the image.
Press “Ctrl + Z” to revert back the changes. Note that the area selection will still be the same.
Invert selection on multiple selections
Invert selection should be working when you’re working with multiple selections.
I’ve randomly marked three areas of the image. It can be done by pressing “Shift” every time you go for a new selection.
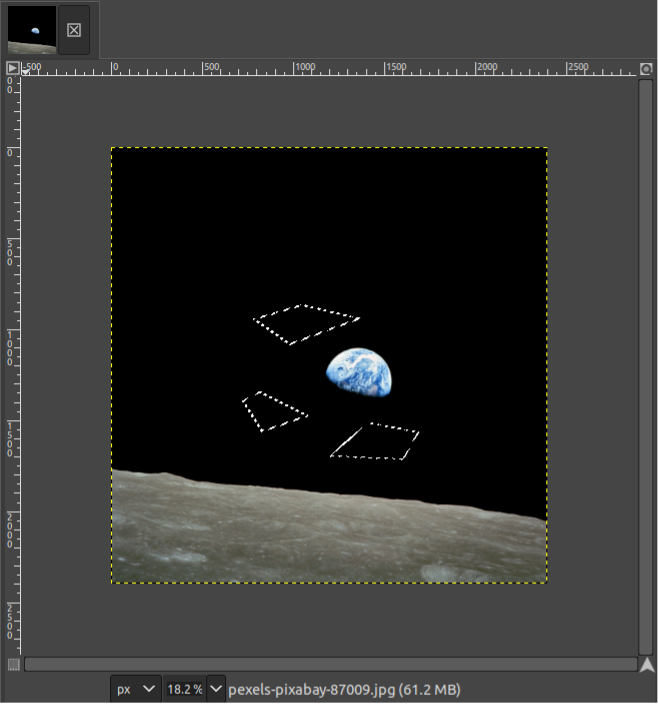
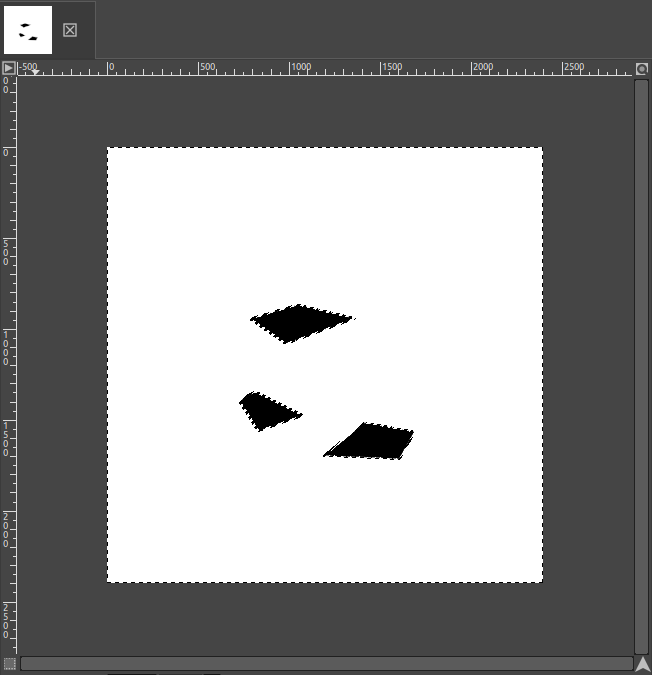
Now, time to perform the invert selection. Press “Ctrl + I” or go to Select >> Invert.

Deleting will reveal the selected area.
Pressing “Ctrl + Z” or “Edit >> Undo Clear” will return the image to the previous state.
Final thoughts
In this guide, we explored performing invert selection in GIMP. If you’ve selected an area of an image with any of the Selection Tools, GIMP offers the option to invert the selection (basically, selected everything else). It’s a simple yet effective technique for various purposes for example, background removal, changing the color/orientation of a specific area, etc.
GIMP comes with more tools with amazing capabilities. Learn more about the Clone tool. You can also create your own pattern, outline images, and much more. The GIMP category has an extensive collection of tutorials.