Using the DataLoader, DataLoader.io, Workbench, or Salesforce Inspector, we can import, insert, update, and delete the Salesforce data. In this scenario, we need to store the data in an Excel/CSV to import, update, and upsert the data. If you want to perform the DML operations directly from the Microsoft Excel, we need to add the XL-Connector to our Excel which is used to integrate Salesforce directly from Excel itself.
In this guide, we will directly pull the data that is present in the Salesforce using Excel through the XL-Connector. Also, we will push the data (insert, upsert, update, delete, undelete) into Salesforce. Each scenario is explained with examples. Before that, let’s see what XL-Connector is and how to add it to your Microsoft Excel.
Setting Up the XL-Connector
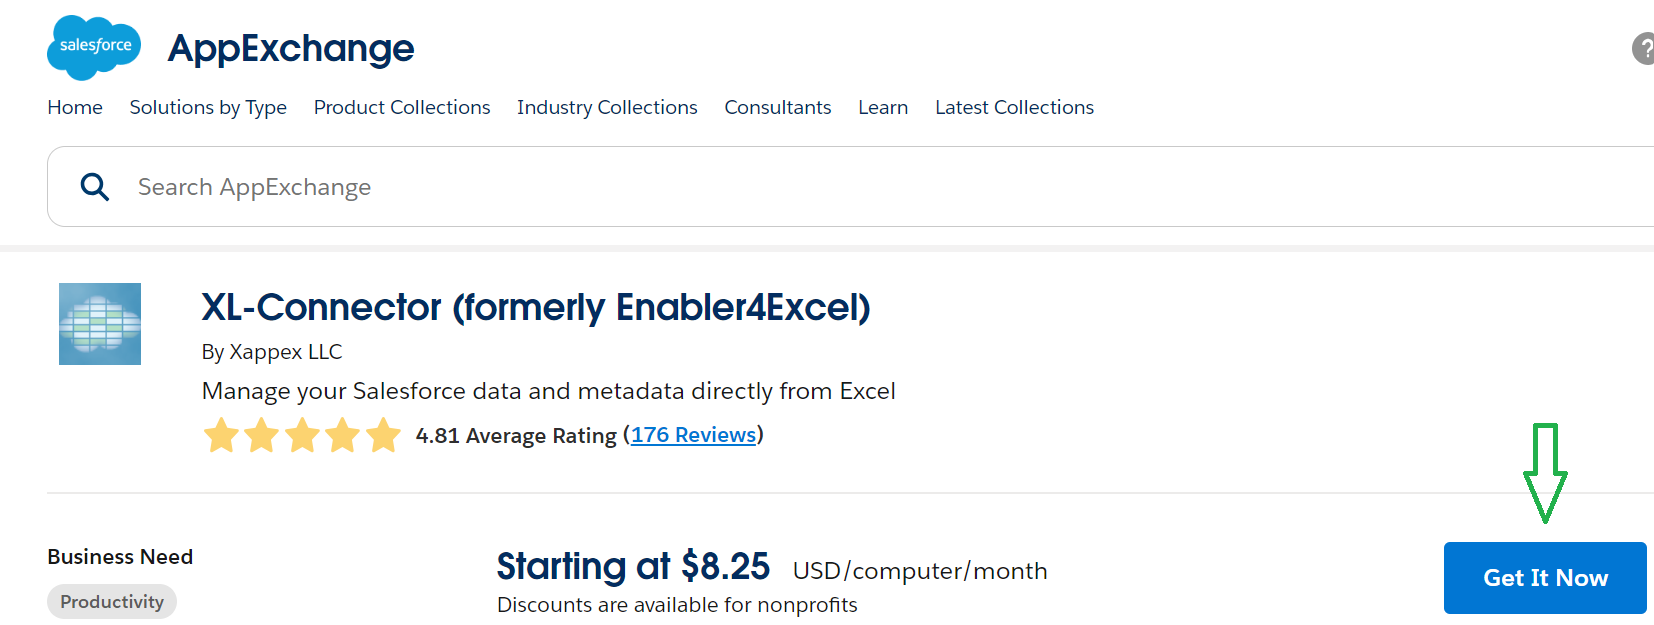
In today’s world, there are so many Excel connectors available to integrate your Microsoft Excel with Salesforce. Among all, XL-Connector is one of the best and most used tools. Without adding any permission, it provides security and we can also pull the existing reports in Salesforce. In one click, it will do the DML operations and provide a tour in each step. You can directly get it from the Salesforce Appexchange. It’s free.
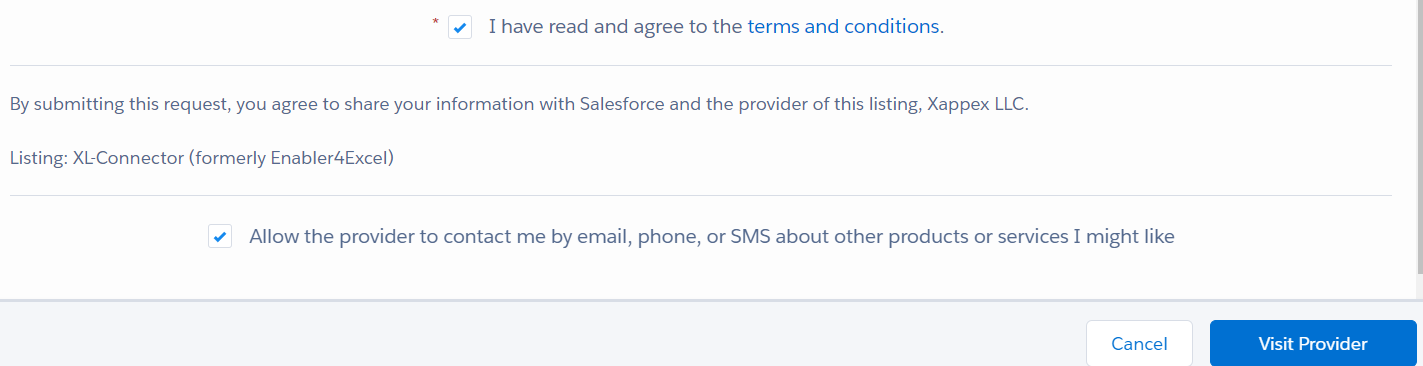
Login as Trailblazer or any other login option provided. After that, you will be asked to visit the provider. Accept the terms and click on “Visit Provider”.
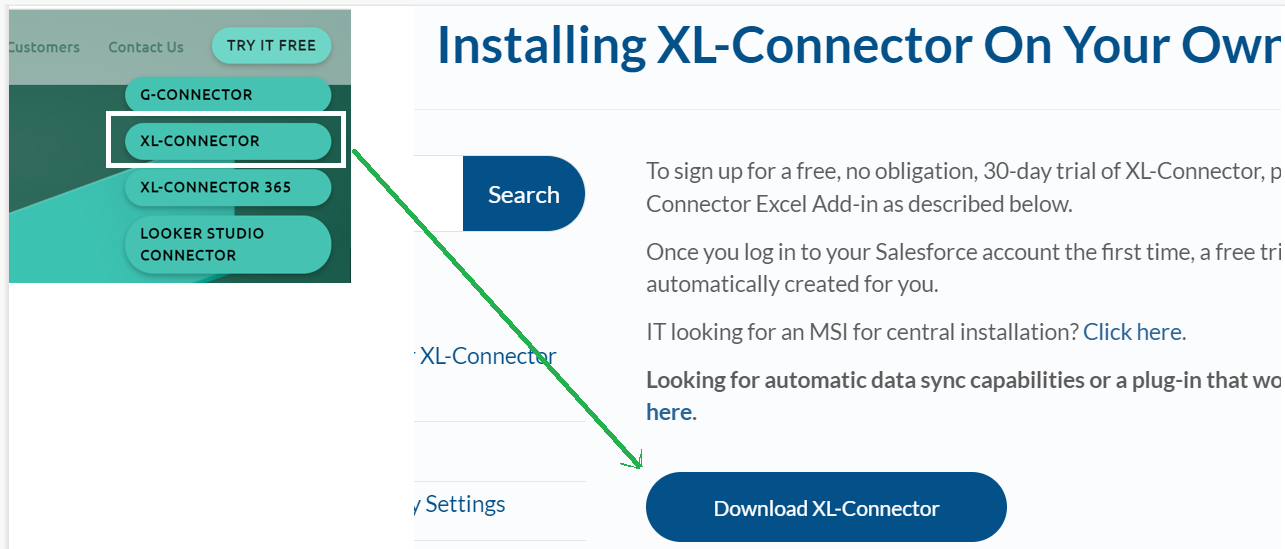
Get it free and download it (go with XL-CONNECTOR). After downloading, it will ask to install the VS Code. Install VS Code and complete installing the XL-Connector.
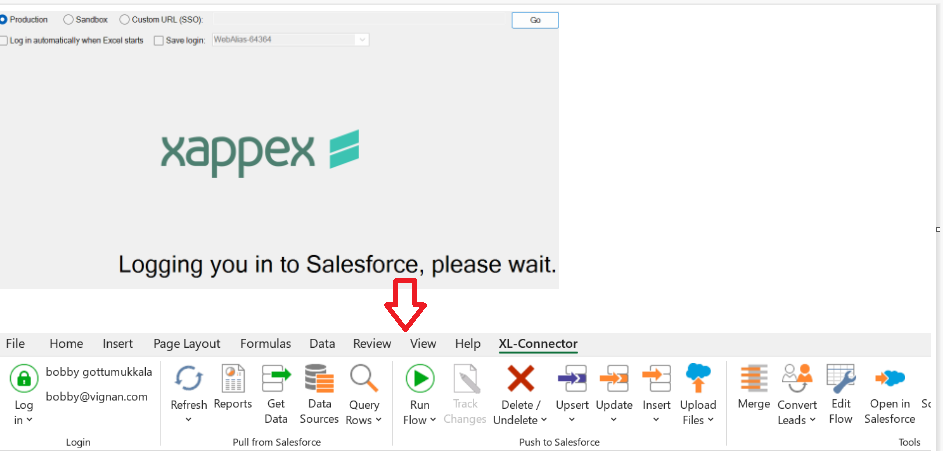
Now, open your Microsoft Excel and you will see that the XL-Connector is available to use.

Integrate Salesforce with Excel through XL-Connector
Click on “XL-Connector” and log in to your Salesforce account. Our org is of type production. So, we choose “Production”.

Provide your Salesforce credentials and click on “Allow”.
Pull: We can import the reports from the Salesforce Object records and refresh the data from time to time.
Push: File uploading, insertion, deletion, update, upsertion, and undelete is possible.

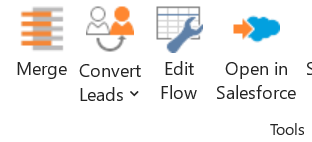
Others: We can merge by converting the existing data to Leads with Convert Leads. Automatically refresh the data in all the sheets when the workbook is opened and after the user is logged in with the “Edit Flow”. Then, open the selected record in Salesforce using the “Open in Salesforce” tool.
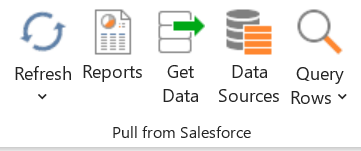
Pull from Salesforce
We will see how to pull the reports and get the records from specific objects from Salesforce.
Reports
Salesforce reports can be imported into your Google sheet using this option. If a report already exists, there is no need to create it. We will create a report on the Campaigns Standard object.
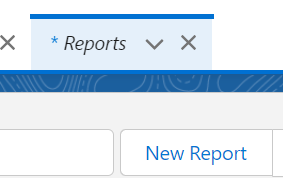
In Salesforce, navigate to the “Reports” tab and click on “New Report”.
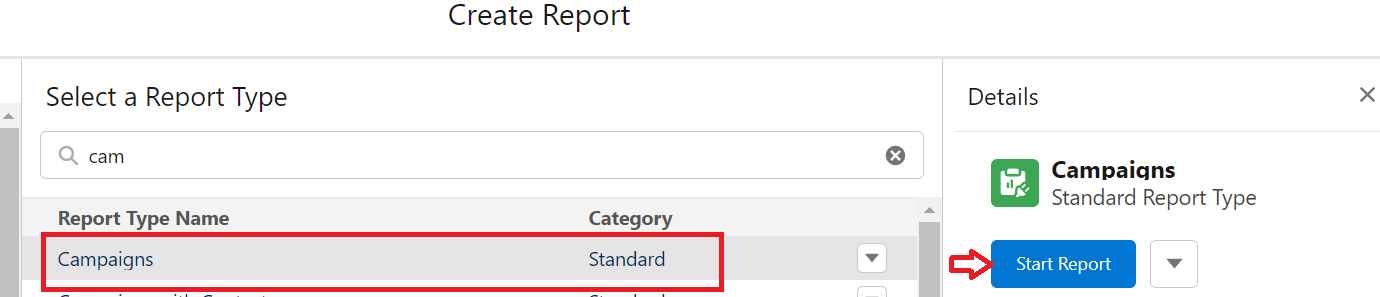
Now, select the object (here, we selected “Campaigns”) and click on the “Start Report” button.
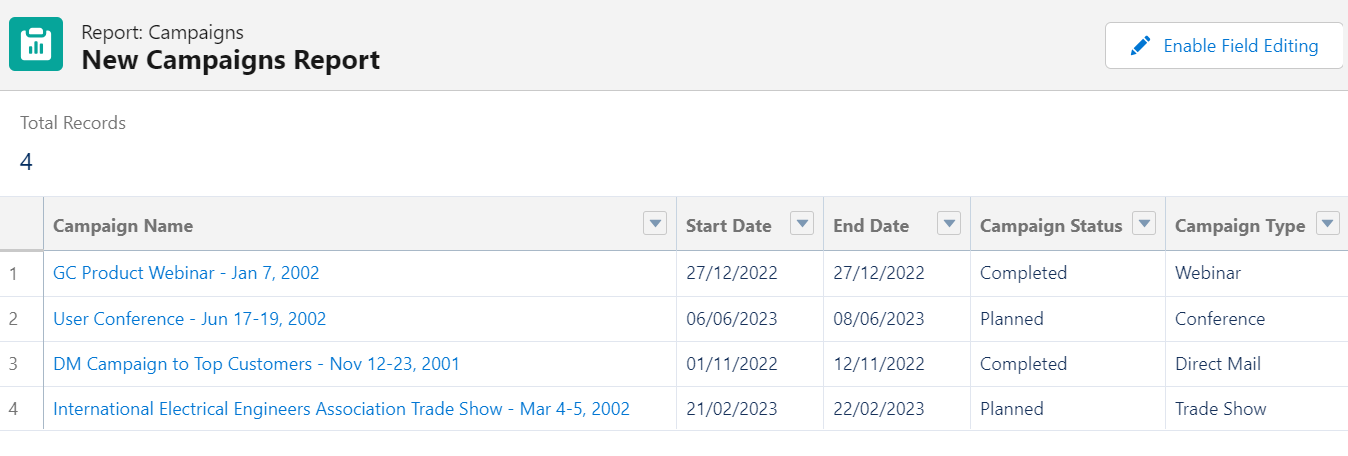
Add the fields (Campaign Name, Start Date, End Date, Campaign Status, and Campaign Type) and run the report. Here, the report name is “New Campaigns report”. Our report holds four records.
Select:
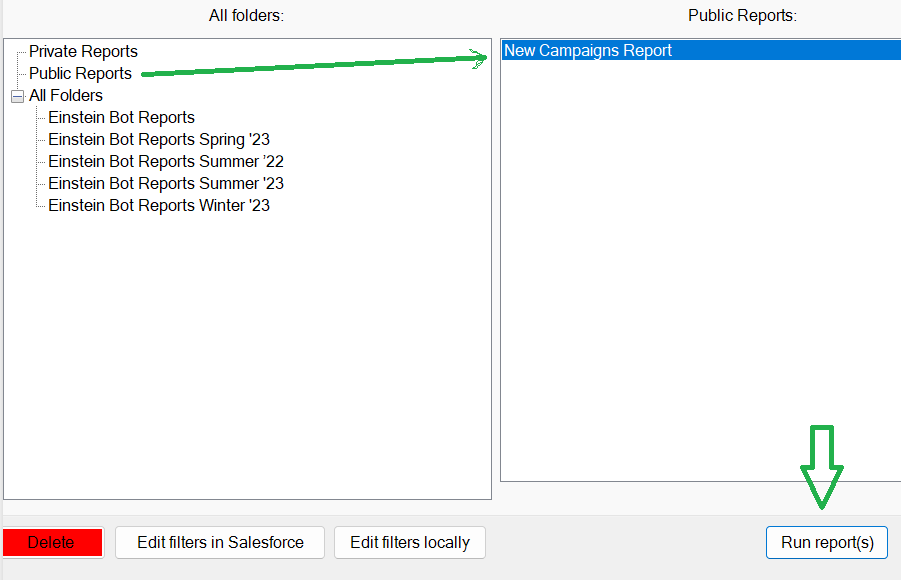
Let’s select the report that we created in Salesforce (New Campaigns Report). It is available in the Public folder. Then, click on the “Run Reports(s)” button.
The report is returned in your Excel Sheet – “New Campaigns Report”.

Delete:
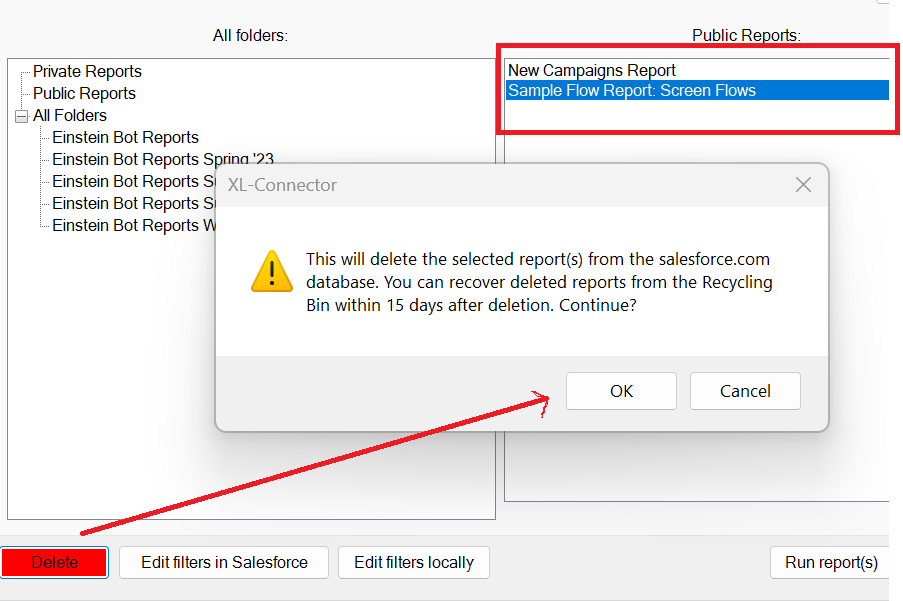
It can be possible to delete the report from your Excel itself. Open any of the reports and click on “Delete”. We delete the “Sample Flow Report – Screen Flows”. Click on “OK”.
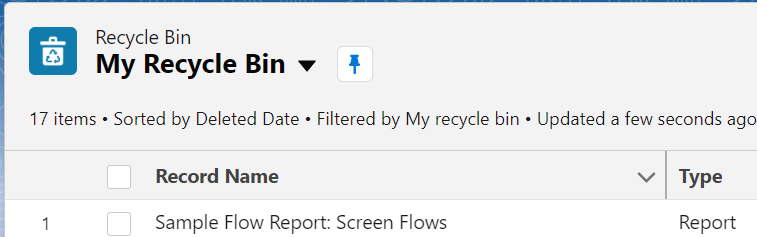
The report is deleted and it is found in the Salesforce Recycle Bin.
Edit:
One more option provided by reports is that we can edit the Report Filters locally (in Excel) or in Salesforce. Let’s do it in Salesforce by adding a filter. Get the data with the campaign status as “Planned”. Then, run the report.
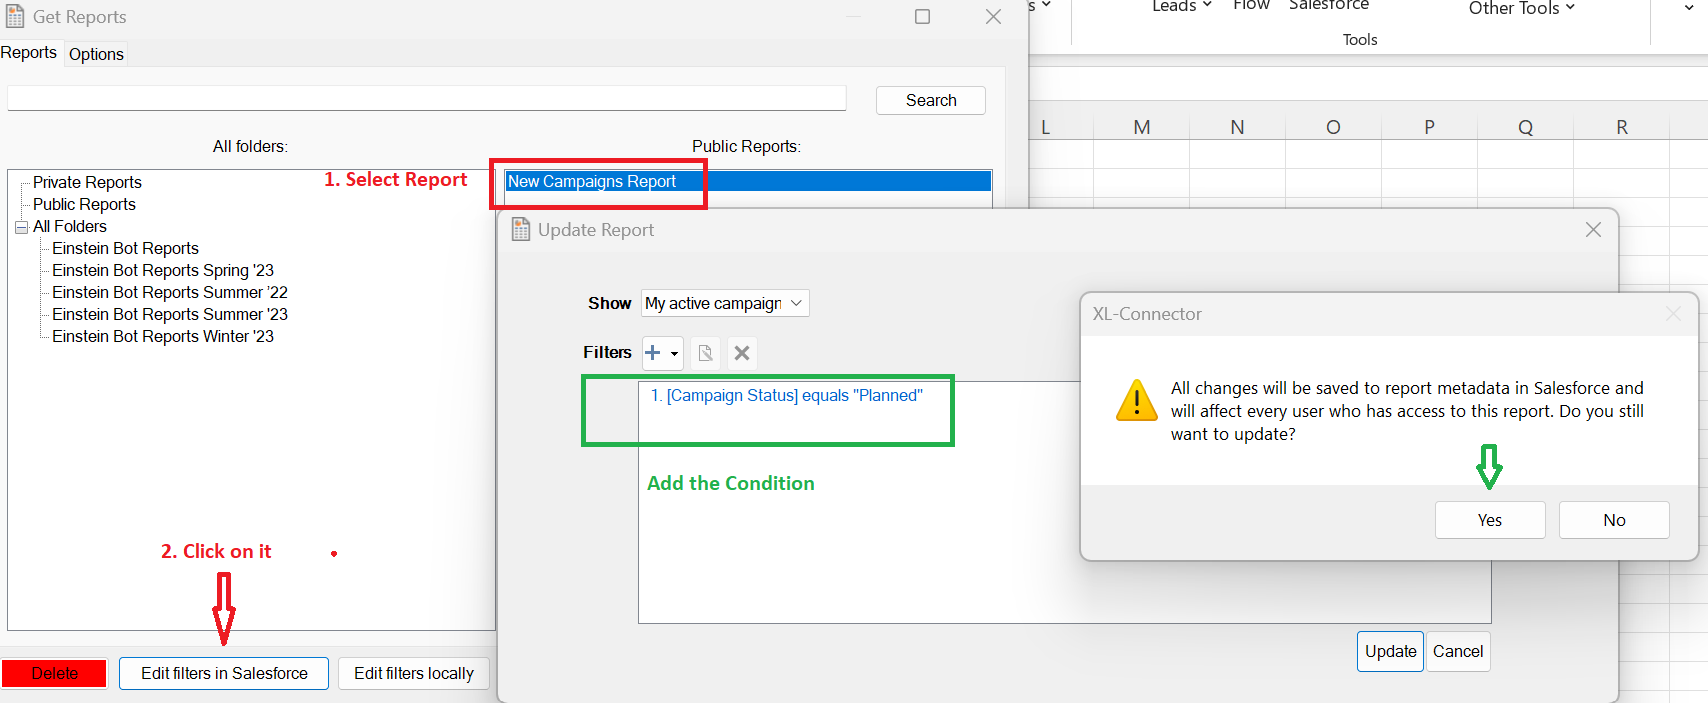
The report is updated in Salesforce. There are only two records out of four with the campaign status as “Planned”.

If you run it in Excel, you will see only two records in Excel.

Get the Data
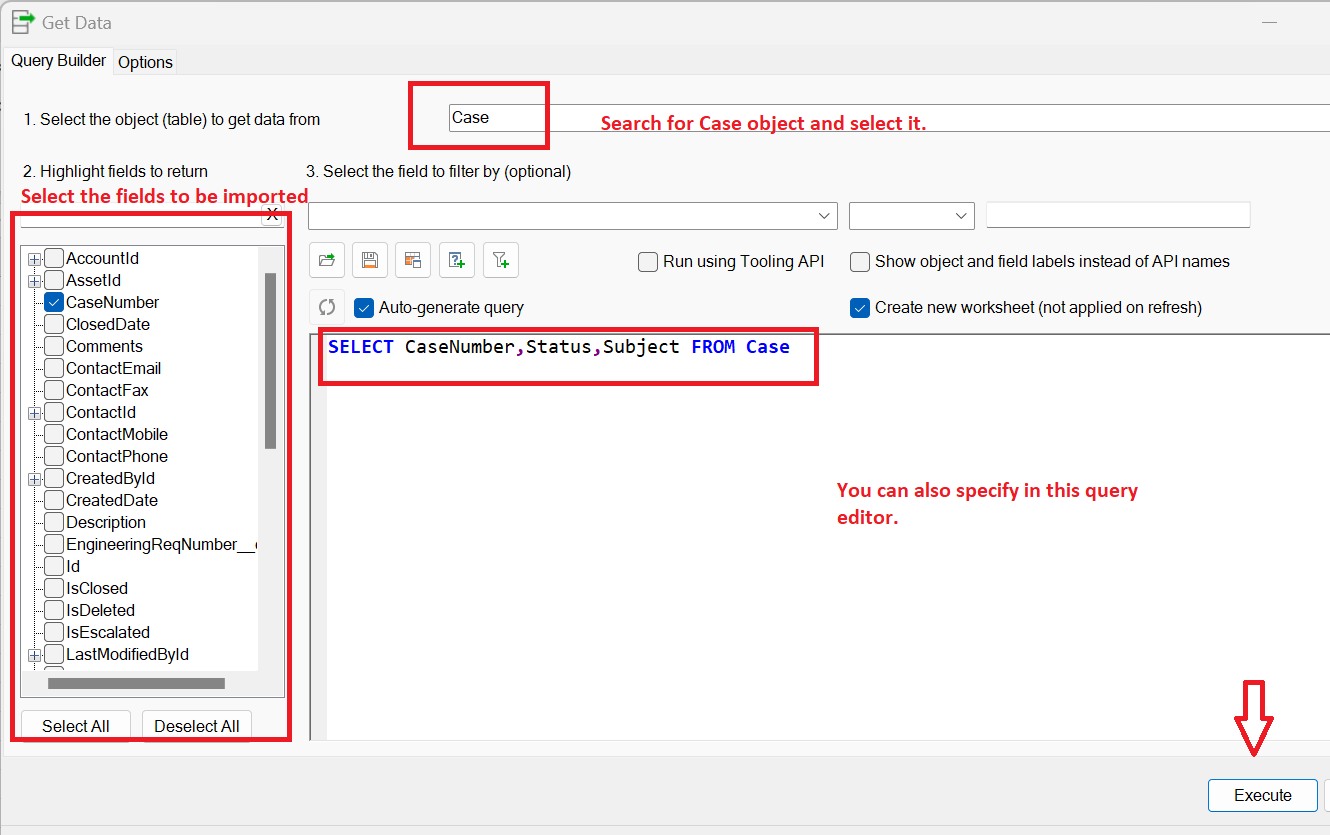
Let’s get the existing records in the Salesforce. Click on “Get Data”.
- First, select the object. We are selecting “Case” here.
- The fields will be available on the left where you can choose the fields. The query will be auto generated in the query editor. We can also write our own query. We select the CaseNumber, Status, and Subject.
- Specify the filter criteria. As of now, we are not specifying.
- Click the “Execute” button.
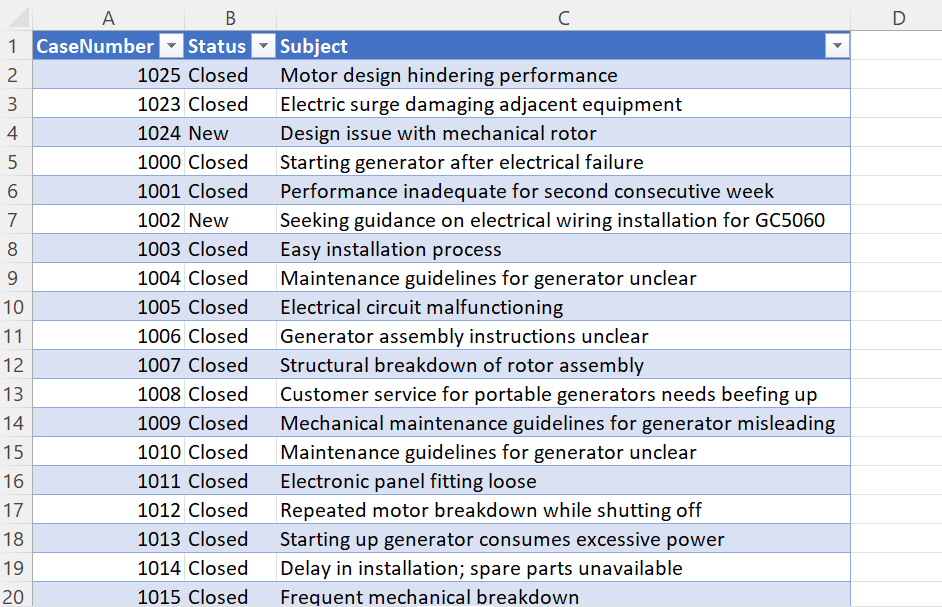
The case records are imported into the ”Case” sheet.
Let’s specify the filter as “Status equals ‘Closed’”.
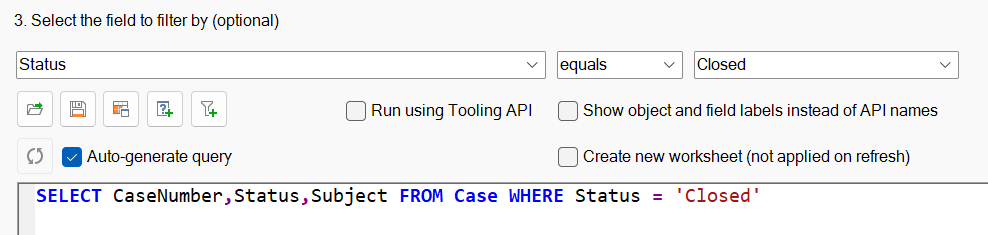
Now, the records that are returned by the query will be in “Closed” status.

Push to Salesforce
Let’s perform the DML operations. In this scenario, we manipulate the Salesforce data with the Excel data.
Insert
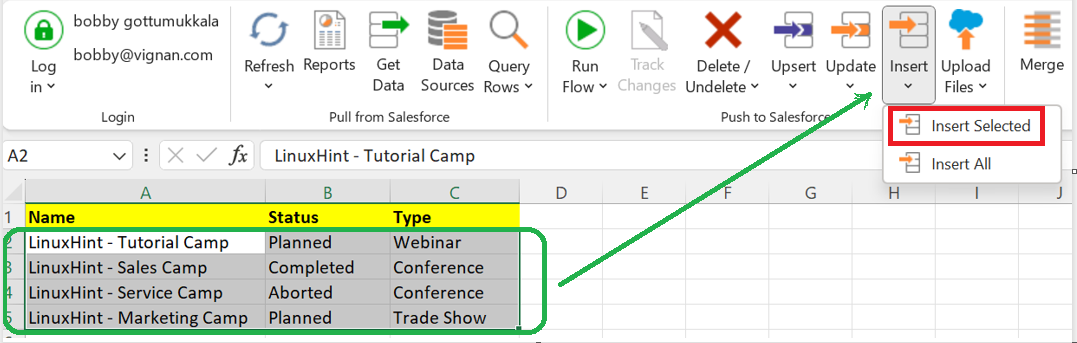
Let’s insert these four records into the Campaign object. First, select all the records (don’t select the column names) and click the “Insert” operation and choose “Insert Selected”.
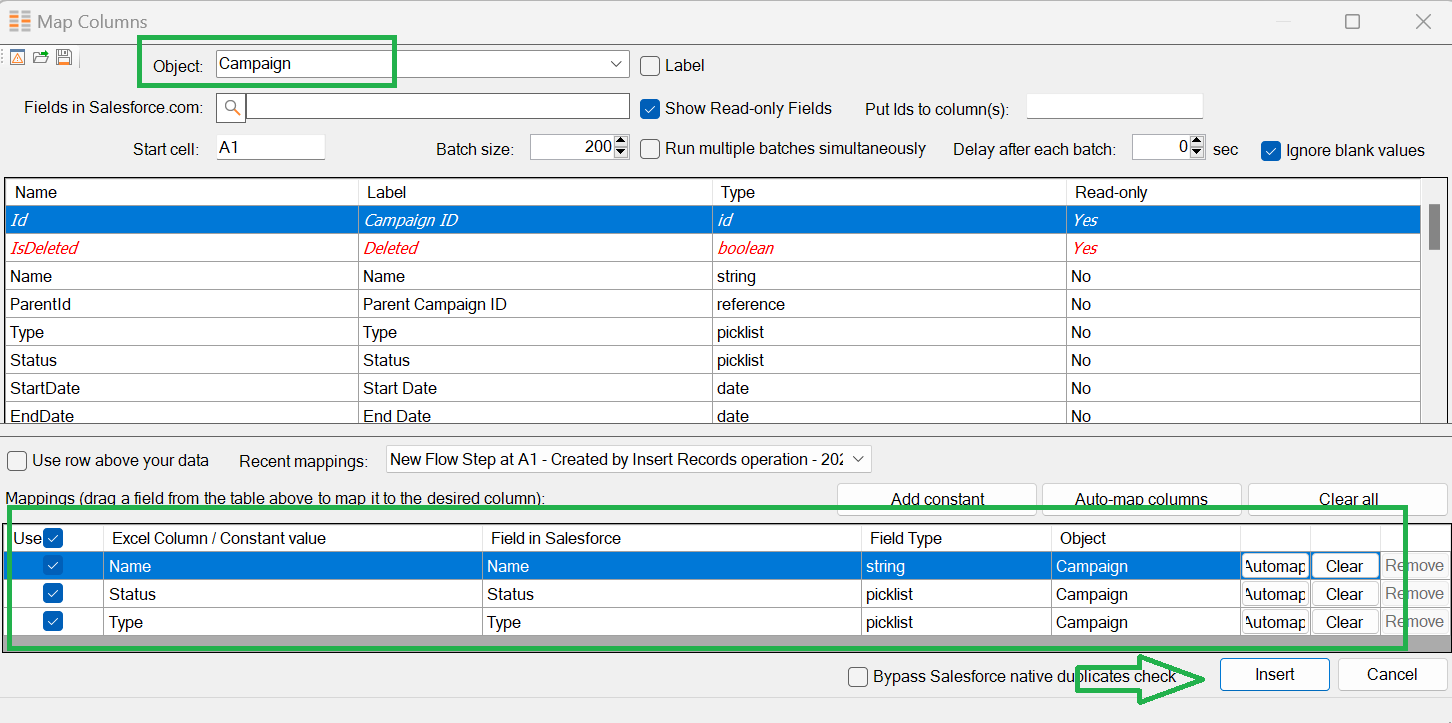
Review the object and field mappings and insert it. A confirmation pop-up will display the total number of records to be inserted. Then, click on “Yes”.
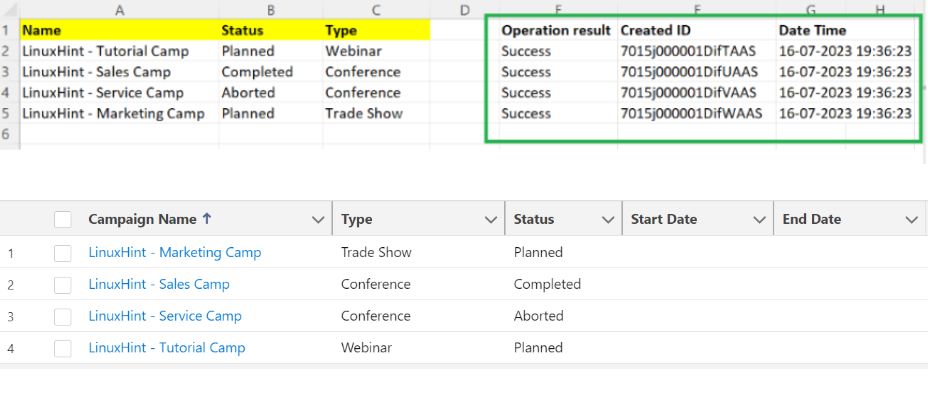
Insertion is done. You will get the operation result and create the ID and Date Time for each record. Also, you can view in your Salesforce Org (under the “Campaigns” tab).
Update
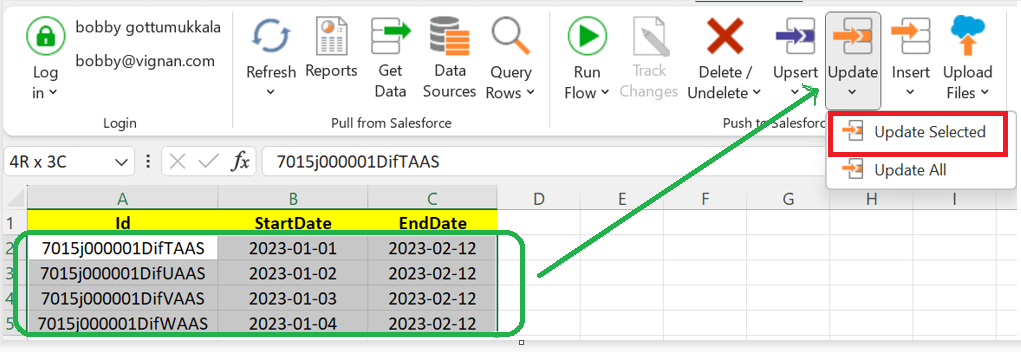
Let’s update the StartDate and EndDate for the previously created campaigns through Excel. Prepare the data with three columns (Id, StartDate, and EndDate). Id refers to the Salesforce Campaign ID. Based on this column, we set the StartDate and EndDate for these four records. Go to the “Update” operation and choose “Update Selected”.
Review the object and field mappings (click “Automap” for all the columns) and click on “Update”.
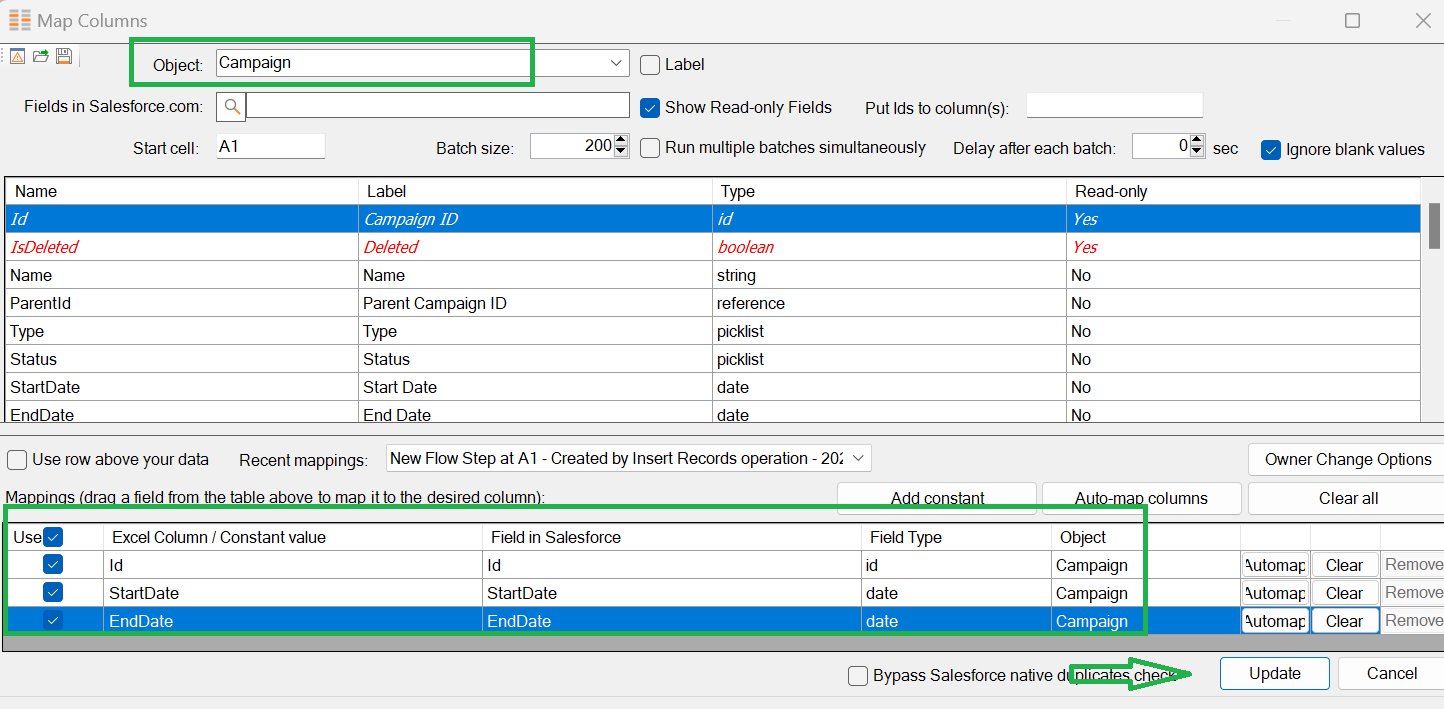
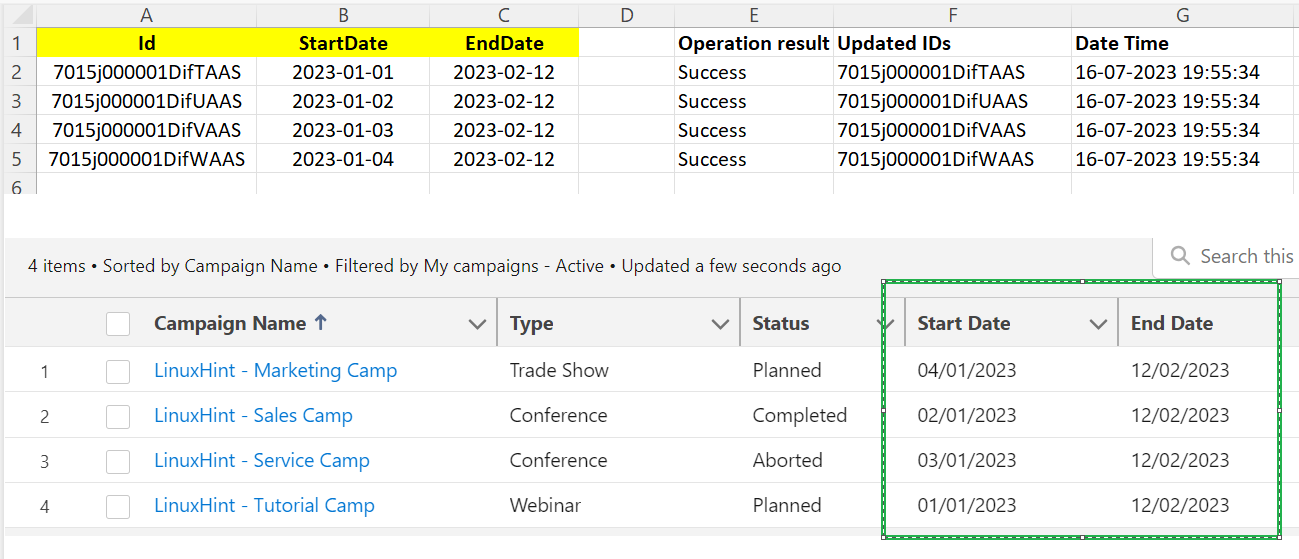
Update is done. You will get the operation result, updated IDs, and Date Time for each record. Let’s see the updated StartDate and EndDate in Salesforce.
Upsert
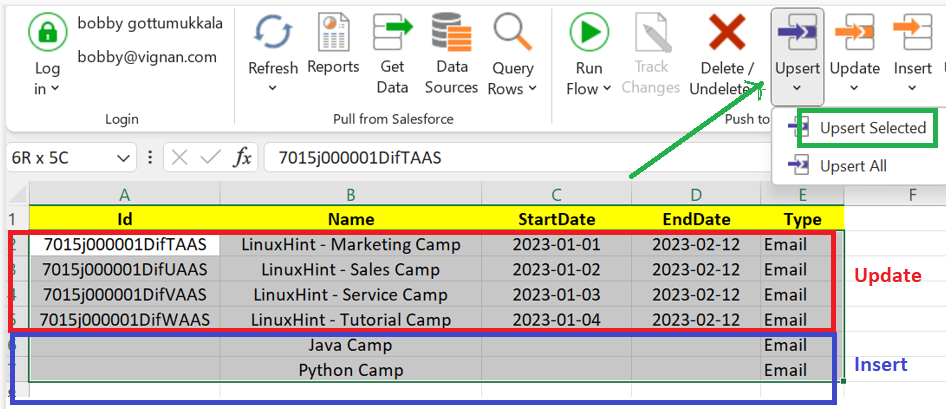
At the same time, we can update the existing records and create the records if they do not exist. This can be achieved using this “Upsert” operation. Let’s utilize the previous Campaign record and update the Campaign Type to “Email” for four records and create two records.
Review the object and field mappings (click “Automap” for all the columns) and click on “Upsert”.
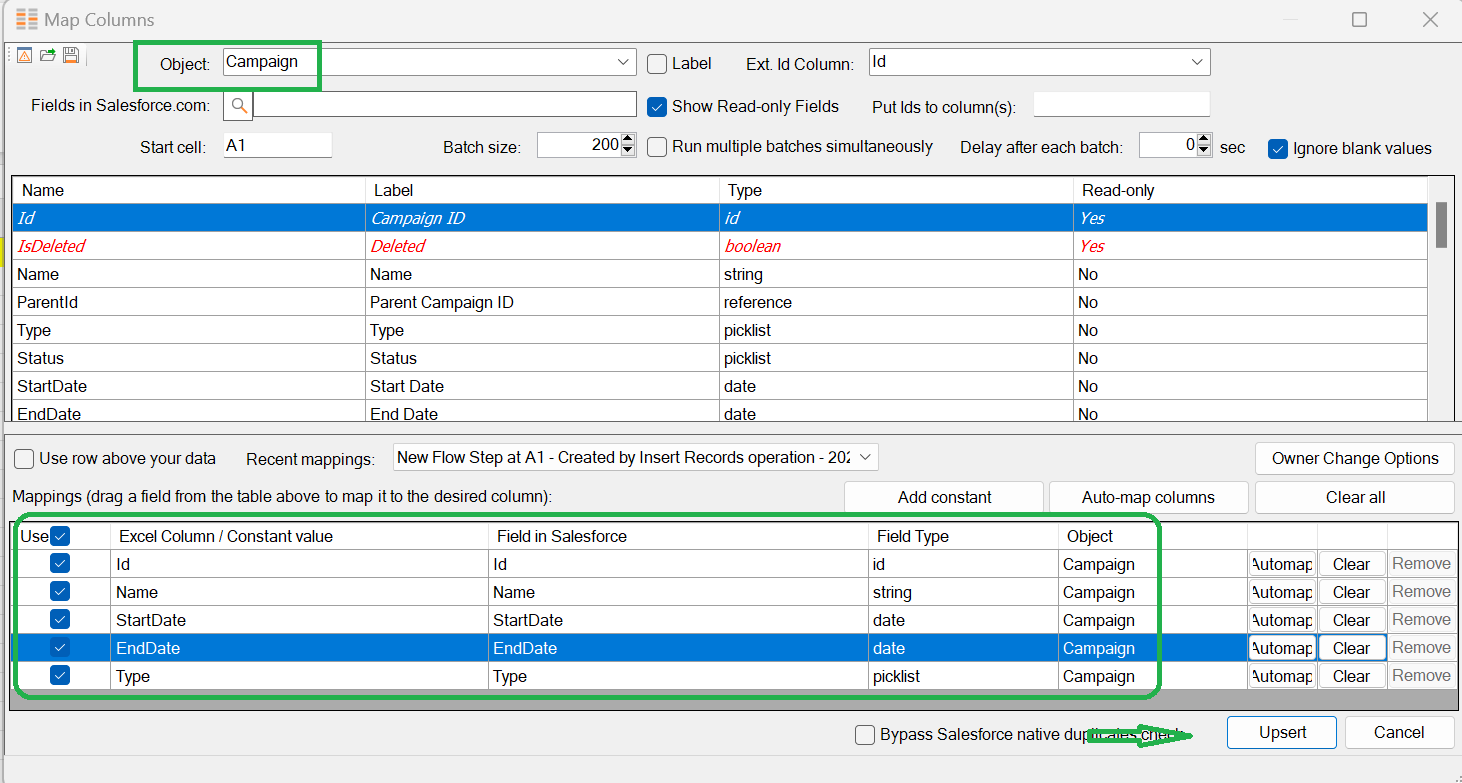
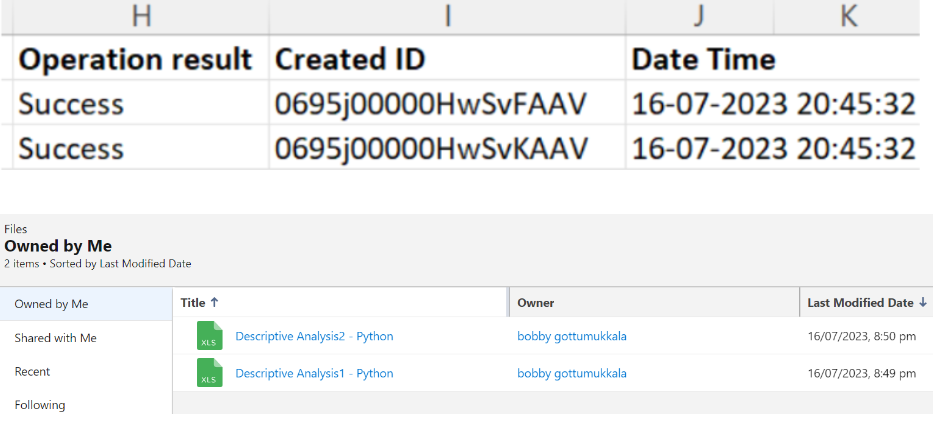
Upsert is done. You will get the operation result (for updated records, the status is “Updated” and for created records, the status is “Created”), created ID, and Date Time for each record. Let’s see the updated/inserted records in Salesforce.
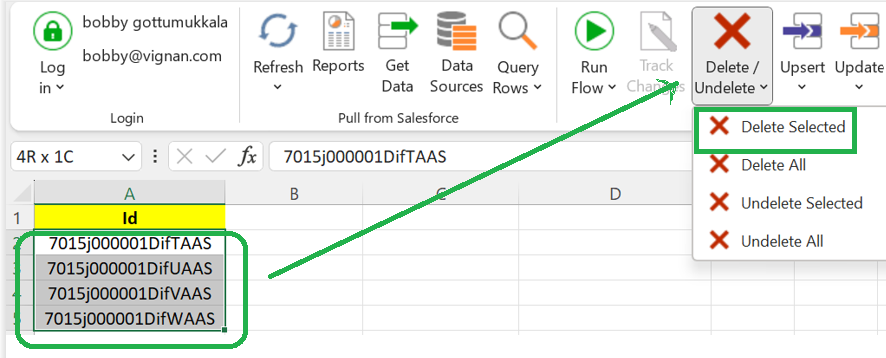
Delete
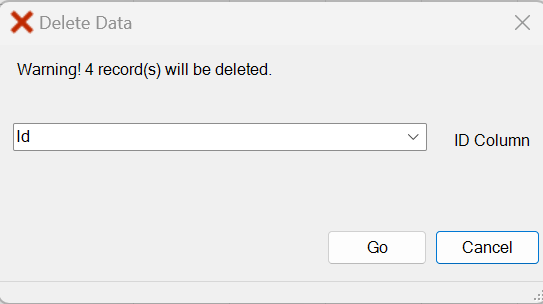
Delete the previously created records using the delete/undelete operation. Remove all the columns except the ID column. Choose “Delete Selected” and click on “Go”.
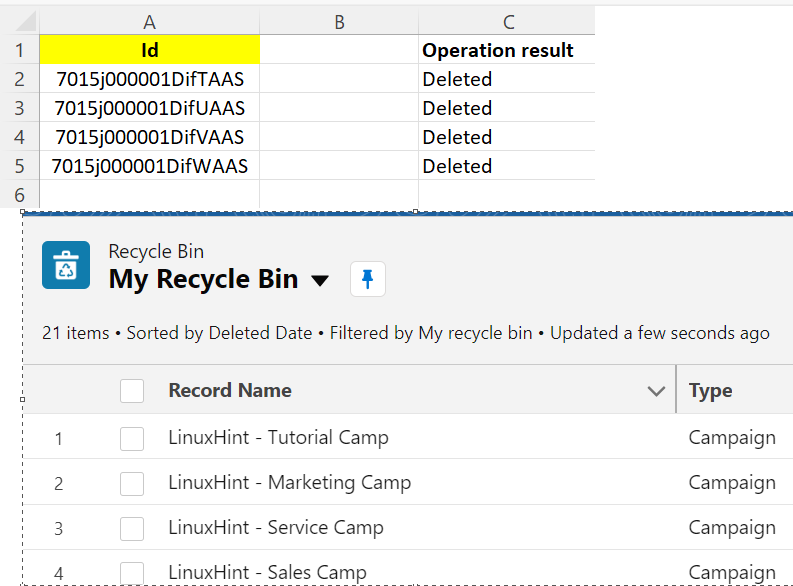
Deletion is done. You will get the operation result as “Deleted” for each record. Let’s check the Salesforce Recycle Bin for deleted records.
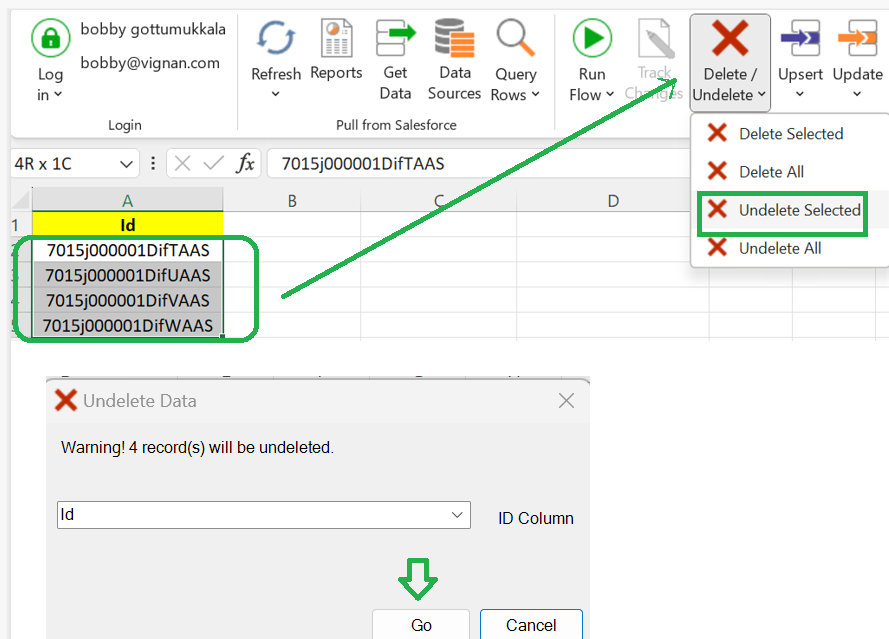
Undelete
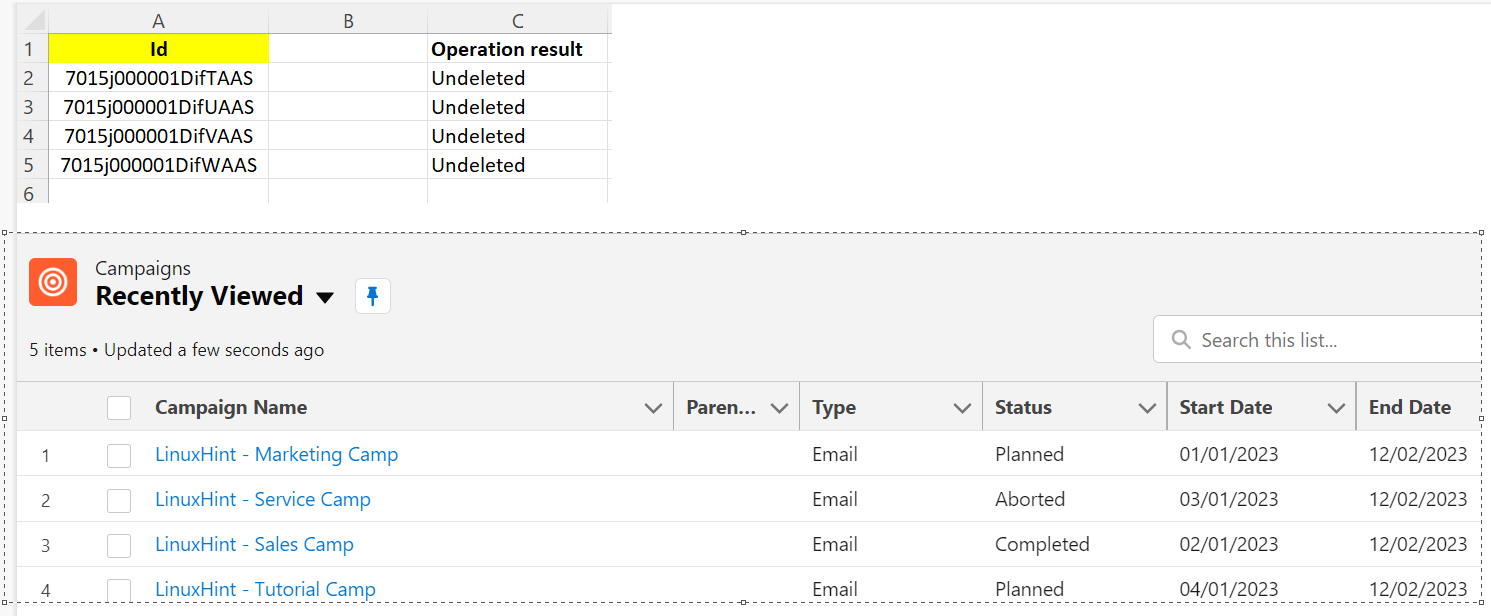
Let’s get back the deleted records into the Salesofrce object from the Recycle Bin by selecting the delete/undelete operation. Click on the “Go” button.
The deleted records are available now. You will get the operation result as “Undeleted” for each record. Navigate to the “Campaigns” tab and check for the restored records.
File Upload
We can directly upload the folders using the XL-Connector. Three steps need to be followed to upload a file.
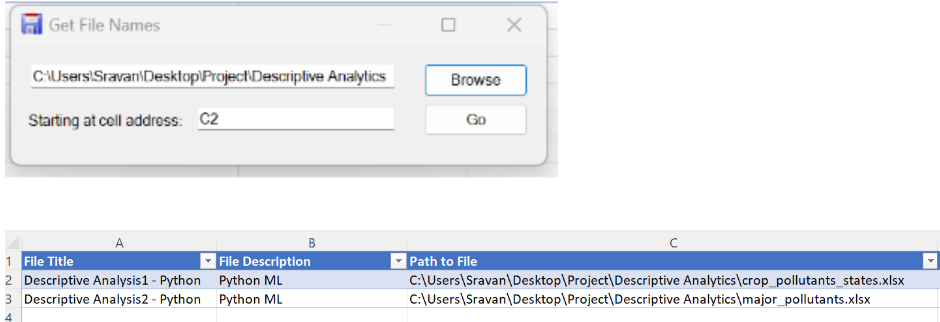
Choose “Prepare Spreadsheet” under the “Upload Files” operation. Six columns will be created. Mention the title and description for your files.

Select your folder (our folder includes two files) from your PC by choosing “Get file names from a folder”. Now, the “Path to File” column is updated with your location.
Now, choose the “Upload Files to Salesforce”. The files are created in Salesforce. Go to the files object and check your files.
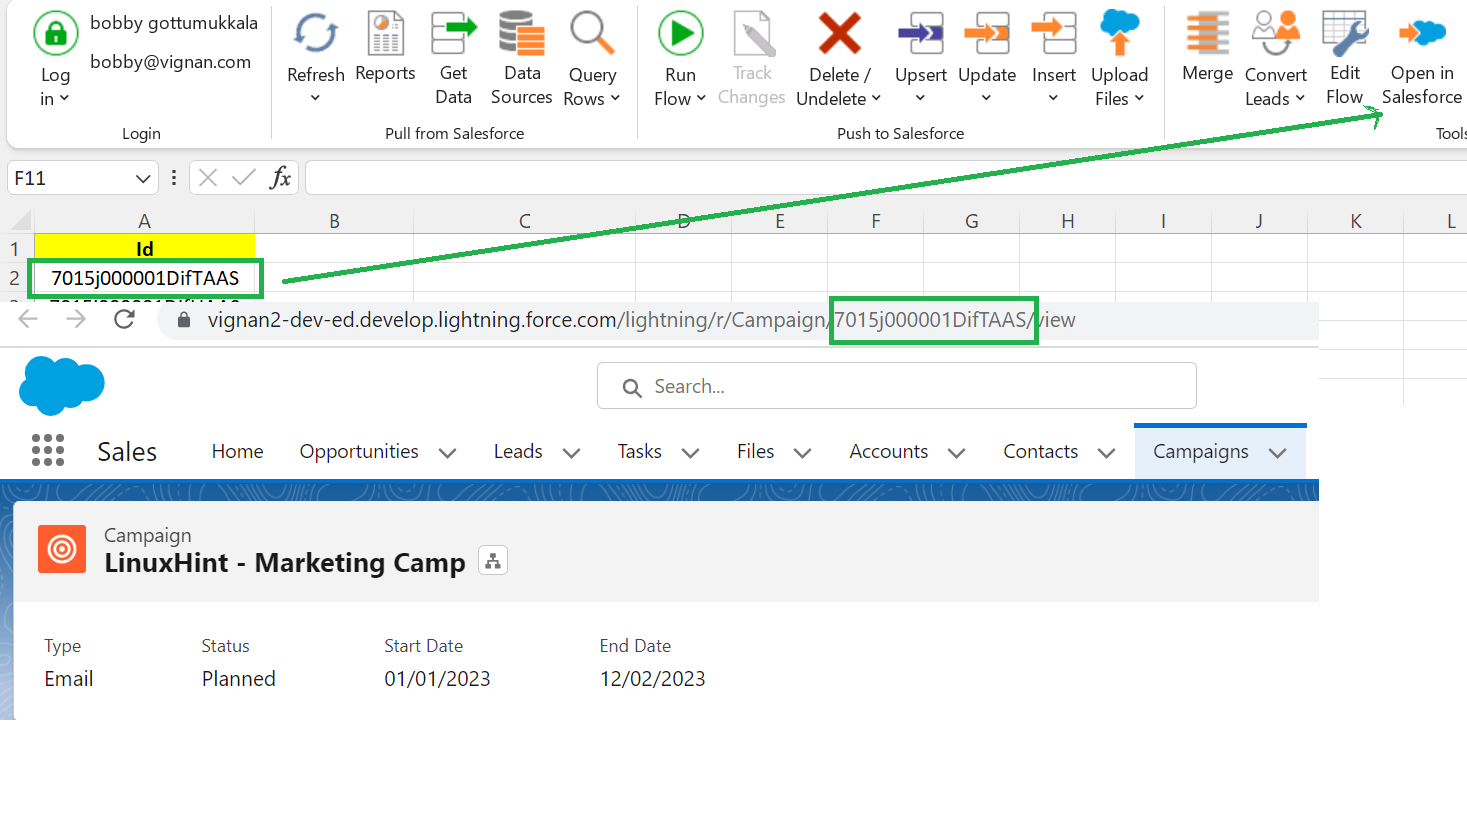
Navigation
The XL-Connector provides us an option to navigate to the selected record directly from Microsoft Excel. Use the “Open in Salesforce” tool for this.
Conclusion
We learned how to import the Salesforce reports into Microsoft Excel with the XL-Connector. It is possible to delete or edit the report filters. Next, we discussed all the DML operations that include the insert, update, upsert, delete, and undelete. Uploading the files are also discussed in this scenario. Lastly, we learned how to navigate to the Salesforce record detail page from Excel by selecting the Id.