The NavigationMixin has to be imported from lightning/navigation in the “javascript” file. Navigate is the available method in this module. It takes the type and attributes. The type specifies the type of the page that we are navigating and the attributes take the pageName.
- From the Setup, search the “Lightning App Builder” and click on “New”.
- Choose the “App Page” and click on “Next”.
- Give the label as “Navigation Services”.
- Go with the one region and click on “Done”.
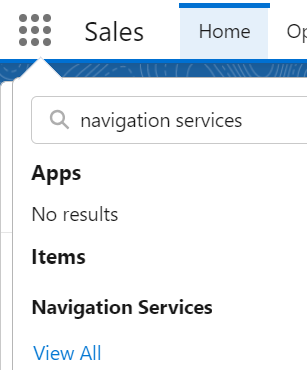
Your app is ready to use. Search for it under the “App Launcher”.
For all the Navigation Service examples that are going to be discussed in this guide, we use the same “meta-xml” file. You can place the components in your App page that you created now. We will not specify this file (meta-xml) again under the example code snippets.
<LightningComponentBundle xmlns="http://soap.sforce.com/2006/04/metadata">
<apiVersion>57.0</apiVersion>
<isExposed>true</isExposed>
<targets>
<target>lightning__AppPage</target>
</targets>
</LightningComponentBundle>
Navigating to Home Page
If you want to navigate to the Salesforce standard Home page, look at the following example:
Navigation.html
We create a button. The on click of this “homeNavigation” will be handled in the “js” file.
Navigation.js
The type should be “standard__namedPage” and the pageName should be “home”. This is specified inside the homeNavigation() handler method.
import {NavigationMixin} from 'lightning/navigation'
export default class Navigation extends NavigationMixin(LightningElement) {
// handler method
// pageName should be home
// type of the page is standard__namedPage for the home
homeNavigation(){
this[NavigationMixin.Navigate]({
type:'standard__namedPage',
attributes:{
pageName:'home'
}
})
}
}
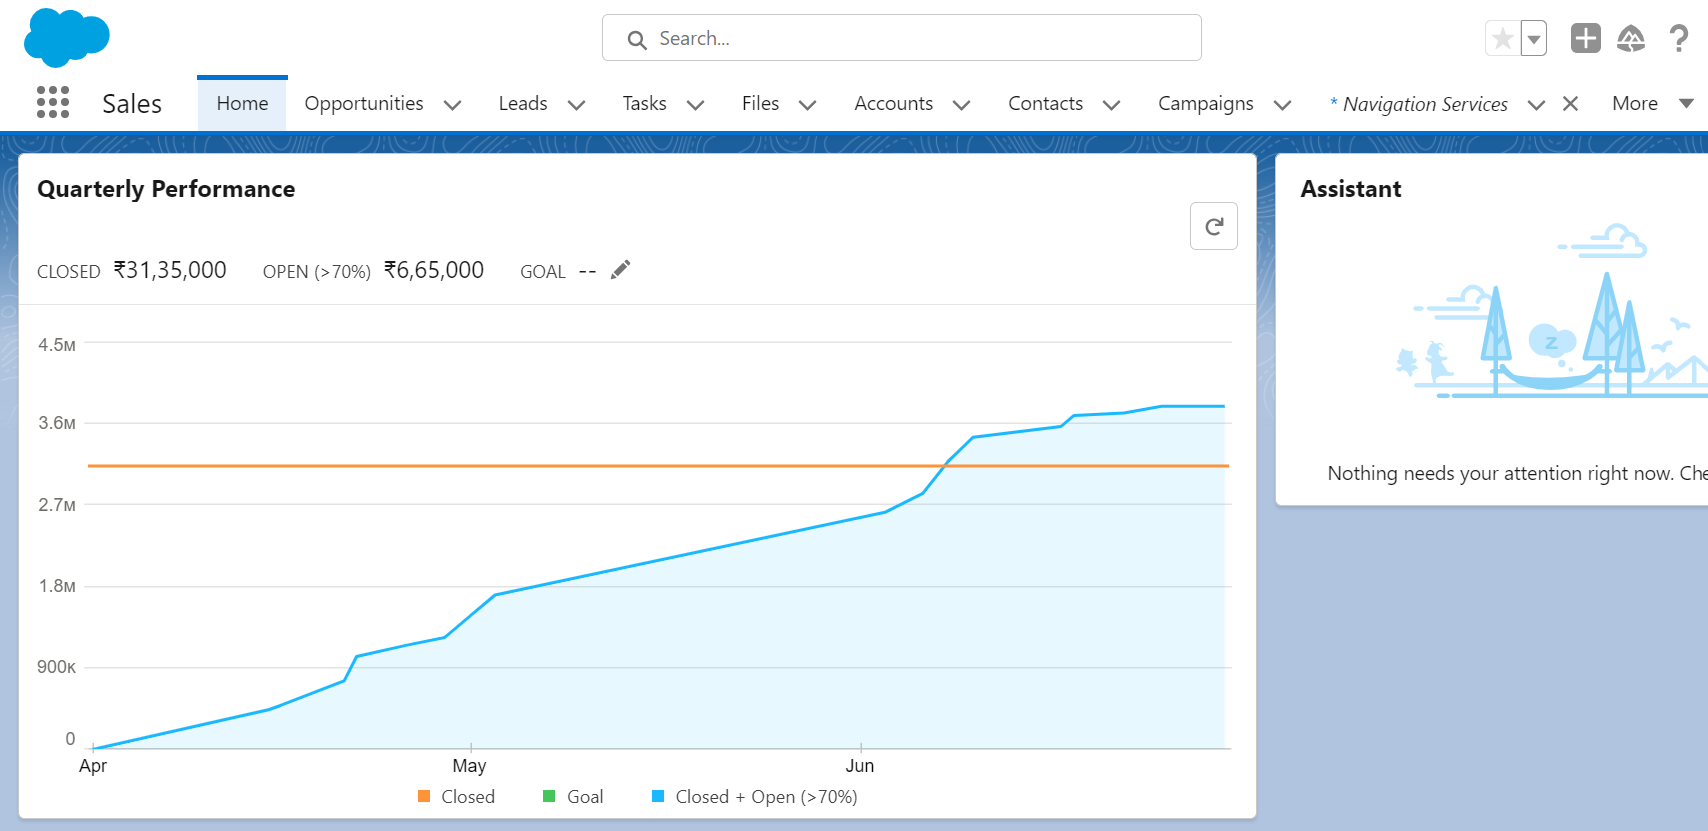
Output:
Add this component to the App page and click on the “Go to Home page” button.
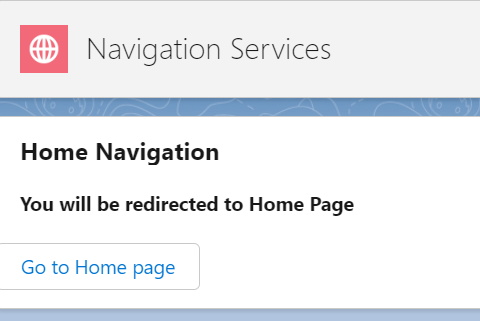
Now, you are on the Home page.
Navigating to Chatter
You can share the files, text messages, and log details using the Salesforce Chatter. It can be possible to navigate to the Chatter directly using the Navigation Service.
Navigation.html
We create a button. The on click of this “chatterNavigation” will be handled in the “js” file.
Navigation.js
The type should be “standard__namedPage” and the pageName should be “chatter”. This is specified inside the chatterNavigation() handler method. Paste the following snippet inside the “js” class.
// pageName should be chatter
// type of the page is standard__namedPage for the chatter
chatterNavigation(){
this[NavigationMixin.Navigate]({
type:'standard__namedPage',
attributes:{
pageName:'chatter'
}
})
}
Output:
Refresh the page. Now, you can post the updates and share the files in Chatter by navigating to it.

Navigating to New Record
Without going to the specific object tab to create a new record, you can directly create a new record for a specific object using the Navigation Service. In this scenario, we need to specify the objectApiName and actionName as attributes.
- The objectApiName is the Salesforce object API name like “Account”, “Contact”, “Case”, etc.
- We create a new record. So, the actionName should be “new”.
Navigation.html
Let’s create a Case record. We create a button. The on click of this “newRecordNavigation” will be handled in the “js” file.
<lightning-card title="New Record Navigation">
<div class="slds-var-m-around_medium" style="height:20px; width:400px">
<b> You can create a Case from here...</b><br></div>
<lightning-button label="Create case" onclick={newRecordNavigation}></lightning-button>
</lightning-card>
</template>
Navigation.js
The type should be “standard__objectPage”. This is specified inside the newRecordNavigation() handler method. Paste the following snippet inside the “js” class.
// Case is the objectApiName and actionName is New.
// type of the page is standard__objectPage
newRecordNavigation(){
this[NavigationMixin.Navigate]({
type:'standard__objectPage',
attributes:{
objectApiName:'Case',
actionName:'new'
}
})
}
Output:
Refresh the page. Now, you are able to create a record related to the Case.

If you save it, you will navigate to its record page.

Navigating to the Record Page
Similar to the previous navigation (Example 3), we can go to the specific record and view or edit the details. One more property that you need to pass in the attributes is the “recordId” (Id of the existing record). The actionName should be “view” in this scenario.
Navigation.html
Let’s navigate to the Case record. We create a button. The on click of this “viewRecordNavigation” will be handled in the “js” file.
<lightning-card title="View Record Navigation">
<div class="slds-var-m-around_medium" style="height:20px; width:400px">
<b> You can view the Case record from here...</b><br></div>
<lightning-button label="Viewcase" onclick={viewRecordNavigation}></lightning-button>
</lightning-card>
</template>
Navigation.js
The type should be “standard__recordPage”. This is specified inside the viewRecordNavigation() handler method. Paste the following snippet inside the “js” class.
// Case is the objectApiName and actionName is view.
// type of the page is standard__recordPage
viewRecordNavigation(){
this[NavigationMixin.Navigate]({
type:'standard__recordPage',
attributes:{
recordId:'5002t00000PRrXkAAL',
objectApiName:'Case',
actionName:'view'
}
})
}
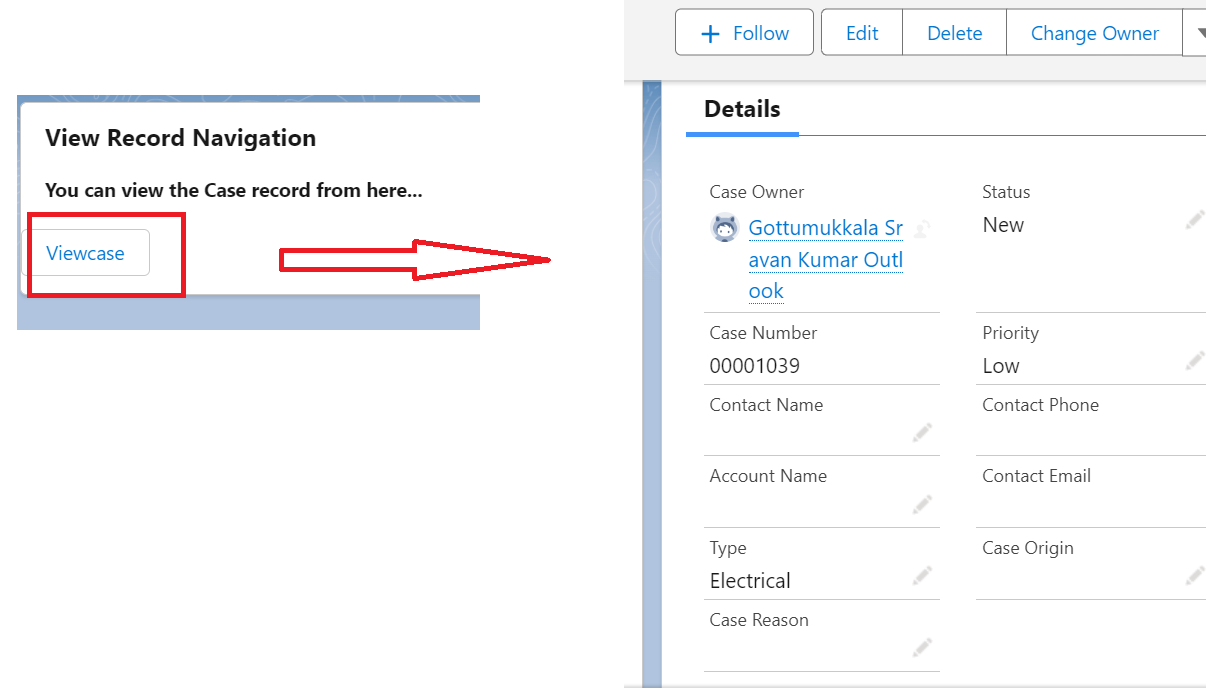
Output:
You can see the case details after the navigation. Here, you can view and edit the case details.
Other Navigations
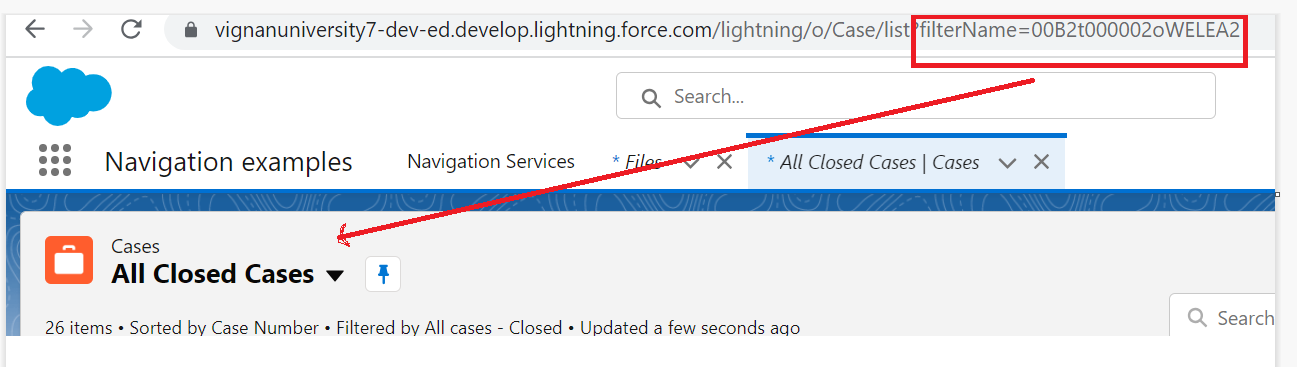
Let’s navigate to List view and files. For the List view, you will require the object name and filterName. You will find this in the URL. We will elaborate this in the example.
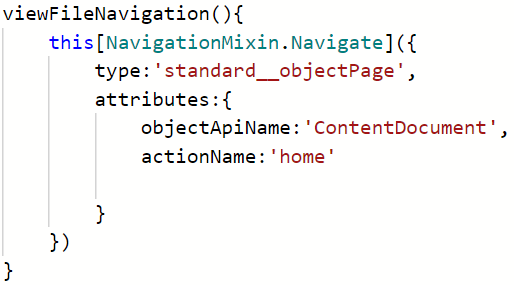
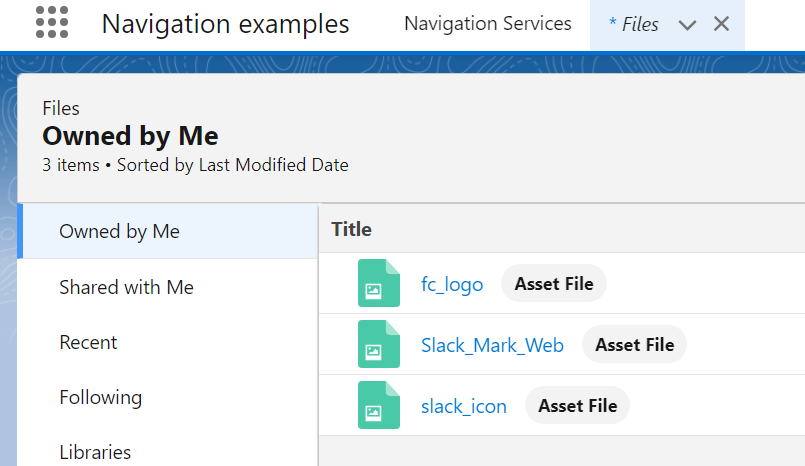
The files are stored in the ContentDocument object. So, for the files, the objectApiName will be “ContentDocument” and the actionName is “home”.
Listview:
Files:
Navigation.html
<lightning-card title="Navigations">
<div class="slds-var-m-around_medium" style="height:20px; width:400px">
<b> You can navigate to List View</b><br></div>
<lightning-button label="Go to List view" onclick={viewListNavigation}></lightning-button> <br><br>
<div class="slds-var-m-around_medium" style="height:20px; width:400px">
<b> You can navigate to Files</b><br></div>
<lightning-button label="Go to Files" onclick={viewFileNavigation}></lightning-button>
</lightning-card>
</template>
Navigation.js
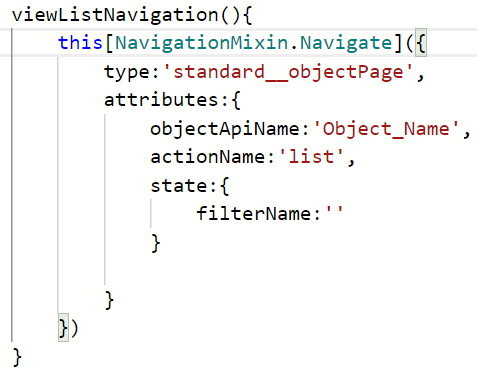
viewListNavigation(){
this[NavigationMixin.Navigate]({
type:'standard__objectPage',
attributes:{
objectApiName:'Case',
actionName:'list',
state:{
filterName:'00B2t000002oWELEA2'
}
}
})
}
// Filesview handler
viewFileNavigation(){
this[NavigationMixin.Navigate]({
type:'standard__objectPage',
attributes:{
objectApiName:'ContentDocument',
actionName:'home'
}
})
}
Output:
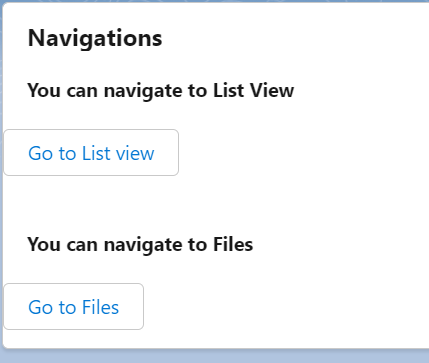
You will navigate to your Case list view. The filterName that we specified is “All Closed Cases”.
You can view your files from this App page by clicking the “Go to Files” button.
Conclusion
The Salesforce LWC provides the direct navigation in which you can navigate in staying in a specific page. In this guide, we learned the different navigation using the Lightning Web Component Navigation Service. There are many other navigations that exist but we discussed the important navigation that all LWC Developers must know. In all the navigations, the NavigationMixin has to be imported from the lightning/navigation.