Foreach
In LWC, for:each is a directive that is used with the template tag. It returns the items from the given data. It takes two parameters. We have to specify the data in the for:each={data} and for:item=”variable” takes the current item (from iterator) that is specified with a variable. The for:index=”index_var” stores the element index that specifies the current element index.
Syntax:
Let’s see how to specify the for:each directive in the LWC (HTML Component). The for:index is optional.
<!-- your statements –>
</template>
While you are displaying the values within the for:each loop, you need to specify a key (it must be a string/number; not an object) which takes the existing item_var as key. The advantage of using this key is to identify which items are added, updated, and removed from the data.
1. All the examples utilize this “meta.xml” file. We will not specify this in each example. The LWC components can be added to your Record Page, App Page, or Home Page.
<LightningComponentBundle xmlns="http://soap.sforce.com/2006/04/metadata">
<apiVersion>57.0</apiVersion>
<isExposed>true</isExposed>
<targets>
<target>lightning__RecordPage</target>
<target>lightning__AppPage</target>
<target>lightning__HomePage</target>
</targets>
</LightningComponentBundle>
2. In all the examples that we are going to discuss in this guide, logic will be provided as the “js” code. After that, we specify the screen shot that includes the entire “js” code.
Example 1:
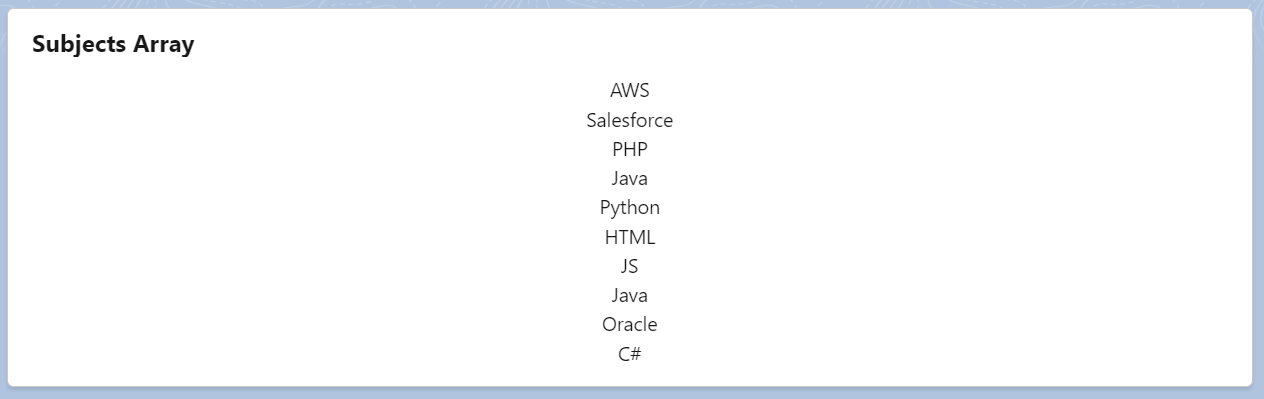
Let’s create a list that holds 10 subjects in the “firstComponent.js” file. Use the for:each template directive and iterate this list with the “sub” iterator. Specify the key as this iterator inside the paragraph tag and display the subjects.
<template>
<lightning-card title="Subjects Array">
<center>
<template for:each={subjects_array} for:item="sub" for:index="index">
<p key={sub}> {sub}</p>
</template>
</center>
</lightning-card>
</template>
firstExample.js
// Create subjects_array that holds 10 subjects
subjects_array = ["AWS", "Salesforce", "PHP", "Java", "Python" , "HTML", "JS", "Java", "Oracle", "C#"];
Entire Code:

Output:
Add this component to the “Record” page of any object (we add it to the account “Record” page). All 10 elements are displayed on the UI.
Example 2:
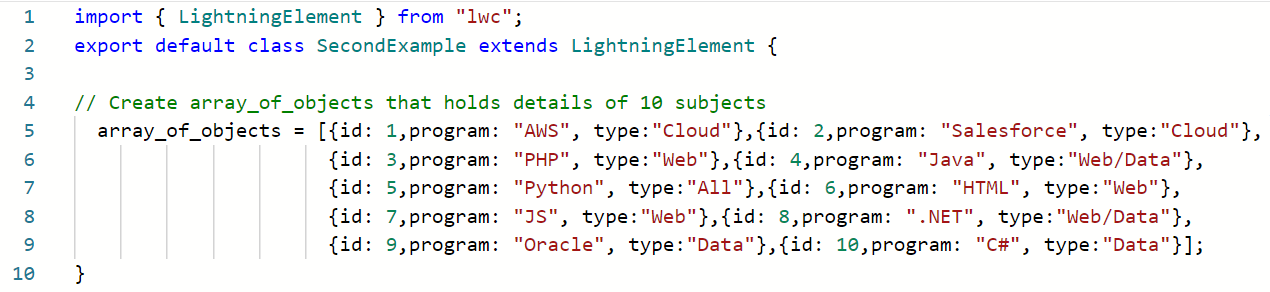
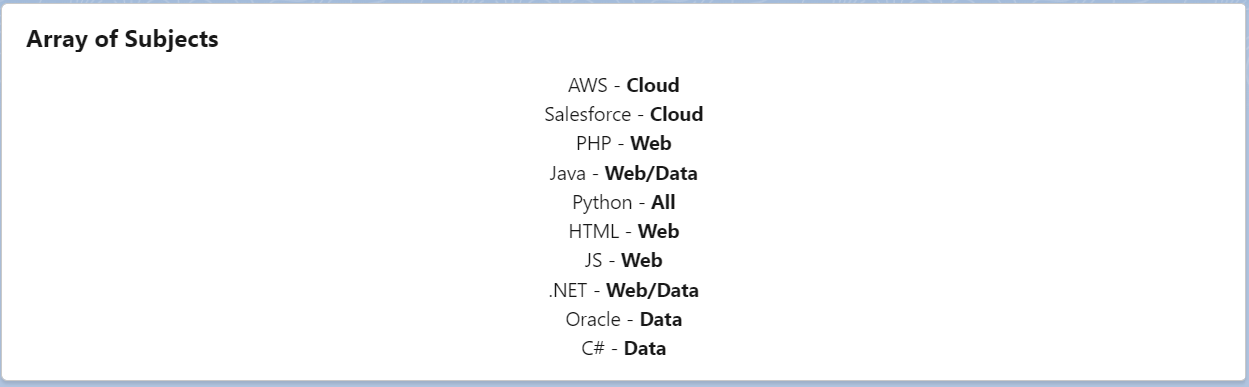
Now, we create an array of objects which is “id”, the program, and type with 10 records related to Subjects. These are iterated to get the program and type. The key is the “id” and the type values are displayed as bold.
<template>
<lightning-card title="Array of Subjects">
<center>
<template for:each={array_of_objects} for:item="obj" for:index="index">
<p key={obj.id}> {obj.program} - <b>{obj.type}</b></p>
</template>
</center>
</lightning-card>
</template>
secondExample.js
// Create array_of_objects that holds details of 10 subjects
array_of_objects = [{id: 1,program: "AWS", type:"Cloud"},{id: 2,program: "Salesforce", type:"Cloud"},
{id: 3,program: "PHP", type:"Web"},{id: 4,program: "Java", type:"Web/Data"},
{id: 5,program: "Python", type:"All"},{id: 6,program: "HTML", type:"Web"},
{id: 7,program: "JS", type:"Web"},{id: 8,program: ".NET", type:"Web/Data"},
{id: 9,program: "Oracle", type:"Data"},{id: 10,program: "C#", type:"Data"}];
Entire Code:
Output:
You can see that all the programs are displayed on the UI along with their types.
Example 3:
Create a nested array of objects (id, program, type, and topics). Here, the topics will again hold a list of elements. In the first for:each template directive, we iterate the entire nested array. Inside this template, we iterate the topics again using the previous iterator. Next, we display the program, type, and topics in the main for:each template.
<template>
<lightning-card title="Array of Subjects">
<center>
<template for:each={data} for:item="val" for:index="index">
<template for:each={val.Topics} for:item="val1" >
</template>
<p key={val.id}> <b>PROGRAM: </b> {val.program} - {val.type} <b>TOPICS: </b> {val.Topics}</p>
</template>
</center>
</lightning-card>
</template>
thirdComponent.js
data = [{id: 1,program: "AWS", type:"Cloud", Topics:["Introduction","AWC essentials"]},
{id: 2,program: "Salesforce", type:"Cloud", Topics:["Admin","Development"]},
{id: 3,program: "PHP", type:"Web", Topics:["Introduction","PHP-MySQL"]}];
Entire Code:

Output:
All the subjects are displayed with its type and topics. Each subject holds two topics.

Example 4:
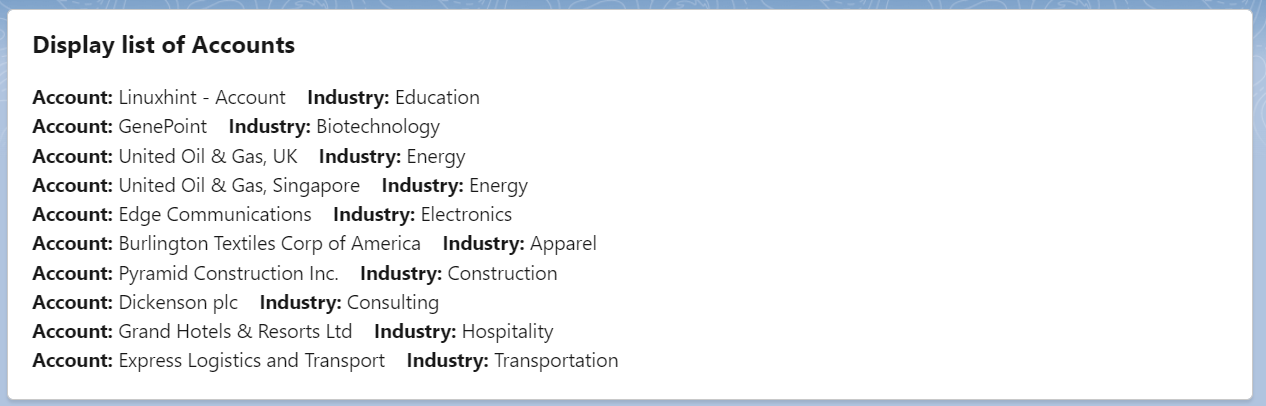
Let’s iterate the records that are present in the “Account” object. First, write an Apex class that returns the list of records (returnAcc() – method) that include the Account ID, Name, Industry, and Rating fields from the Account Standard object. In the “js” file, we invoke the returnAcc() method from Apex (through the import statement) inside the connectedcallback(). This returns the accounts. Finally, these accounts are specified in the for:each template directive to get the Account Name and Industry.
public with sharing class AccountData {
@AuraEnabled(cacheable=true)
public static List<Account> returnAcc(){
List<Account> accountList = [SELECT Id, Name,Industry,Rating FROM Account limit 10];
return accountList;
}
}
finalComponent.html
<template>
<lightning-card title="Display list of Accounts">
<div class="slds-var-m-around_medium">
<template if:true={accounts}>
<template for:each={accounts} for:item="account_rec">
<p key={account_rec.Id}><b>Account:</b> {account_rec.Name} <b>Industry:</b> {account_rec.Industry}</p>
</template>
</template>
</div>
</lightning-card>
</template>
finalComponent.js
import { LightningElement,track } from 'lwc';
import returnAcc from '@salesforce/apex/AccountData.returnAcc';
export default class FinalComponent extends LightningElement {
@track accounts;
@track error;
connectedCallback(){
returnAcc()
// Return the accounts
.then(result => {
this.accounts = result;
this.error = undefined;
})
.catch(error => {
this.error = error;
this.accounts = undefined;
});
}
}
Output:
Only 10 accounts are displayed with the Name and Industry fields.
Conclusion
We discussed the for:each template directive which is used to return the items from the given data. Four different examples are provided that include the list, array of objects, nested objects and Salesforce objects. The data has to come from the “js” file and use that in the for:each template. Make sure that you need to deploy the Apex class first while deploying the last example components.