POST Method
POST is an http method which adds single/multiple records at a time into Salesforce. We can insert the records with URI through the custom Apex REST API or directly from URI.
Custom Rest Resource in Apex
To write REST in Apex, we have to utilize some annotations which access the REST API in your Apex class.
This method is called when HTTP POST is sent that enables the Apex method to be exposed as a REST resource. Then, it creates a new resource.
Example:
Write the “RestApi_Post_Record.apxc” Apex class that involves the REST “POST” method to insert the status, priority, and subject fields into the Salesforce “Case” object.
- Create the Post_Method with three parameters: status, priority, and subject of string type.
- Create a “Case” object by passing these parameters.
- Use the insert DML to insert the record into the Salesforce “Case” object.
global class RestApi_Post_Record{
// REST - Post Method
@httpPost
global static Case Post_Method(String Priority, String Status,String Subject){
Case case_obj= new Case(Priority=priority,Status = status,Subject=subject);
// Insert DML
insert case_obj;
return case_obj;
}
}
URI and Result:
Go to Workbench and navigate to the REST Explorer. Specify the following URI and execute it:
Specify the data in the Request Body:
"Priority":"High",
"Status":"New",
"Subject":"Mobile issue"
}
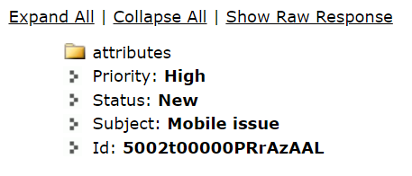
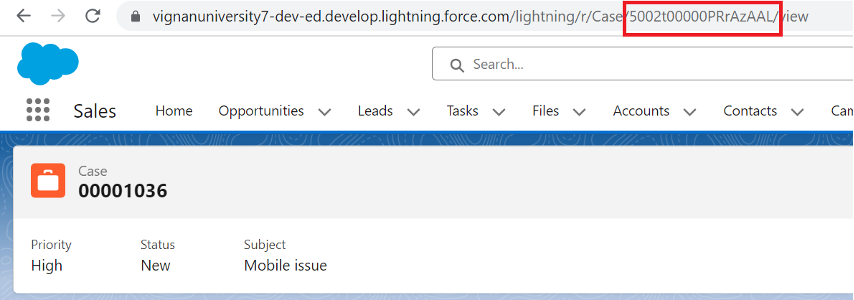
Open the record in Salesforce (navigate to the “Case” object from the App Launcher).
Insert a Single Record Directly from URI
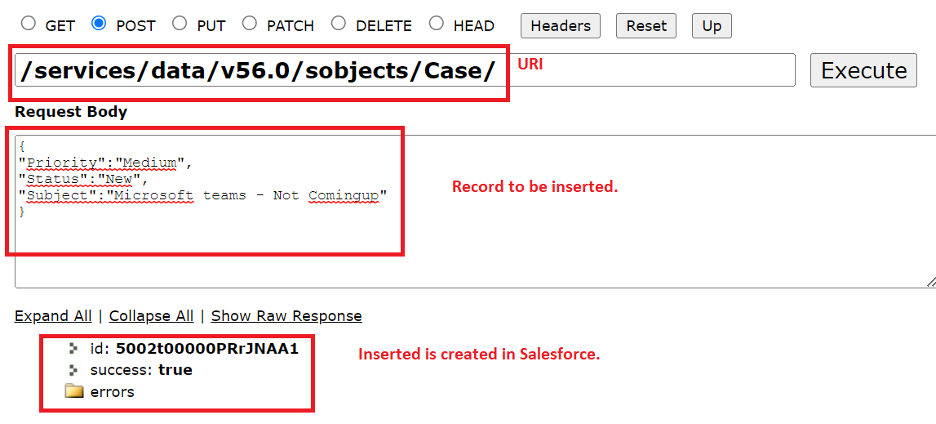
Navigate to the REST Explorer under the “Utilities” tab and specify the following URI and specify this record under the Request Body:
Request Body:
"Priority":"Medium",
"Status":"New",
"Subject":"Microsoft teams - Not Comingup"
}
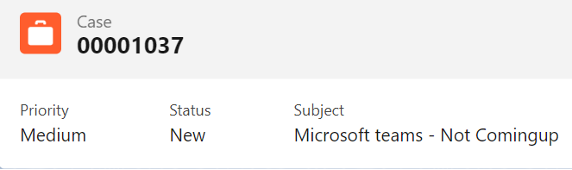
Go to Salesforce “Cases” tab and view the record.
Insert Multiple Records Directly from URI
If you want to insert multiple records at a time, we need to specify the URI as follows: /services/data/v56.0/composite/tree/sObject
The Request Body holds the records in the following format:
"attributes" : {"type" : "Object", "referenceId" : "reference1"},
field:value,
...
...
},{
"attributes" : {"type" : "Object", "referenceId" : "reference1"},
field:value,
...
...
}]
}
Let’s insert two records into the Salesforce “Case” object.
Request Body:
"records" :[{
"attributes" : {"type" : "Case", "referenceId" : "reference1"},
"Priority":"High",
"Status":"New",
"Subject":"Design issue with mechanical rotor",
"Type":"Electrical"
},{
"attributes" : {"type" : "Case", "referenceId" : "reference2"},
"Priority":"Low",
"Status":"New",
"Subject":"Starting generator after electrical failure" ,
"Type":"Electrical"
}]
}
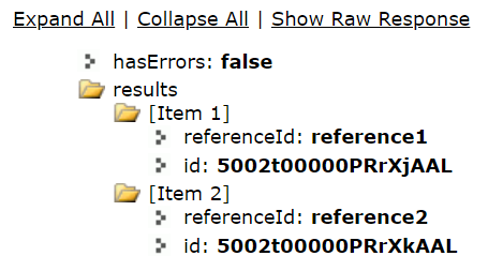
Two records are inserted into Salesforce with CaseNumber 00001038 and 00001039.

PUT Method
As we previously discussed, PUT is an http method which is used to create/update the records. In this guide, we utilize this method to create a new Salesforce record using the custom REST API.
@httpPut: This method is called when the HTTP PUT is sent which enables the Apex method to be exposed as a REST resource. Then, it creates a new resource or update the existing resource.
Example:
Write the “RestApi_Put_Record.apxc” Apex class that involves the REST “PUT” method to insert the status, priority, and description fields into the Salesforce “Case” object.
global class RestApi_Put_Record{
// REST - Put Method
@httpPut
global static Case Put_Method(String Priority, String Status,String Subject){
Case case_obj= new Case(Priority=priority,Status = status,Subject=subject);
// Insert DML
insert case_obj;
return case_obj;
}
}
URI and Result:
Go to Workbench and navigate to the REST Explorer. Specify the following URI and execute it:
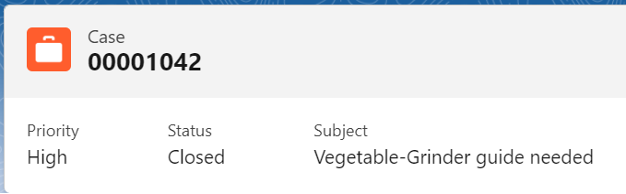
Specify the data in the Request Body:
"Priority":"High",
"Status":"Closed",
"Subject":"Vegetable-Grinder guide needed"
}
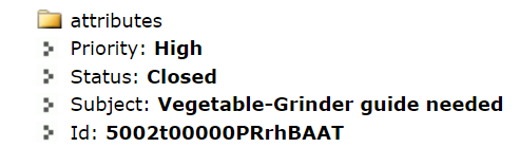
Open the record in Salesforce (navigate to the “Case” object from the App Launcher).
Conclusion
Now, you are able to insert the records into Salesforce using the http PUT and POST methods. We learned how to insert the records directly in the Workbench and use the custom REST API through the Apex class. The Salesforce “Case” object is utilized in this guide as an example. The actual difference between PUT and POST is that POST is used to insert the data whereas PUT is used to insert/update the data. The @httpPut annotation is used for the PUT method and the @httpPost annotation is used for the POST method.