Requirements:
In order to follow this article, you must have,
- A computer with at least 16 GB of RAM with Hardware virtualization (VT-d/VT-x/AMD-v) enabled.
- VMware Workstation Pro installed on your computer.
- Ubuntu 18.04 LTS ISO image file downloaded on your computer.
- Internet connectivity.
Creating Virtual Machine:
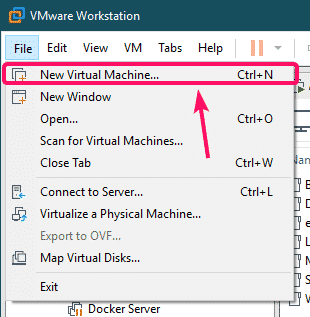
First, open VMware Workstation Pro and go to File > New Virtual Machine…
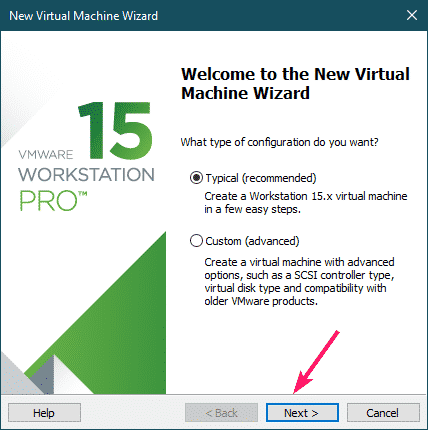
Now, click on Next >.
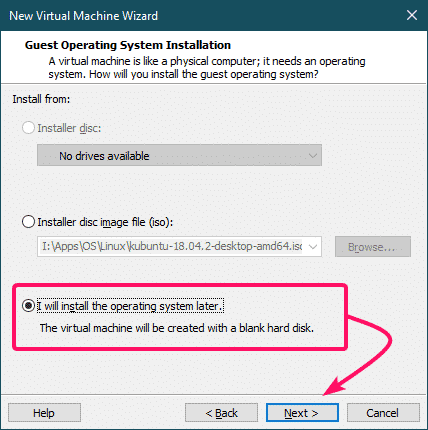
Now, select I will install the operating system later and click on Next >.
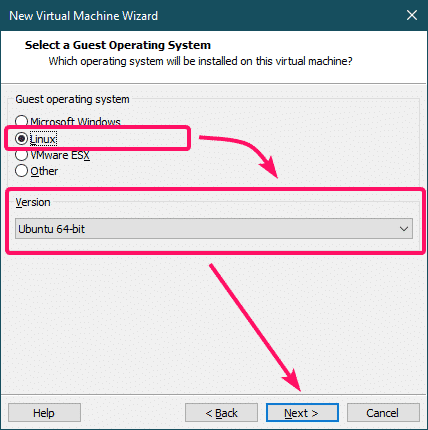
Now, select Linux as the Guest operating system and Ubuntu 64-Bit as the Version.
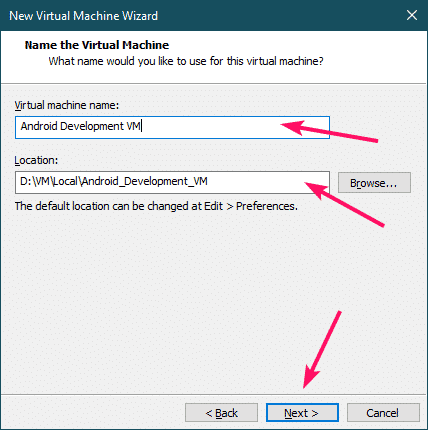
Type in the name of the VM, select a location where the files will be saved and click on Next >.
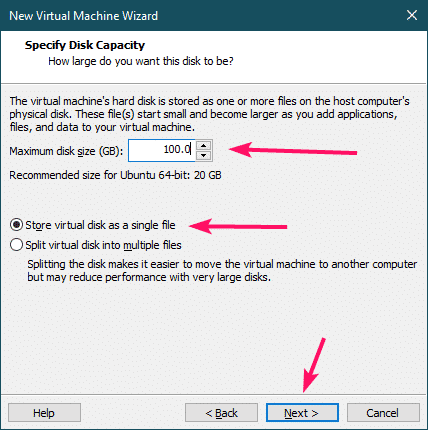
Set VM disk size (I recommend 100 GB at least) and select Store virtual disk as a single file.
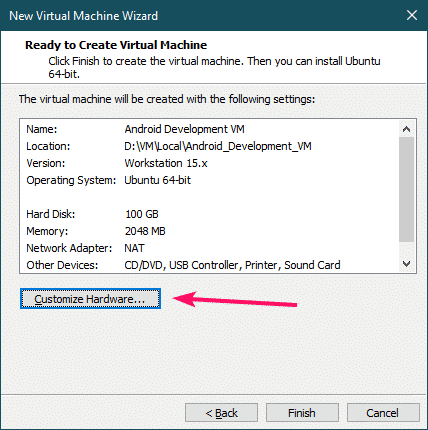
Now, click on Customize Hardware…
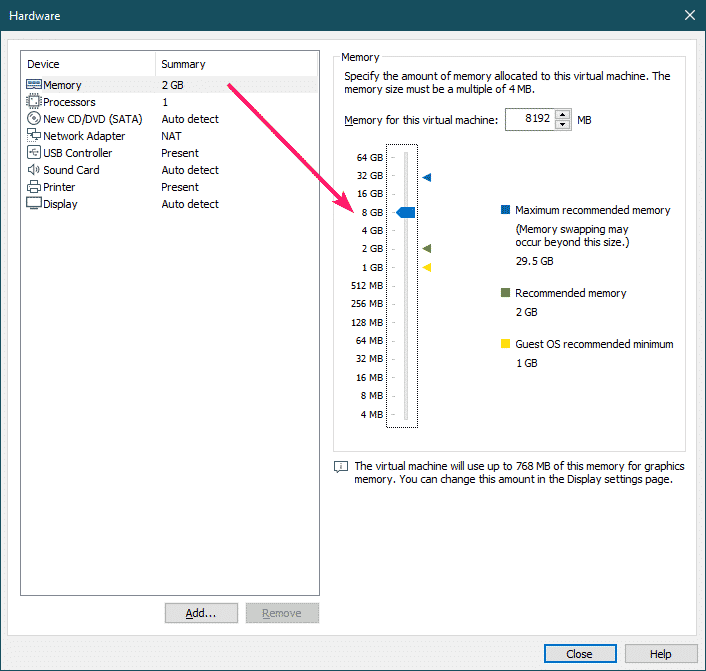
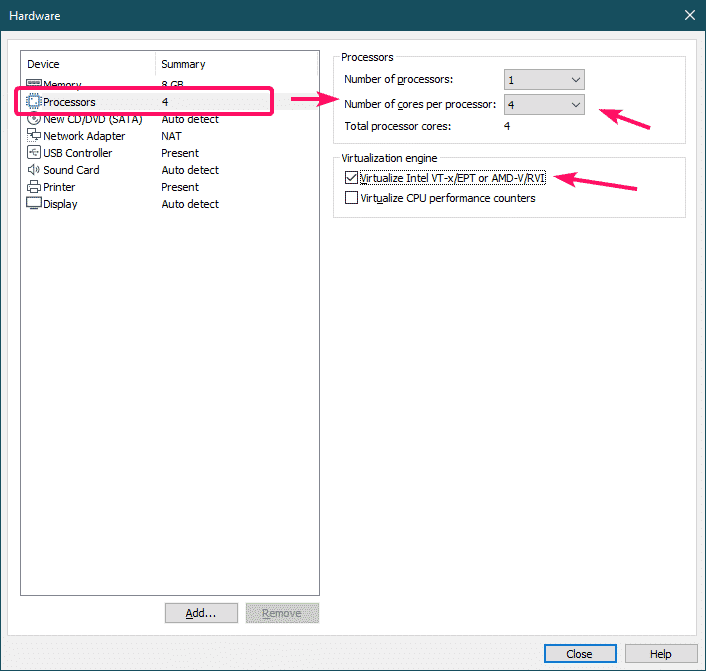
Now, set the Memory to 8GB (at least).
Now, assign at least 2 cores of your processor to the VM and enable the virtualization engine for the VM.
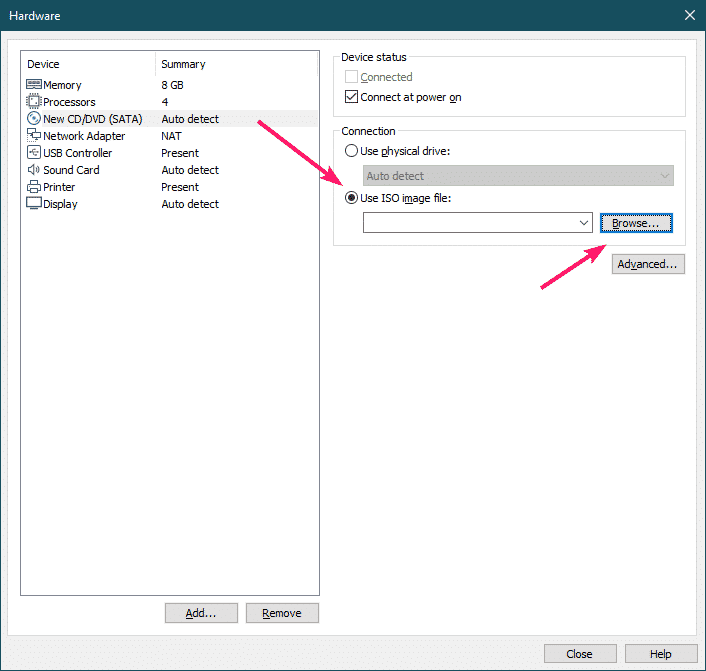
Now, click on Browse… from the CD/DVD (SATA) section to select an installation ISO image.
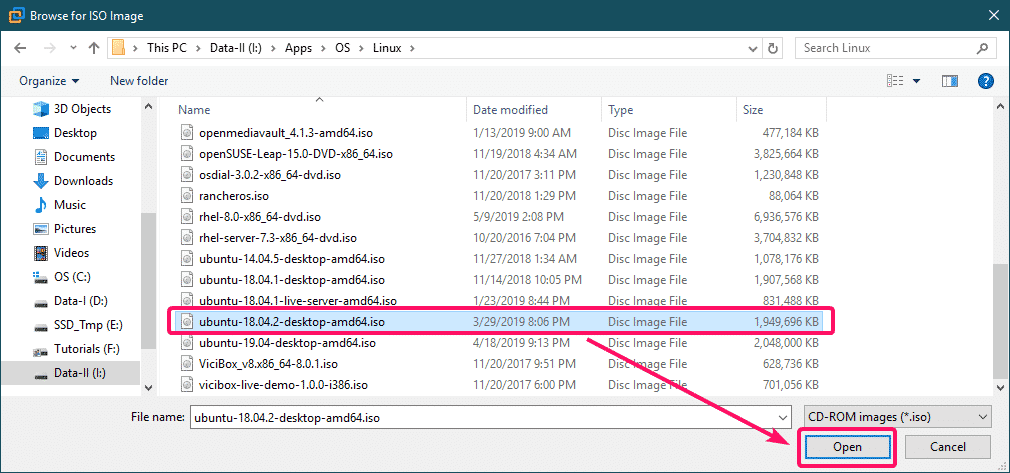
Now, select the Ubuntu 18.04 LTS ISO image file and click on Open.
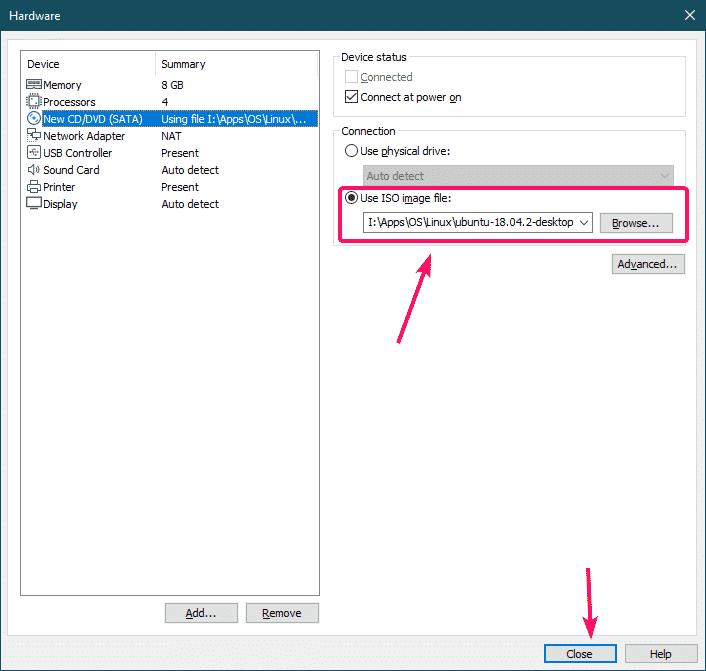
The Ubuntu 18.04 LTS ISO image should be selected. Now, click on Close.
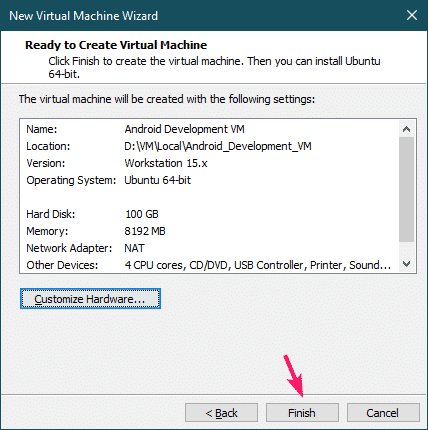
Now, click on Finish.
A new VM should be created.
Installing Ubuntu 18.04 LTS on VM:
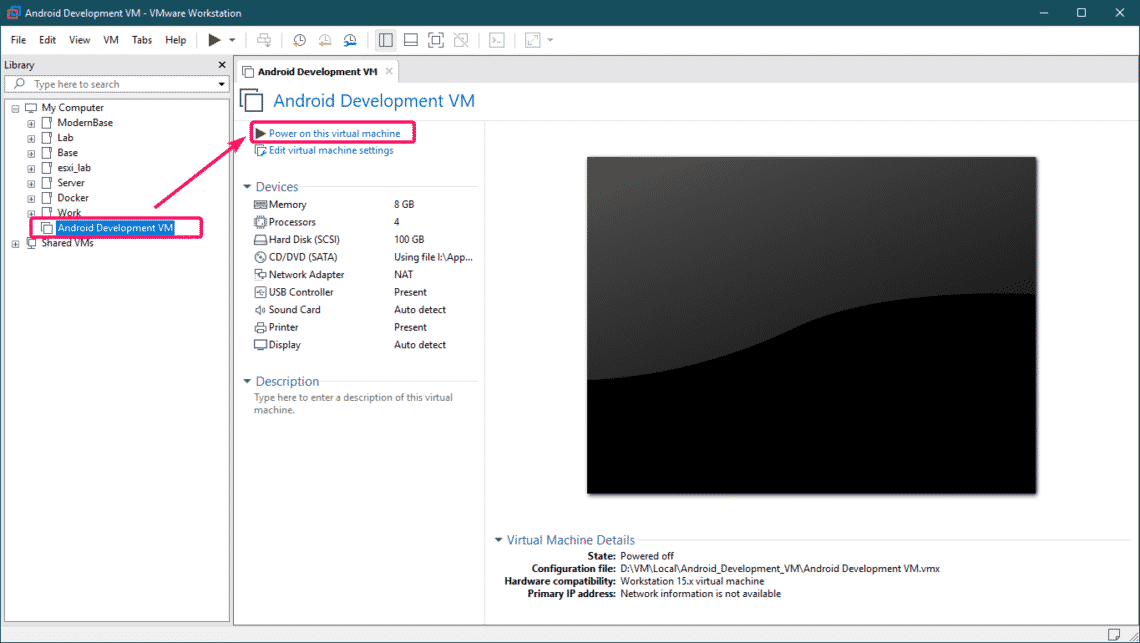
Now, select the VM you just created and click on Power on this virtual machine.
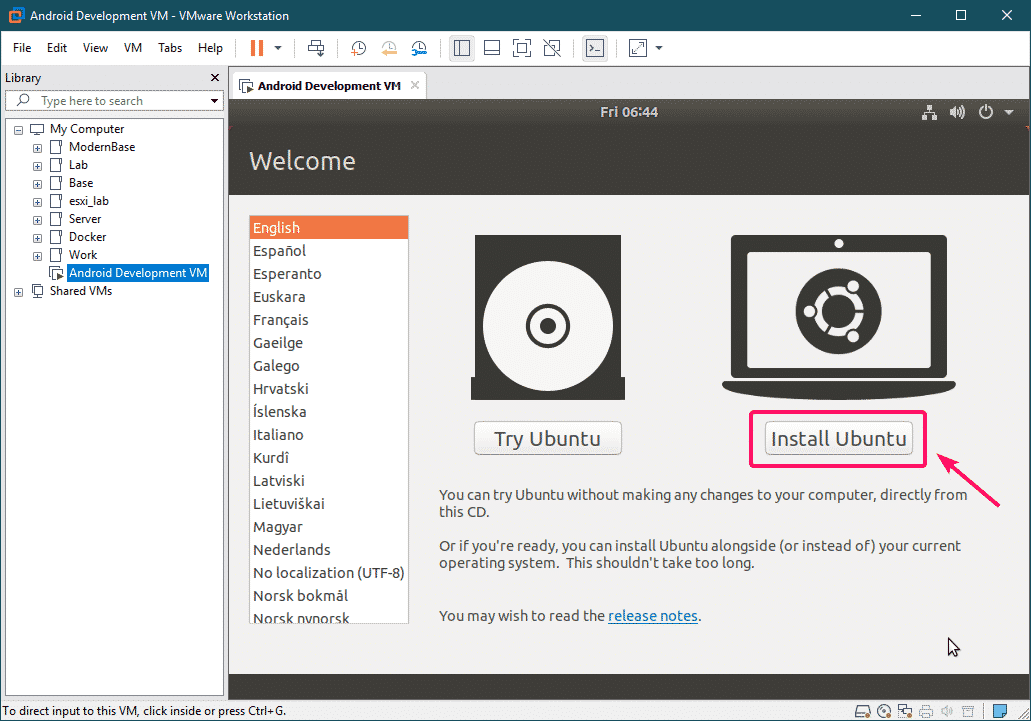
The Ubuntu 18.04 LTS installer should start. Install Ubuntu 18.04 LTS as usual.
Installing Required Software Packages:
Once the Ubuntu 18.04 LTS operating system is installed on the VM, you have to install KVM and Open VM Tools.
First, update the APT package repository cache as follows:
Now, install Open VM Tools as follows:
Now, install QEMU and KVM as follows:
Now, add your login user to the kvm group as follows:
Now, reboot your VM as follows:
Installing Android Studio on VM:
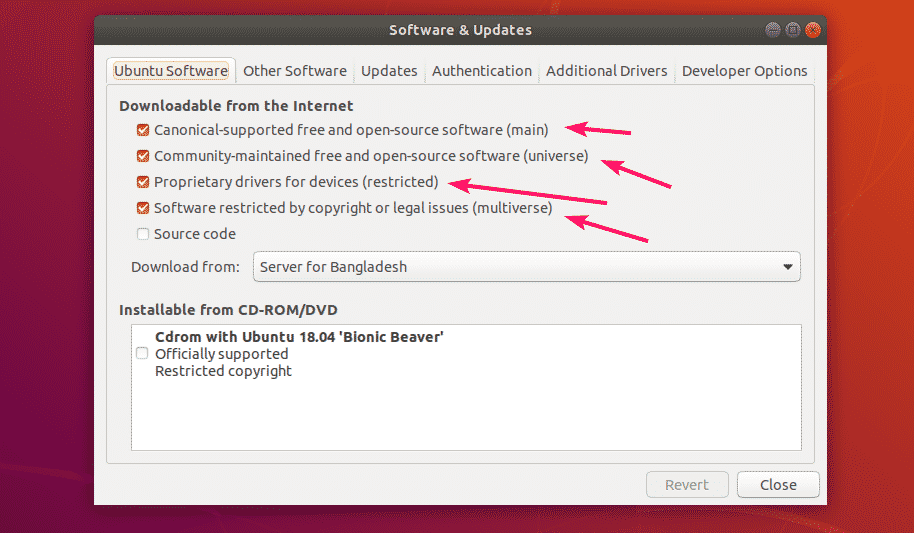
Once your VM starts, make sure the main, universe, restricted, multiverse repositories are enabled.
Now, open Ubuntu Software Center from the Application Launcher.
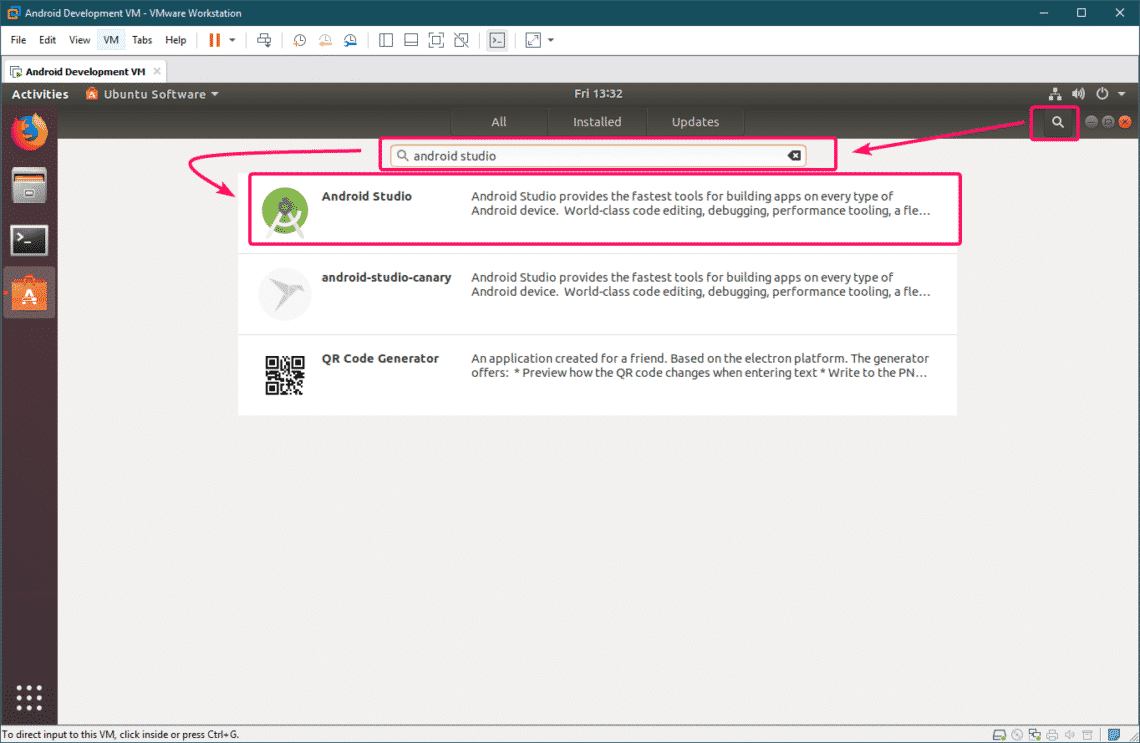
Now, search for android studio. Once you find it, click on it.
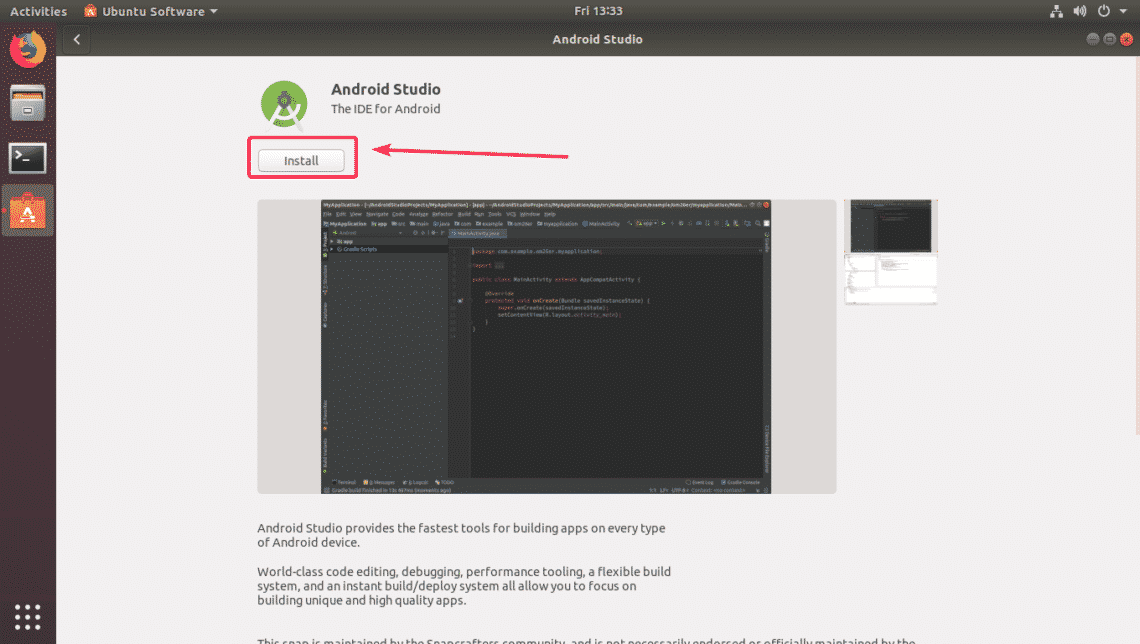
Now, click on Install.
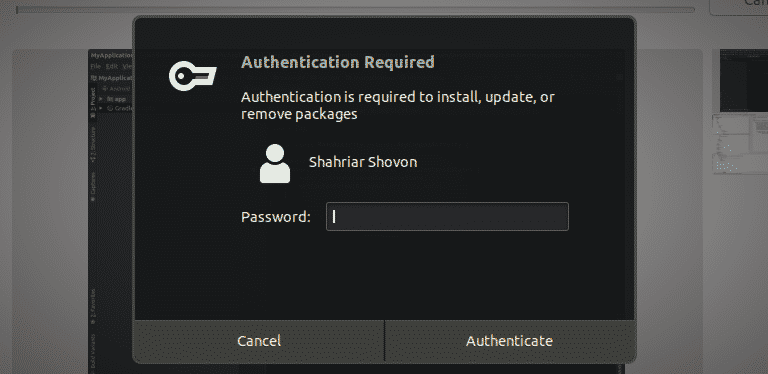
Type in the password of your login user and click on Authenticate.
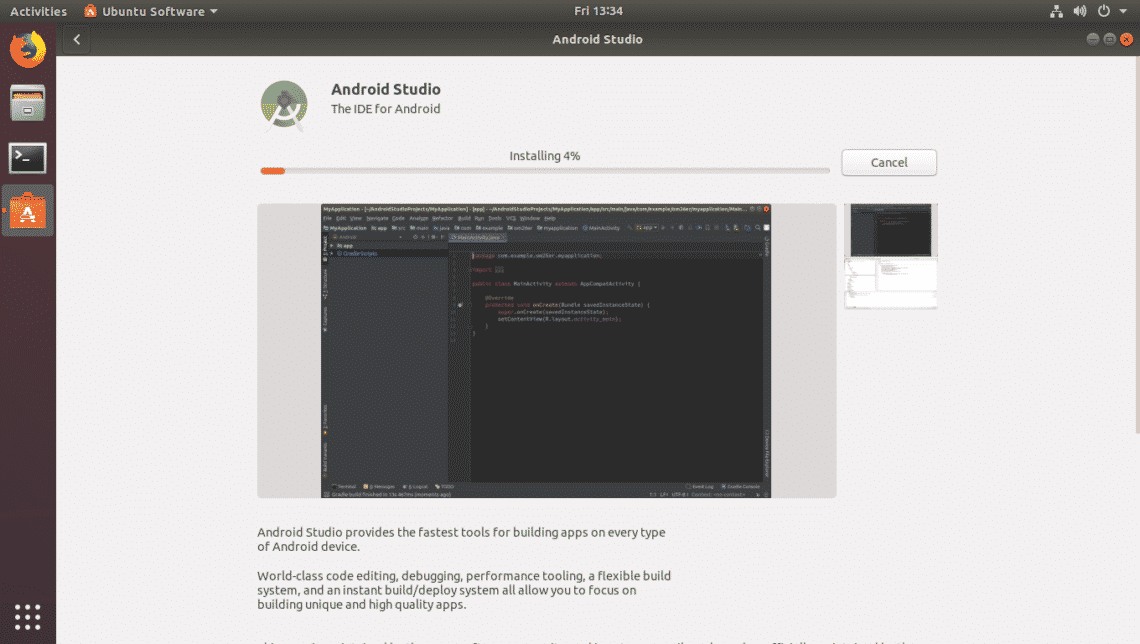
The installation should start. It will take a while to complete.
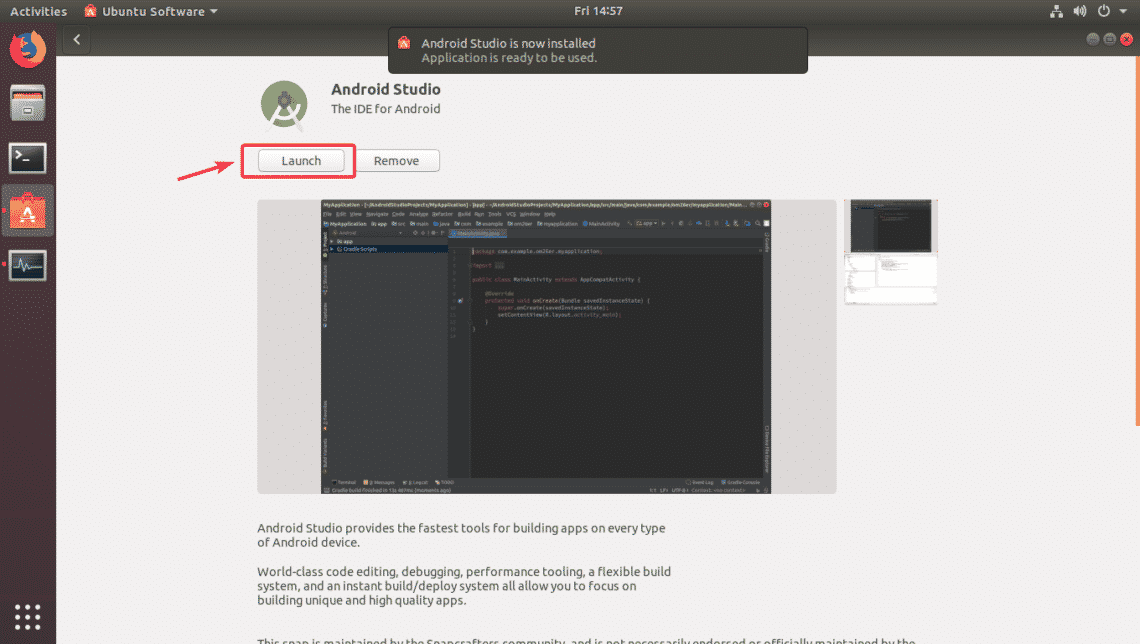
Once Android Studio is installed, click on Launch.
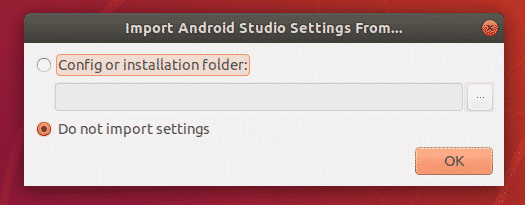
Click on OK.
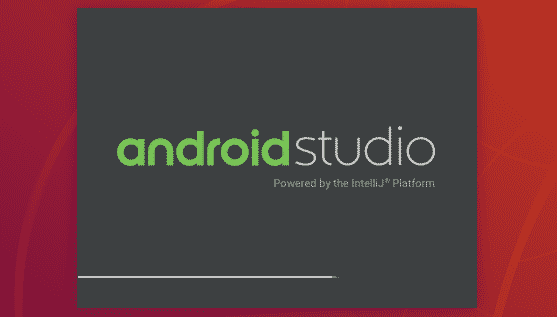
Android Studio is starting as you can see.
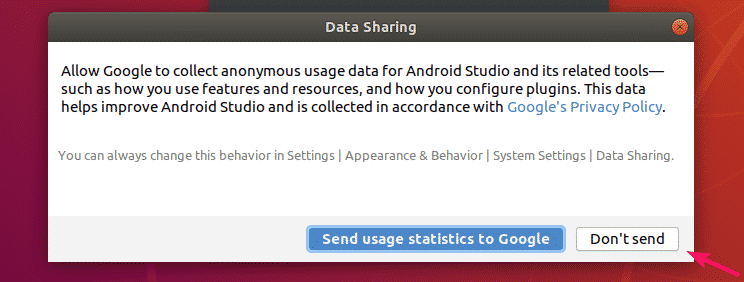
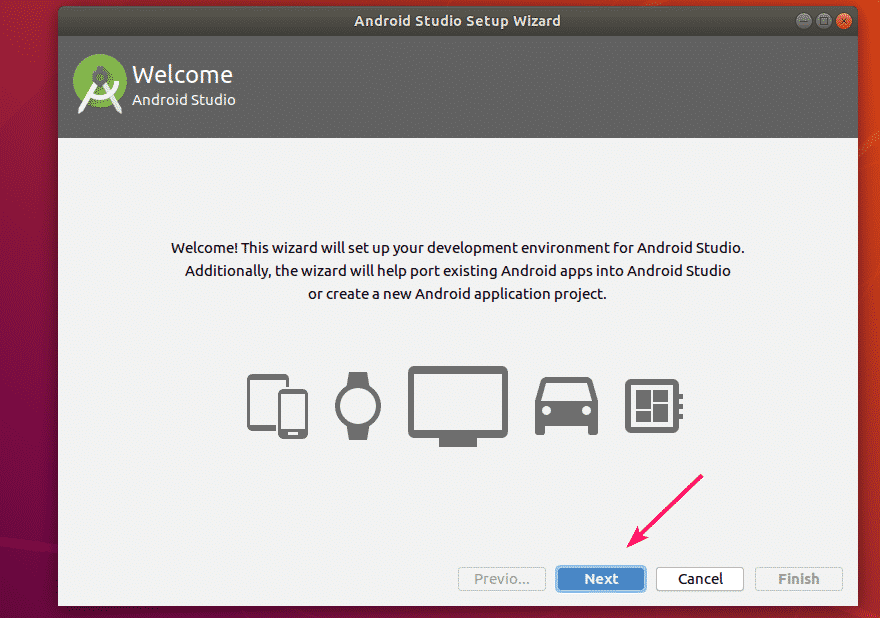
You may or may not wish to share data with Google. It’s up to you.
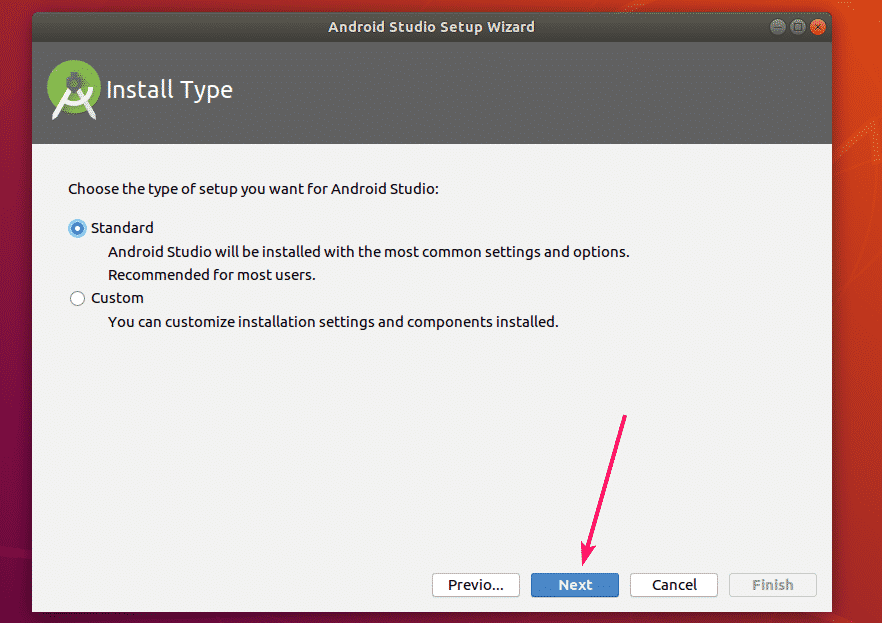
Now, click on Next.
Now, click on Next.
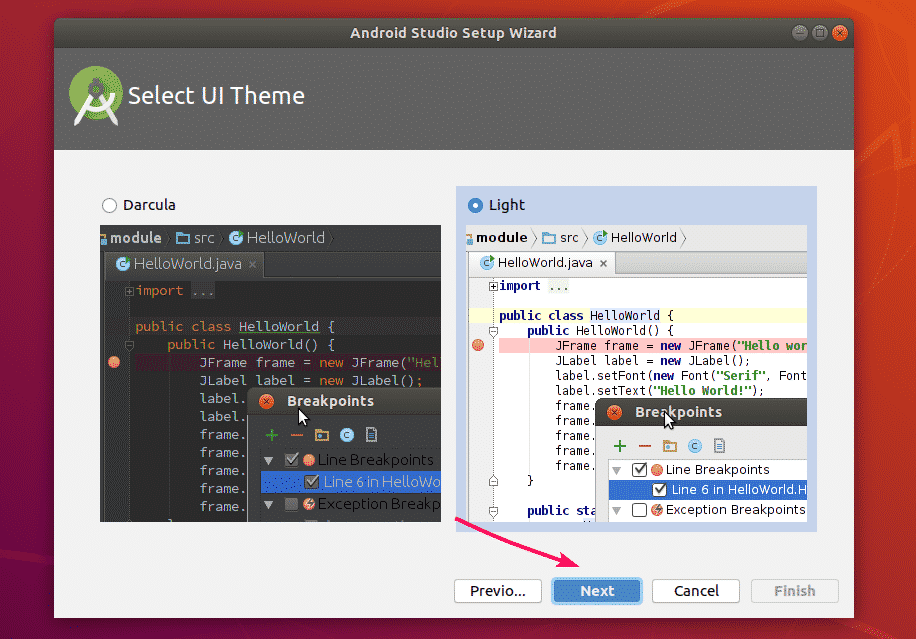
Select your UI theme and click on Next.
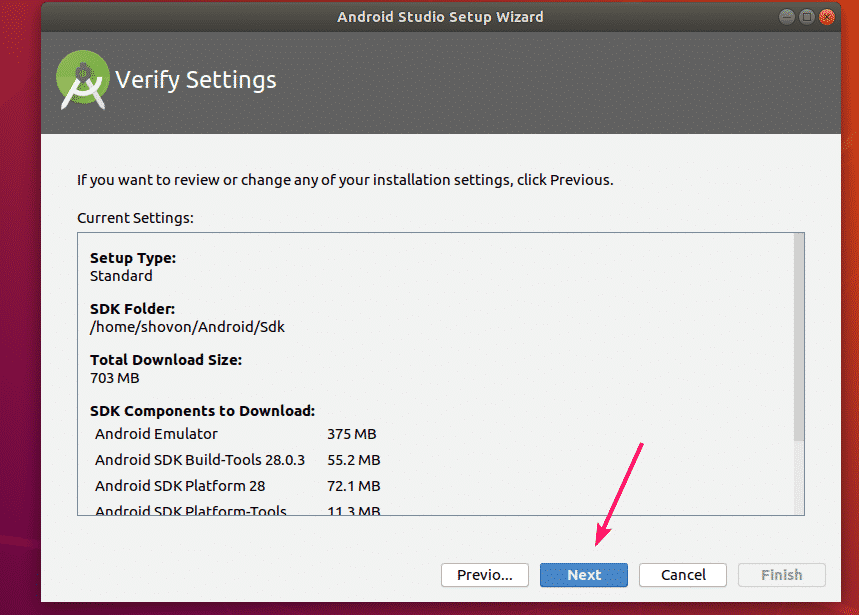
Now, click on Next.
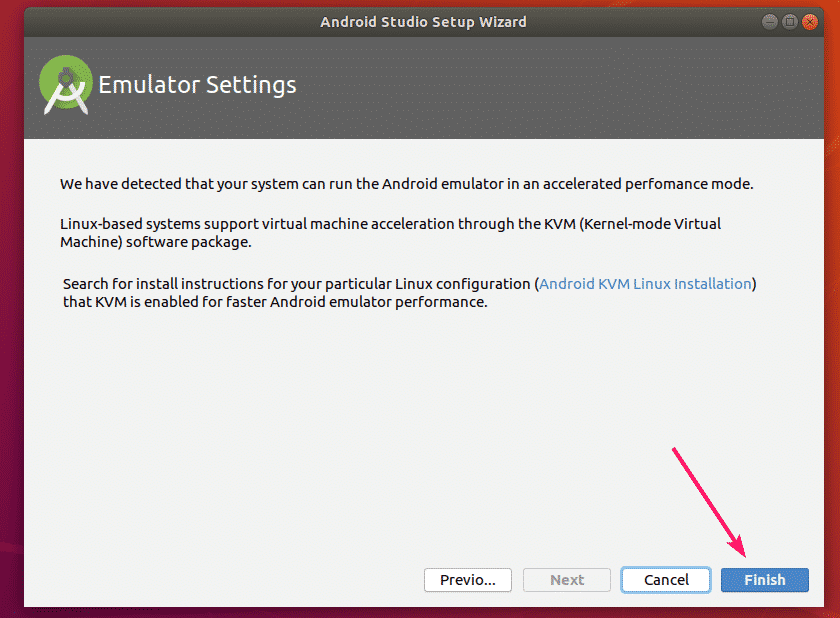
Click on Finish.
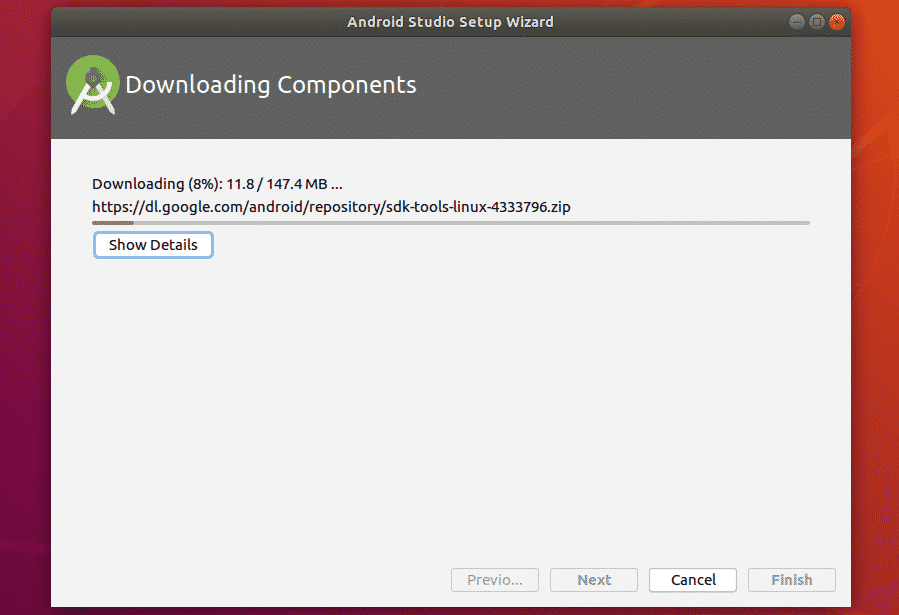
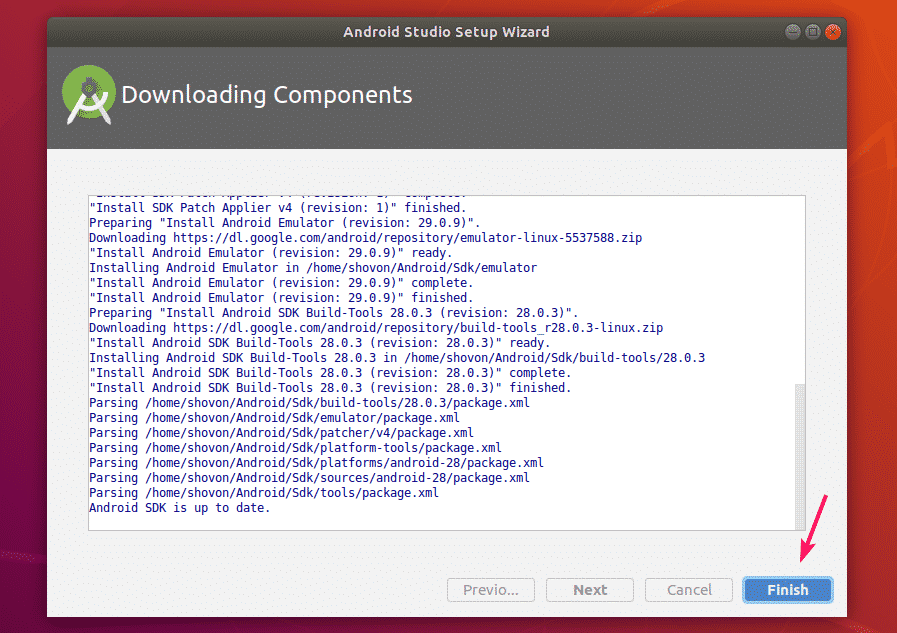
Android Studio will download and install Android SDK Tools. It will take a while to complete.
Now, click on Finish.
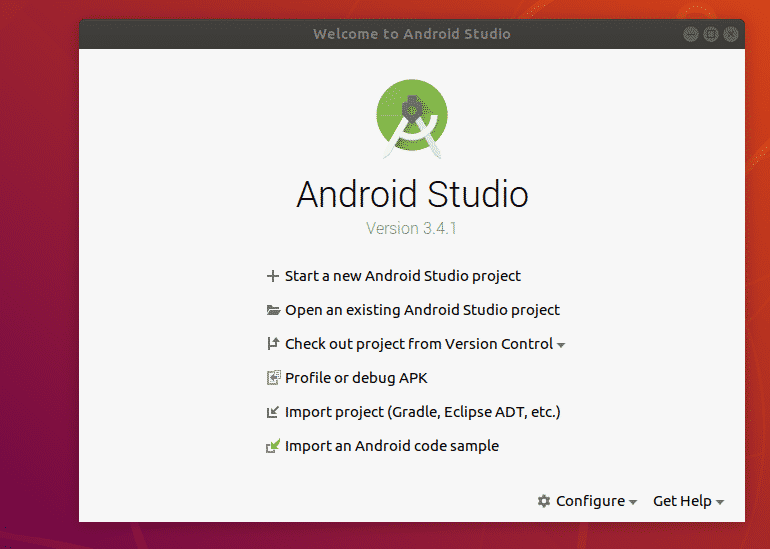
Android Studio should start. From now on, you can start Android Studio from the Application Launcher of Ubuntu 18.04 LTS.
Developing A Simple Android App on the VM:
In this section, I will run a create a new Android project, create an Android Virtual Device (AVD) and run a simple Hello World application on the AVD.
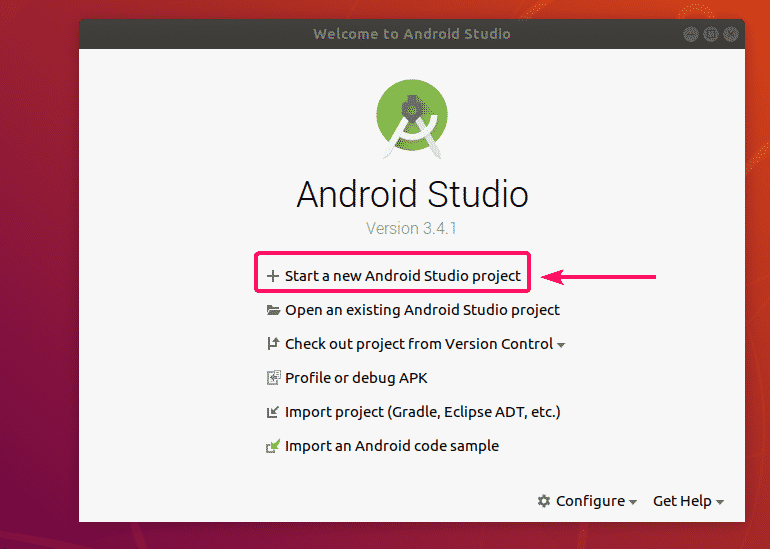
First, start Android Studio and click on Start a new Android Studio project to create a new Android project.
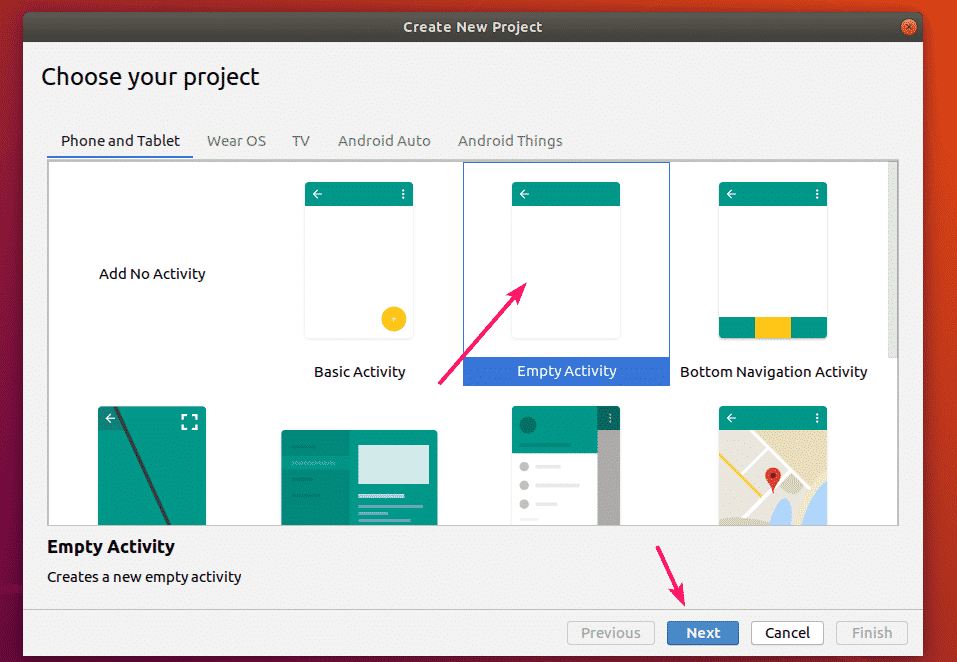
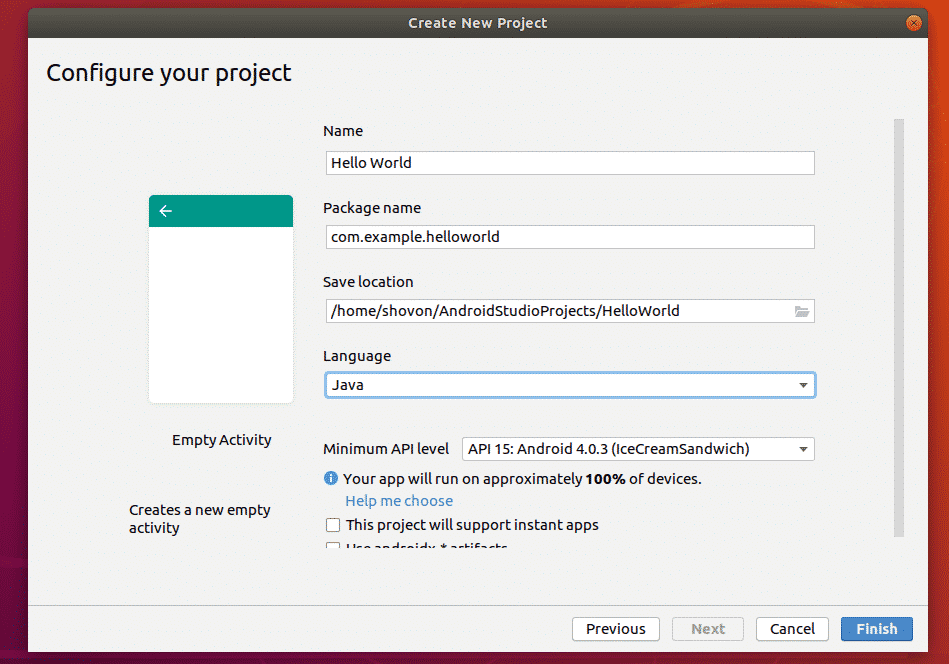
Select Empty Activity from the Phone and Tablet section and click on Next.
Select Empty Activity from the Phone and Tablet section and click on Next.
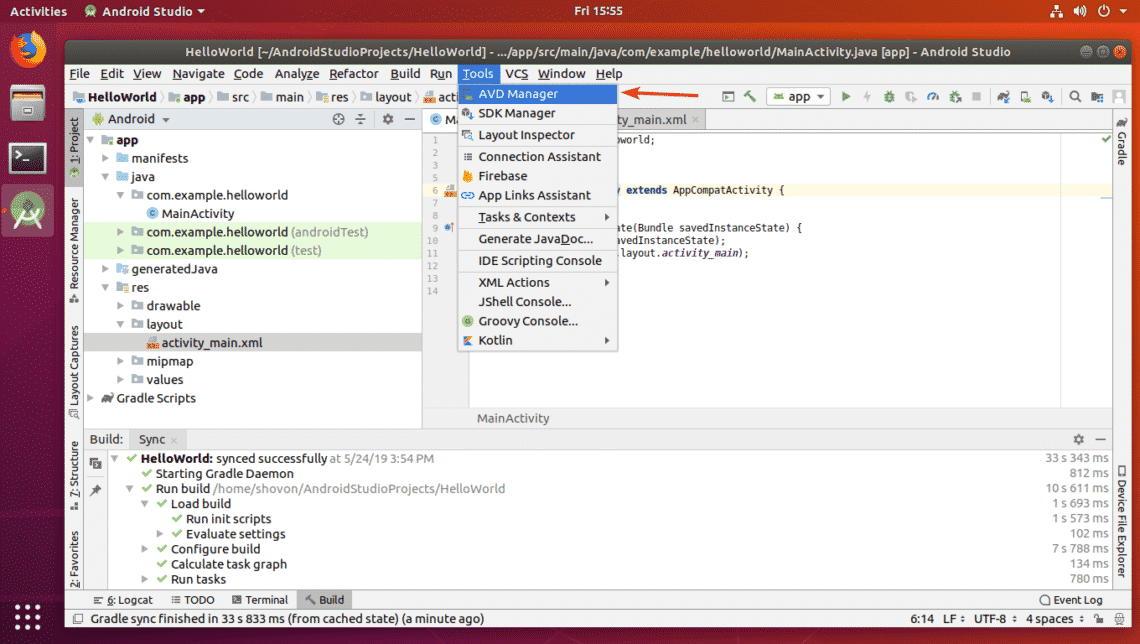
The project will take a while to be ready. Once the project is ready, click on Tools > AVD Manager.
Now, select a virtual device where you want to run your application for testing purpose and click on Next.
Now, click Download on the version of android you want to use for testing.
Now, select Accept and click on Next.
The Android System image should start downloading. It will take a while to complete.
Once the installation is complete, click on Finish.
Now, click on Next.
Now, click on Finish.
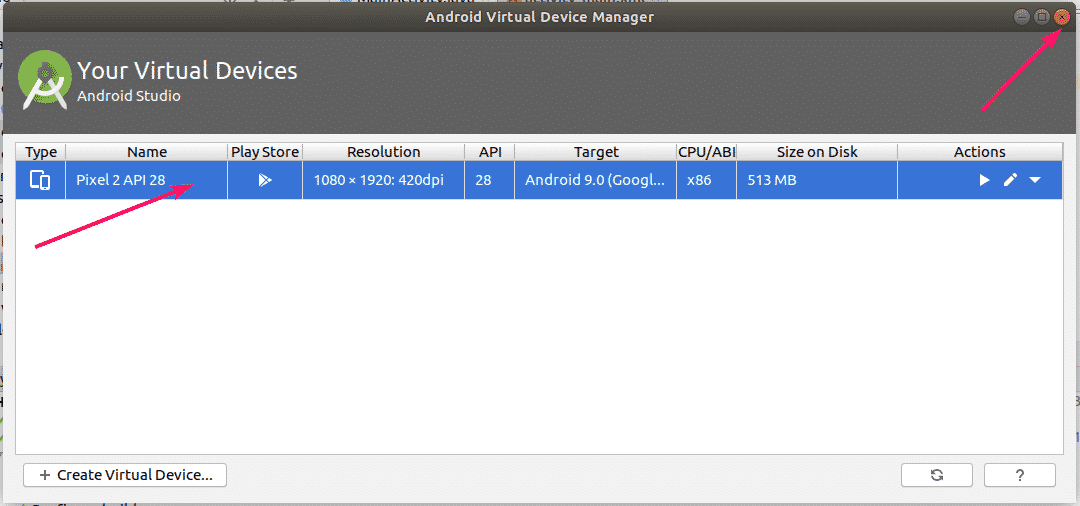
An Android Virtual Device (AVD) should be created. Now, close the window.
Now, click on Run > Run ‘app’
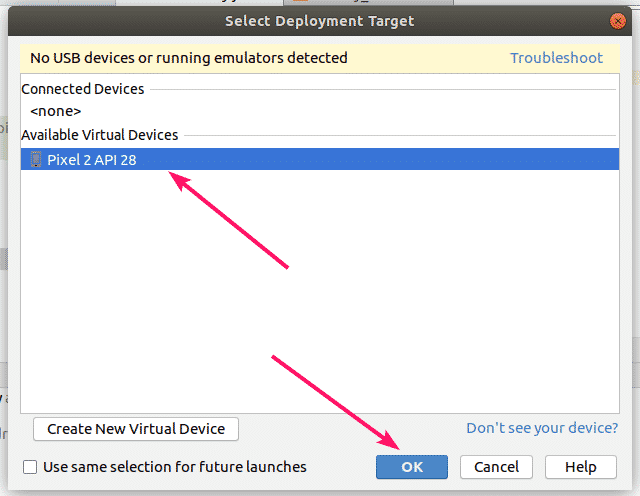
Select the AVD that you just created and click on OK.
As you can see, the Hello World app is running on the AVD.
So, that’s how you setup an Ubuntu 18.04 LTS VM on VMware Workstation Pro for developing Android apps with Android Studio. Thanks for reading this article.

