
The new features of VMware Workstation 17 Pro are:
- Windows 11 guest support
- Fast encryption of VMs (i.e. Windows 11) that use vTPM
- Autostart support for VMs
- OpenGL 4.3 graphics support for VMs
- Support for new guest OSes, i.e. Windows 11, Windows Server 2022, Ubuntu 22.04 LTS, Debian 12, RHEL 9, SUSE/OpenSUSE 15
In this article, we will show you how to download and install the VMware Workstation 17 Pro on Windows 10/11 operating systems.
Topic of Contents:
- Enablign the Hardware Virtualization from the BIOS/UEFI Firmware
- Uninstalling Hyper-V and Disabling the Device/Credential Guard on Windows 10/11
- Downloading the VMware Workstation 17 Pro Installation File for Windows
- Installing the VMware Workstation 17 Pro on Windows
- Running the VMware Workstation 17 Pro for the First Time
- Activating the VMware Workstation 17 Pro with a License Key Later
- Conclusion
Enabling the Hardware Virtualization from the BIOS/UEFI Firmware
For VMware Workstation 17 Pro to work and to get a near-native performance on the VMware Workstation 17 Pro virtual machines, you must enable the hardware virtualization from the BIOS/UEFI firmware of your computer. If you need any assistance on that, read this article.
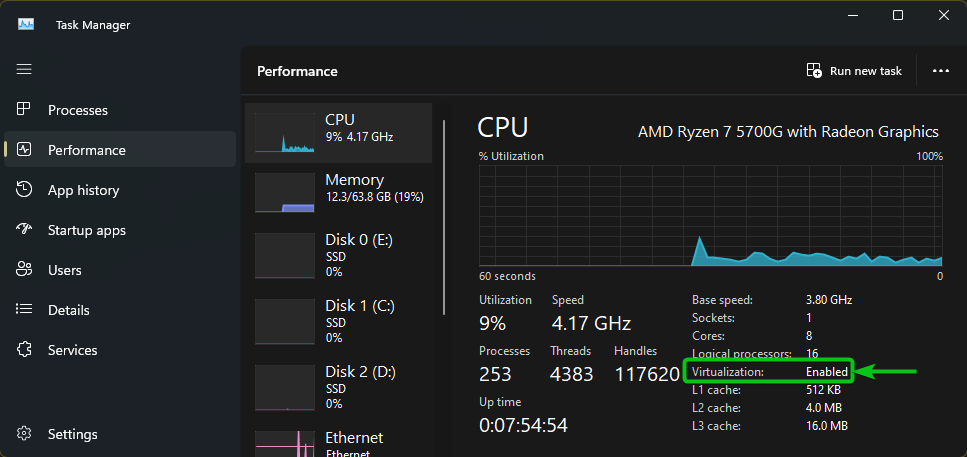
Once the hardware virtualization is enabled, right-click (RMB) on the “Start” menu and click on “Task Manager”. Once the Task Manager is opened, navigate to Performance > CPU and you should see that the Virtualization is set to “Enabled” as marked in the following screenshot:
Uninstalling Hyper-V and Disabling the Device/Credential Guard on Windows 10/11
To use all the features of the VMware Workstation 17 Pro and to ensure the best performance on the VMware Workstation 17 Pro virtual machines, you should uninstall Hyper-V and disable the Device/Credential Guard on your Windows 10/11 system. To learn how to uninstall Hyper-V and disable the Device/Credential Guard on Windows 10/11, read this article.
Downloading the VMware Workstation 17 Pro Installation File for Windows
You can download the VMware Workstation 17 Pro installer file from the official website of VMware Workstation Pro.
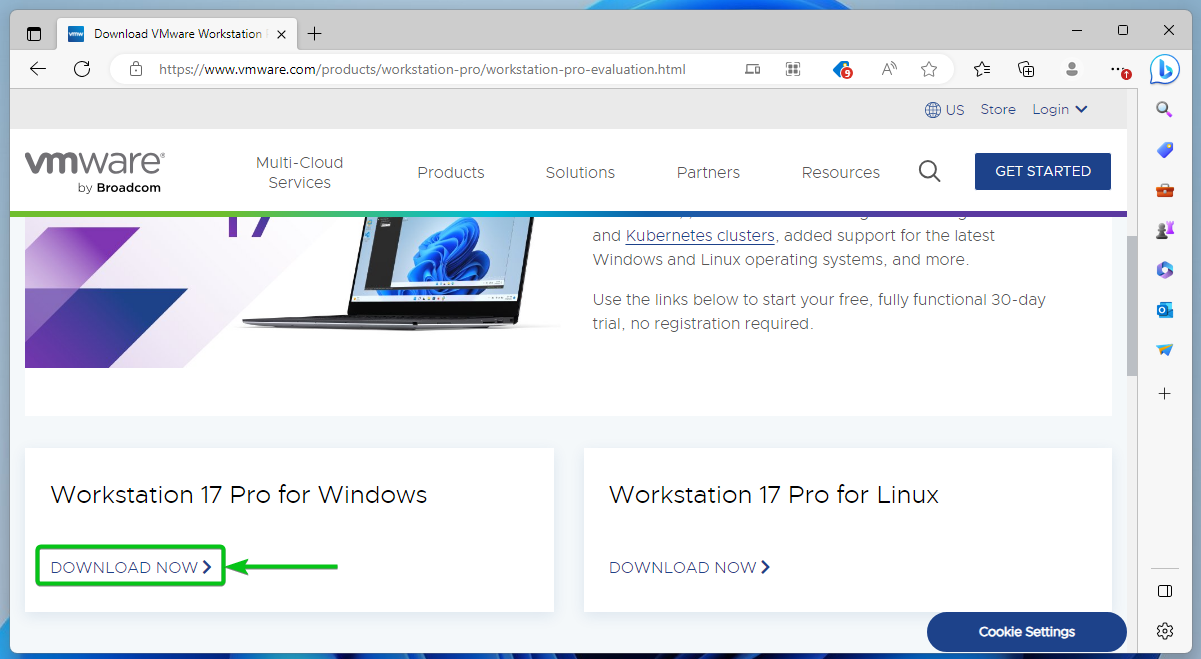
Visit the VMware Workstation Pro download page from your favorite web browser. Once the page loads, click on “DOWNLOAD NOW” from the “Workstation 17 Pro for Windows” section as marked in the following screenshot:
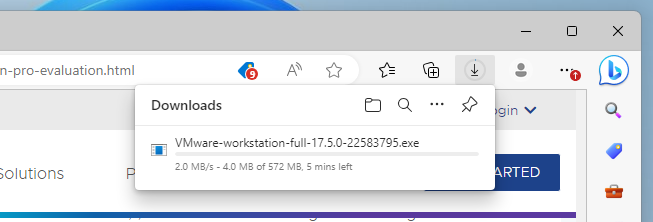
Your browser should start downloading the VMware Workstation 17 Pro installation file. It takes a while to complete.
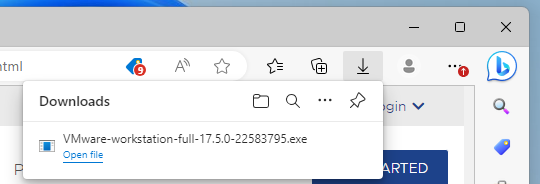
At this point, the VMware Workstation 17 Pro installation file should be downloaded.
Installing the VMware Workstation 17 Pro on Windows
You should find the downloaded VMware Workstation 17 Pro installation file in the “Downloads” folder of Windows 10/11. To install the VMware Workstation 17 Pro on Windows 10/11, double-click on the installation file.

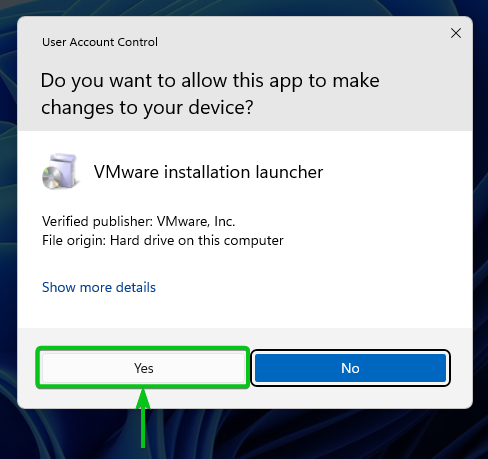
Click on “Yes”.
The VMware Workstation 17 Pro installer is being initialized.
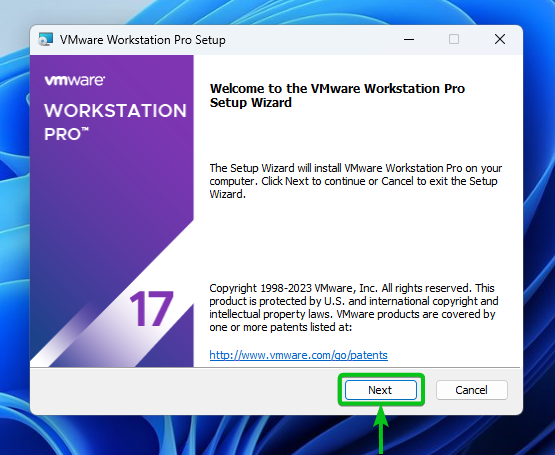
Once the VMware Workstation Pro installer is ready, click on “Next”.
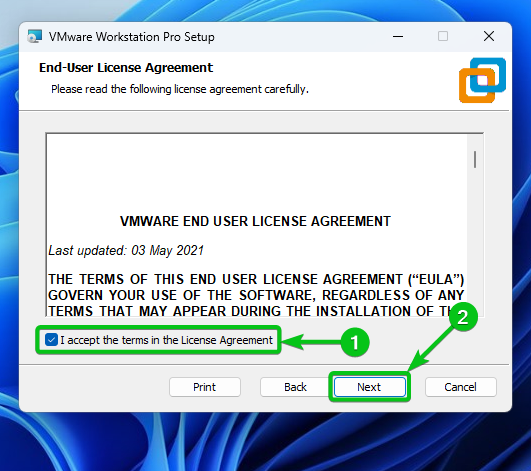
Tick “I accept the terms in the License Agreement”[1] and click on “Next”[2].
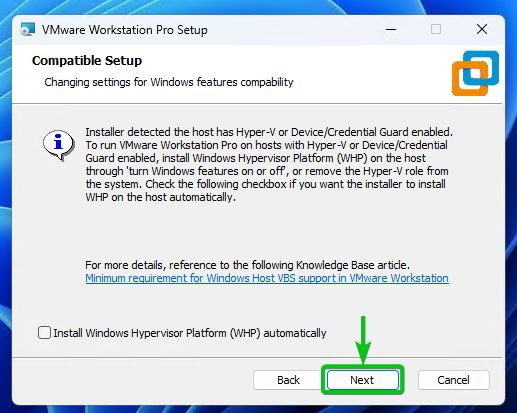
If you haven’t uninstalled Hyper-V or disabled the Device/Credential Guard, you will see the following window while installing the VMware Workstation 17 Pro. The VMware Workstation 17 Pro can co-exist with Hyper-V, but we recommend you to uninstall Hyper-V and disable the Device-Credential Guard to get the best VMware Workstation 17 Pro virtual machine performance and to use all the VMware Workstation 17 Pro features.
If you want to install the VMware Workstation 17 Pro alongside Hyper-V, click on “Next”. Otherwise, close the VMware Workstation 17 Pro installer, uninstall Hyper-V, disable the Device/Credential Guard, and try to install the VMware Workstation 17 Pro again.
Tick “Enhanced Keyboard Driver”[1] and click on “Next”[2].

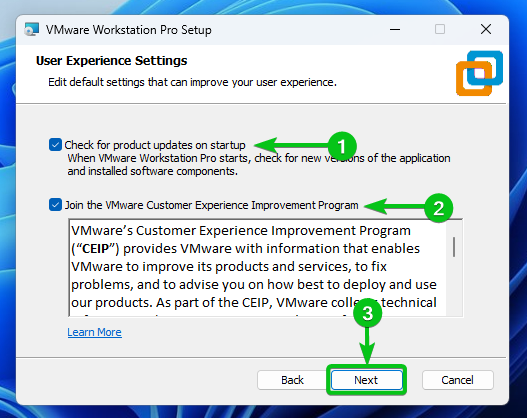
If you want the VMware Workstation Pro to check if new updates are available when you start the VMware Workstation Pro, tick “Check for product updates on startup”[1].
If you want to send the usage data to VMware so that they can improve the VMware Workstation Pro, tick “Join VMware Customer Experience Improvement Program”[2].
Once you’re done, click on “Next”[3].
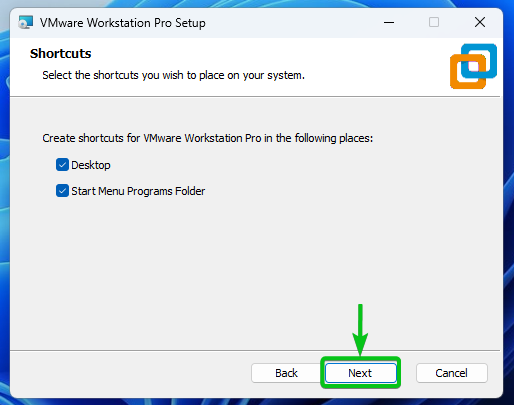
Click on “Next”.
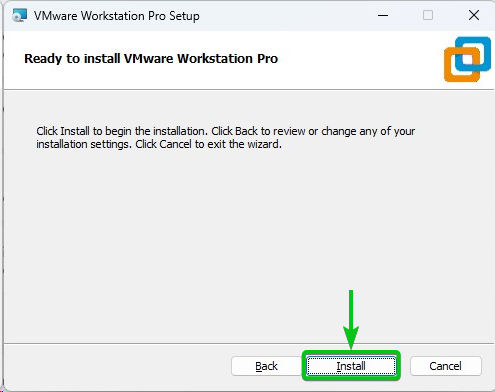
Click on “Install”.
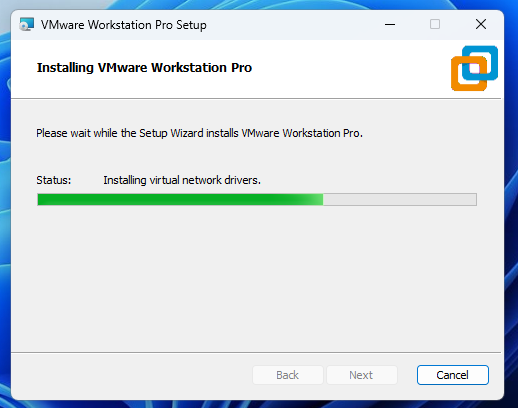
The VMware Workstation 17 Pro is being installed on your computer. It takes a while to complete.
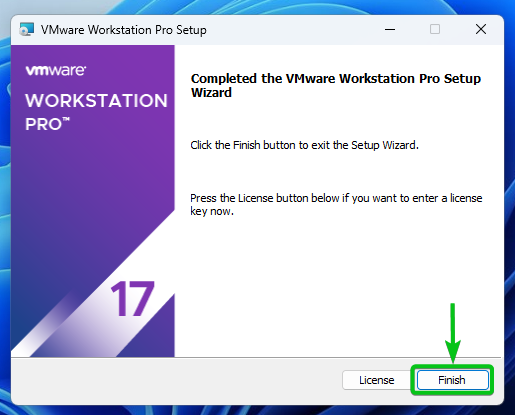
Once the VMware Workstation 17 Pro is installed, click on “Finish”.
Click on “Yes” to restart your computer for the changes to take effect.

Running the VMware Workstation 17 Pro for the First Time
Once your computer boots, you can run the VMware Workstation 17 Pro from the “Start” menu. Just search for the term “apps:vmware”[1] and click on the VMware Workstation Pro app icon[2] as marked in the following screenshot:

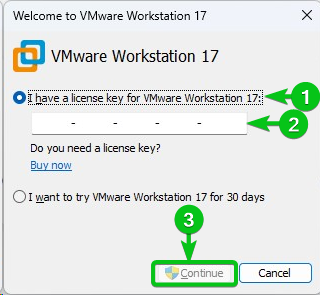
You will be asked to activate the VMware Workstation 17 Pro with a license key. If you bought a VMware Workstation 17 Pro license key already, select “I have a license key for VMware Workstation 17”[1], type in the license key[2], and click on “Continue”[3].
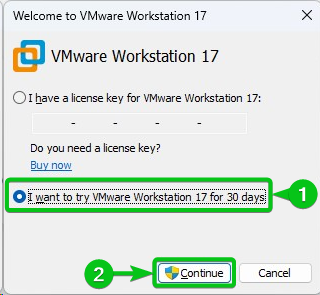
If you want to try the VMware Workstation 17 Pro before buying a license key, select “I want to try VMware Workstation 17 for 30 days”[1] and click on “Continue”[2].
You will be able to try the VMware Workstation 17 Pro for 30 days and see if it meets your requirements.
Click on “Finish”.
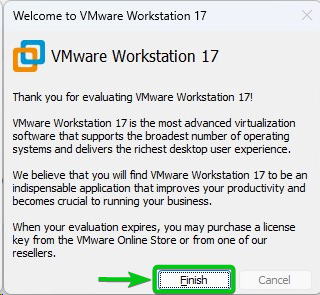
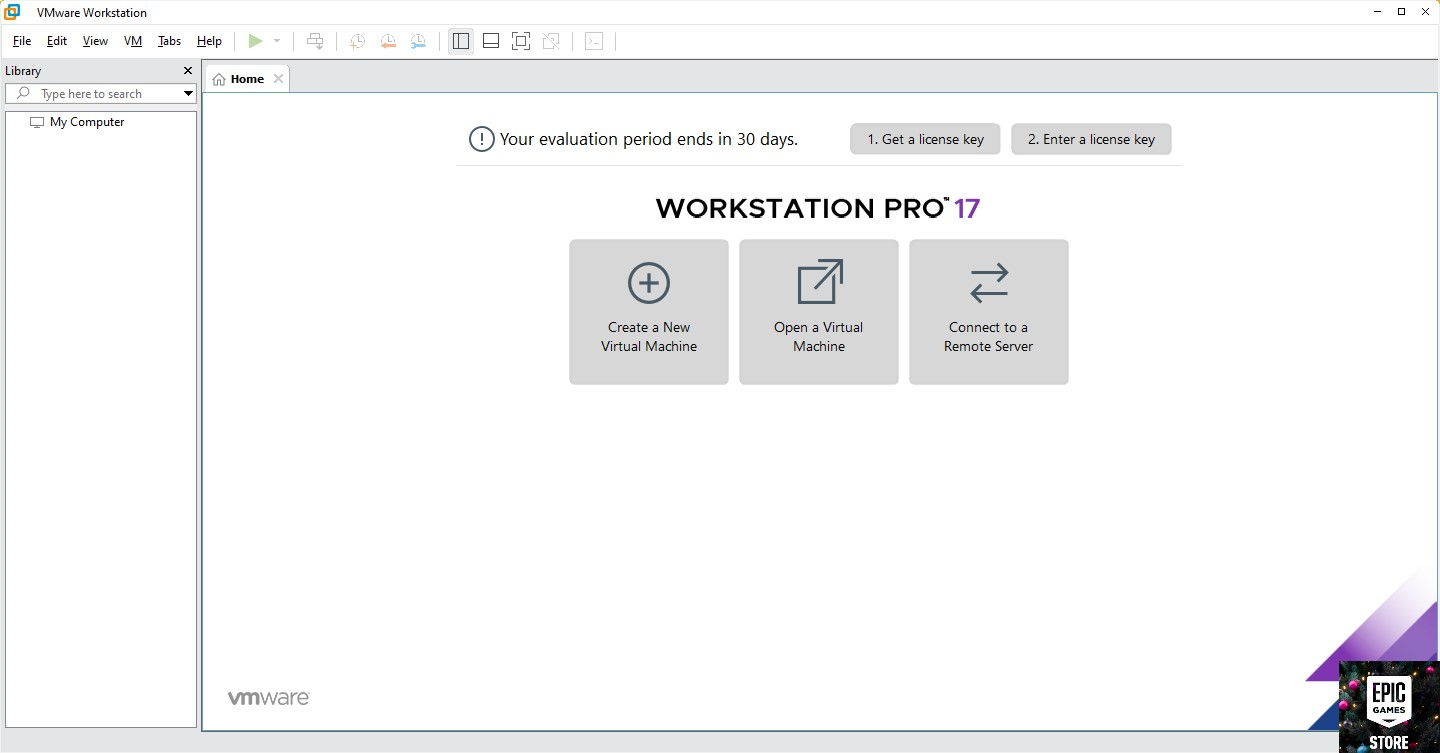
The VMware Workstation 17 Pro should be ready to use.
Activating the VMware Workstation 17 Pro with a License Key Later
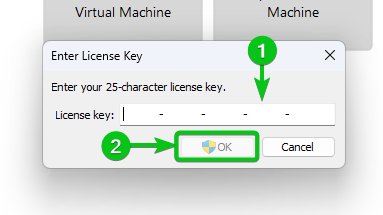
If you’re trying out the VMware Workstation 17 Pro and you would like to activate it with a license key later, click on Help > Enter a License Key.

Type in your VMware Workstation 17 Pro license key[1] and click on “OK”[2]. The VMware Workstation 17 Pro should be activated.
Conclusion
In this article, we showed you how to download the VMware Workstation 17 Pro installer for Windows 10/11 operating systems. We also showed you how to install the VMware Workstation 17 Pro on Windows 10/11.