So, to get the optimal virtual machine performance and all the features of the hypervisor program – VirtualBox, VMware Workstation Pro, VMware Workstation Player – to work, it’s best to uninstall Hyper-V and Device/Credential Guard from Windows 10/11.
In this article, we will show you how to uninstall Hyper-V and disable Device/Credential Guard from the Windows 10/11 operating system and prepare Windows 10/11 to install VirtualBox, VMware Workstation Pro, or VMware Workstation Player to ensure that you get the best virtual machine performance when you install one of these hypervisors.
Topic of Contents:
- Opening Windows Optional Features
- Uninstalling Hyper-V from Windows 10/11
- Disabling Device/Credential Guard from Windows 10/11
- Enabling the Hardware Virtualization Feature from the BIOS/UEFI Firmware
- Verifying Whether the Hardware Virtualization Feature Is Enabled from Windows 10/11
- Installing VirtualBox, VMware Workstation Pro, or VMware Workstation Player on Windows 10/11
- Conclusion
Opening Windows Optional Features
To uninstall/disable Hyper-V and Device/Credential Guard, you have to access the Windows Optional Features.
To access the Windows Optional Features, right-click on the “Start Menu”, and click on “Run”.
You can also press “Windows + R”.

Type in “optionalfeatures”[1] and click on “OK”[2].
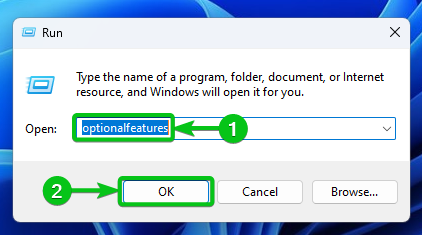
Windows Optional Features should be opened. You can uninstall Hyper-V and disable the Device/Credential Guard from here. Keep reading for more details.
Uninstalling Hyper-V from Windows 10/11
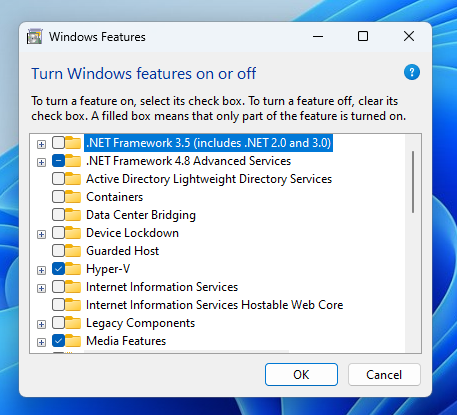
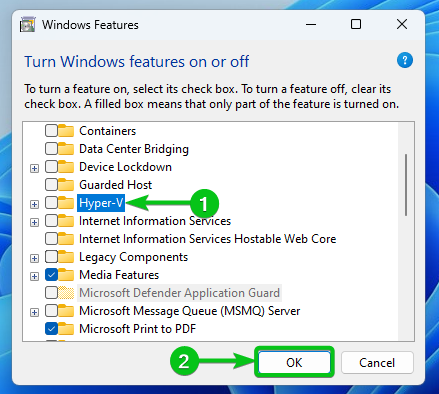
If Hyper-V is installed, Hyper-V should be checked in the Windows Optional Features.
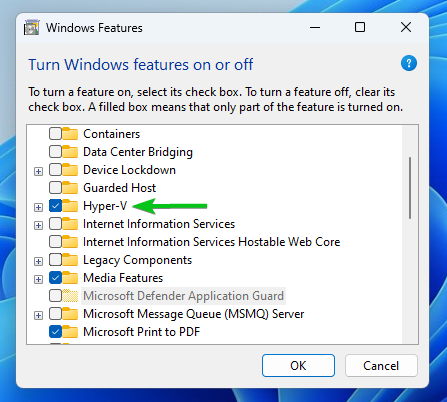
To uninstall Hyper-V from Windows 10/11, uncheck Hyper-V from Windows Optional Features[1] and click on “OK”[2].
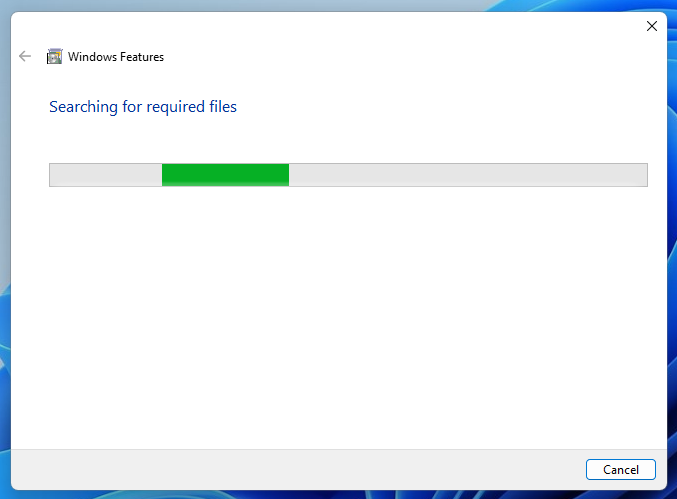
Windows is now preparing to remove Hyper-V.
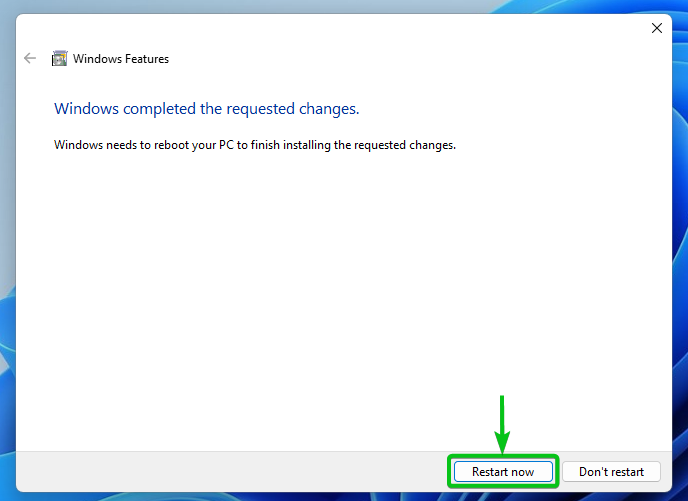
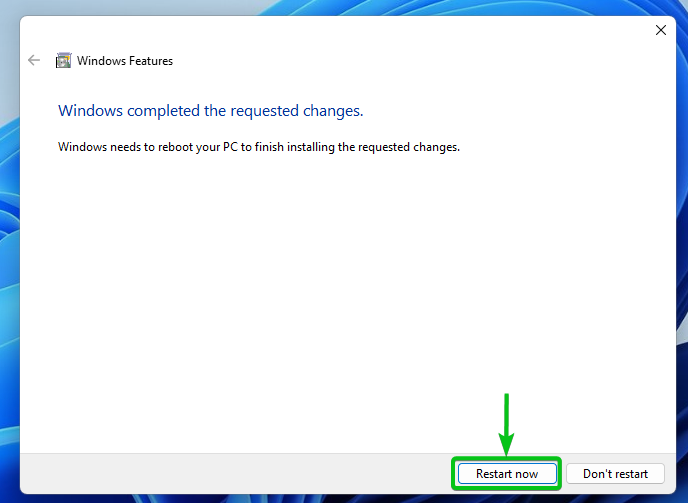
For the changes to be applied, click on “Restart now” to reboot your computer.
Hyper-V is now being removed from Windows 10/11.


Once Hyper-V is uninstalled, Windows should boot as usual.
Disabling the Device/Credential Guard from Windows 10/11
If the Device/Credential Guard is enabled, the Virtual Machine Platform should be checked in the Windows Optional Features.
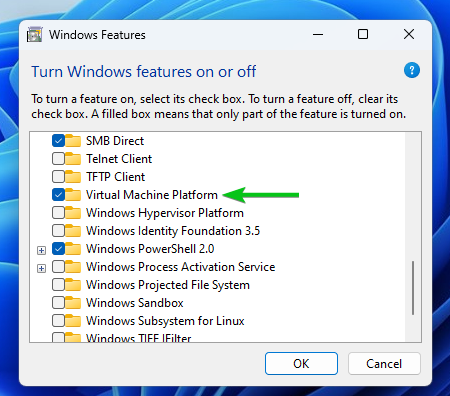
To disable the Device/Credential Guard from Windows 10/11, uncheck the Virtual Machine Platform from Windows Optional Features[1] and click on “OK”[2].

Windows is now preparing to disable the Device/Credential Guard.

For the changes to be applied, click on “Restart now” to reboot your computer.
The Device/Credential Guard is now being disabled from Windows 10/11.


Once the Device/Credential Guard is disabled, Windows should boot as usual.
Enabling the Hardware Virtualization Feature from the BIOS/UEFI Firmware
Once Hyper-V is uninstalled and Device/Credential Guard is disabled from Windows 10/11, you must enable the hardware virtualization feature from the BIOS/UEFI firmware of your computer. Without it, VirtualBox, VMware Workstation Pro, or VMware Workstation Player won’t work.
For more information on enabling the hardware virtualization from the BIOS/UEFI firmware of your computer, read this article.
Verifying Whether Hardware Virtualization Feature Is Enabled from Windows 10/11
To verify whether the hardware virtualization feature is enabled, right-click on the “Start Menu” and click on “Task Manager”.

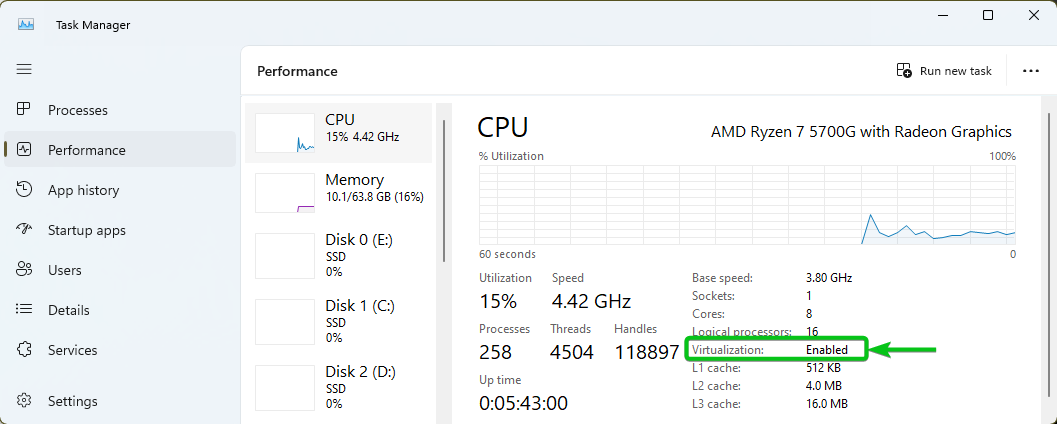
Once the Task Manager app is opened, navigate to Performance > CPU. If the hardware virtualization feature is enabled, the virtualization should be set to “Enabled” as marked in the following screenshot:
Installing VirtualBox, VMware Workstation Pro, or VMware Workstation Player on Windows 10/11
If you need any assistance in installing VirtualBox, VMware Workstation Pro, or VMware Workstation Player on Windows 10/11, check the following articles:
- How to Install the Oracle VirtualBox 7 on Windows 10/11
- How to Install the VMware Workstation 17 Pro on Windows 10/11
- How to Install the VMware Workstation 17 Player on Windows 10/11
- How to Install the VMware Workstation 16 Pro on Windows 10/11
Conclusion
In this article, we showed you how to uninstall Hyper-V and disable Device/Credential Guard on Windows 10/11. We also linked them to an article that shows you how to enable the hardware virtualization from the BIOS/UEFI firmware of your computer and how to verify whether the hardware virtualization is enabled from the Windows Task Manager app. Once you’ve done all the steps that are shown in this article, your Windows 10/11 operating system should be ready to install VirtualBox, VMware Workstation Pro, or VMware Workstation Player.