This article will cover how to create a Virtual Machine and then install Windows 7 OS on that VM in VMware.
Before we start on the installation we must have a working VM that can install OS. Let’s start the process of creating a VM in the VMware workstation.
How to Create a VM in VMware?
Follow the step below to first create a VM on the VMware Workstation:
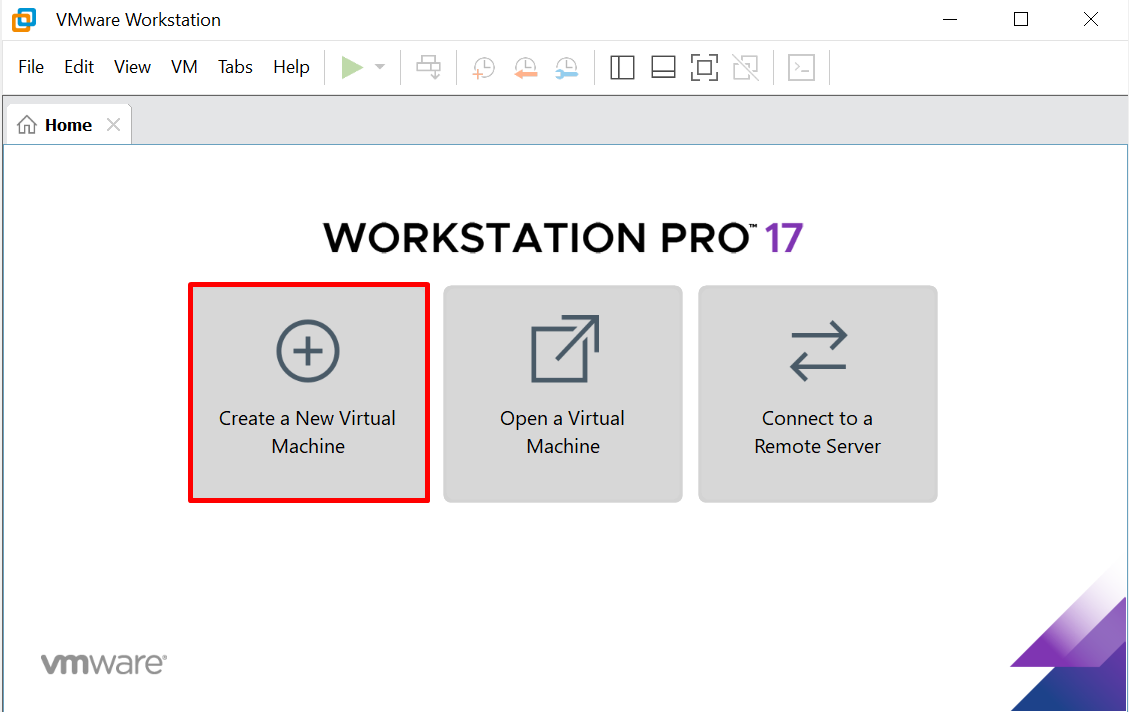
Step 1: Create a Custom VM
Click on the highlighted button below to start the Virtual machine creation process:
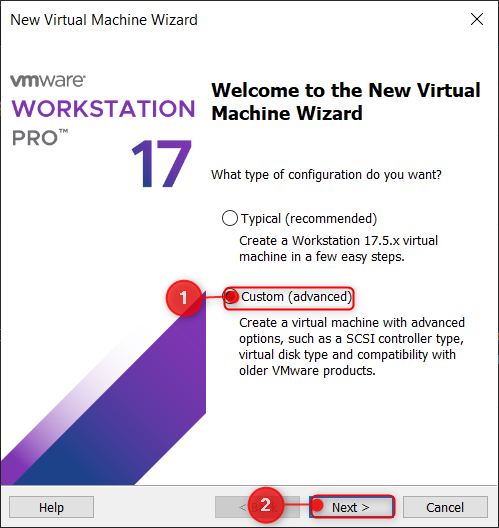
The new virtual machine wizard setup will open which will show two options. One option is to go with the typical installation. However, it is advisable to go on with the custom creation as this would allow more flexibility while creating the machine and adjusting the machine features accordingly:
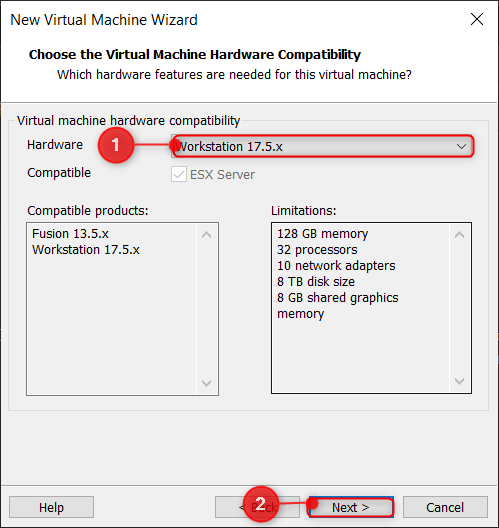
Step 2: Specify the Hardware
The hardware compatibility window will appear in which it is recommended to go with the latest version of the workstation available so click on the Next button:
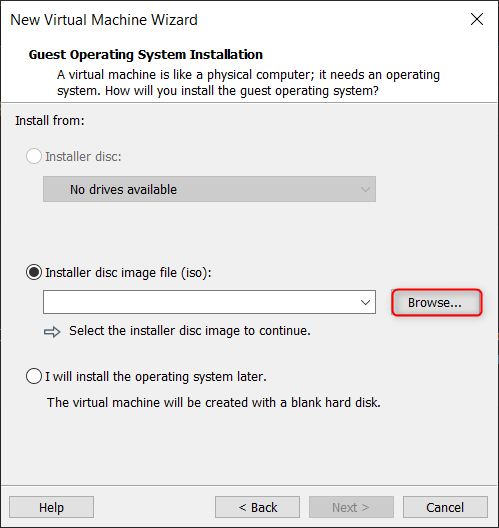
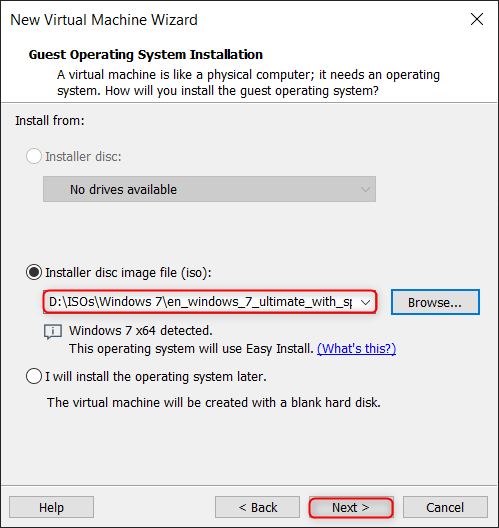
Step 3: Set the ISO file for the Windows 7
In this step, select the ISO file for Windows 7 which will be installed after the creation of the VM. Browse it on the computer and select the ISO file for Windows 7:
Click on the browse button to select the file:
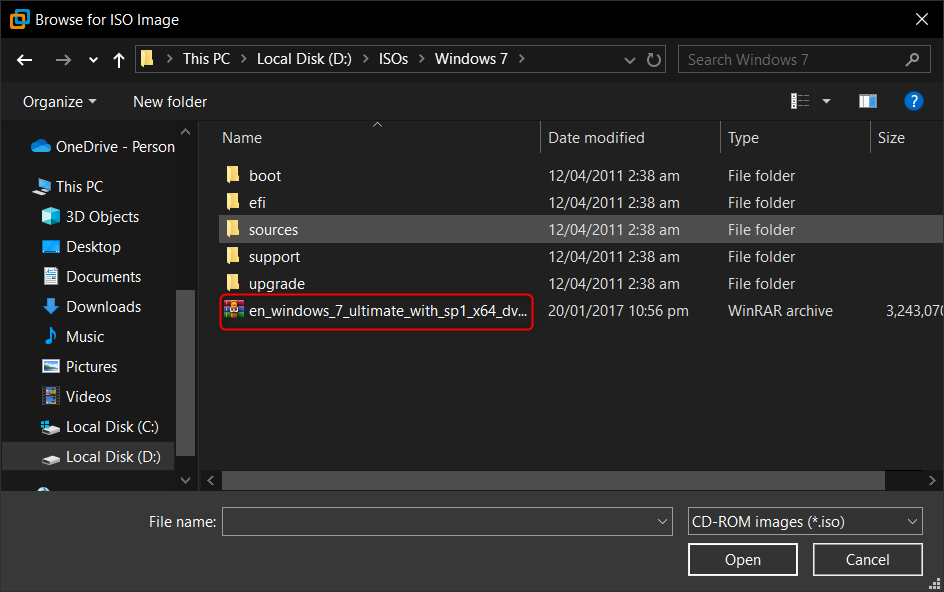
Select the file and click on the “Open” button:
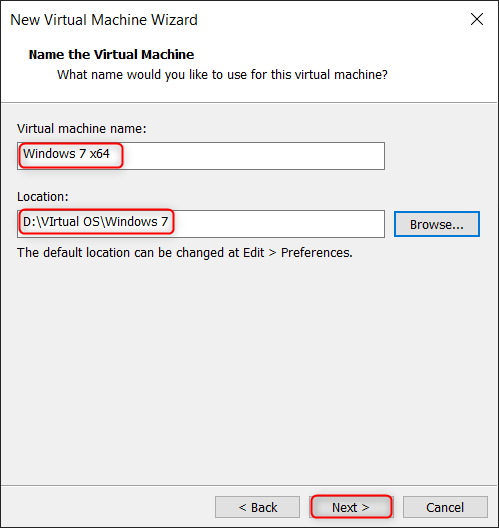
Step 4: Give the Machine a Name and Location
Specify the name for the VM which will show as the name for the VM. Also, you need to specify the location where the VM will be created. The best practice is to install it in a separate drive and installing it in an SSD or NVMe card allows more smoother performance:
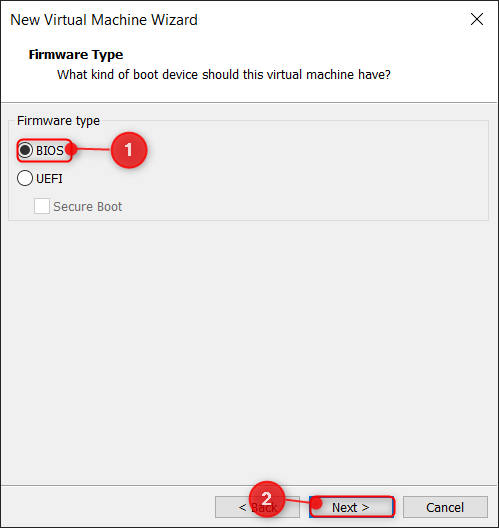
Step 5: Configure the Firmware Type
In this step, you can go with either BIOS or UEFI with an additional feature of secure boot. In this installation, the BIOS option is selected:
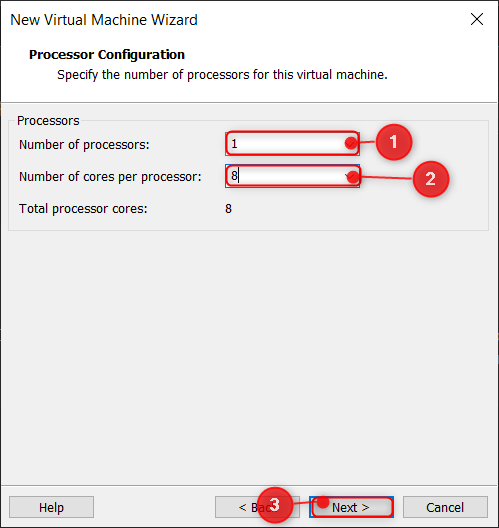
Step 6: Configure the Processor
Specify the number of processors and cores for the VM and this greatly depends on the available processors on the host machine:
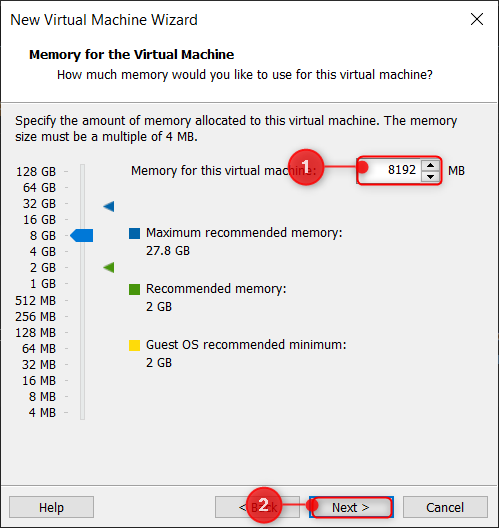
Step 7: Specify RAM for VM
Now, dedicate the amount of available RAM to the VM. The RAM won’t be used all at once but depends on the working of the VM. The greater the amount of RAM the smoother performance for the VM:
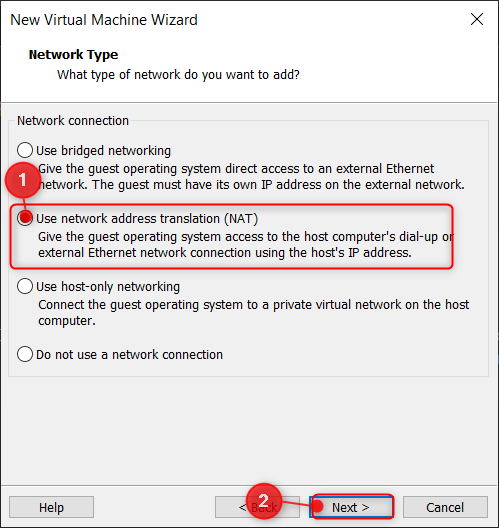
Step 8: Configure the Network Type
Now, the Network Type window will appear, proceed with the NAT option for the guest machine:
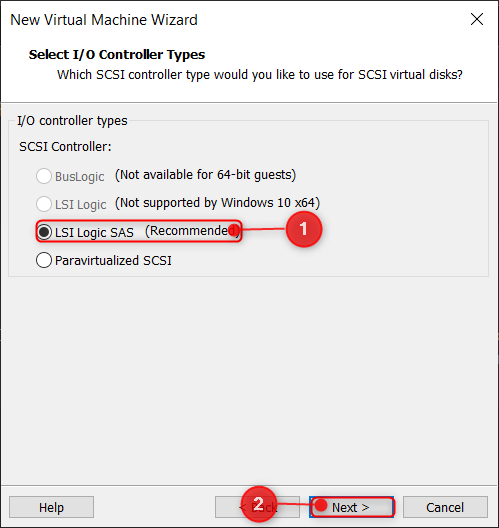
Step 9: Set the I/O Controller Types
In this window, it is advisable to select the recommended option to ensure maximum and smooth performance of input and output devices:
Step 10: Choose the Disk Type
VMware Workstation provides a unique feature of NVMe that has the best disk performance:

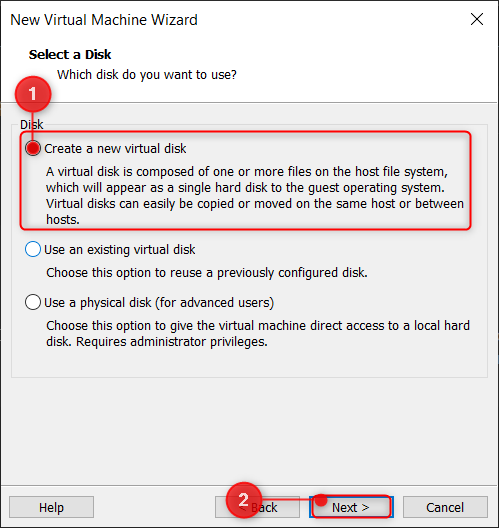
Step 11: Create a New Disk for VM
The “Select a Disk” window will appear in which there are many options, but it is advisable to go with “Create a new virtual disk” for clean installation of Windows:
Step 12: Set the Disk Capacity
After selecting the disk type, you now needs to specify the amount of space for the virtual disk;Specify it by keeping in consideration the disk space for the host machine:

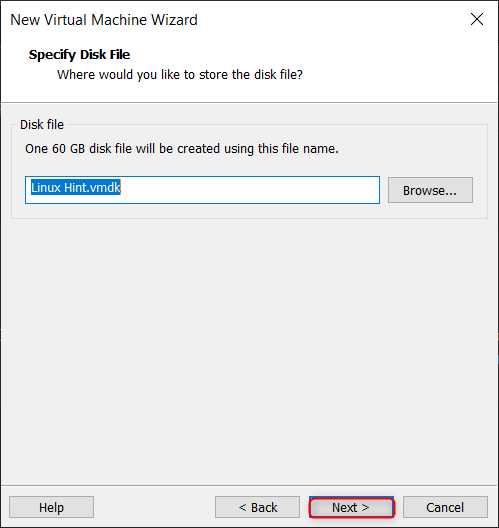
Step 13: Choose the Disk File Type
Specify the disk filename and click on the Next button; moreover, you have the flexibility to set the disk extension from the available extensions of VMware:
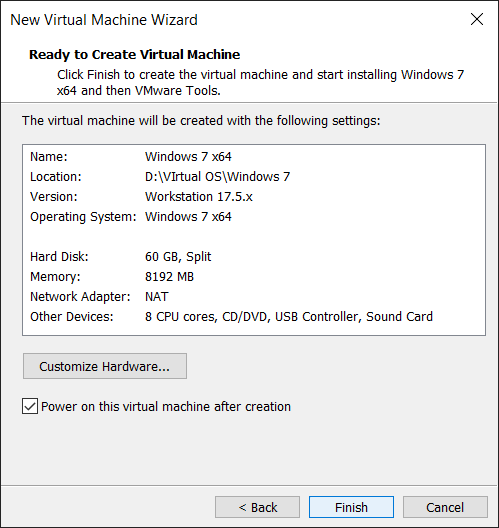
Step 14: Review and Complete the Creation of the VM
Now, review all the changes and the configured settings for the VM. In case, you want to change some settings click on the customize hardware else simply click on the Finish button:
Now, the VM has been set successfully on the device. Go through the steps below to start the installation of the Windows 7 OS in this VM.
How to Install Windows 7 in VMware?
The virtual machine has been set up on the VMware workstation. Now let’s begin the process of installing Windows 7 on the VM in VMware.
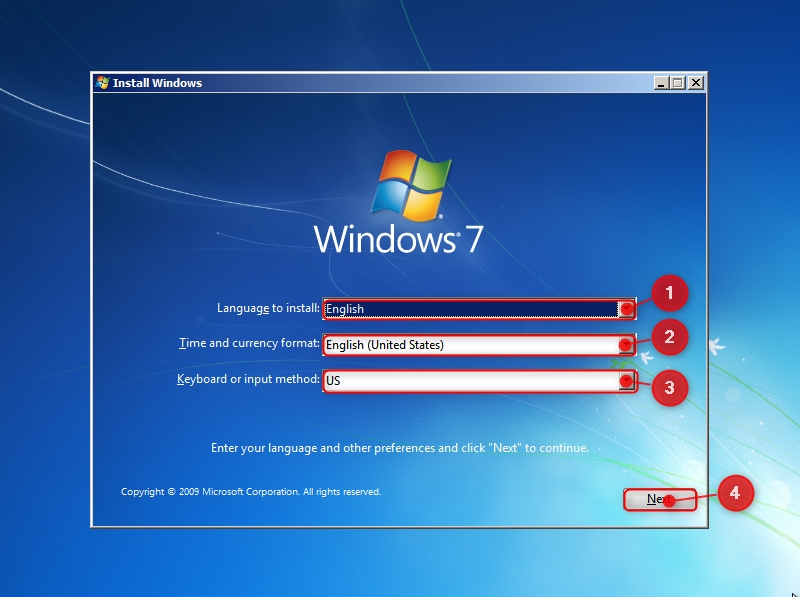
Step 1: Set the Language
The machine is ready, and the process of installation has started from the ISO file configured earlier while setting up the machine. Choose the language, currency, time format, and keyboard for the OS:
Step 2: Begin the installation
The installation will begin by clicking on the Install Now button in the window:

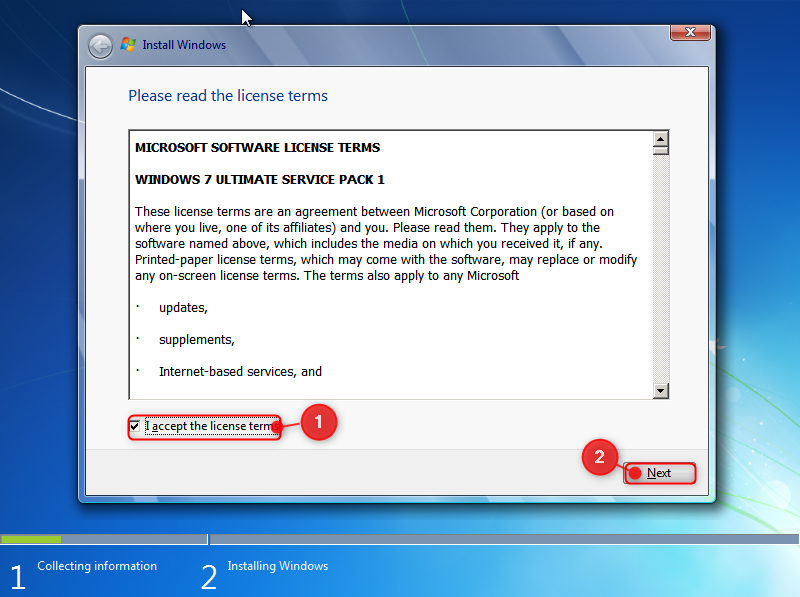
Step 3: Acknowledge the License and Term Agreements
Every software comes with some license and term agreements that are to be accepted by the user. These usually involve computer resources and services the software will use. Mark the below highlighted checkbox and press the “Next”:
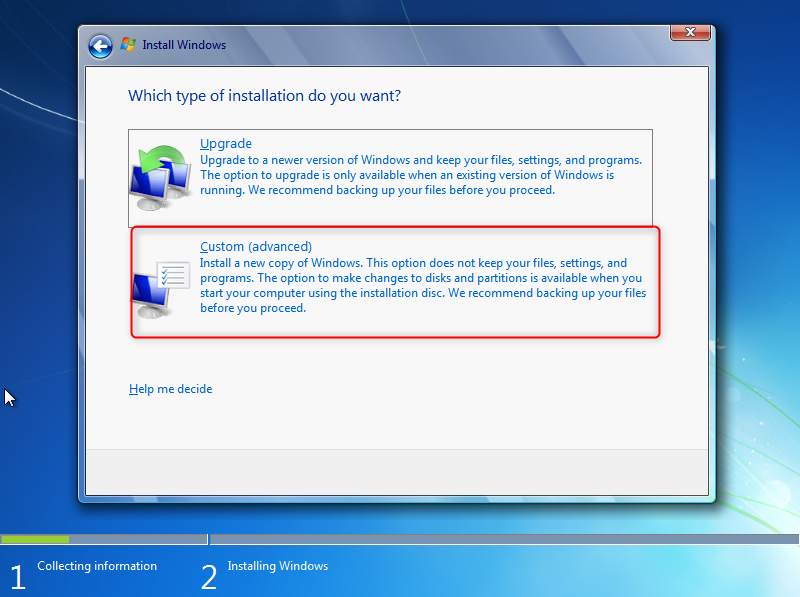
Step 4: Select the Installation Type
It is advisable to go with the custom installation as this would allow more flexibility and control over the services:
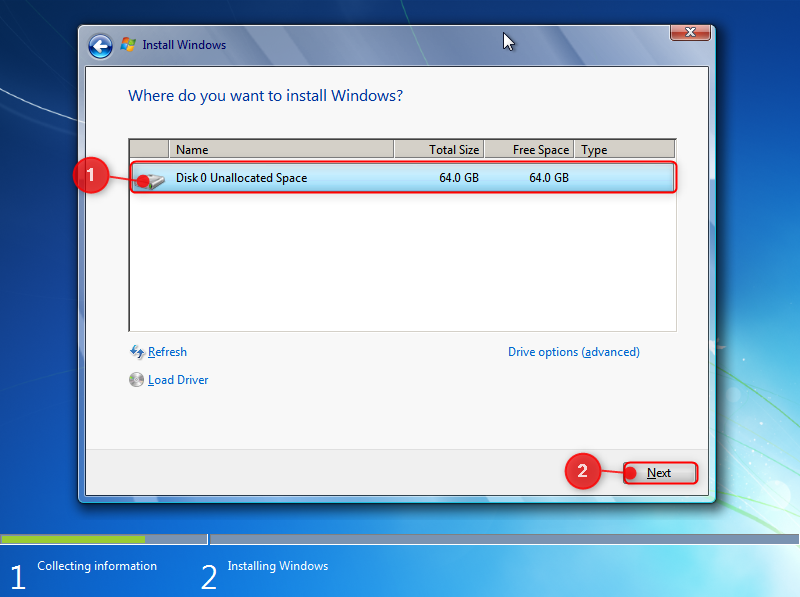
Step 5: Select the drive for installation
Select the drive where the OS is to be installed. The OS would be loaded from that virtual drive:
Step 6: Wait for Setup Wizard Installation
The setup wizard will start installing Windows 7 on the VM. Be patient as it takes a couple of minutes:
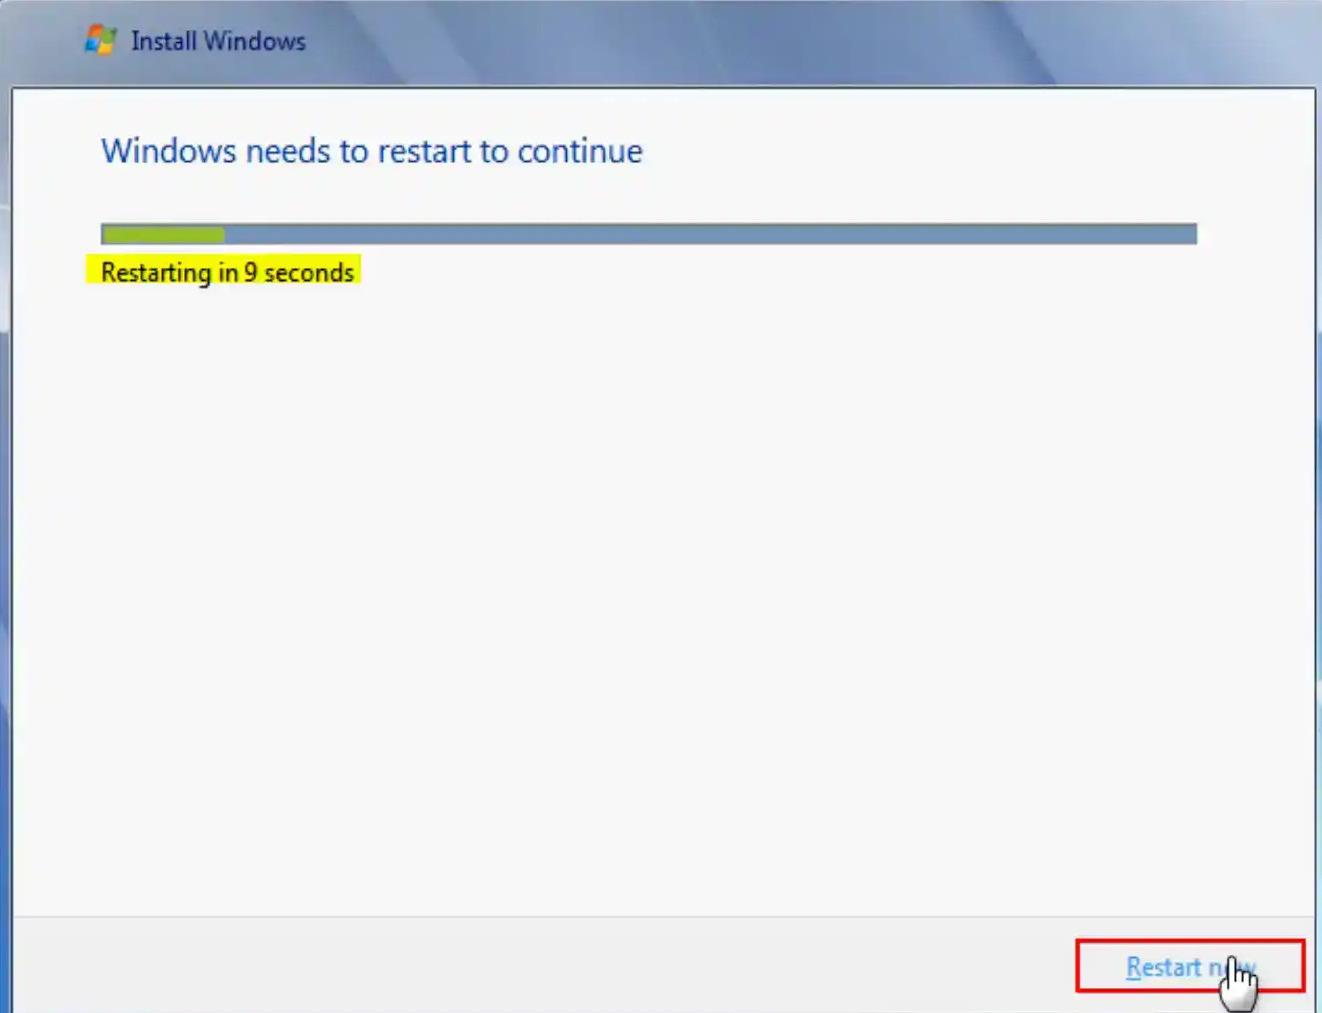
Step 7: Restart the Virtual Machine
After the setup wizard is done with the installation of necessary files, a new window will appear on which a timer has started for the VM to restart. For immediate restart click on the Restart now button:
Step 8: Set the Username
You can set the desired username for the computer that will appear when the computer starts:

Step 9: Set a Strong Password
After setting the username specify a strong password for the windows which will asked upon the start of the VM. Also, set a hint for the password in case you forget the password, the hint can help:

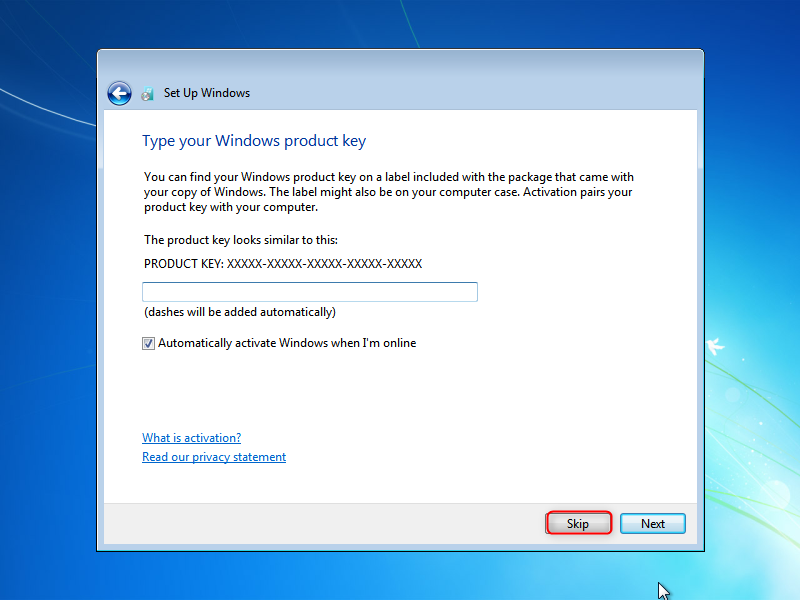
Step 10: Configure the Product Key
If you have a product key for Windows, you can provide it else you can proceed with the skip button:
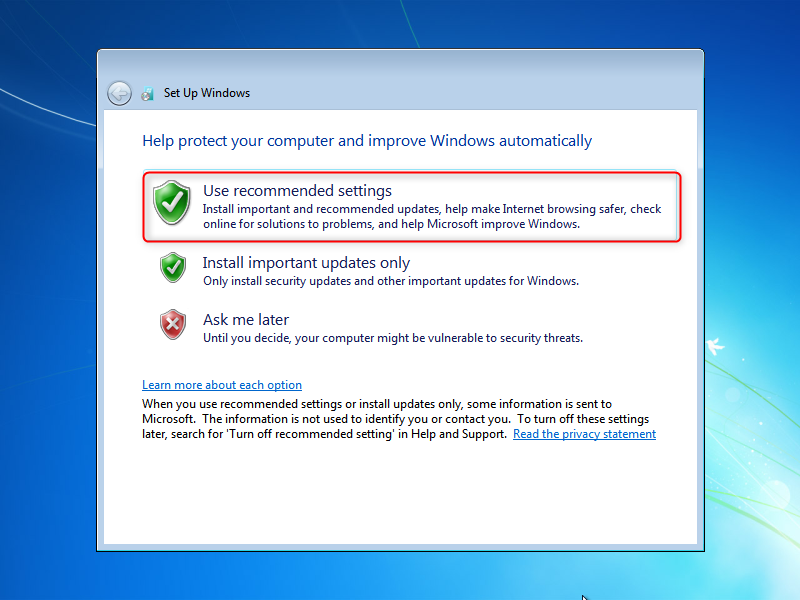
Step 11: Windows Update Settings
It is advisable to proceed with the recommended settings as it would look upon the internet and update the versions as soon as they are uploaded:
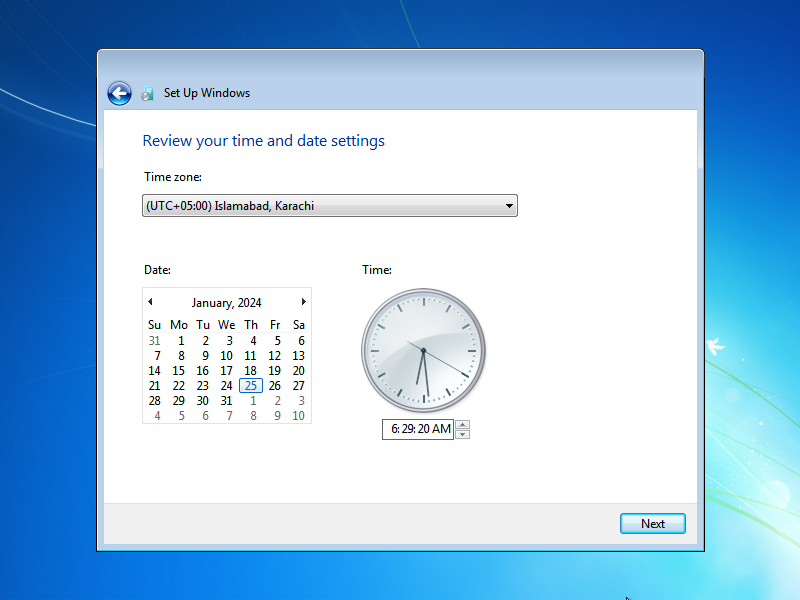
Step 12: Set the Date and Time for the OS
Select the time zone and the time will be adjusted accordingly with the local time:
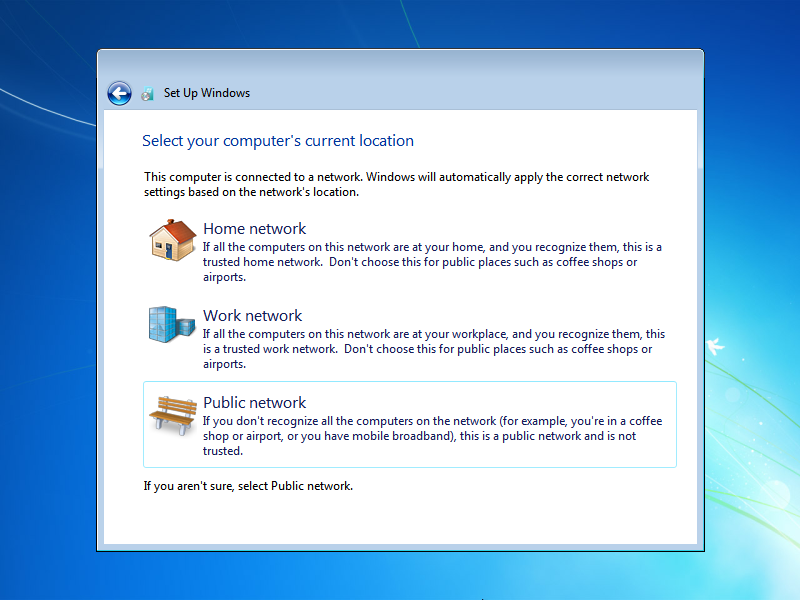
Step 13: Configure the Network
Here you can select the desired network depending on the requirement of the computer and who uses the computer; we are going with the work network:
Step 14: Wait for the Desktop to load
Lastly, wait for just a few seconds and the desktop will load for the OS and the VM will be ready for use with Windows 7:

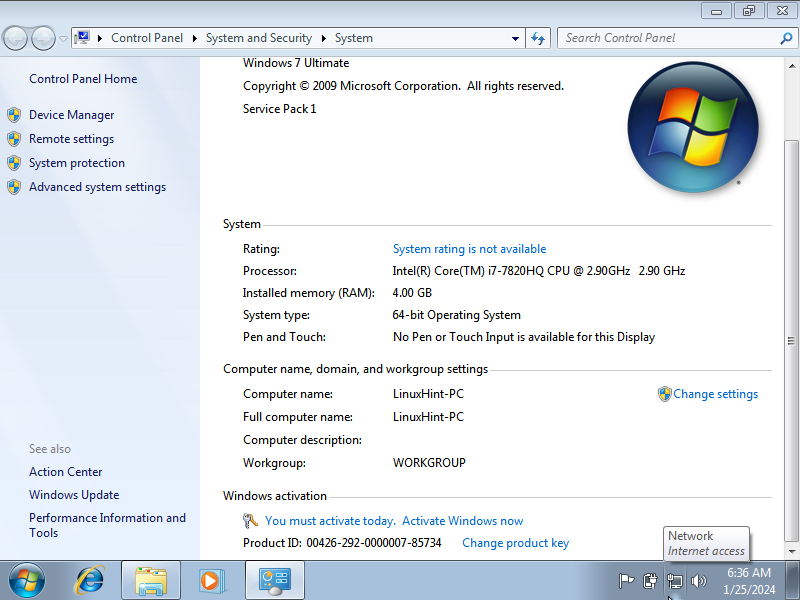
Step 15: Check for Window Properties
You can check on the window properties by right-clicking on the My Computer icon and selecting properties.
That’s it to install Windows 7 on the VMware workstation.
Conclusion
To install Windows 7 on the VMware workstation, first, create a Virtual Machine in the VMware workstation. In the creation phase for the VM, provide the ISO file, and specify the hardware requirements for the VM according to the specifications of the host machine. After the creation of the VM run it and the installation of Windows 7 will begin. Specify the information at each step and Windows 7 will be installed on the VM in the VMware workstation.