This article will deal with a step-by-step procedure to set up a VM using VMware and then install Windows 10 operating system on that VM.
Before installing the Windows 10 OS on the system you need to set up a VM on the VMware software.
How to Download Windows 10 ISO File?
Before starting to install Windows 10 on VMWare, you must download the Windows 10 ISO image. To download the ISO Image from an official source (Microsoft), follow the below procedure.
Step 1: Download Windows 10 Installation Media Tool
Navigate to Microsoft’s official website and download the Windows 10 Media creation tool by pressing the below pointed “Download Now” button. After downloading the tool, click on the “.exe” to launch the tool on the system:
Step 2: Accept License Agreements
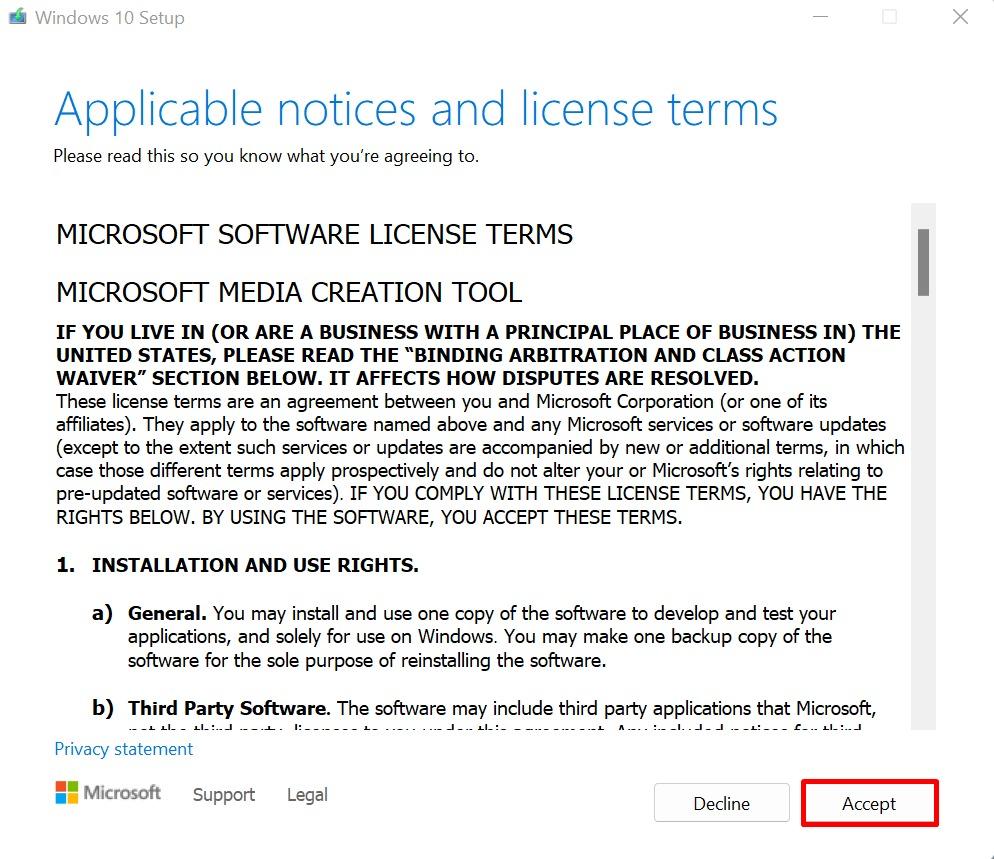
Press the “Accept” button to accept Microsoft software license terms:
Step 3: Download ISO File
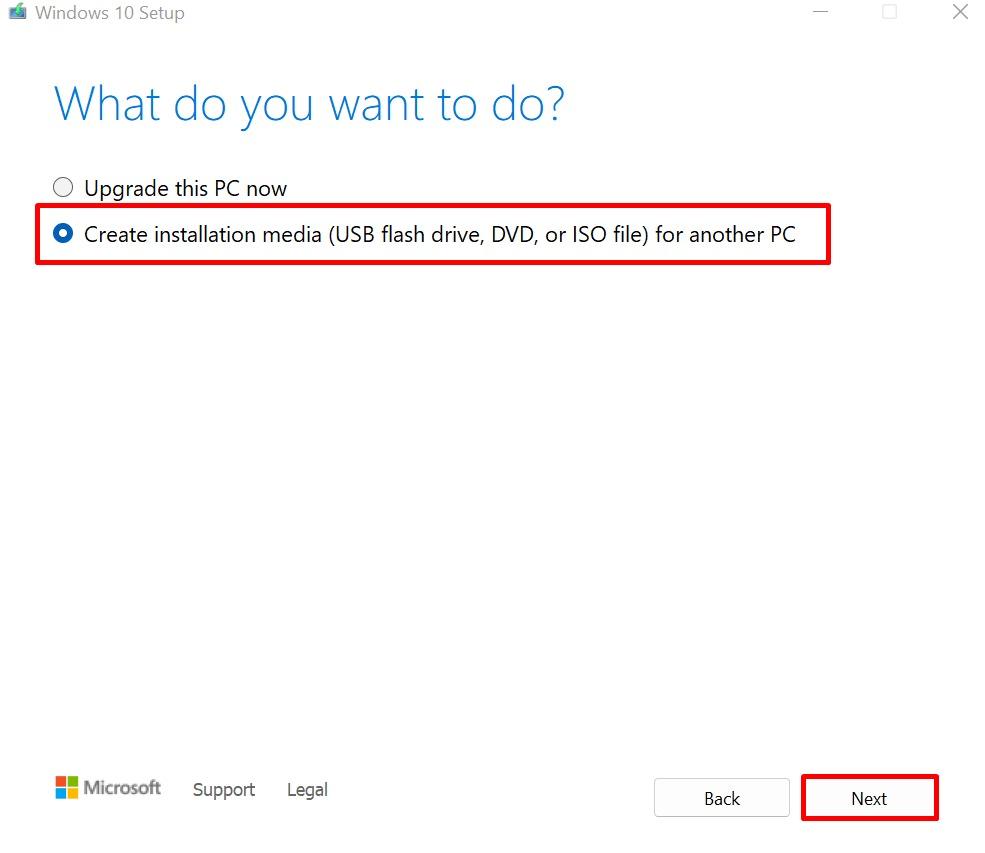
Next, create and download the Windows 10 ISO file by marking the below-pointed option and pressing “Next”:
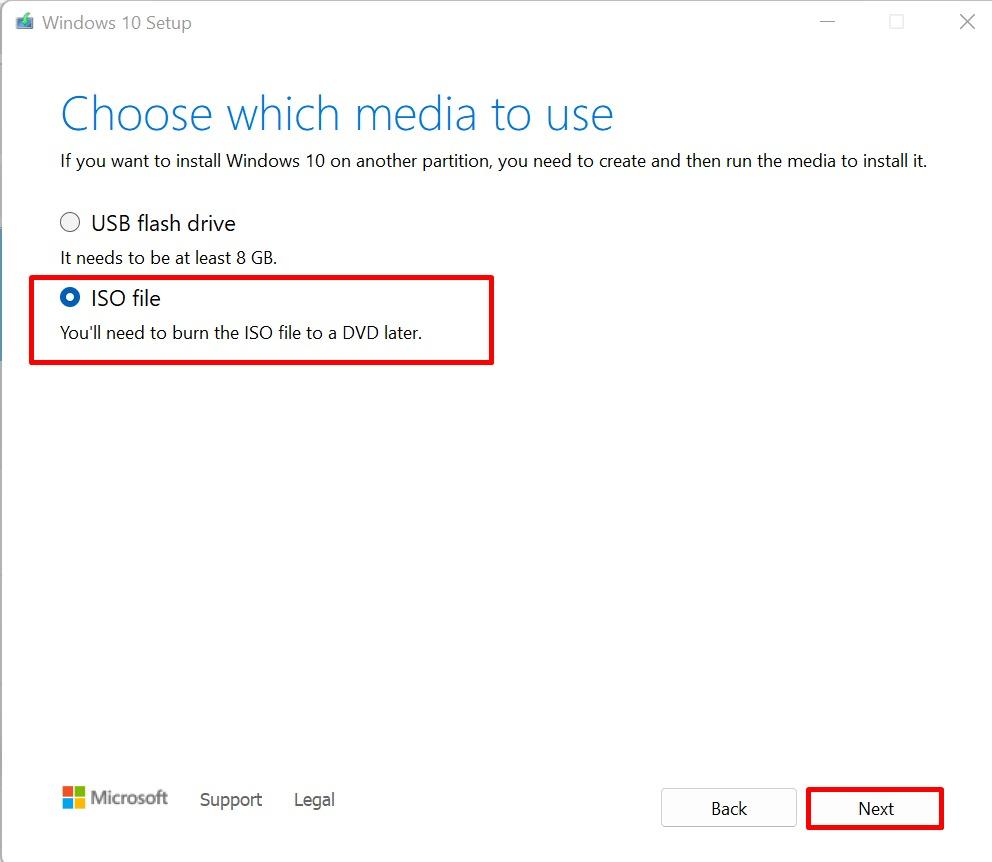
For the next Windows, choose the “ISO file” option and press the “Next” to proceed:
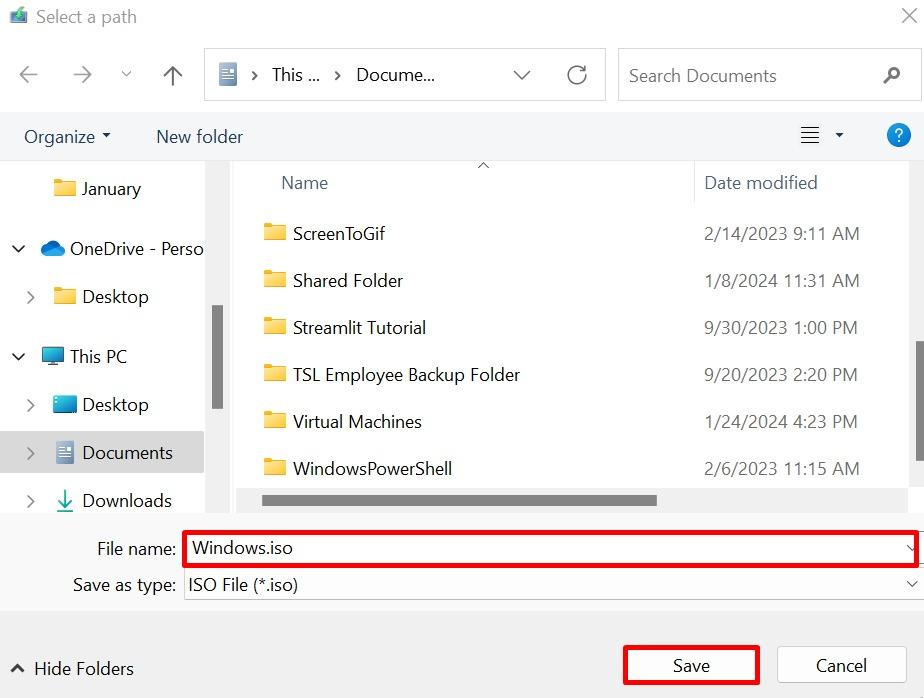
Here, choose the ISO file downloading location, set the file name, and press the “Save” button:
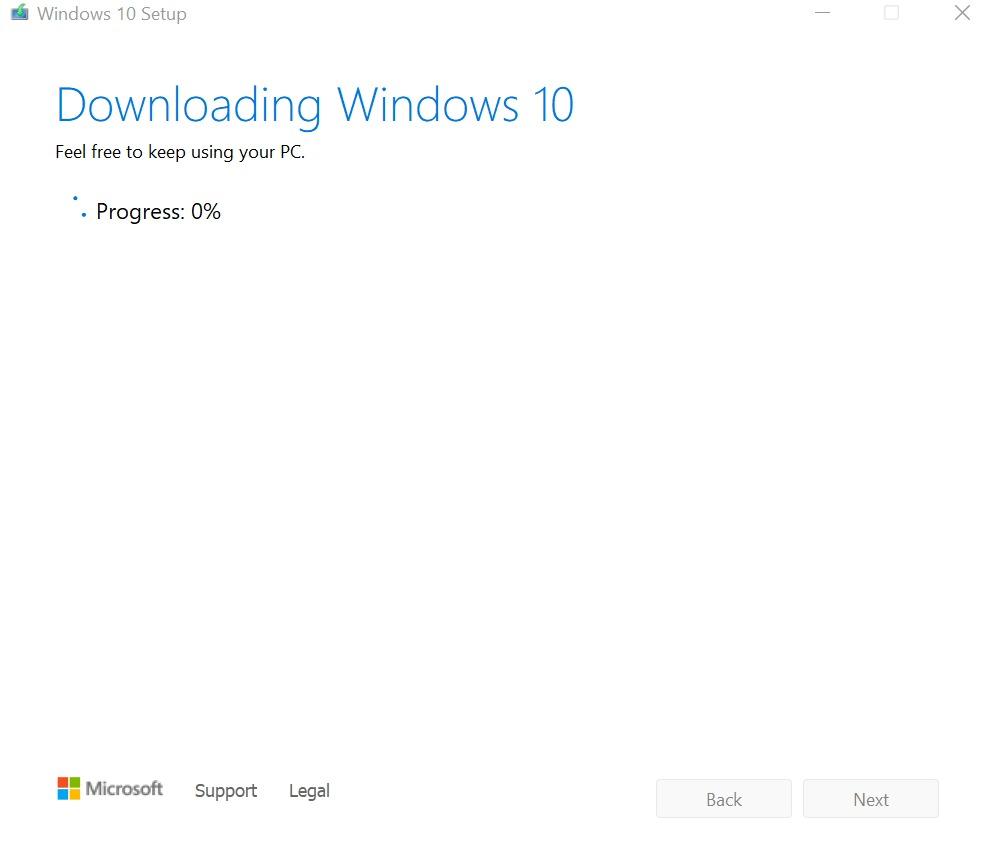
This will start downloading the Windows 10 ISO file:
Next, press the “Finish” button to proceed:

Now, you can use the downloaded ISO file to install Windows 10 on VMware.
How to Create a VM in VMware?
To start installing Windows 10 in a virtual machine, follow the steps below to first create a VM on the VMware Workstation.
Step 1: Create a Custom VM
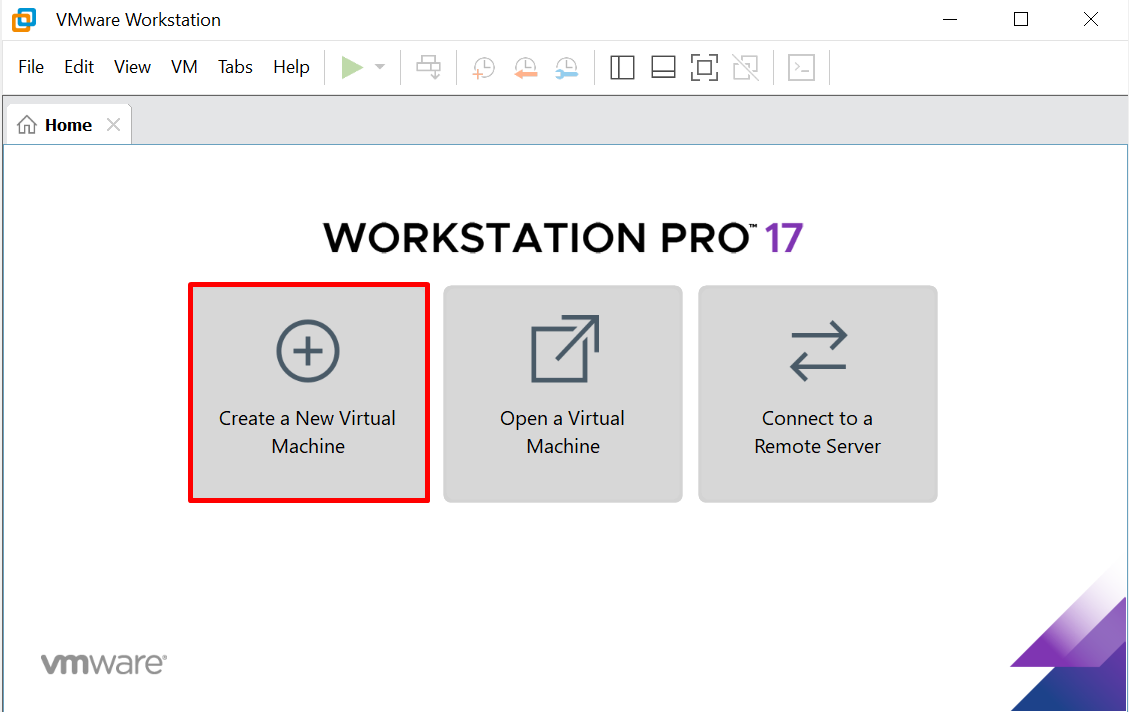
Open VMware, and create a new VM by clicking on the machine creation button highlighted below:
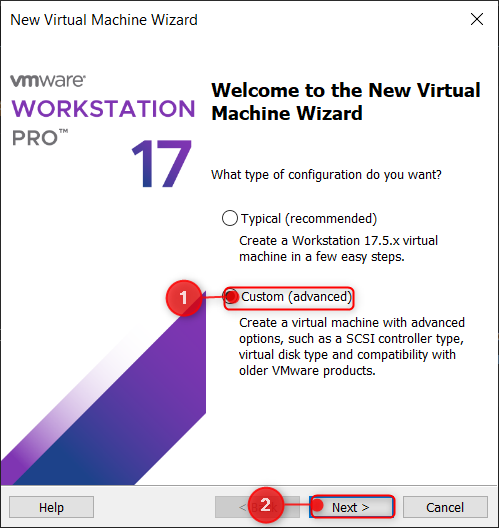
The new virtual machine wizard setup will open which will show two options. One option is to go with the typical installation. However, it is advisable to go on with the custom creation as this would allow more flexibility while creating the machine and adjusting the machine features accordingly:
Step 2: Configure Hardware Compatibility
The hardware compatibility window will appear in which select Workstation 17.5.x or newer version and click on the Next:

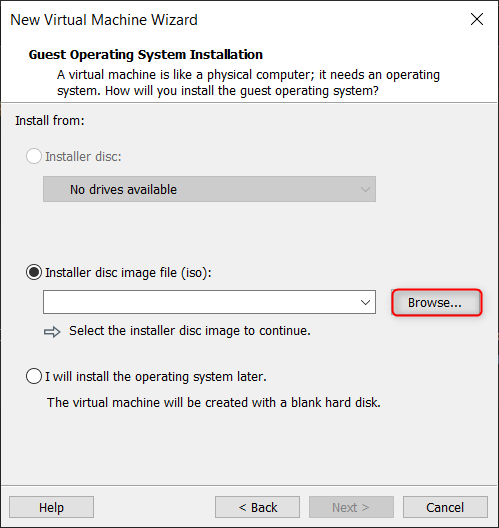
Step 3: Configure the ISO file for OS
Select the ISO file for the Windows OS that is to be installed on the VM after its creation. For this purpose, first mark the “Installation disc image file” radio button. Then, browser the location where you have downloaded the ISO file using the “Browse” button:
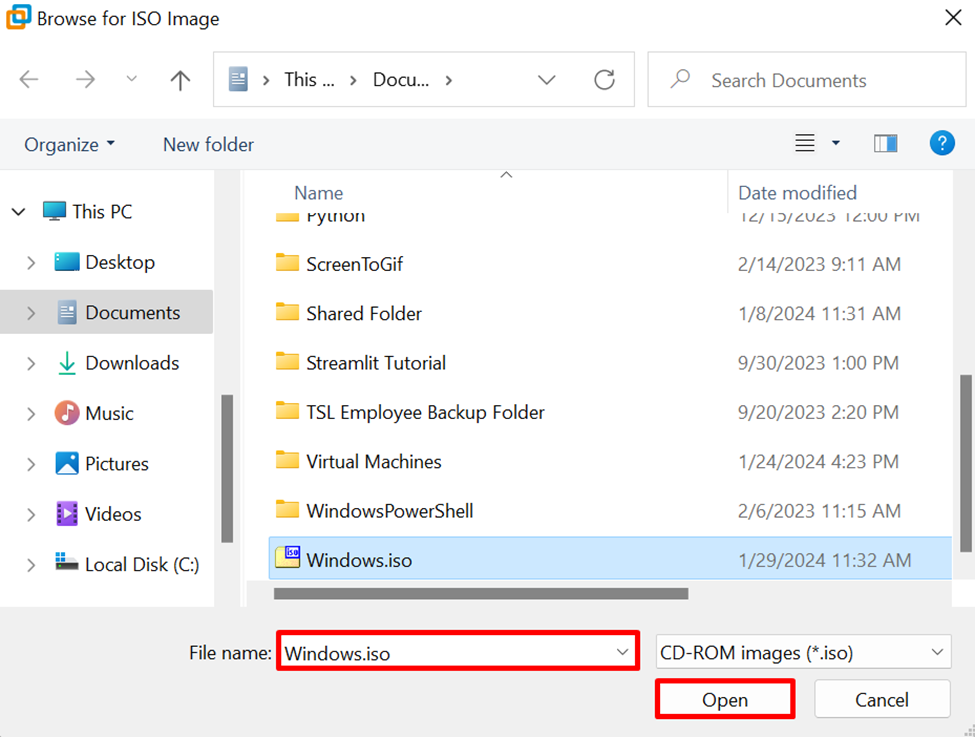
Select the file from File Manager window and press the “Open” button:
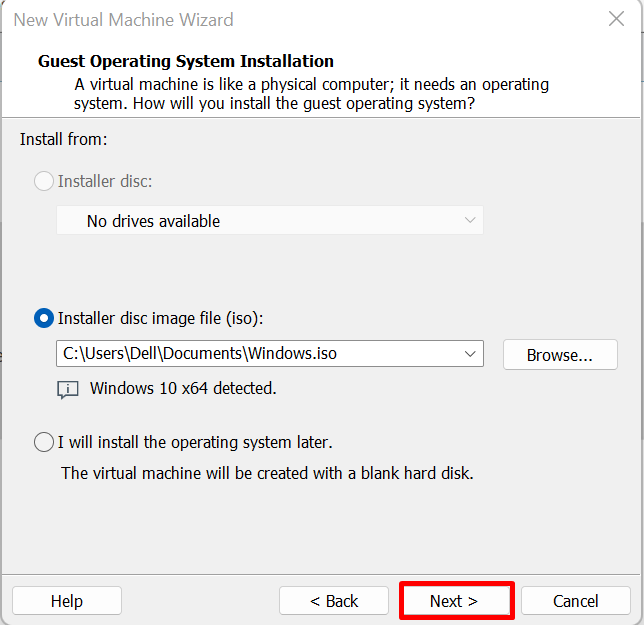
After selecting the ISO file, click on the Next button:
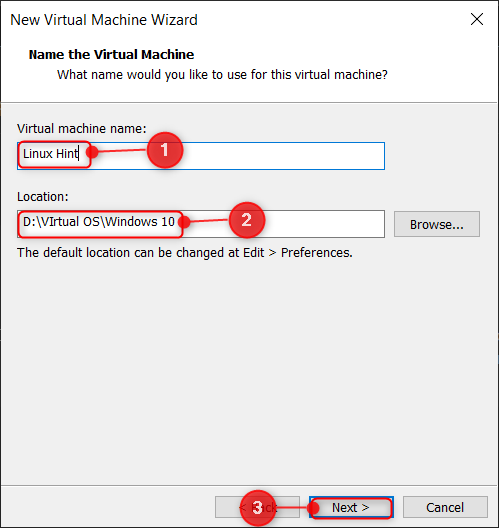
Step 4: Specify the Name and Location
Specify the name for the VM which will show as the name for the VM. Also, you need to specify the location where the VM will be created. The best practice is to install it in a separate drive and installing it in an SSD or NVMe card allows more smoother performance:
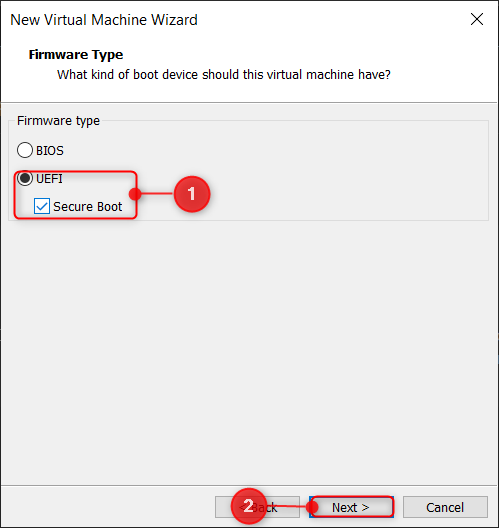
Step 5: Configure the Firmware Type
In this step, proceed with the UEFI and you can also check the secure boot option. All these settings can also be configured later in the VM’s settings. Now, press the “Next” to proceed:
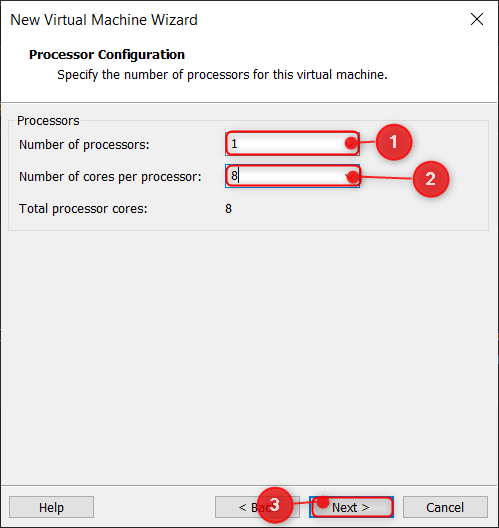
Step 6: Processor Configuration
The Processor Configuration window will appear in which you will be asked for the CPU amount to dedicate to the Virtual Machine. Allocate the processor to the machine and press the “Next”:
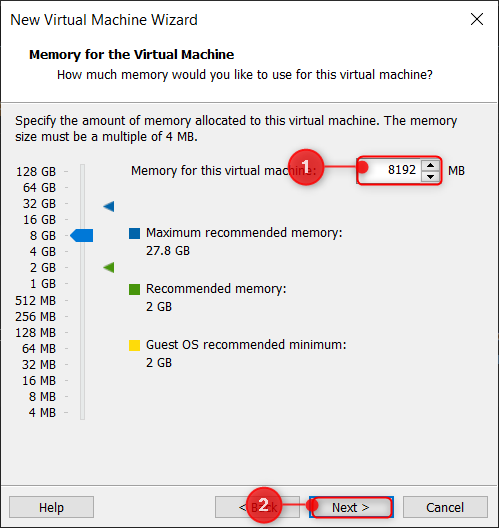
Step 7: Dedicate the RAM for the VM
You must manually assign the amount of RAM for the VM. If the host machine has a total of 16 GB RAM, you can dedicate 4 or 8 GB to the VM. This would allow better and smoother performance for the VM:
Step 8: Configure the Network Type
Now, the Network Type window will appear, proceed with the NAT option for the guest machine:

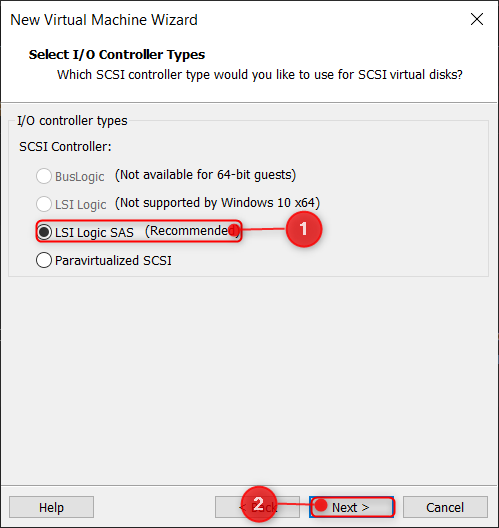
Step 9: Configure I/O Controller Types
From the next wizard, go with the recommended option to ensure smoothness for the input and output devices and their operations:
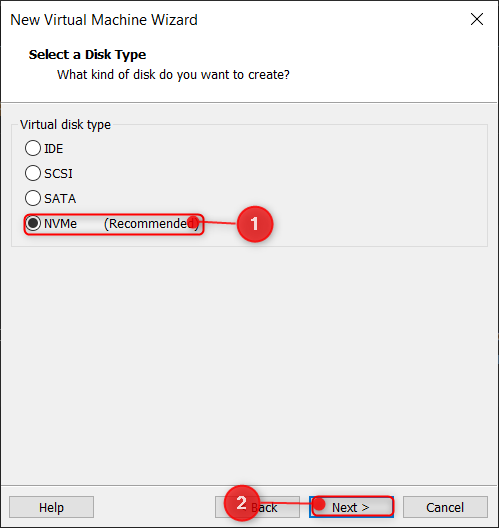
Step 10: Configure Disk type
VMware has a very good option NVMe that allows for better performance. Choose the “NVMe” or “SCSI” option and press the “Next”:
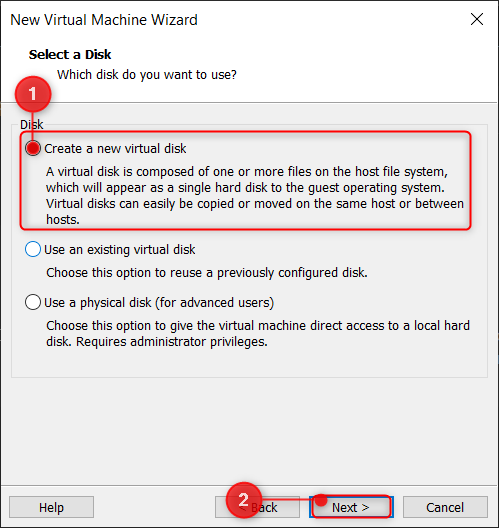
Step 11: Create a Disk for the VM
The “Select a Disk” window will appear in which there are many options, but it is advisable to go with Create a New Virtual Disk for a clean installation of Windows:
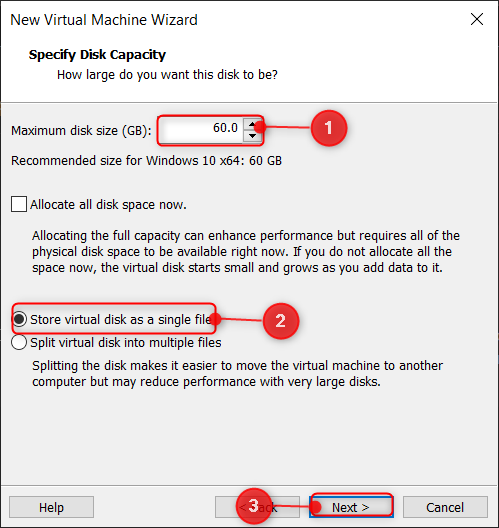
Step 12: Specify the Disk Capacity
Now, another window will appear in which the you need to specify the amount of space to dedicate to the VM. You can specify it according to the total capacity of the host machine. Also, select the option to store the virtual disk as a single file:
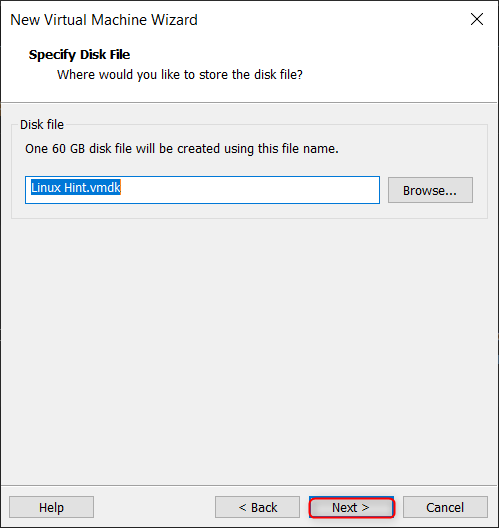
Step 13: Specify Disk File
Specify the disk filename and you have the flexibility to set the disk extension from the available extensions of the VMware. Simply click on the Next button.
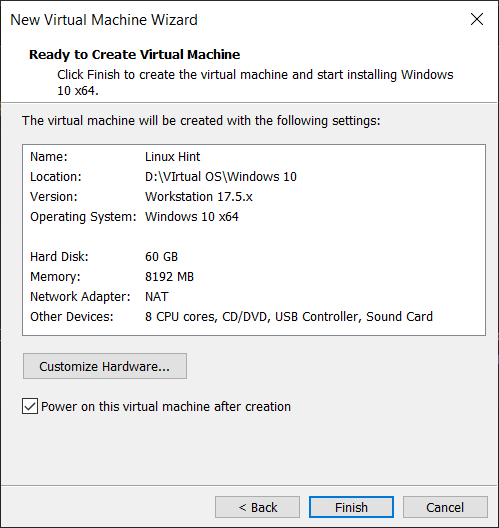
Step 14: Review and Complete the creation of the VM
Now, you can review the overall changes specified for the VM. In case, some things are to be changed, click on the “Customize Hardware” button else simply click on Finish and the machine will be created:
Now the VM has been set successfully on the device. Follow the steps below to install the Windows 10 OS in this VM.
How to Install Windows 10 in VMware?
After setting up the Virtual machine, begin with the installation of Windows which will start when the machine is powered on. Follow the steps for a clean and proper installation of Windows 10 on your VM.
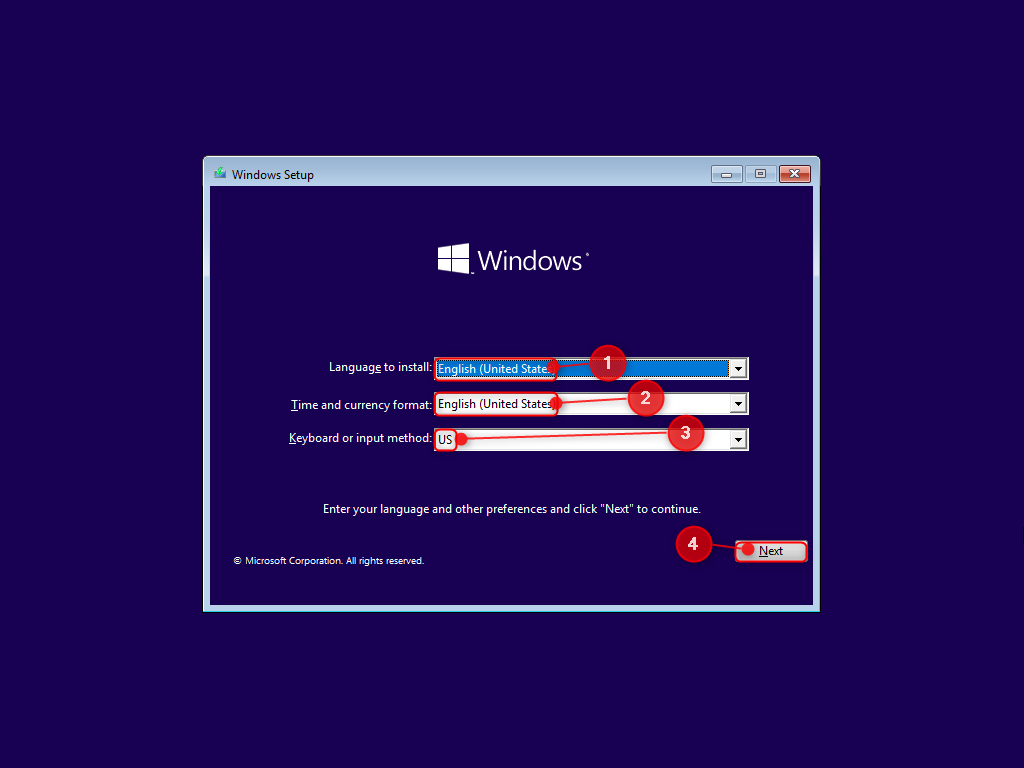
Step 1: Set the System Basics
The installation begins by configuring the language, time zone, and keyboard layout you want to install on the VM:
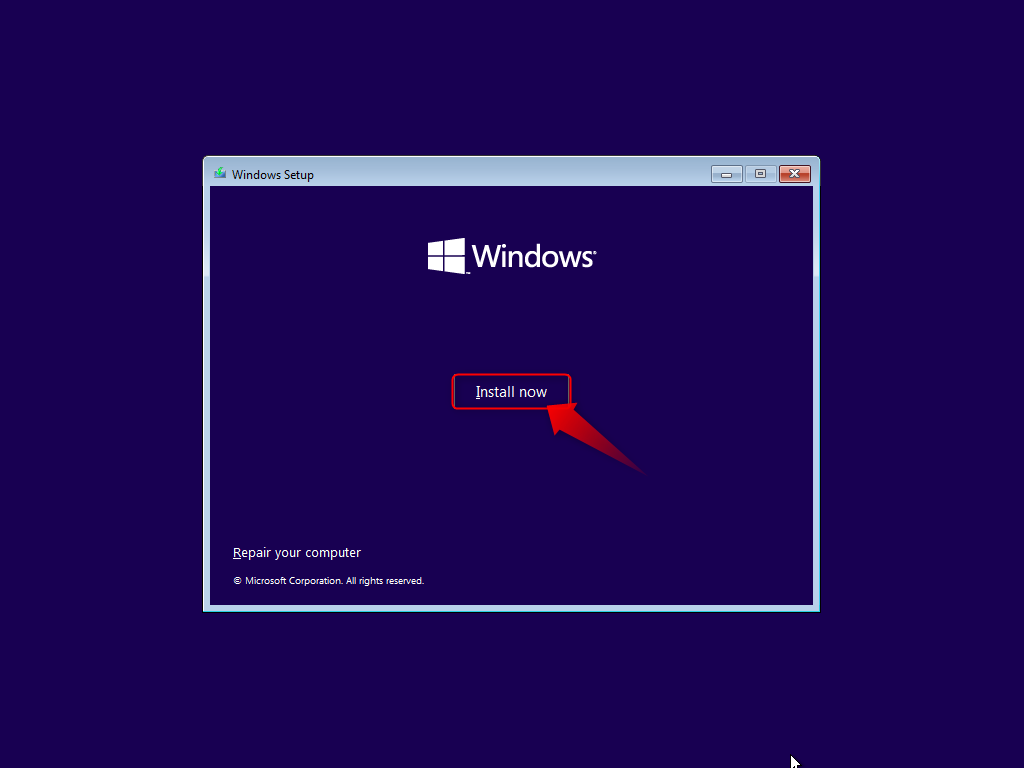
Step 2: Initiate the Installation
Click on the Install Now button to start the installation process and along the way follow the proper rules:
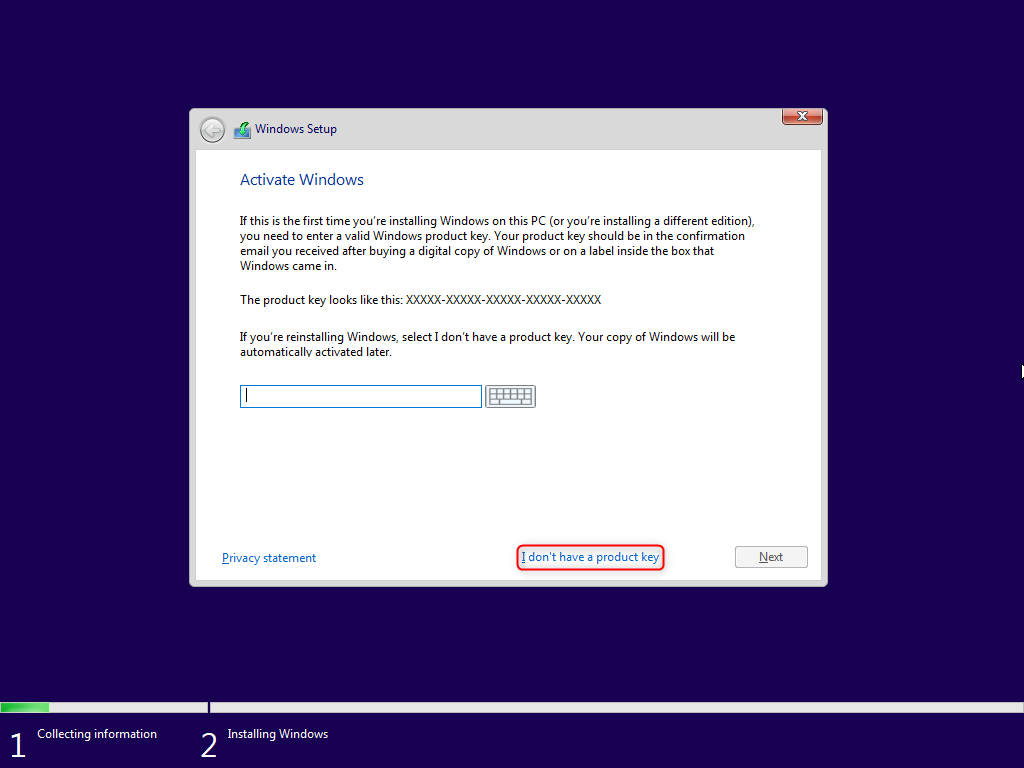
Step 3: Configure the Product Key
After the installation has been initiated, provide the product key that is required for Windows activation. In case, you do not have the product key click on the I don’t have a product key:
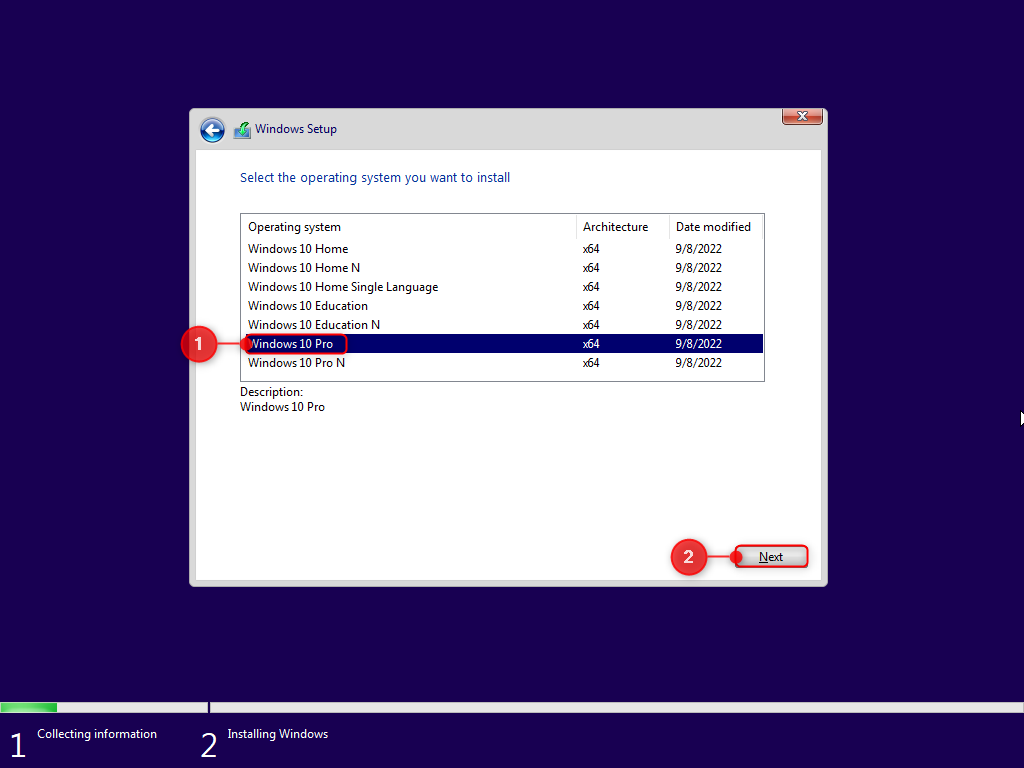
Step 4: Select the Version to Install
A list of versions would be shown to the user from which you can manually select the desired version as per the needs and requirements. In this tutorial, the Windows 10 pro version will be installed:
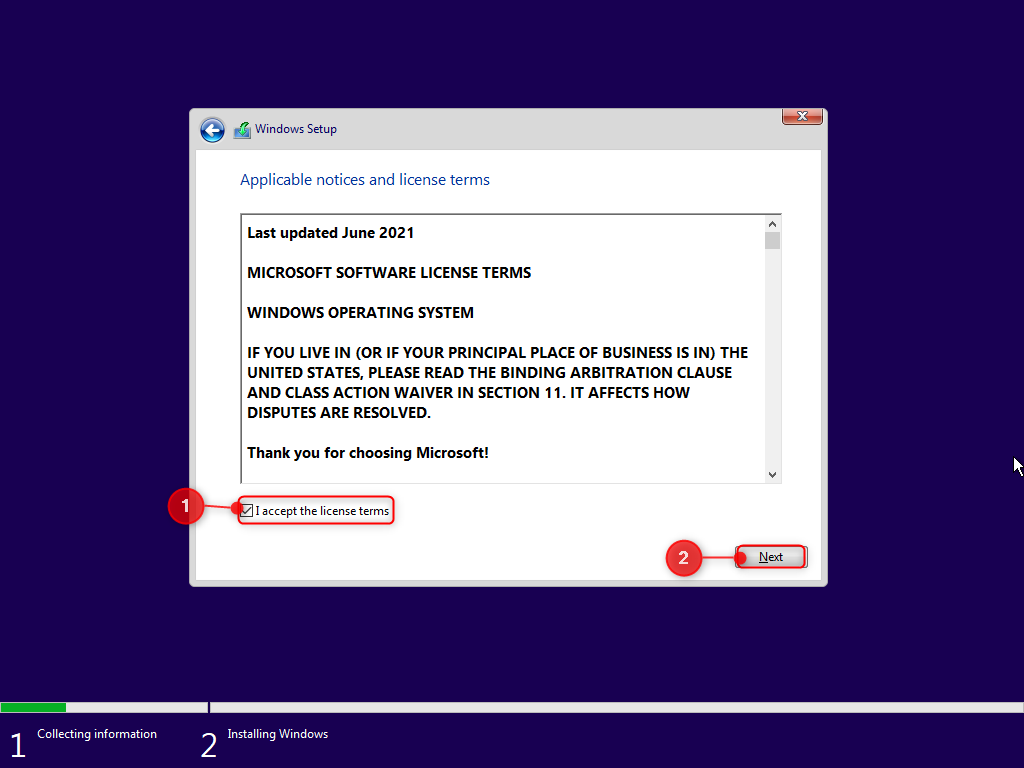
Step 5: Accept the License and Term Agreements
You need to acknowledge the Microsoft policies and accept the Terms and Agreements.
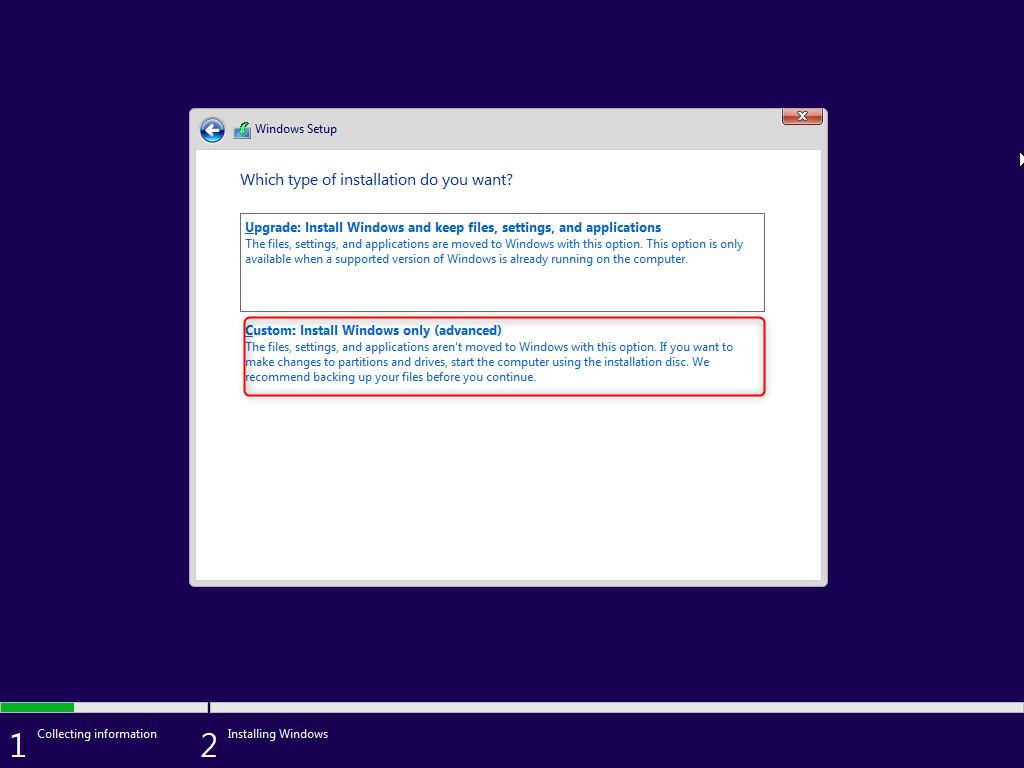
Step 6: Configure the Installation Type
Choose the “custom installation” as it allows for a clean and proper installation of Windows on the VM:
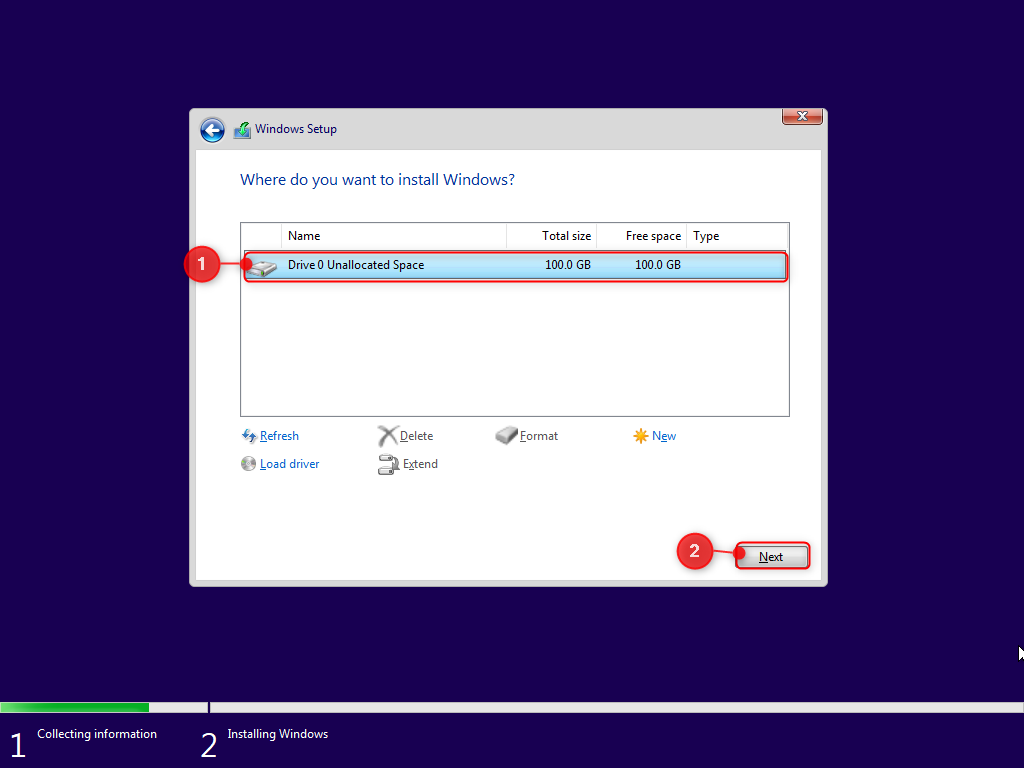
Step 7: Specify the Drive for Installation
You must select the drive for the installation of the OS. The OS will load from this virtual drive:
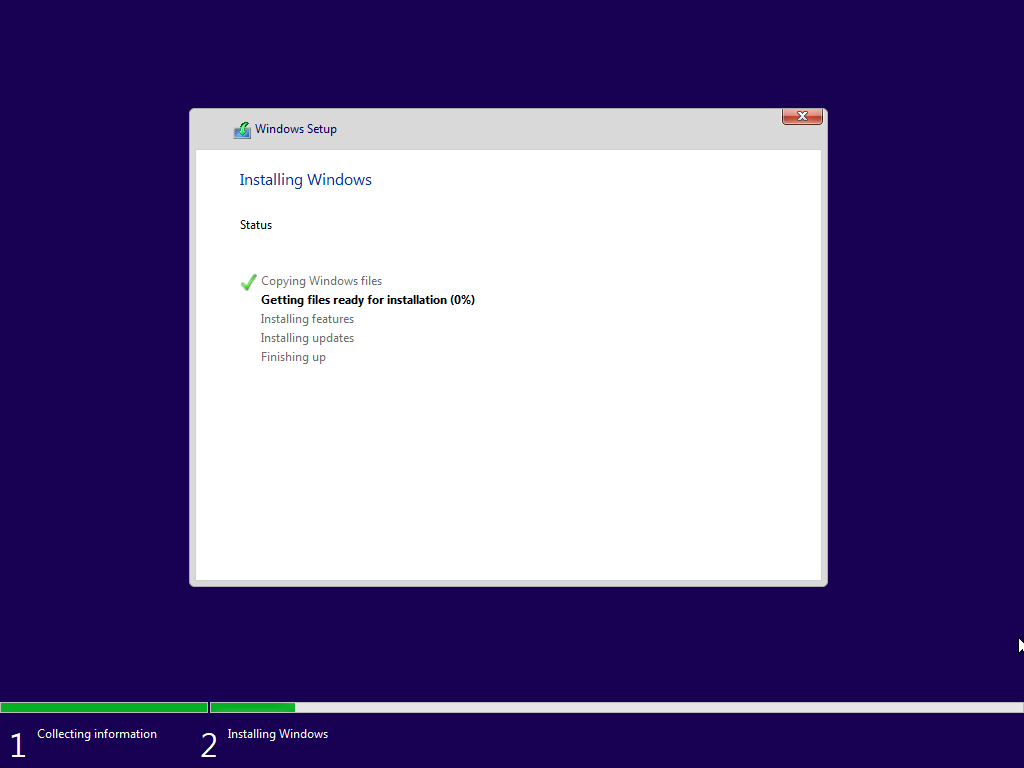
Step 8: Wait for the Wizard to install the OS
The setup wizard will install the files needed for the OS. This would take some time and the OS will be configured with the VM:
Step 9: Restart VM
A timer will start after which the computer will restart. You can also select the Restart Now button for immediate restarting of the VM.10:

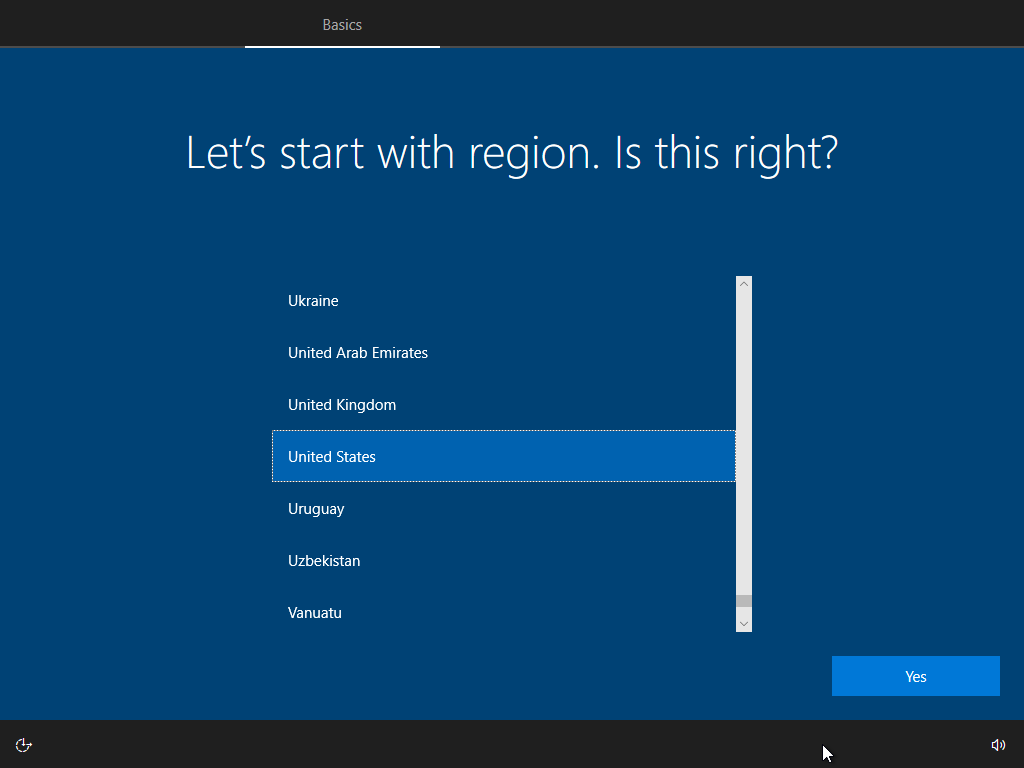
Step 10: Specify the region
You can select the desired region from the list of regions:
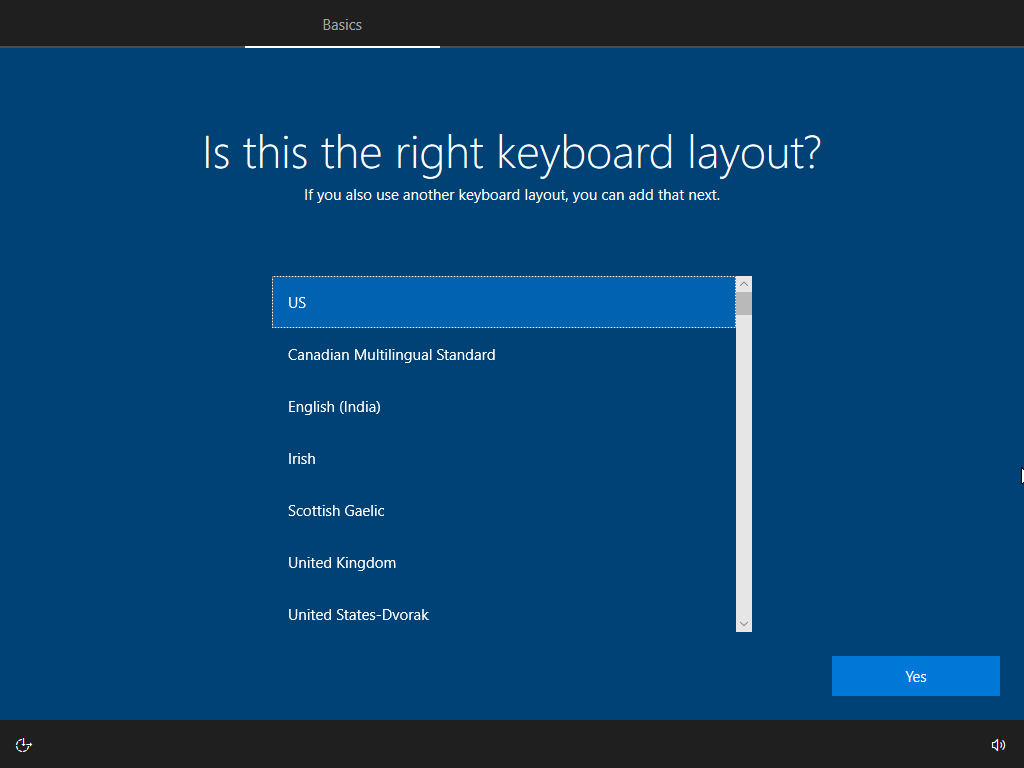
Step 11: Configure Keyboard Layout
Now, select the suitable keyboard layout for the OS:
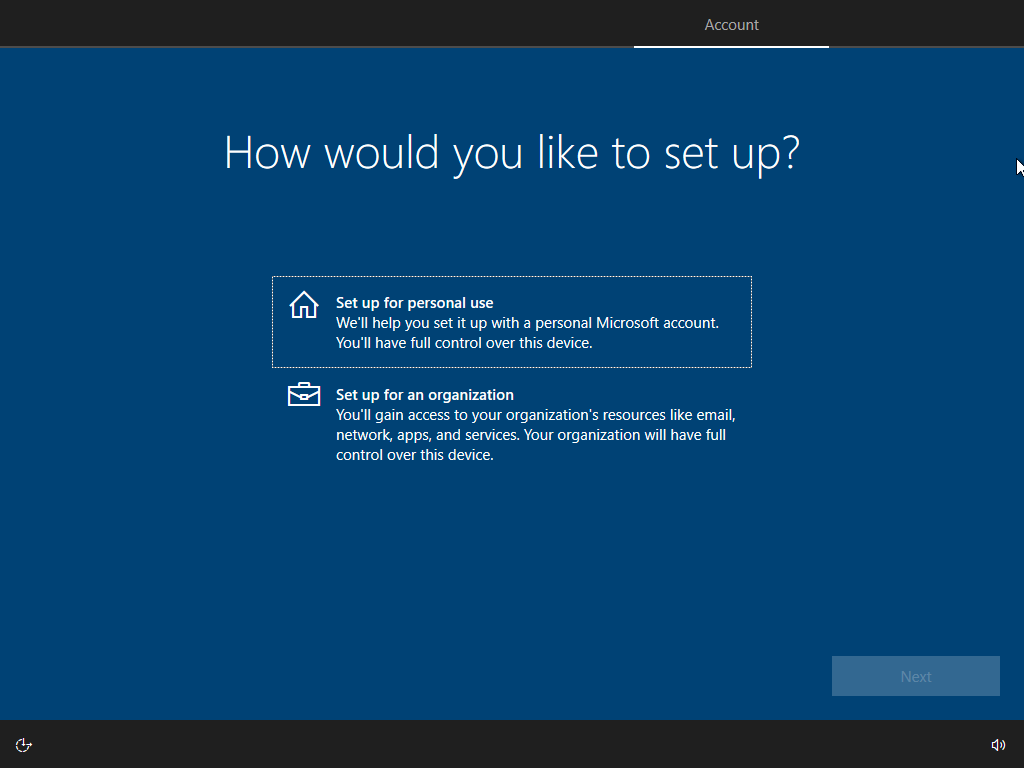
Step 12: User Account
Here, you can set up the Windows account for personal use or organization use and then press “Next” to proceed:
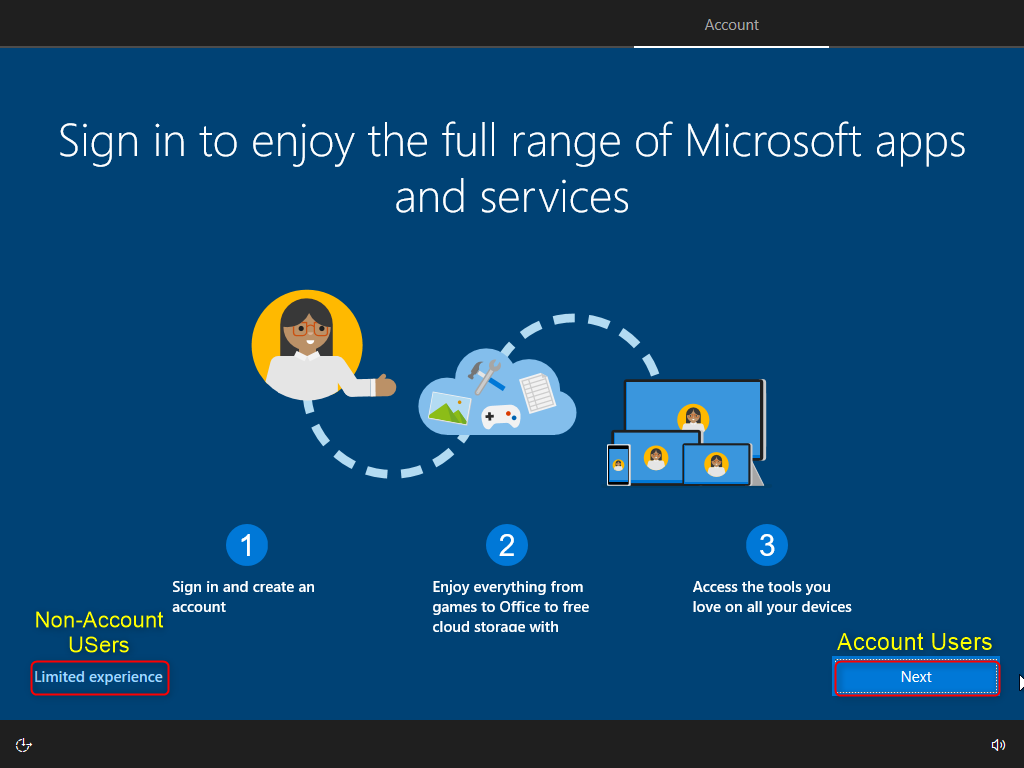
Step 13: Add User Account
You can add the account that OS would be configured with or else proceed with an offline account:
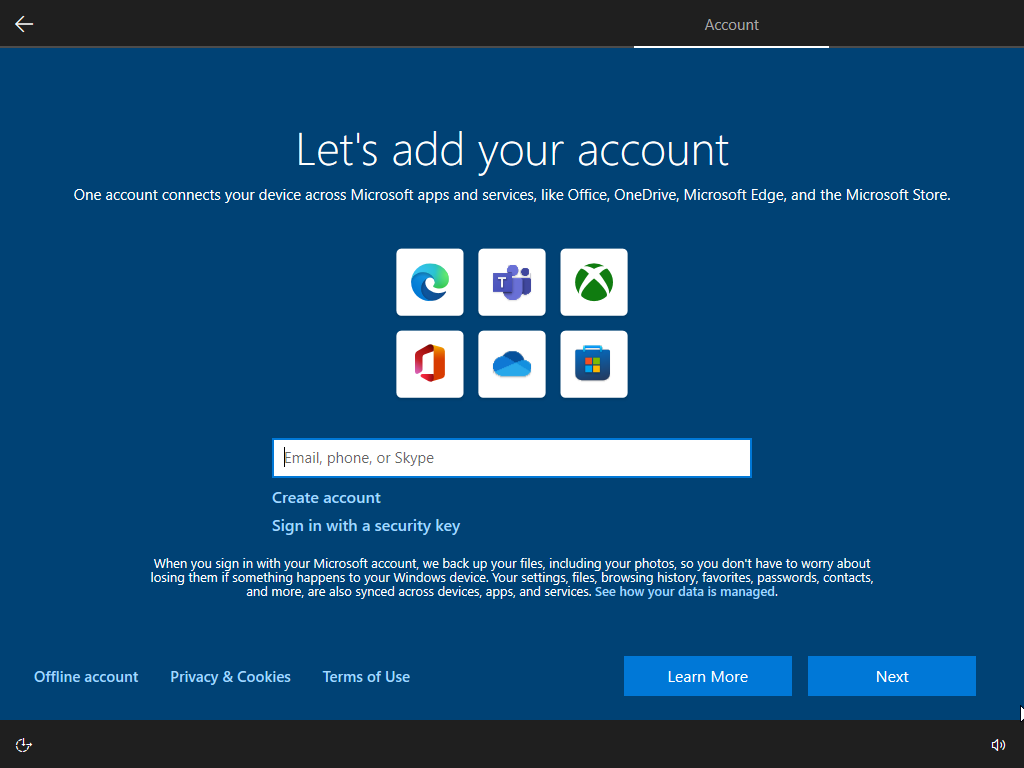
A new window will appear and click on the Limited Experience button. Otherwise, you must specify an account and click on the Next button:
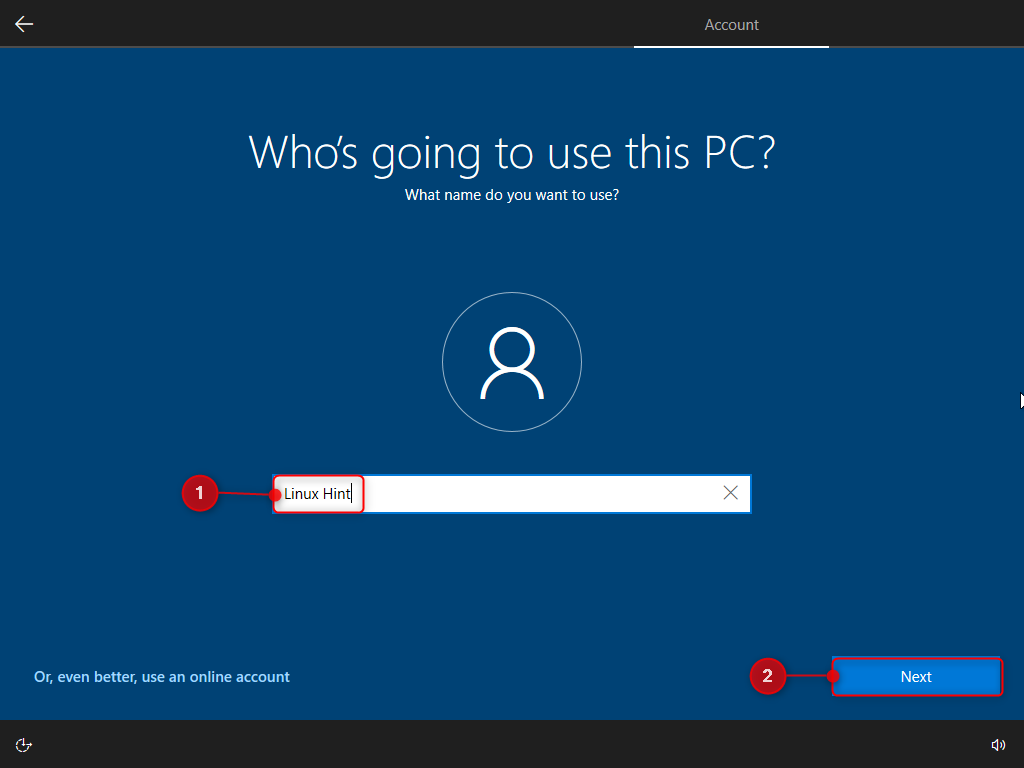
Step 14: Set the Device Name
You have the flexibility to name the device whatever you want. This will appear every time the OS loads:
Step 15: Set a Strong Password
Specify a strong password for the OS for security and click on the “Next” button:

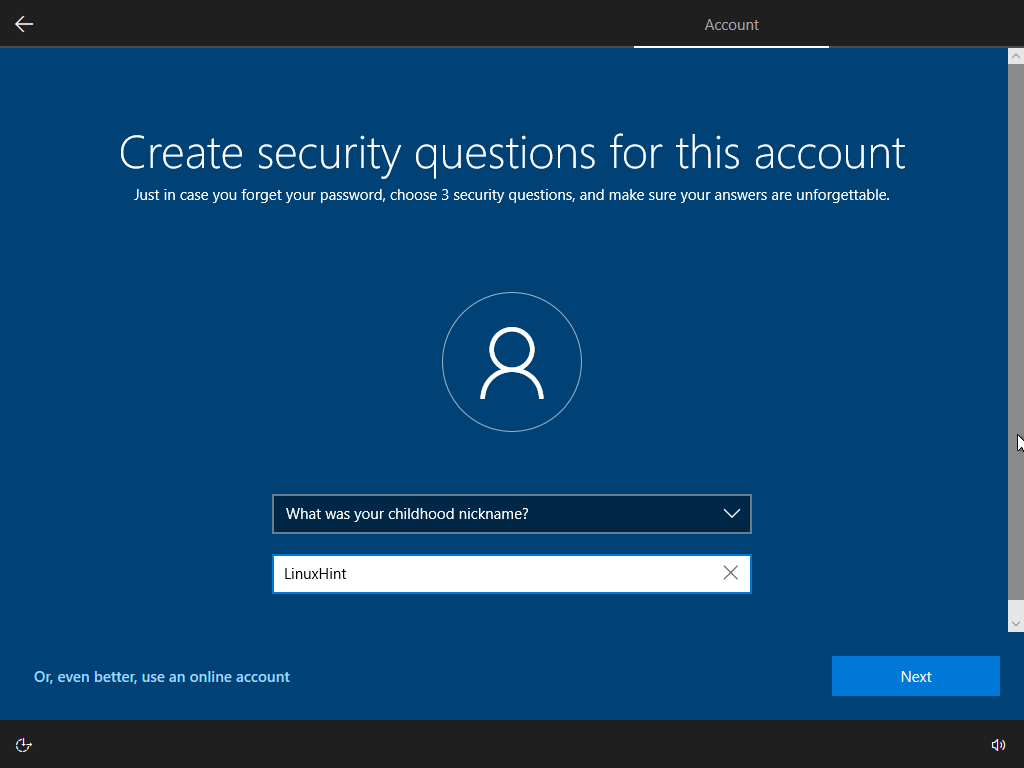
Step 16: Adjust the Security Questions
You can specify the security questions in case the password is not remembered:
Step 17: Allow Browser Configuration
Allow the browser for synchronizing the browsing data by pressing the “Accept” button:

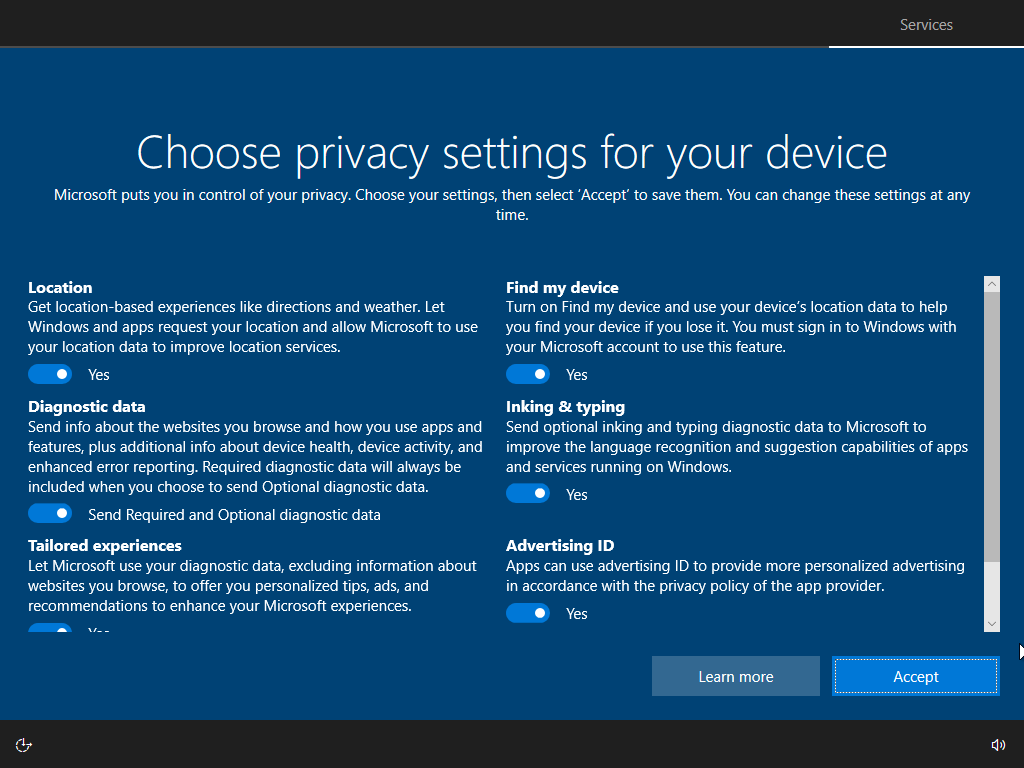
Step 18: Check the Privacy Settings
Agree to the privacy settings that the OS will ask for and these are the final steps for the installation. To do so, press “Accept”
Step 19: Check the OS Properties
The OS has been successfully installed on the VM and you can verify by opening the properties of My PC. The following window will appear:
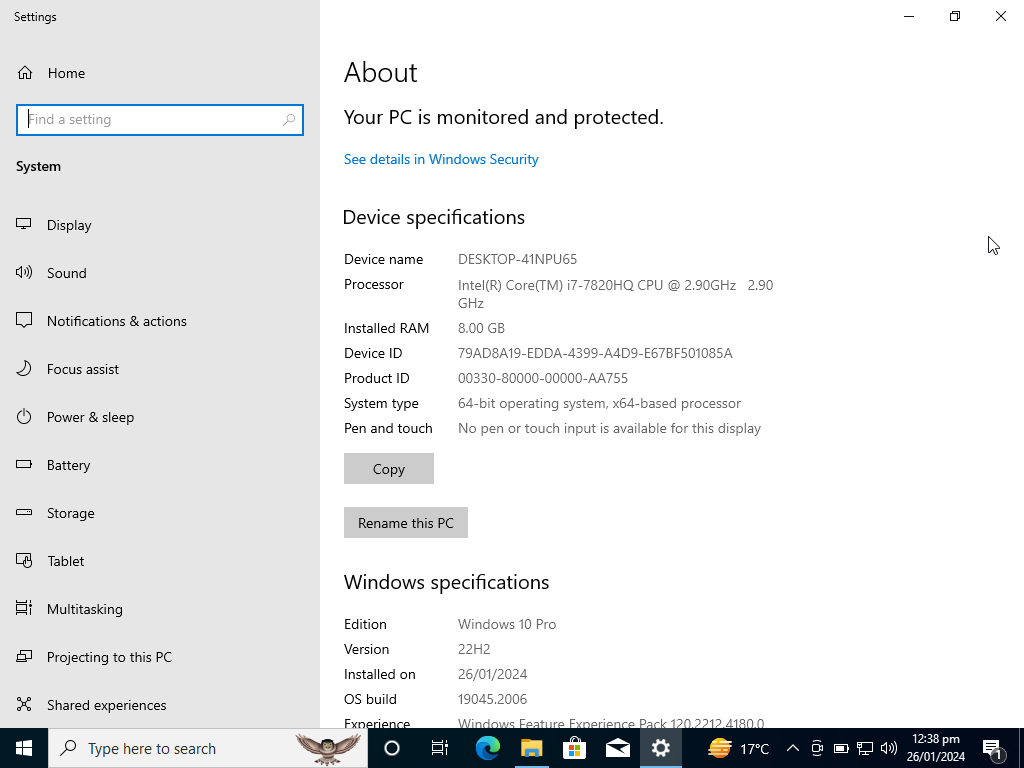
That’s it, you can now perform the operations like on a host OS. Similarly, the OS has support for everything and you can run any software.
Conclusion
To install Windows 10 in VMware, first, create a Virtual Machine, specify the ISO file for Windows, and the amount of space to dedicate to the guest machine. The memory will be used for smooth performance for OS so you can dedicate more for a more optimized performance. The installation of Windows 10 will start with the ISO file configured earlier. Follow the step-by-step procedure and configure the desired settings. The Windows 10 will be installed on the VM.