On the client side, emails forms are validated to catch out invalid data so that the user can correct it immediately. In other cases, if invalid data is submitted to the server, it will get rejected, and the corresponding server will send it back to the client.
This write-up will discuss validating email forms on the client-side in JavaScript. So, let’s start!
How to validate email form on client-side in JavaScript
An email comprises a “string,” which is represented as a subset of ASCII characters, separated into two parts by utilizing the “@” symbol. It can be written as “userinfo@domain”, where “userinfo” is the user’s private information. The length of the “userinfo” part should not be more than 64 characters, while the domain name can have 253 characters.
The “userinfo” part can include the below-given ASCII characters:
- Numbers from 0 to 9.
- Uppercase (A-Z) and lowercase (a-z) English letters.
- Special characters such as ~ _ ` / ? – + = { } ^ | $ * ‘ ! & # %
- You can also add a period character “.”, but it should not be the first and last character of the “userinfo” part and do not repeat it after another.
The domain name specified in the email address, such as org, info, net, com, us, can contain digits, letters, hyphens, and full stop.
Check out below-given some examples of valid and invalid email ids:
Valid Email format examples
Invalid Email format examples
- galaxy.com (“@” character is not added)
- [email protected] (Top Level Domain can not start with “.”)
- [email protected] (“.a” is not a valid Top Level Domain)
- [email protected] (Do not start an email id with “.” character)
- @any.domain.net (“userinfo” part is missing before the “@” character )
Now, we will demonstrate a practical example related to email validation form in JavaScript.
Example: validate email form on client side in JavaScript
First of all, we will create a form on our client side having an “input” field for entering email id and a “Submit” button for verifying the email format:
<div class="email">
<h2>Kindly Enter your Email Address</h2>
<form name="form1" action="#">
<input type='text' name='text1' required size="30" />
<input type="submit" name="submit" value="Submit" onclick="ValidateEmail(document.form1.text1)" />
</form>
</div>
</body>
Regular Expression for validating email form on client side in JavaScript
In JavaScript, Regular Expressions are one of the most useful methods utilized for validating email format. They represent a character of pattern which is compared with the user input.
In our JavaScript file, we will add the following regular expression for validating the email id entered by the user:
The above-given regular expression permits you to add Uppercase (A-Z) and lowercase (a-z) letters, digits (0-9), period “.” and special characters such as ~ _ ` / ? – + = { } ^ | $ * ‘ ! & # % , in the email id.
We will create a “ValidateEmail()” function in JavaScript, which will take “inputText” as an argument. After that, we will store the mentioned regular expression in the “mailformat”. The added “mailformat” is then compared to the user input. If the entered email id has a valid format, an alert will appear on the screen with the string “You have entered a Valid email address!”. Otherwise, it will let you know that the email id is invalid:
var mailformat = /^\w+([\.-]?\w+)*@\w+([\.-]?\w+)*(\.\w{2,3})+$/;
if (inputText.value.match(mailformat)) {
alert("You have entered a Valid email address!");
document.form1.text1.focus();
return true;
}
else {
alert("Invalid Email Address");
document.form1.text1.focus();
return false;
}
}
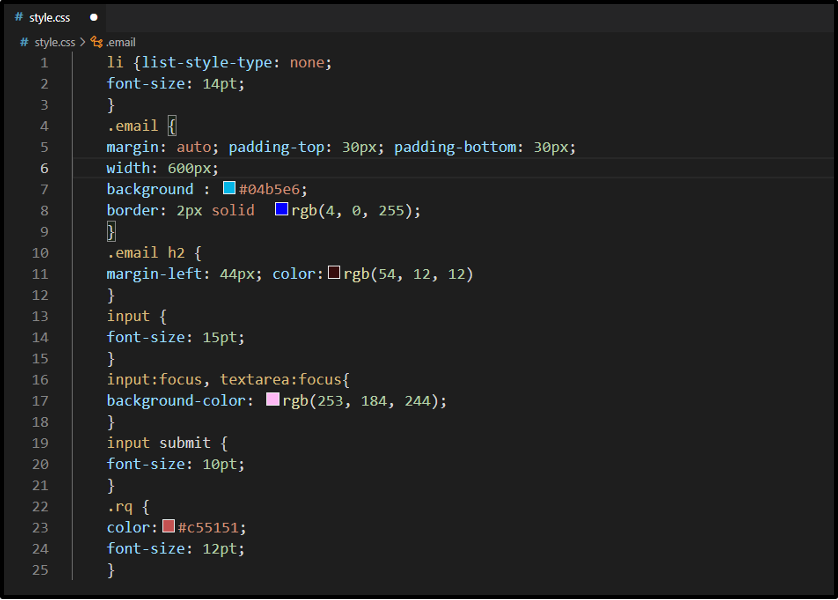
We have also set the HTML elements style to enhance their appearance on the email validation form:
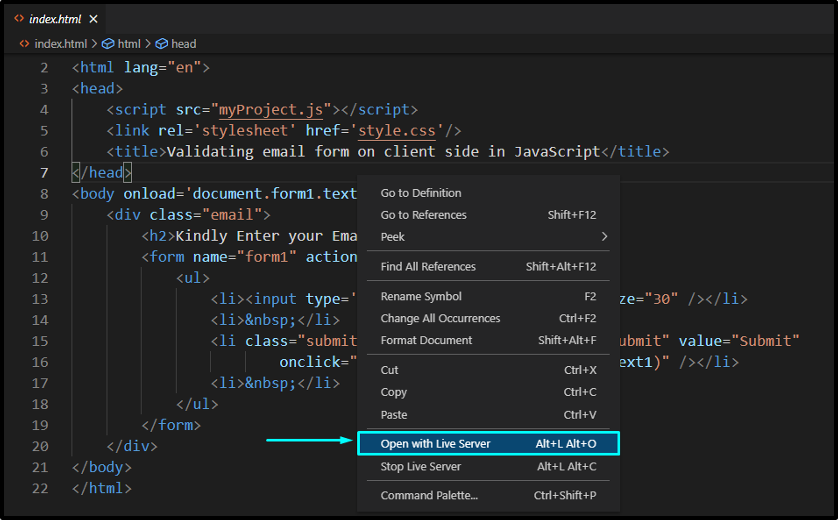
Now, we will open up our “index.html” file with the help of VS Code “Live Server” extension:
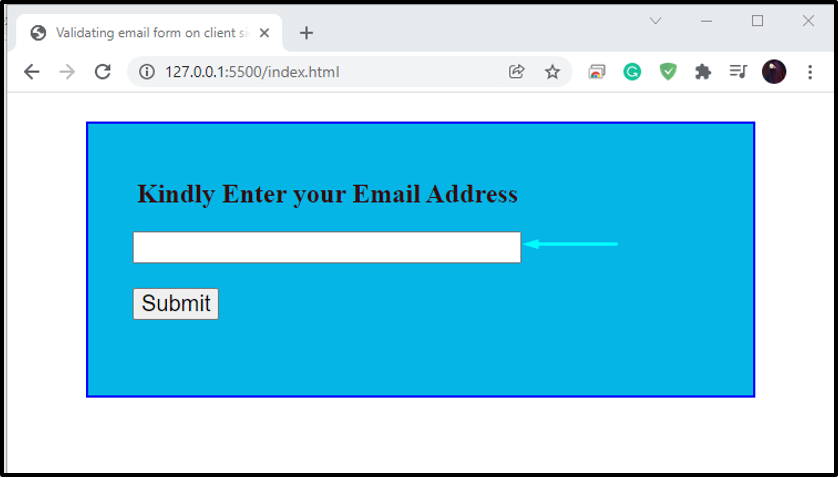
Here comes the email validation form with an input field and submit button:
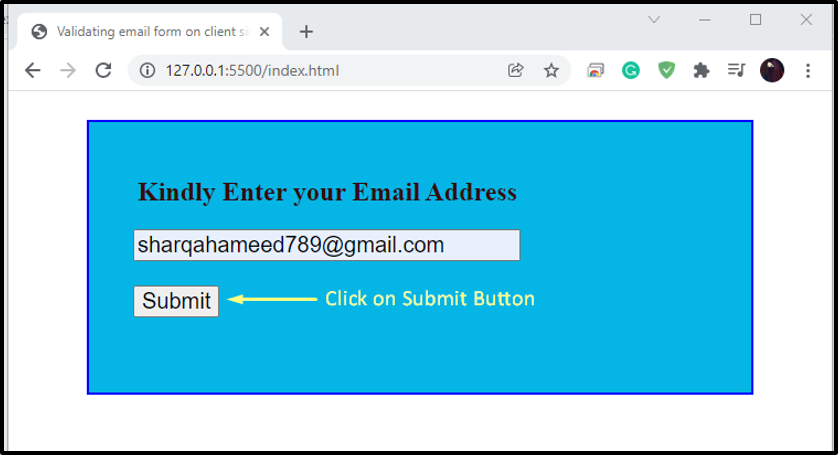
For the first time, we will enter a valid email id and:
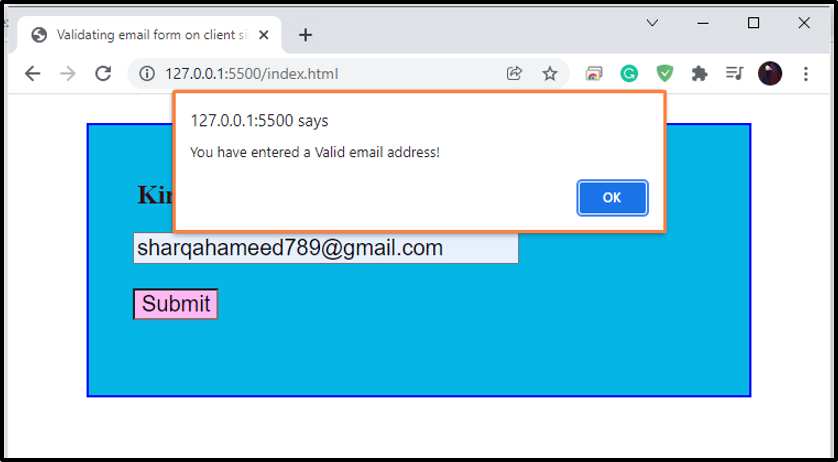
After clicking the “Submit” button, an alert box appears on our web page, which states that the entered email address is valid:
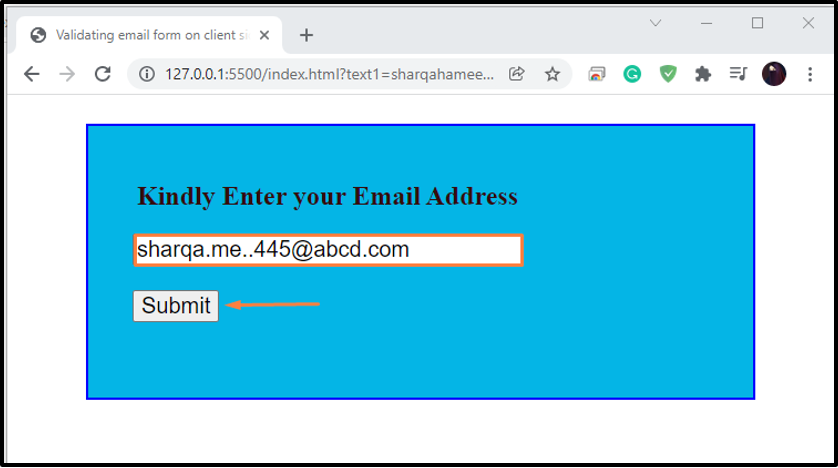
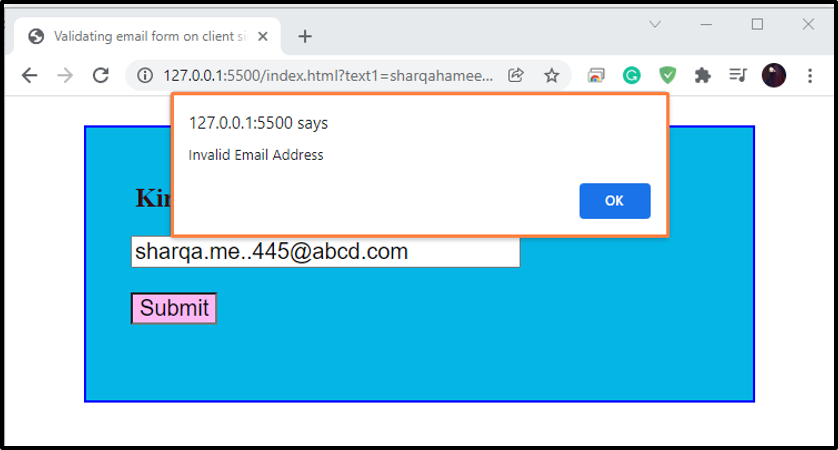
Now, to check for an invalid email, we will write out an email having an invalid format and then click on the submit button:
You can see that our Email validation form is working perfectly for validating the email id according to the specified format.
Conclusion
Using JavaScript, you can validate email forms on the client-side. The created email validation form is based on user requirements, such as permitting regular expressions, accepting only characters and digits in email id, or only allowing specific domains. Validating email forms also helps in submitting correct and valuable information to the server. This write-up discussed the procedure of validating email forms on the client-side in JavaScript with the help of appropriate examples.

