However, sometimes, the user encounters the error “npm command not found” when installing or configuring a module or package from the npm registry which disturbs the user workflow.
This post will demonstrate:
- How to Resolve the “npm command not found” on Linux?
- How to Resolve the “npm command not found” on Windows?
- Conclusion
How to Resolve the “npm command not found”on Linux?
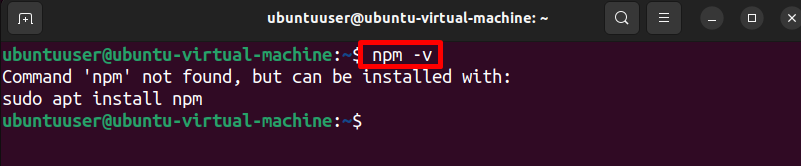
Node.js is a widely used runtime environment for JavaScript code. Node.js is compatible with all major Operating systems. Sometimes, while installing the Node.js module in JavaScript, the user encounters the error “npm command not found” as shown below. This error occurs due to different purposes such as npm is not installed on the system or outdated version of npm is being used or npm not being added to Linux Path environment settings:
To fix the above-given error, try out the following solutions:
- Install npm on Linux
- Add npm to Path Environment Settings
- Check “node_modules” Directory Permissions
Solution 1: Install npm on Linux
During Node.js installation, the user may forget to install the npm package manager or may npm is not installed correctly on the system. Due to this, the user encounters the error “command ‘npm’ not found”. To fix the stated issue, install the npm on Linux through the following instructions:
Step 1: Update Ubuntu
First, fire up the Ubuntu terminal through the “CTRL+ALT+T” key. Then, run the “apt update” command to update the Ubuntu repository:
Step 2: Install npm Package
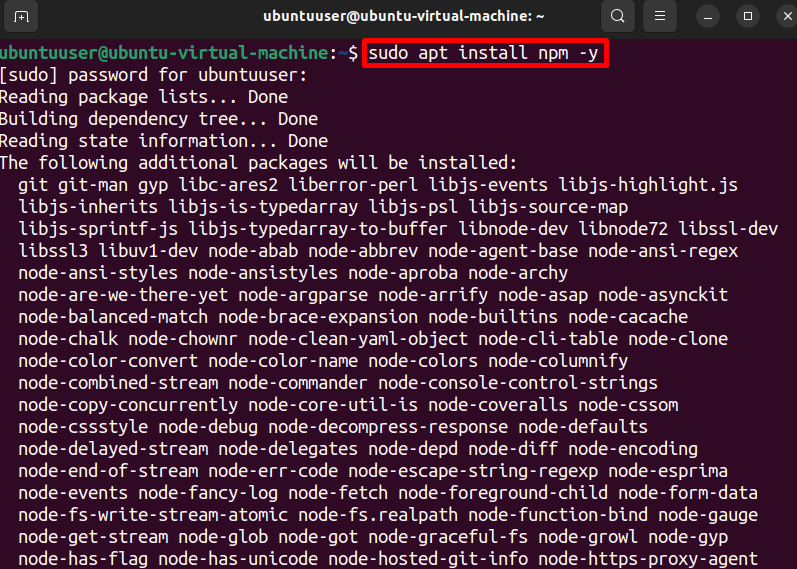
Next, install the npm package manager through the “apt install npm” command. This command may require root privileges, therefore use “sudo” before the command:
Here, the “-y” flag is utilized to allocate the permission to process to use of extra disk space for “npm” installation:
Step 3: Verification
Now, check if the npm is installed or not, run the “npm -v” command:
The below output shows that we have effectively installed the “8.5.1” npm version:

To check whether the npm command is properly working or not, install any Node.js module. For instance, we have installed the “express” module:
The below result indicates that we have installed the module and effectively resolved the stated issue:

If the problem still persists, it means the npm is not automatically added to the Path environment setting.
Solution 2: Add npm to Path Environment Settings
If the npm is not added to the system Path, then the system will fail to detect npm commands and the user will encounter the error “npm command not found”. To fix the stated issue, manually add the npm installation path to the Linux environment settings. To do so, follow the given procedure:
Step 1: Check npm Installation Location
First, check the npm installation location through the “which npm” command:

Step 2: Check Path Environment Settings
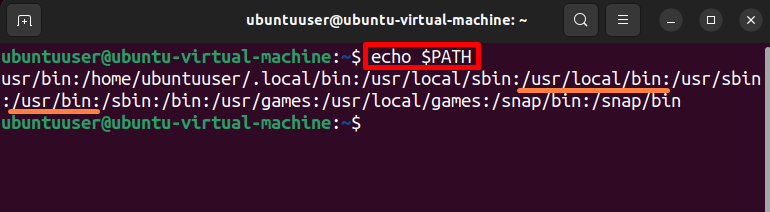
Now, verify if npm is added to Linux Path environment settings or not by viewing the system “PATH”:
Here, you can see our PATH environment settings are already up to date and the npm installation path already exists in environment settings:
However, if the npm executable path does not exist in Environment PATH settings, then add the npm to the system path by following the below step.
Step 3: Add npm Path to Linux Environment Settings
Open the “.bashrc” file in any Linux text editor with sudo user rights. Here, we have used the nano editor:

Then, paste the following snippet into the file and save the file through the “CTRL+S” key:
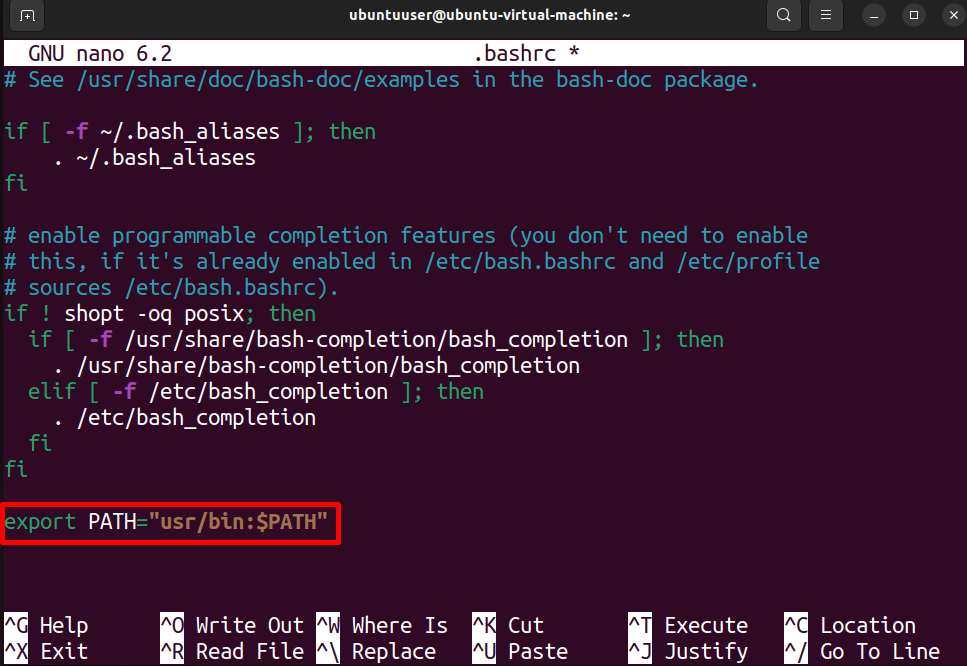
To exit the nano editor, press the “CTRL+X” key.
Step 4: Reload Bash Shell Environment
After updating the “.bashrc” file, reload the Bash shell environment to implement the changes through the below command:

After that, again run the “npm” command and verify if the problem is fixed or not.
Solution 3: Check “node_modules” Directory Permissions
While installing npm on Linux, it creates the “node_modules” directory that contains a package from the Node.js project according to the “project.json” file. If the “node_modules” directory does not have essential permission, it may encounter different errors. To fix these errors, assign the essential permissions to “node_modules” using the below steps:
Step 1: View “node_modules” Directory
Usually, the “node_modules” directory is found in the Linux user directory. To check the files of the current directory, run “ls”:

To view the path of the currently opened directory, run the “pwd”:
Note the path of the “node_modules” directory from the output:

Step 2: Assign Permissions to “node_modules”
Now, assign the essential permissions to “node_modules” through “chown -R $(whoami):root <path-to-node_modules directory>” command:
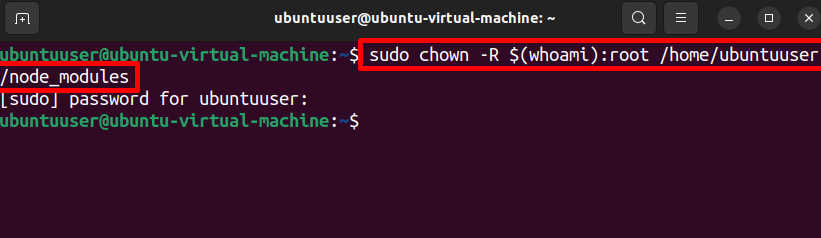
This will resolve different errors related to the “npm” command.
How to Resolve the “npm command not found” on Windows?
On Windows, npm is installed with Node.js installation and automatically added to the Windows path. Therefore, there is minimal chance of an “npm command not found” error occurring. However, rarely do users face the “npm is not recognized as an internal or external” command error. This is due to if npm is not installed with Node.js installation, the npm executable path is not recognized in the Windows PATH variable or an older version of npm is being used:

To fix the highlighted issue, go through the following solutions:
Let’s follow each of the above given solutions one by one.
Solution 1: Uninstall and Reinstall Node.js
Sometimes, while installing Node.js on Windows, the npm package is not installed properly, or maybe the npm version is older and incompatible with new JavaScript applications and modules. Due to this, the user encounters the “npm command is not recognized” error. To fix the stated issue, install the latest version of Node.js and npm using the following procedure.
Step 1: Launch “Add or remove programs” Settings
To fresh install Node.js and npm, first uninstall its older version. For this purpose, open the “Add or remove programs” settings:
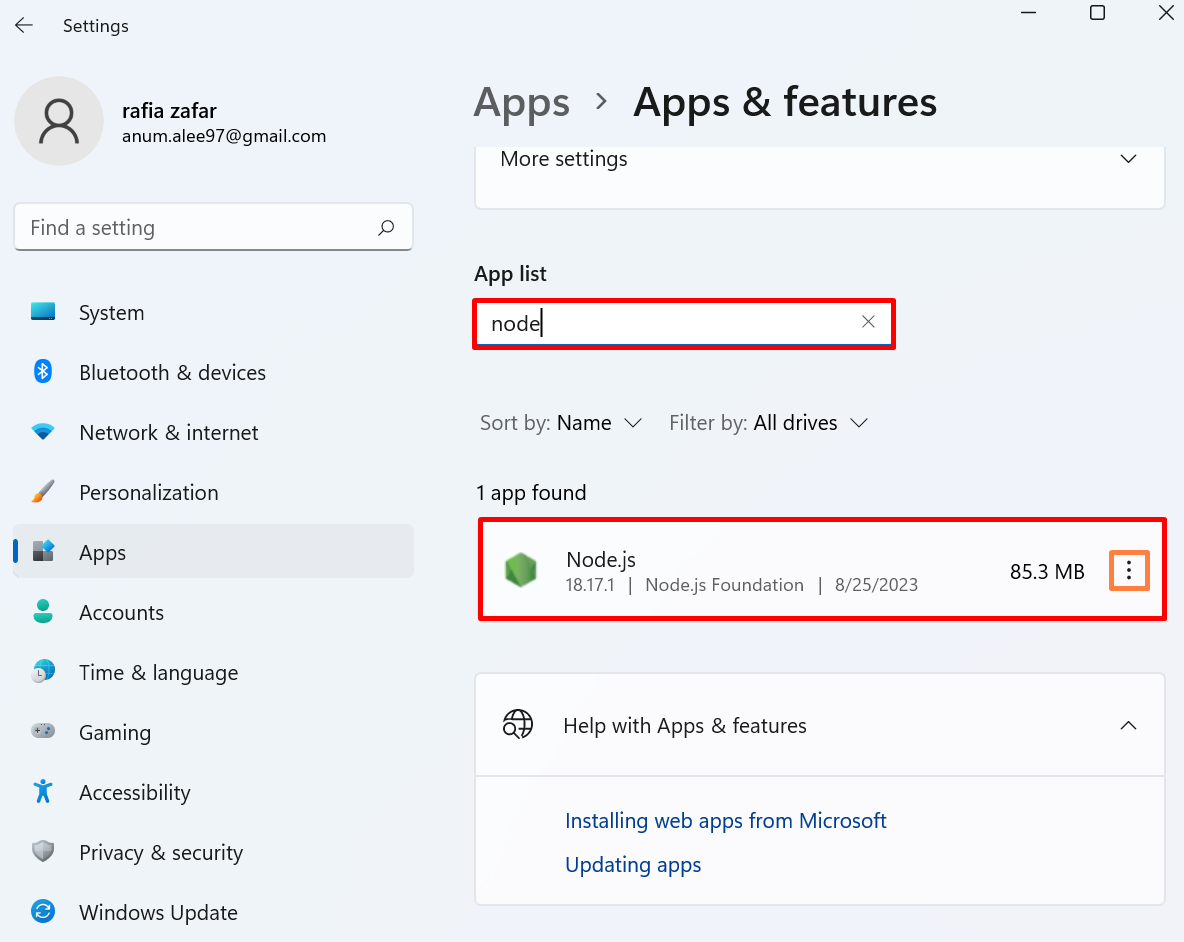
Step 2: Uninstall Node.js
Search for “node” in the App list search field and select the Node.js application. Here, click on the below pointed “three dots” icon to view more options:
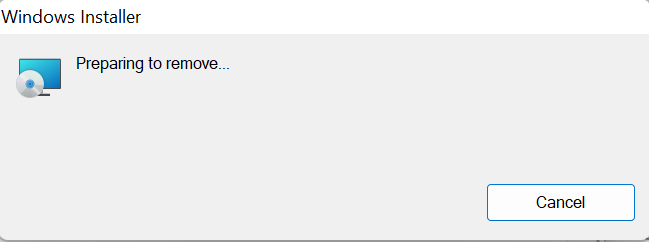
Next, click on the “Uninstall” option to install the Node.js. Users can also trigger the “Modify” option to modify or fix the Node.js installation. However, this step will require a Node.js “msi” file. To upgrade the npm and Node.js, we will freshly install the latest version:

Step 3: Download Node.js Installer
Open the Node.js official website and download the Node.js latest version by hitting the below-pointed option:

Next, open the “Downloads” folder and double-click on the Node.js .msi file to execute the installer:

Step 4: Install Node.js and npm
This will open the Node.js Setup wizard, hit the “Next” button to proceed to the installation steps:

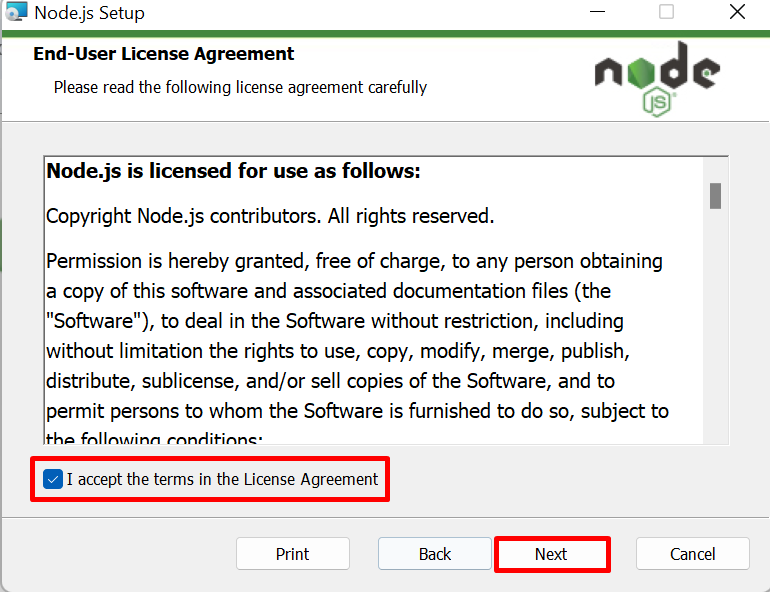
Agree on the Node.js “End-User License Agreement” by pressing on below pointed checkbox and pressing the “Next” button:
Select the Node.js installation location and press “Next”. Here, we will continue with the default selected location:

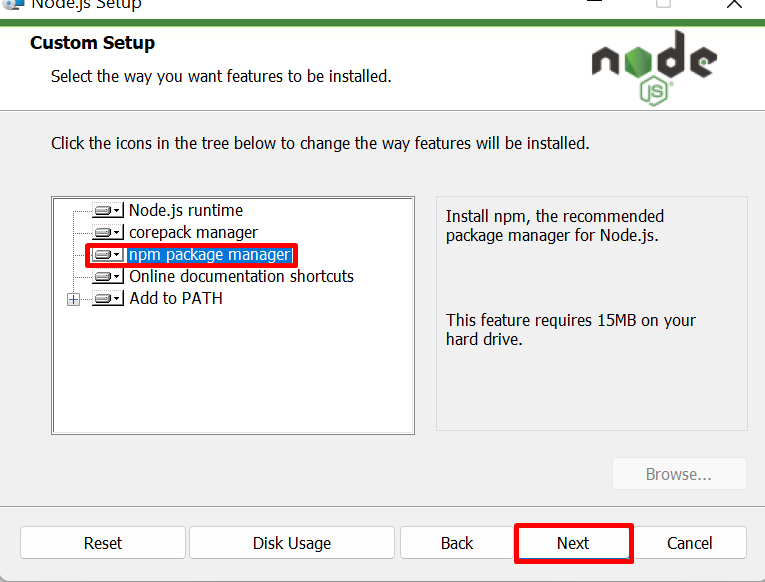
From the next wizard, navigate to the “npm package manager” option and select the below-pointed option to completely install the npm along with Node.js installation:

After that, press the “Next” button to continue the process:
Here, if you want to install an additional tool along with npm and Node.js, press the below-given checkbox and press “Next”. Here, we do not require any additional tool:

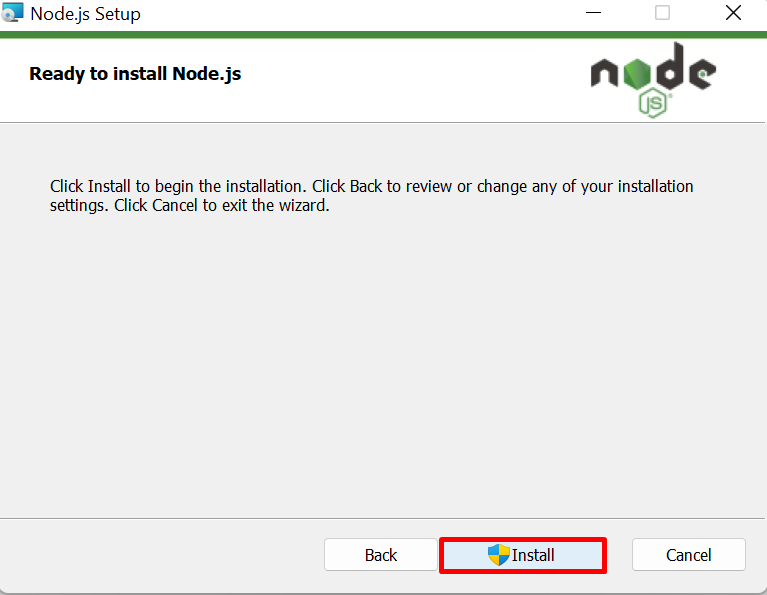
Lastly, press the “Install” button to start installing Node.js and npm on Windows:
After completing the installation process, hit the “Finish” button:

This will also automatically add the Node.js and npm to the Windows Path variable.
Step 5: Launch Terminal
To check if npm and Node.js are installed and added to the Windows path, open the Command Prompt Windows default terminal via the Start menu:

Step 6: Verification
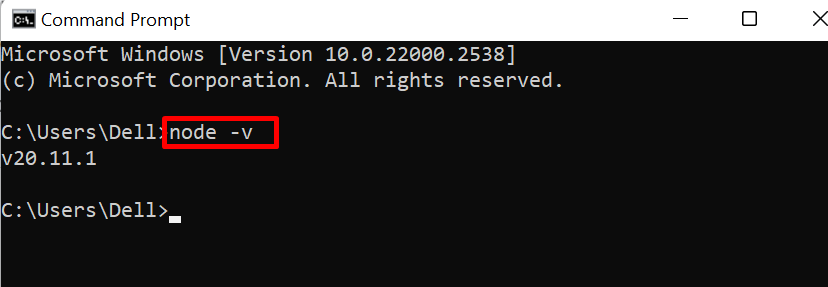
Next, run the “node -v” command to check the Node.js version:
Now, to check if npm is installed and working well, check the npm version:
From the below result, you can see we have effectively installed the npm “10.2.4” version on Windows:

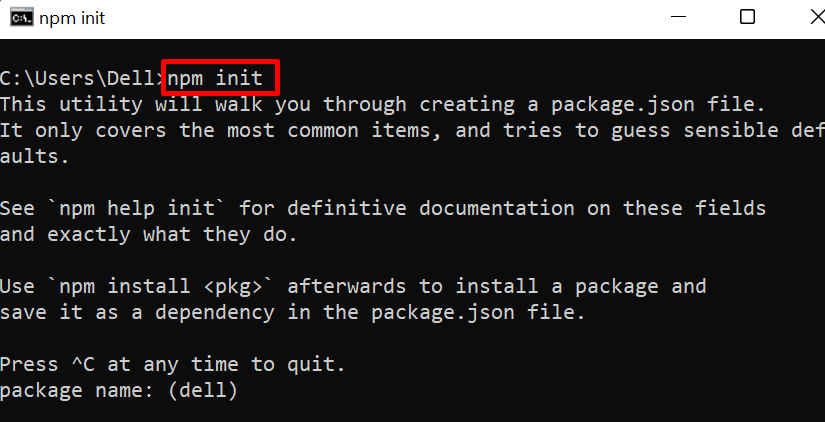
Now, verify whether the “npm command not found” error is resolved or not. For this purpose, initialize the Node.js environment using the “npm init” command:
The below output shows that we have effectively resolved the npm command not recognized error:
If the error still persists, it means npm is not added to Windows Path. To fix the problem, try out the below solution.
Solution 2: Add npm to Windows Path
However, while Node.js and npm are installed, the Windows PATH variable is automatically updated. But, if npm is not added to Windows Path, then the system is unable to access the npm command line utility from the terminal, and the user faces the error “npm command not found”. To fix the stated issue, add the npm to the Windows Path variable using the following demonstration.
Step 1: Check Npm Installation Location
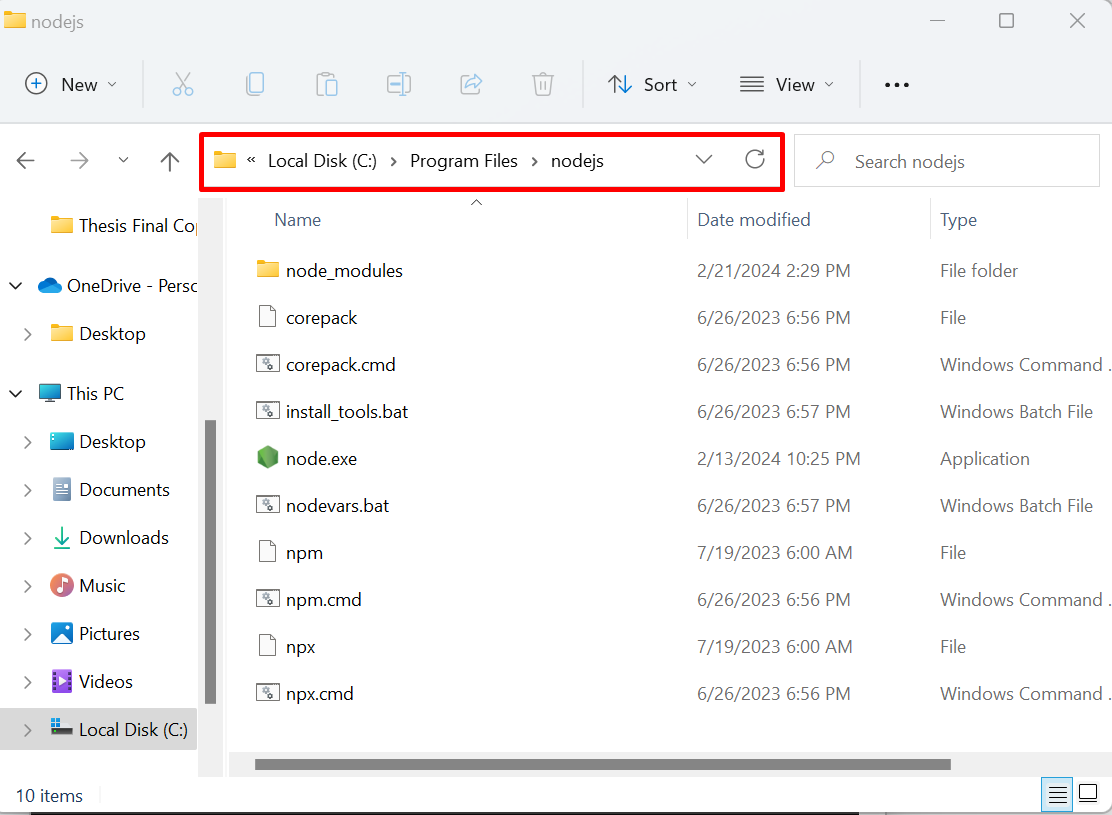
First, navigate to the npm and Node.js installation locations. By default, npm is installed in the “C:\Program Files\Node.js” directory. Copy the installation directory path from the below-pointed address bar:
Step 2: Launch Environment Variable
Next, launch the Environment variable settings via the Windows Start menu:
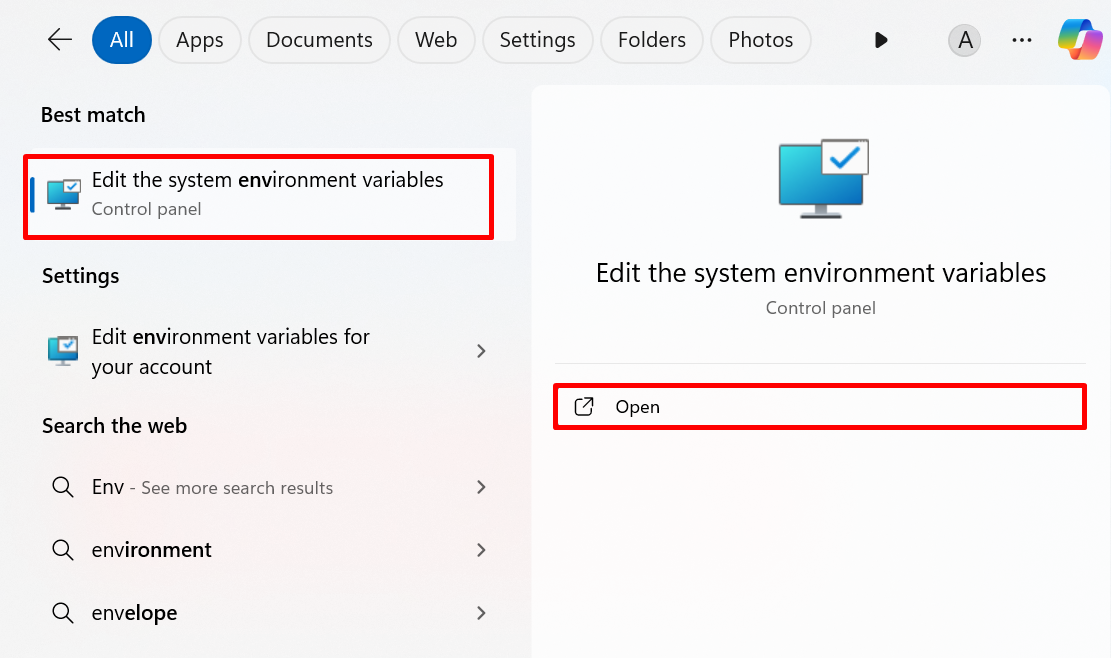
Next, press the “Environment Variables” button to launch the Windows variable settings:

Step 3: Add npm to Windows Path
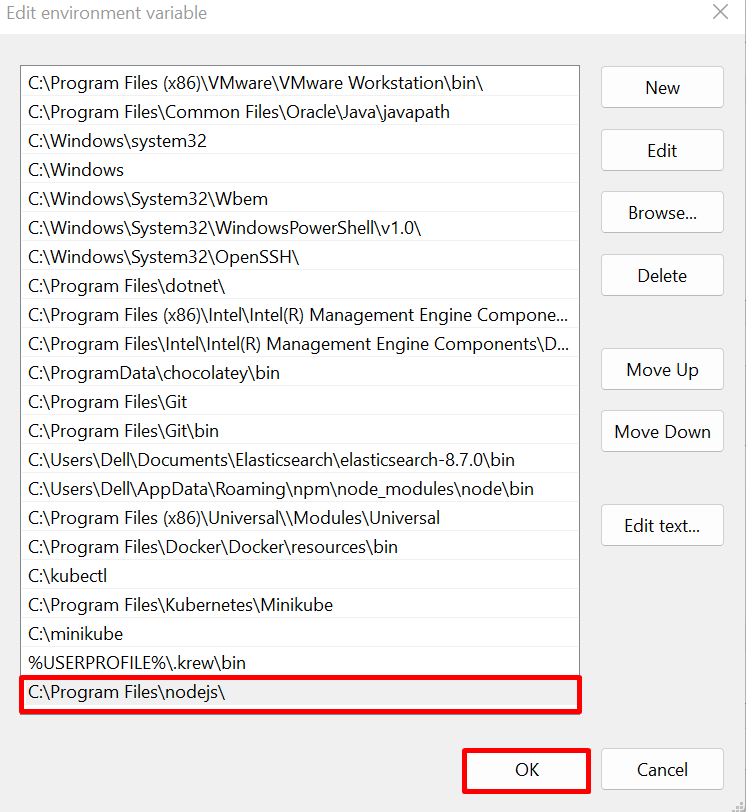
Open the “Path” option from the “System variables” list. For this purpose, first select “Path” and then press the “Edit” button:

Here, our Node.js and npm executable path is already set and added in the Windows Path variable. However, if the path is not added or exists in the Path variable, add it manually. For this purpose, first, press the “New” button, paste the npm installation path “C:\Program Files\Node.js” and press the “OK” button:
Step 4: Use the npm Command
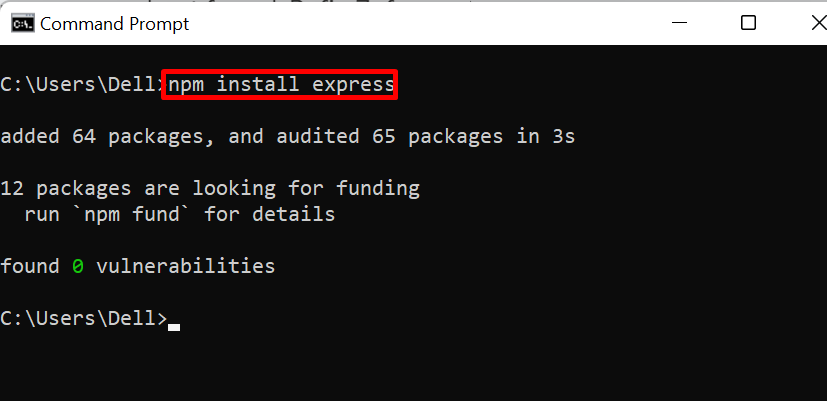
After adding the “npm” to Windows Path, relaunch the Windows Command Prompt terminal, and use the npm command to install the package or module and verify that if the stated issue is fixed or not:
For demonstration, we have installed the “express” Node.js module using npm package manager. The below result shows that we have effectively resolved the “npm not found” error and successfully installed the Node.js module:
We have covered the solutions to fix the “npm command not found” error for both Windows and Linux OS.
Conclusion
To fix the “npm command not found” error, try to reinstall the npm package manager in Linux using the “sudo apt install npm -y” command. In Windows, the user needs to uninstall Node.js completely and reinstall it on the system. For this purpose, download the Node.js “.msi” file from the official website, run the installer, and install the npm. The other solution is to add the npm to Windows or Linux environment settings. This will make npm accessible to Windows or Linux terminals. This writeup has demonstrated the fixes to resolve the “npm command not found” error on both Windows and Linux OS.