Discord is an interaction platform frequently used to make connections with people over the world. All types of communication are done through the Discord server or personal chat inbox. Sometimes users are more possessive and do not want to show off or disclose their identity. At the same time, they want to interact on the Discord server for gaming, chatting, art designing, and educational purposes. To do so, they can create a tupper or a fake id for role-playing purposes.
This post will explain:
So, let’s start!
How to Add Tupperbox Discord Bot to Server?
Tupperbox bot is a Discord bot that helps Discord users to hide their real identities by creating Tupper. To add the Tupper bot to the Discord server, follow the below-provided steps.
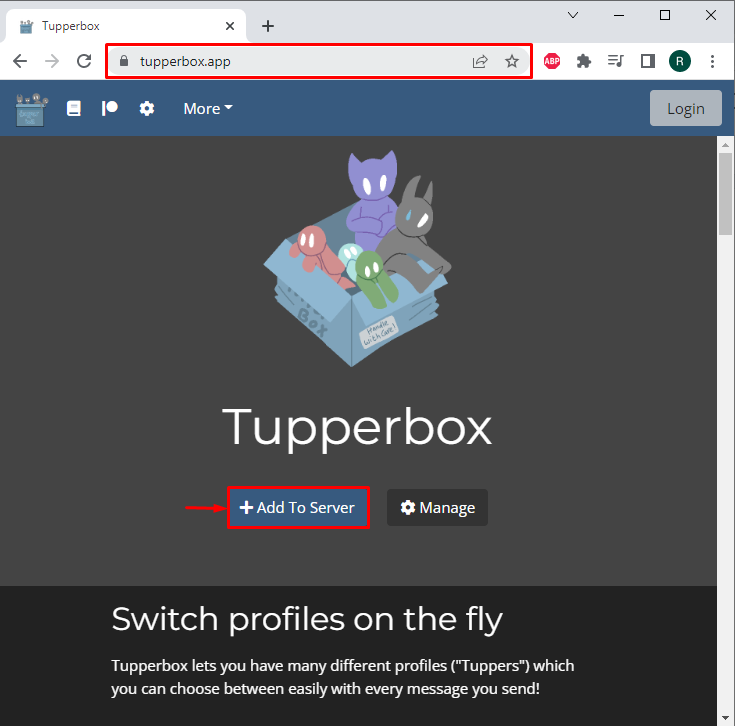
Step 1: Invite Tupperbox
Navigate to the Tupperbox bot official website and click on the “Add to Server” button:
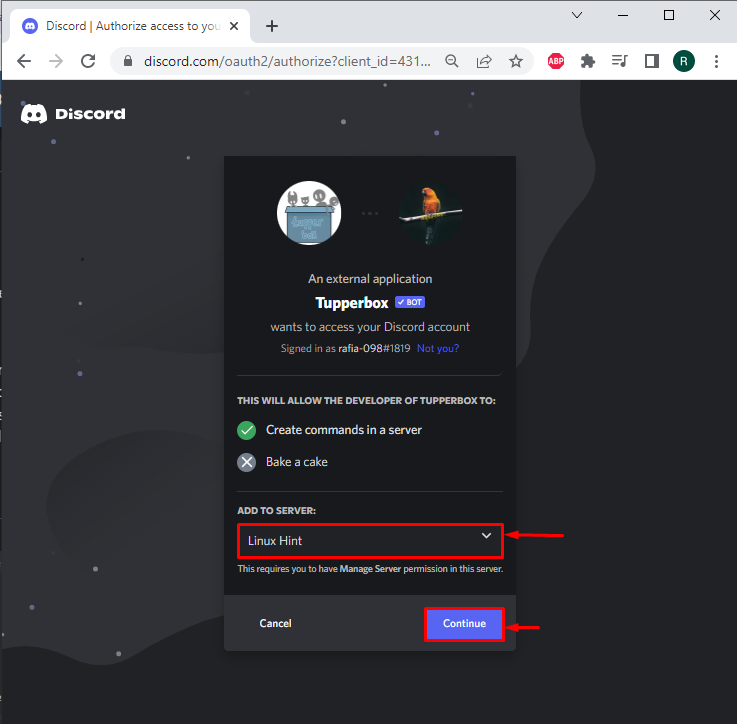
Step 2: Add Discord Server
Select the Discord server from the down menu in which you want to add Tupperbox and hit the “Continue” button:
Step 3: Authorize Tupperbox
Authorize all of the required permissions to the Tupperbox bot by hitting the “Authorize” button:

Step 4: Mark Captcha
Mark the captcha checkbox for verification:

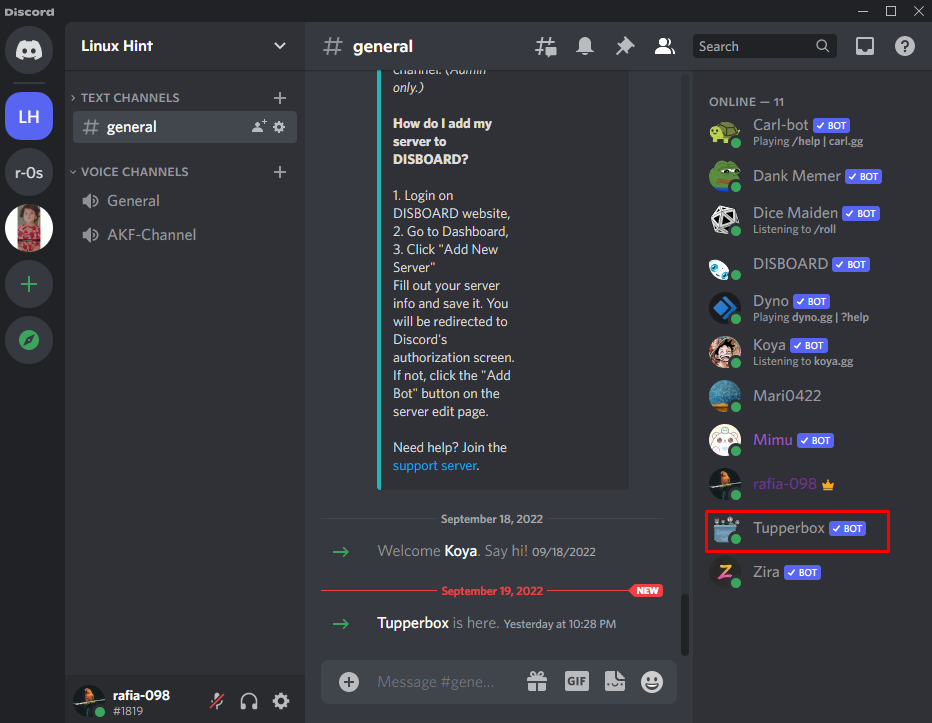
It can be seen that we have successfully added the Tupperbox bot to the Discord server:
How to Use a Tupperbox Discord Bot?
Tupperbox Discord bot provides different commands used to create and maintain Tuppers. Below provided are the main uses of Tupperbox that will be explained in this section:
- Use Tupperbox to Get Help
- Use Tupperbox to Register Yourself as New User
- Use Tupperbox to Change Avatar
Let’s go ahead to understand the above-stated uses of Tupperbox!
How to Use Tupperbox to Get Help?
To get help related to Tupperbox commands, follow the mentioned steps.
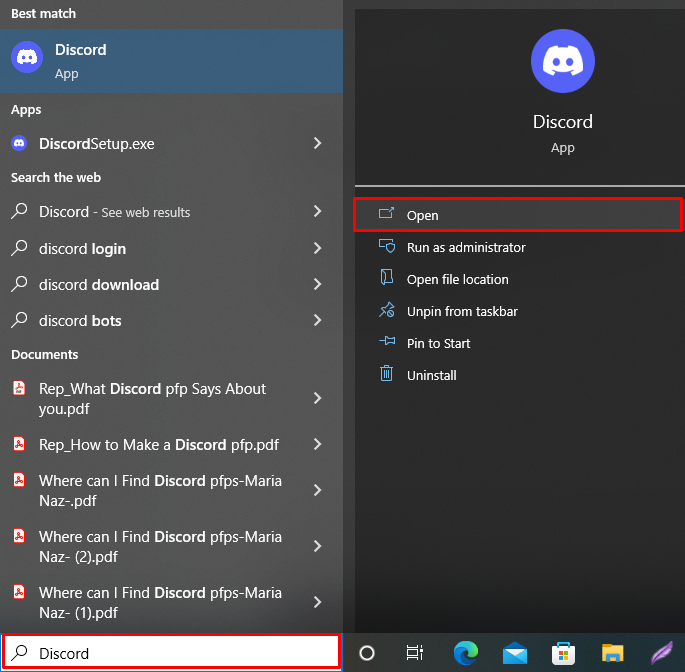
Step 1: Open Discord
Search for “Discord” in the Start menu and open the Discord application:
Step 2: Open Discord Server
Select the Discord server from the left menu bar:
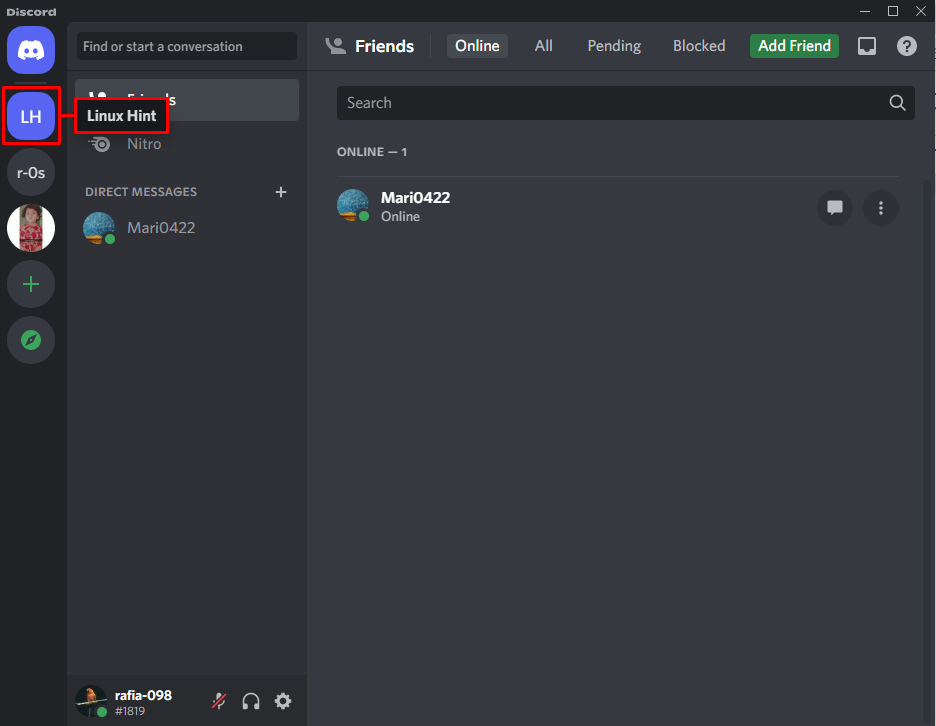
Then, move to the required text channel:

Step 3: Get Help From Tupperbox
Type the provided Tupperbox help command in the Server chat box and hit “Enter”:
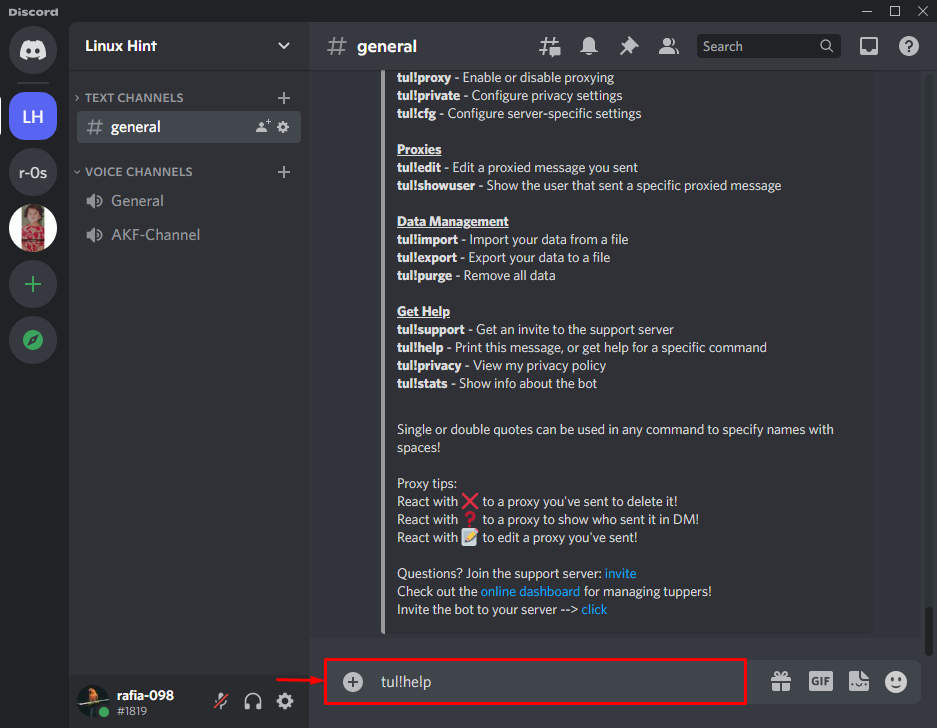
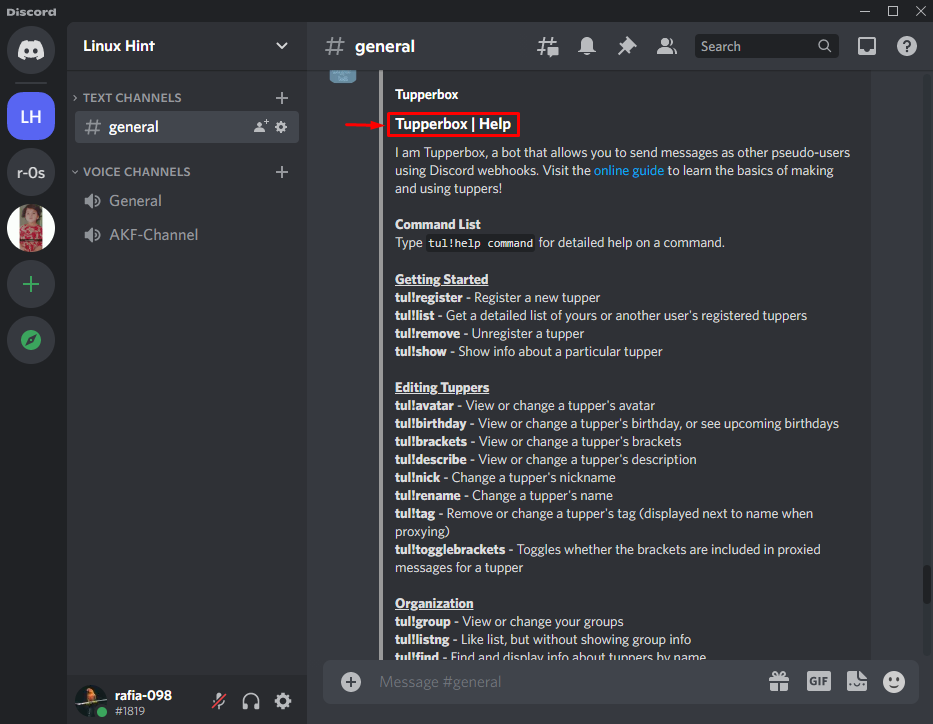
As a result, a detailed manual will be displayed comprising the Tupperbox commands and their related use:
How to Use Tupperbox to Register Tupper as New User?
As we have already explained, Tupperbox is primarily used to create fake profiles to hide a user’s real identity, mainly utilized for role-playing. For this purpose, follow the below-given syntax.
Syntax
The above-provided syntax is used to register a new Tupper. Here, “<name>” represents the Tupper name, and the “<brackets>” is associated with the text message surrounded by any characters on one or both sides.
Example: Create New Tupper Using Tupperbox Command
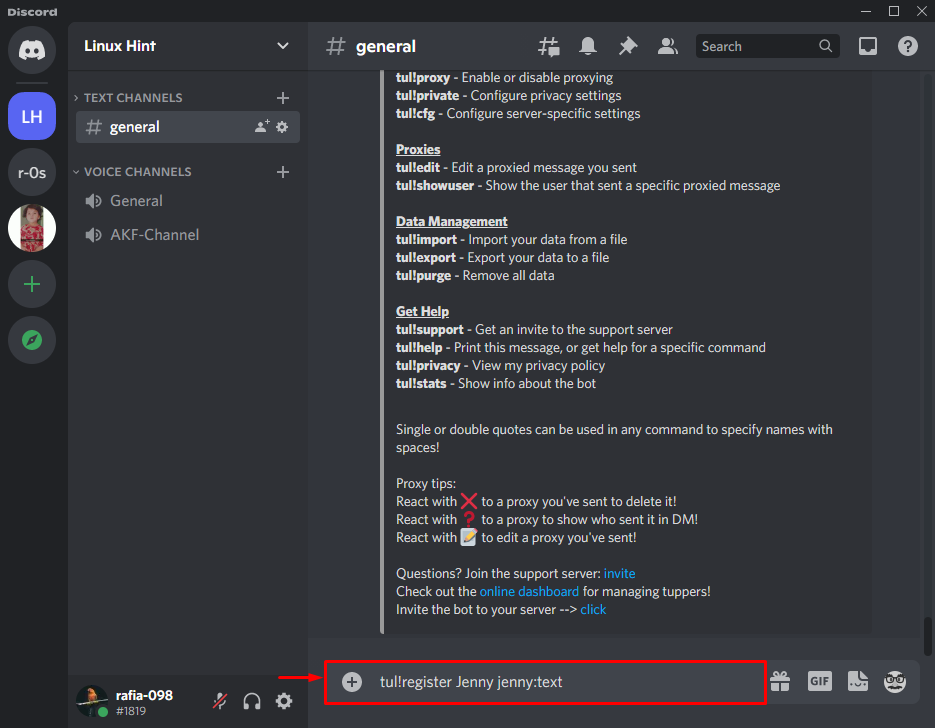
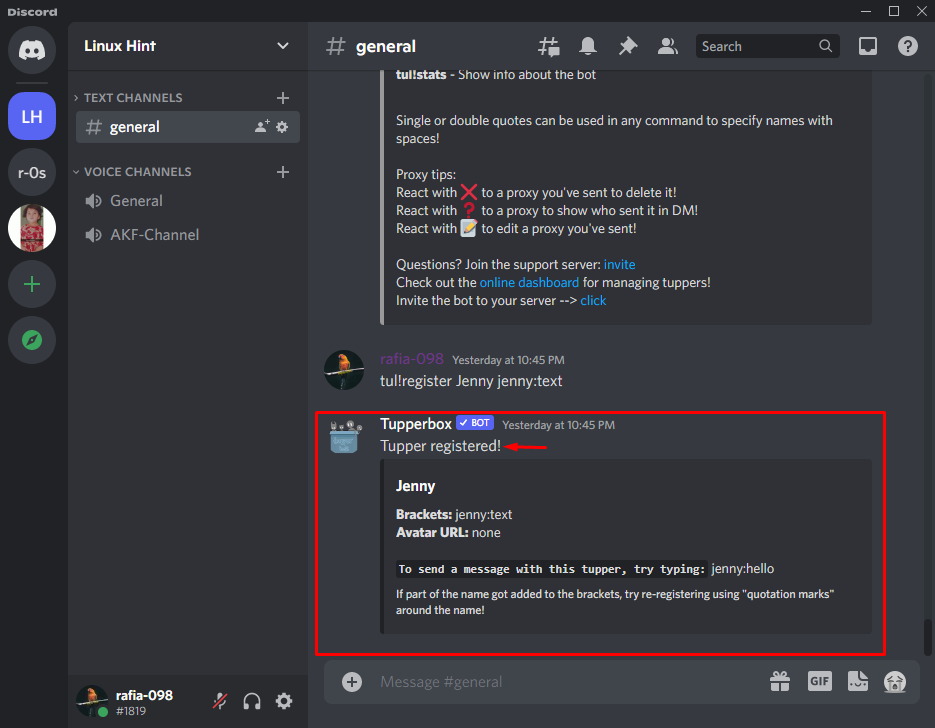
Execute the Tupperbox register command to register new Tupper on Discord server:
The above-given command will create a new Tupper named “Jenny”:
Here you can see the specified Tupper is registered successfully:
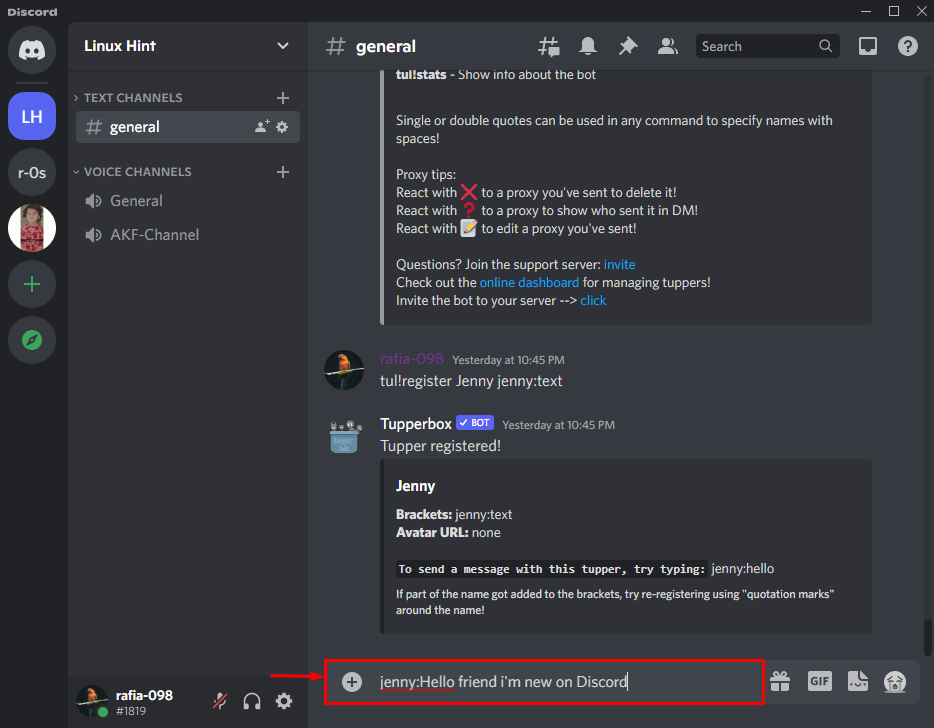
Let’s verify the Tupper registration by sending the message. For this purpose, utilize the bracket you have set like we have used “jenny:<message>”:
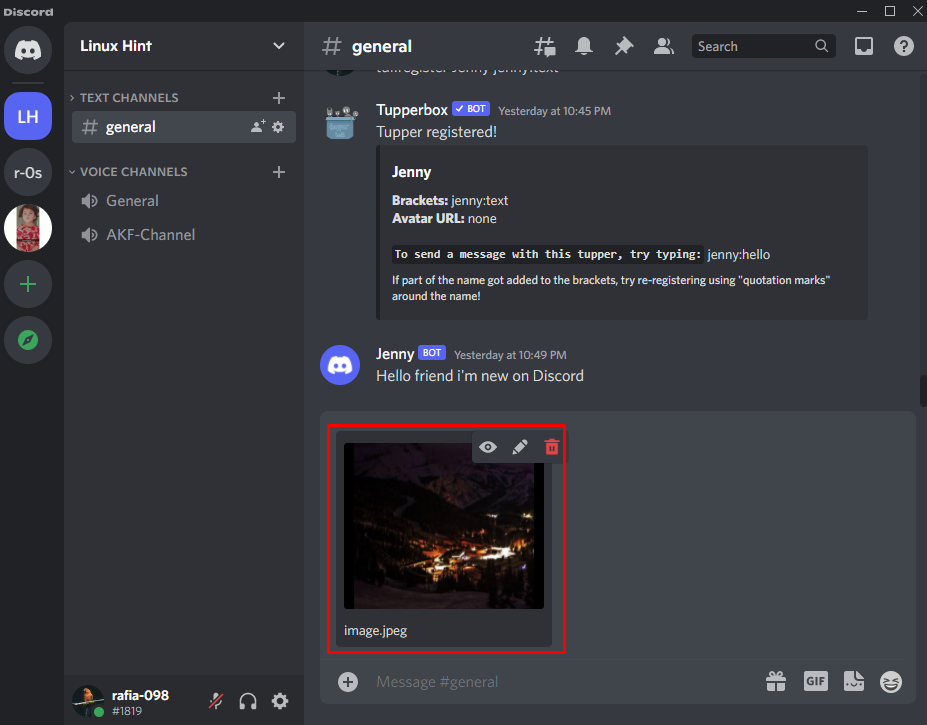
From the below output, you can see we have sent the message from Tupper:

How to Use Tupperbox to Set Avatar?
Discord avatar is also known as a Discord profile picture. To set the avatar on Tupper, follow the provided steps.
Step 1: Upload Image on Server
The avatar can be set on Tupper through the URL. First, upload the image to the server chat to get the image URL. To do so, click on the below highlighted “+” icon and select the “Upload a File” option:

Select the image and hit the “Open” button:

Now, hit Enter to send the image in Discord server chat:
Step 2: Copy image Url
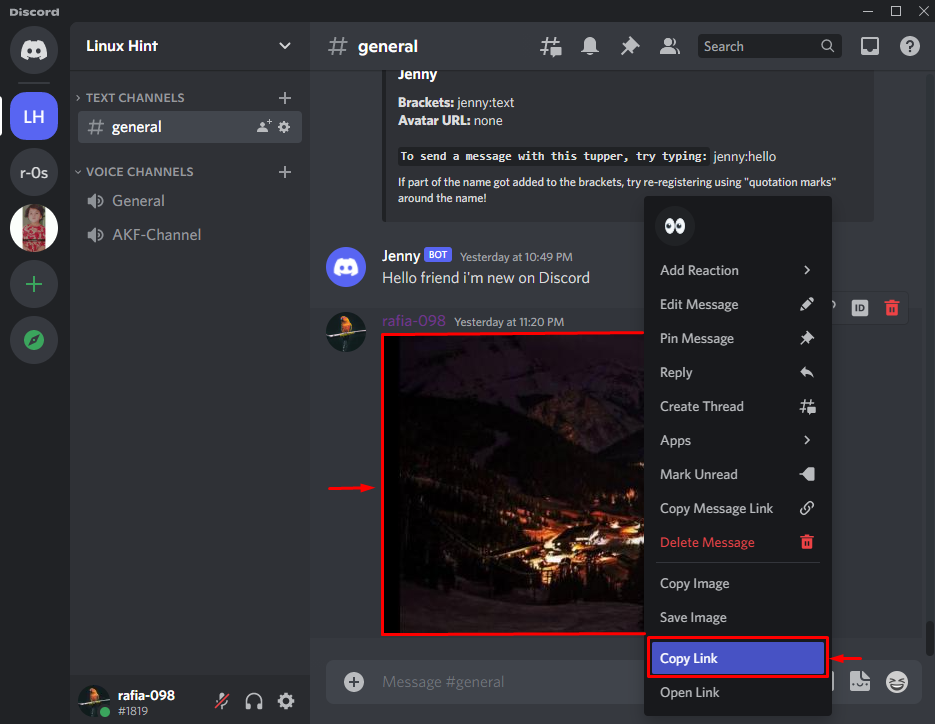
After sending the image in chat, right-click on the image, and select the “Copy Link” from the displayed options:
Step 3: Set Tupper Avatar
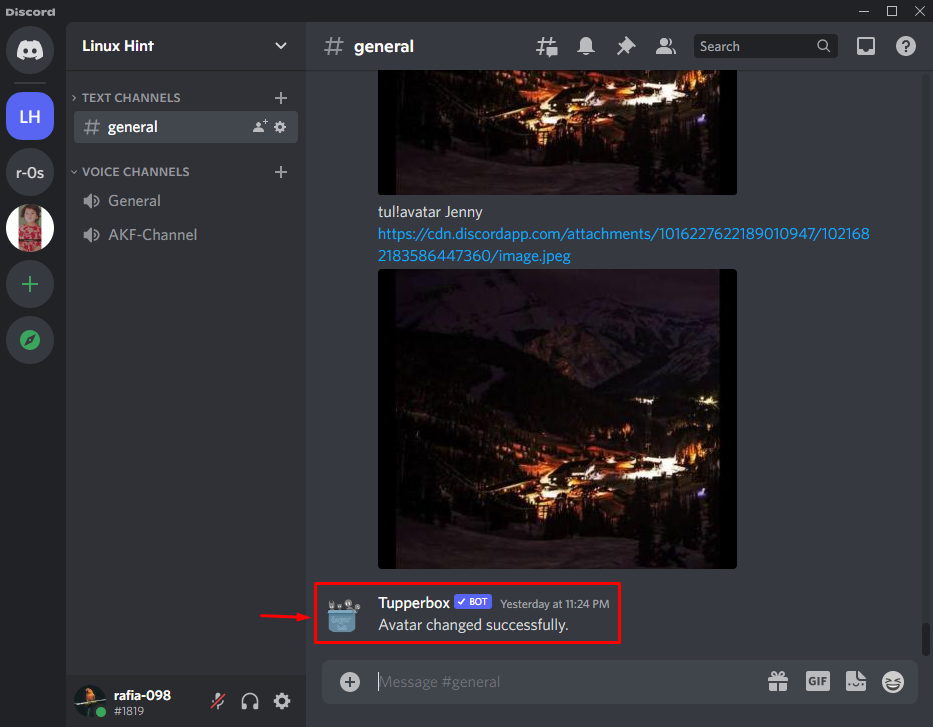
To set the avatar on the newly created Tupper, execute the Tupperbox command in the chat box, provide the Tupper name and paste the copied URL:

Here you can see we have set Tupper avatar successfully:
Let’s verify if the avatar is set on Tupper or not by sending a message in the chat box:
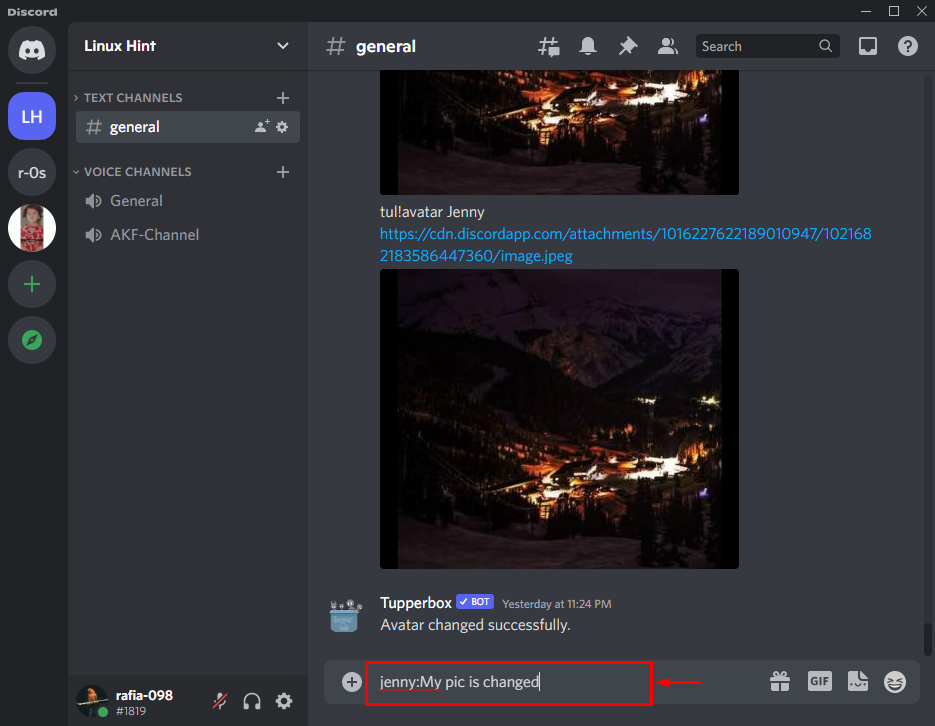
It can be seen that the Avatar is successfully changed:

We have elaborated the method to add the Tupperbox bot and how to use it on Discord.
Conclusion
To use the Tupperbox bot, you need to add it first on the Discord server. Next, create the new Tupper through the Tupper command “tul!register” and also provide the Tupper name and bracket value. In order to set an avatar on a new Tupper, you can utilize the “tul!avatar” command. In this post, we have described the method to use the Tupperbox Discord bot.
About the author
Rafia Zafar
I am graduated in computer science. I am a junior technical author here and passionate about Programming and learning new technologies. I have worked in JAVA, HTML 5, CSS3, Bootstrap, and PHP.