This guide will demonstrate the objective, and working of the “onchange” event in JavaScript.
How to Use an “onchange” Event in JavaScript?
The “onchange” event activates when the value of the specified HTML element is changed. When this event triggers, the associated JavaScript function executes to perform the specific task.
Syntax
In the above syntax:
- element: It denotes the particular HTML element.
- function(): It represents the defined function that will be invoked upon the event trigger.
- myScript: It refers to the JavaScript function definition to perform the specific task when the “onchange” event occurs.
Syntax(With “addEventListener()” Method)
In the above syntax, the “addEventListener()” method utilizes the “onchange” event to execute the JavaScript function for performing various tasks.
Example 1: Applying the “onchange” Event to Display Selected Value Using Basic Syntax
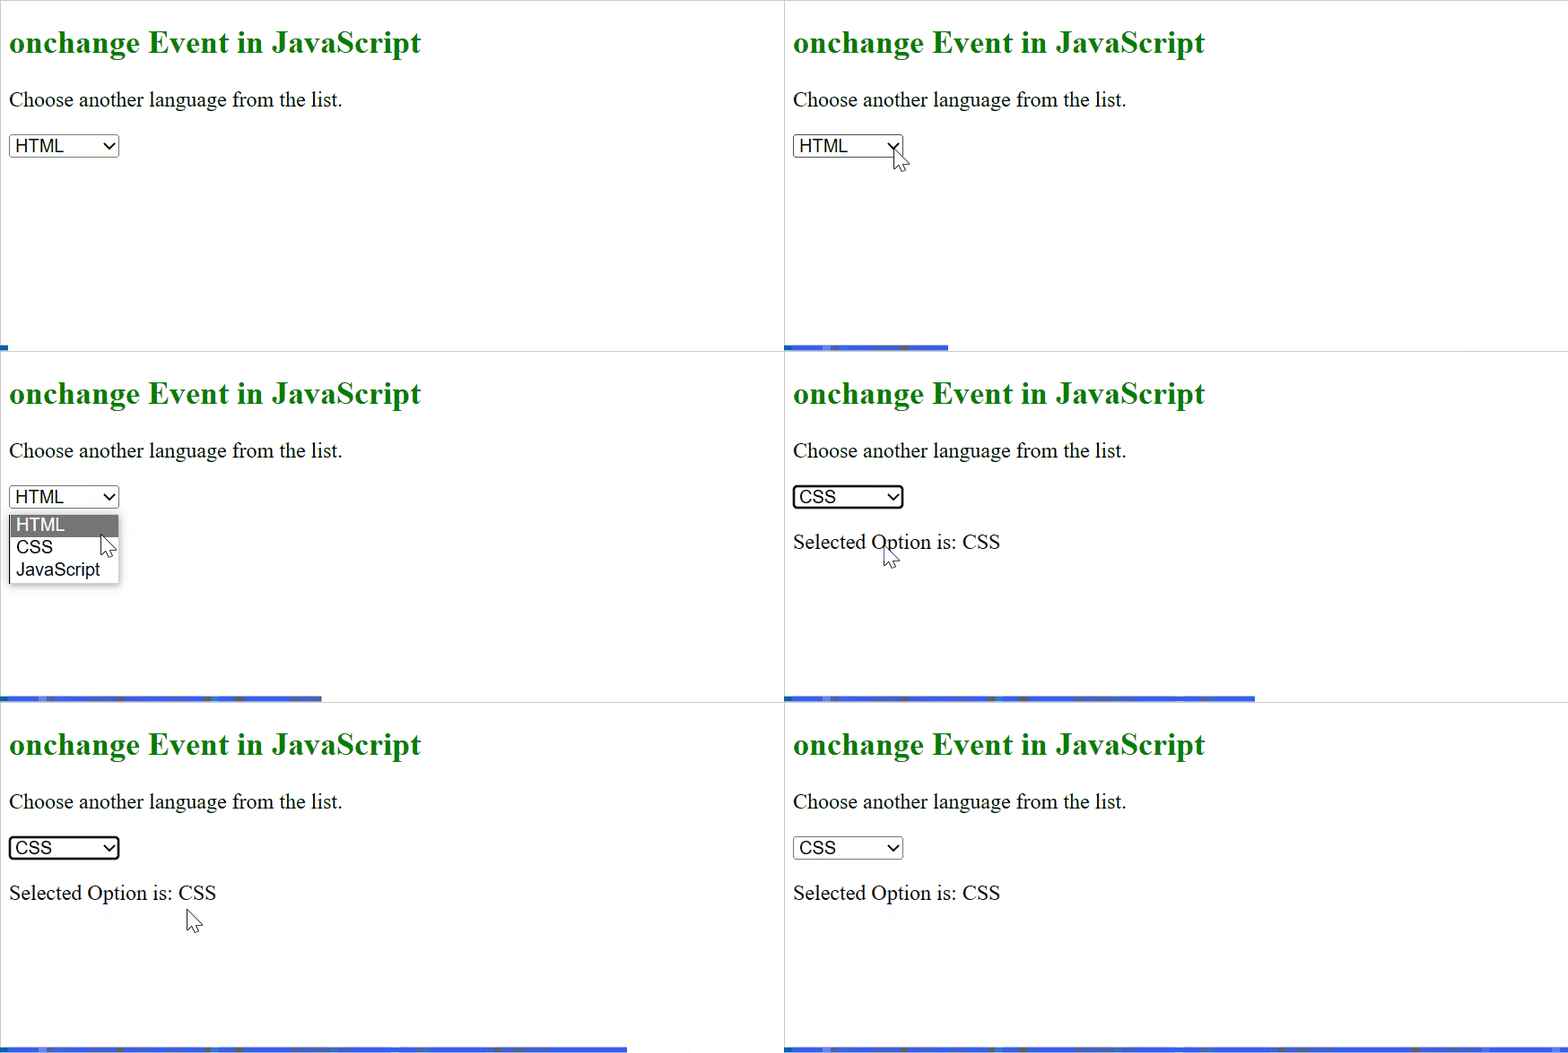
In this scenario, an “onchange” event is associated with an options list to display the changed option value and invoke the corresponding JavaScript function.
HTML Code
Have a look at the following HTML code:
<p>Choose another language from the list.</p>
<select id="demo" onchange="Sample()">
<option value="HTML">HTML</option>
<option value="CSS">CSS</option>
<option value="JavaScript">JavaScript</option>
</select>
<p id="P1"></p>
In the above code:
- First, define a subheading using the “<h2>” tag.
- Next, add a paragraph with the stated statement.
- After that, the “<select>” tag creates a drop-down list with an assigned id “demo” and the “onchange” event redirects to the function “Sample()”, respectively.
- In the body of the “<select>” tag, a list of options is specified using the “<option>” tag.
- Lastly, an empty paragraph is created with an id “P1” to display the selected/changed value from the option list.
JavaScript Code
Now, overview of the following JavaScript code:
function Sample() {
var t = document.getElementById("demo").value;
document.getElementById("P1").innerHTML = "Selected Option is: " + t;
}
</script>
In the above code block:
- First of all, declare a function named “Sample()”.
- In its definition, apply the “getElementById()” method to access the value of the selected option from the options list via the “value” property.
- Lastly, display the value using the “innerHTML” property.
Output
As seen in the output, upon selecting an option from the drop-down, the “onchange” event triggers and invokes the corresponding function.
Example 2: Applying “onchange” Event to Change Input Field Text in Uppercase Using “addEventListener()” Method Syntax
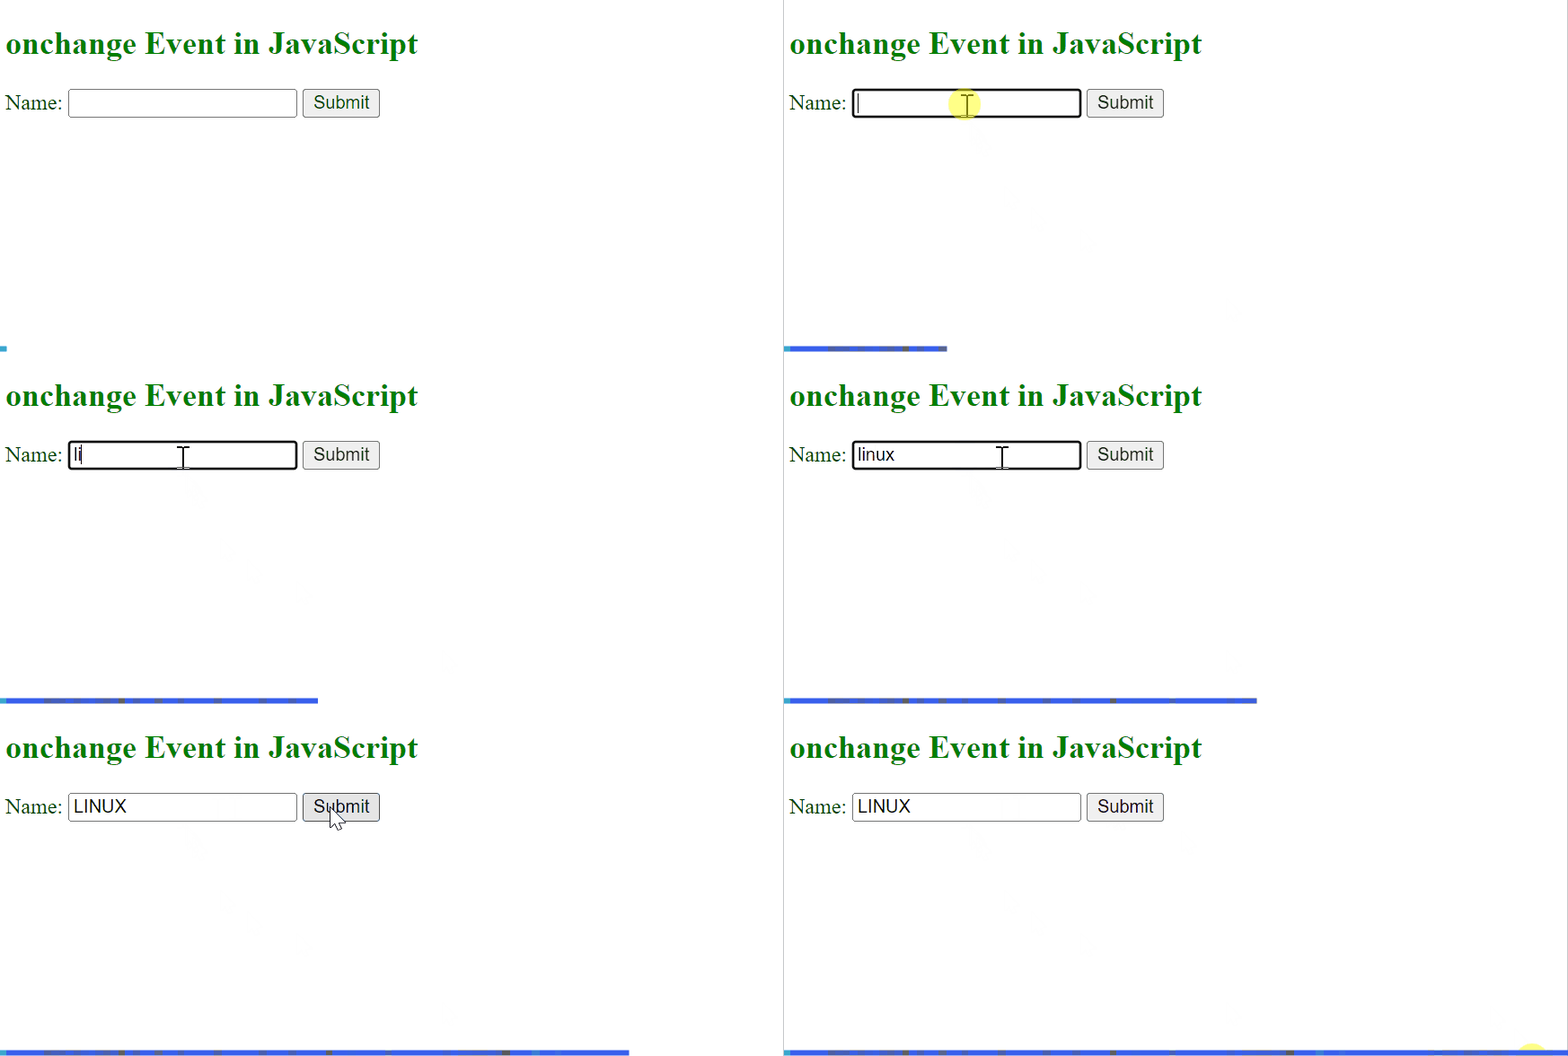
This example explains the “onchange” event working by changing the input text field to “Uppercase” with the help of the “addEventListener()” method.
HTML Code
First, go through the below-provided HTML code:
In the above HTML code:
- Define a subheading of level 2 via the “<h2>” tag.
- Next, add a “<input>” field by the label “Name”, content-type “text”, and the associated id “demo”, respectively.
- Finally, include a button using the “<button>” tag.
JavaScript Code
Next, look at the following JavaScript code:
document.getElementById("demo").addEventListener("change", Sample);
function Sample() {
var t = document.getElementById("demo");
t.value = t.value.toUpperCase();
}
</script>
In this code block:
- First, the “document.getElementById()” method utilizes the “change” event that will result in changing the value of the input text field having id “demo” upon button click.
- Next, the function “Sample()” is defined which utilizes the “document.getElementById()” method to access the input text field “demo” and then changes its value to “Uppercase” via the “UpperCase()” method.
Output
As seen, the input text has been converted to Uppercase upon button click.
Conclusion
JavaScript offers the commonly used “onchange” event that triggers as soon as the state of the value of a particular element change. It is similar to the “oninput” event but the “oninput” occurs instantly as the value changes whereas the “onchange” event triggers when the value of the event loses focus. This guide demonstrated the objective, working, and usage of the “onchange” event in JavaScript.


