Discord is a communication platform where people can connect with others having similar interests. They can talk with them via voice and videos. This application also allows its users to share their audio or video files by uploading them in the text bar section or can share them on live streaming.
In this article, we will learn the procedure of sharing sound on Discord through the audio file and live streaming.
How to Share Sound on Discord?
Discord users can share the sound with others through:
- Audio File
- Live Streaming
We will check out both methods one by one.
How to Share Sound via Audio File on Discord?
Try out the below steps to share a sound on Discord via an audio file.
Step 1: Open Discord
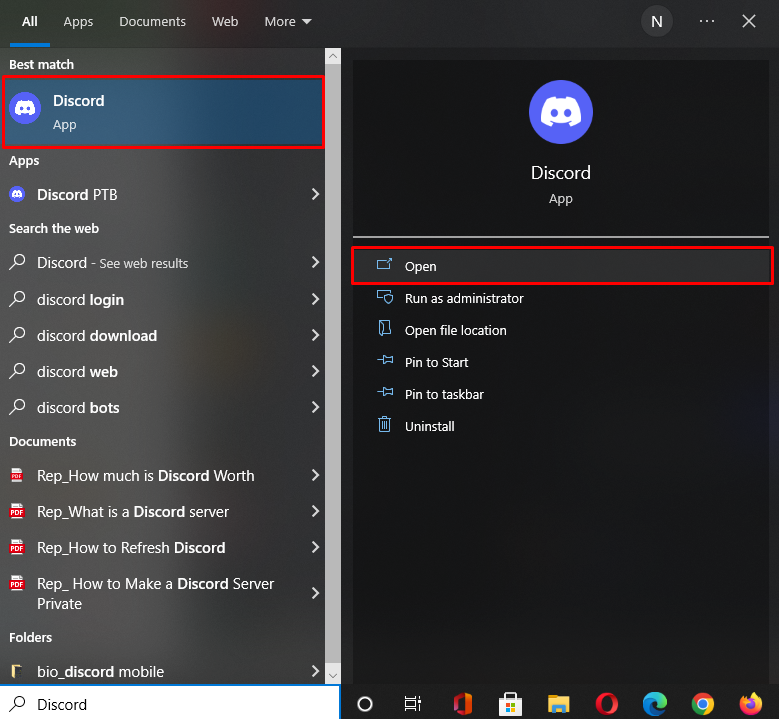
Launch the Discord on your system by using the “Startup” menu:
Step 2: Open Chat
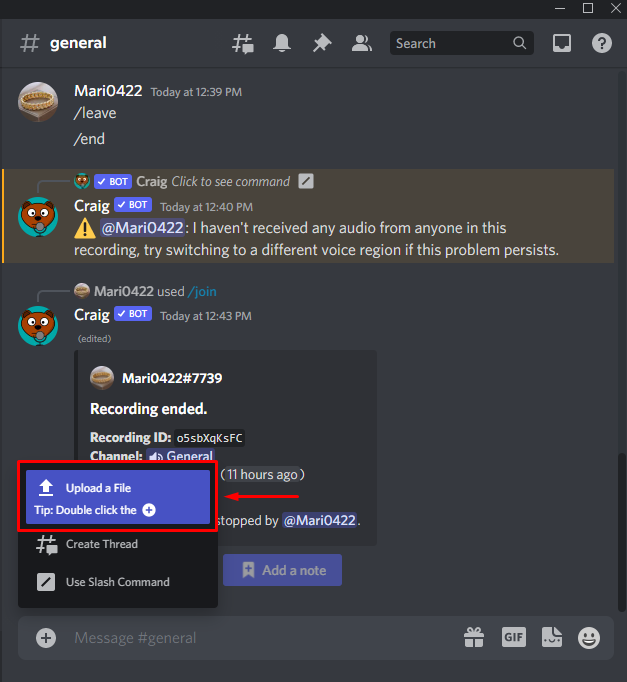
Select the server or private chat where you want to share sound, and click on the plus “+” icon beside the text bar. For instance, we want to share the audio file in the “Linuxhint” server:
Click on the “Upload a File” option from opened pop-up menu:
Step 3: Select Audio File
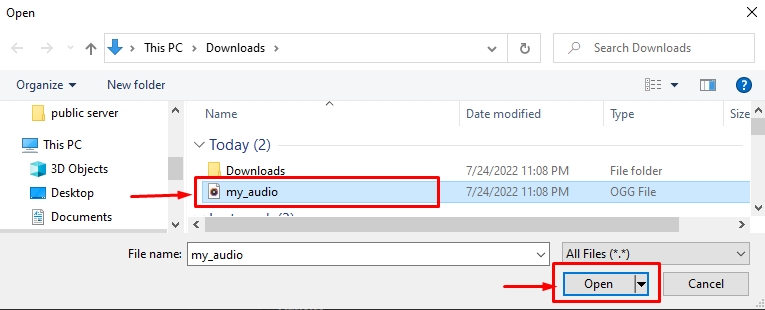
Choose the audio file which you want to share and click on the “Open” button:
Step 4: Add Text and Share Audio
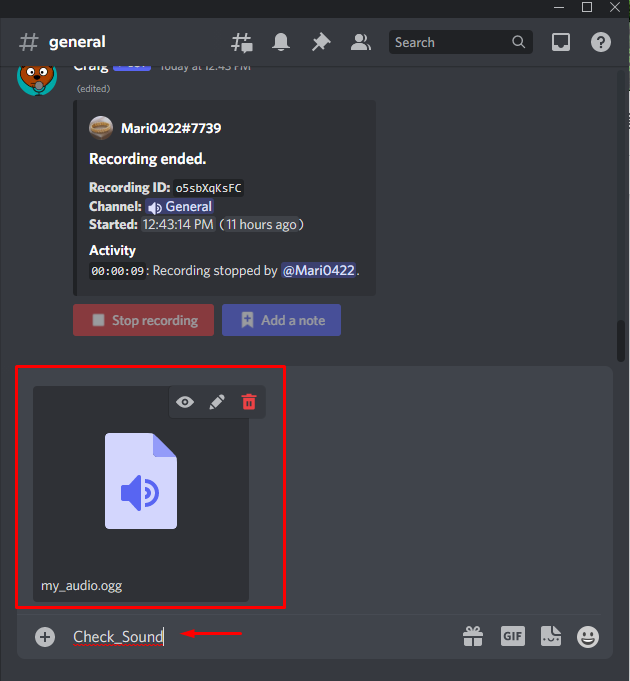
You can send an audio file with text, which is optional. Type the message in the text bar with the attached file and press “Enter” to share it with a server member:
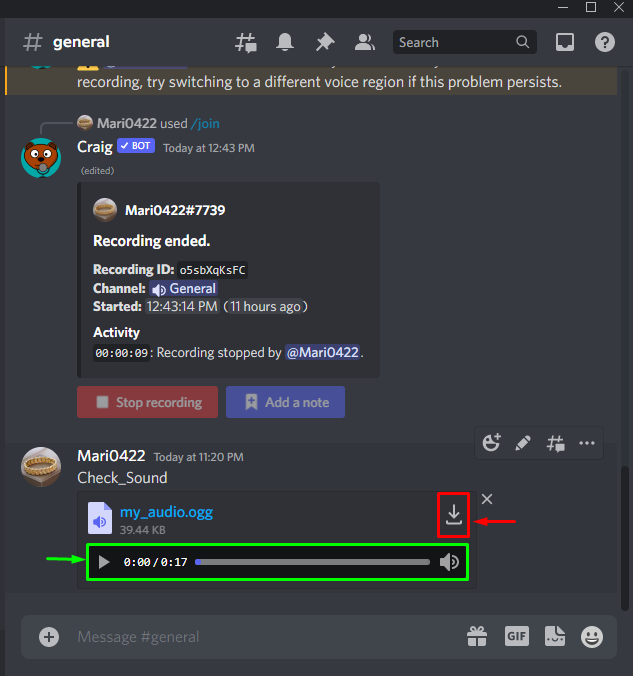
As you can see, the attached audio file is shared, and all of the server members are allowed to play and download it:
Let’s move to another method for sharing sound via live streaming on Discord.
How to Share Sound via Live Streaming on Discord?
Follow the below steps to share a sound through live streaming on Discord.
Step 1: Select Server
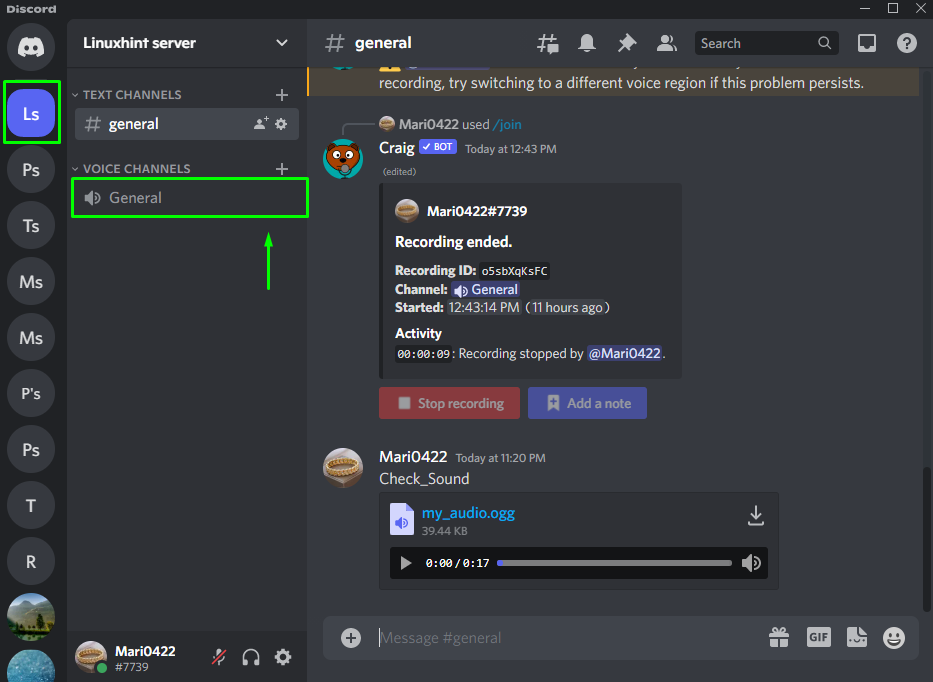
Click on the selected server on which you like to share sound while live streaming. For this purpose, we have clicked on the “Linuxhint” server and selected its “General” voice channel:
Step 2: Share Screen
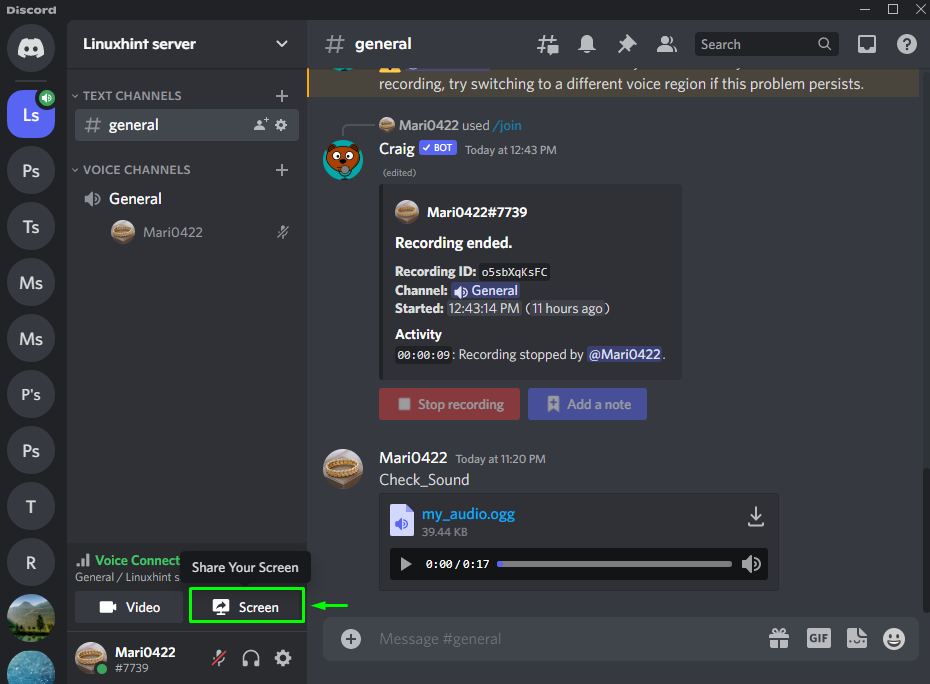
Click on the monitor icon from the navigated bar that resides before the username at the bottom left side of the Discord main screen:
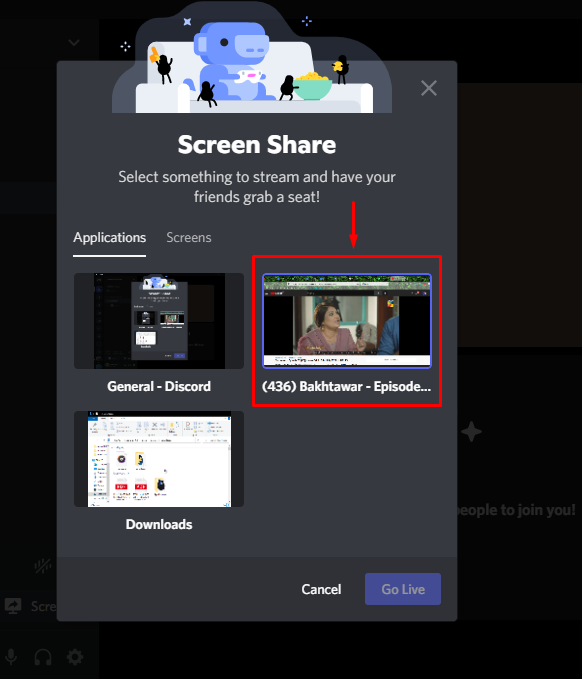
Under the “Applications” tab, select the screen which you want to share while streaming:
Step 3: Set Streaming Quality
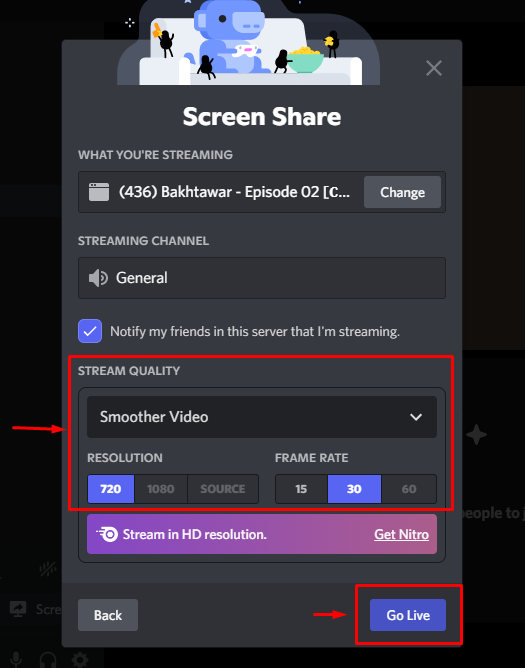
Here, you can set the “STREAM QUALITY”, “RESOLUTION”, and “FRAME RATE”. After that, click on the “Go Live” button:
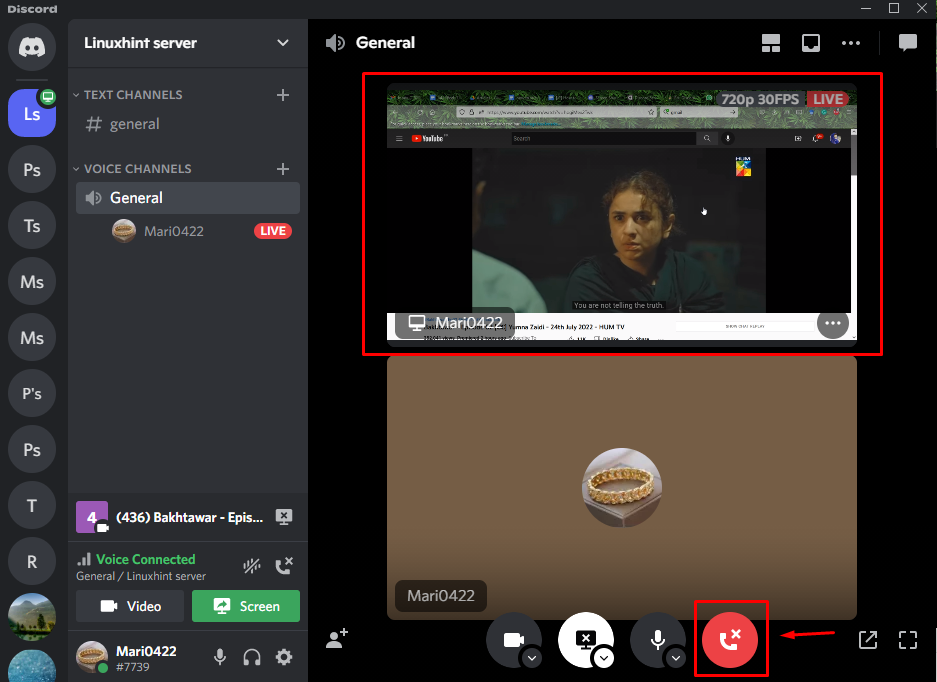
As a result, your system sound and the streaming program audio will be shared on Discord. To stop the streaming, click on the below highlighted phone icon:
We have offered the methods of sharing sound via audio file and live streaming on Discord.
Conclusion
There are two ways to share sound on Discord: sharing the audio file in the text bar or sharing sound while live streaming. To utilize the first approach, select the private chat or server, and click on the plus “+” icon. Select the audio file from the system, upload it, and send it using the text bar. The second method shares sound on Discord while live streaming. This article demonstrated the procedure of sharing sound on Discord through the audio file and live streaming.

