In this blog, we will learn the way to set up the Zira bot on Discord.
How to Set Up a Zira Bot on Discord?
Zira bot is one of the Discord bots utilized to automate tasks such as automatically adding or removing roles. It also assists in assigning new roles on joining the server, provides customized emotes, and many more options.
Follow up on the provided steps to set up the Zira bot on the Discord server.
Step 1: Invite Zira Bot
Navigate to the Zira bot official site and click on the “Add To Server” button to add the Zira bot to the Discord server:

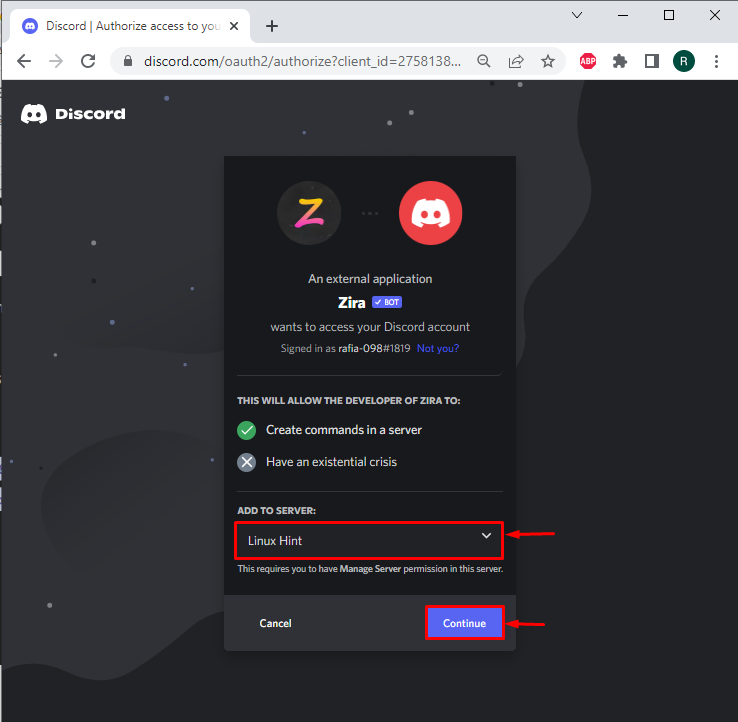
Step 2: Select Discord Server
Select the server where you wish to add Zira Bot. After that, hit the “Continue” button:
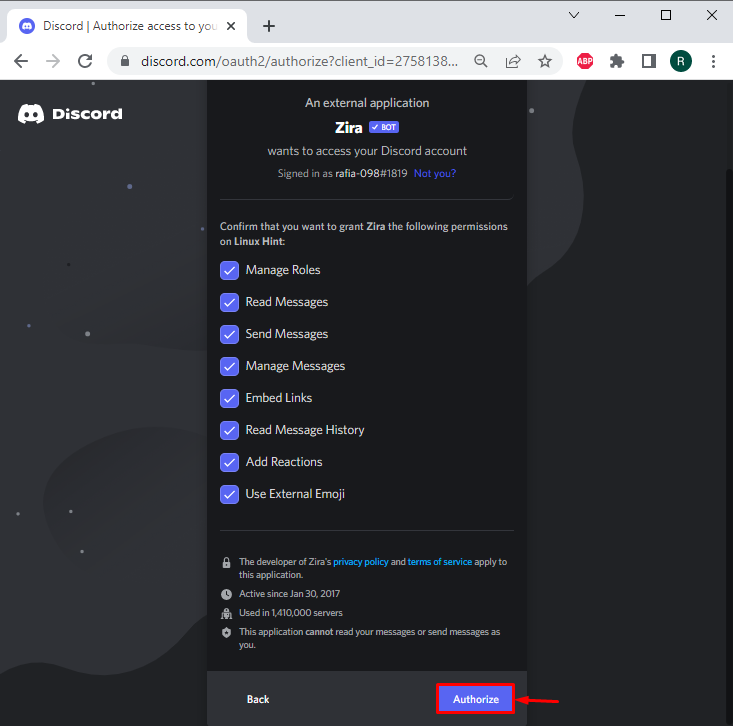
Step 3: Authorize Zira Bot
Grant all marked privileges or required access by clicking on the “Authorize” button:
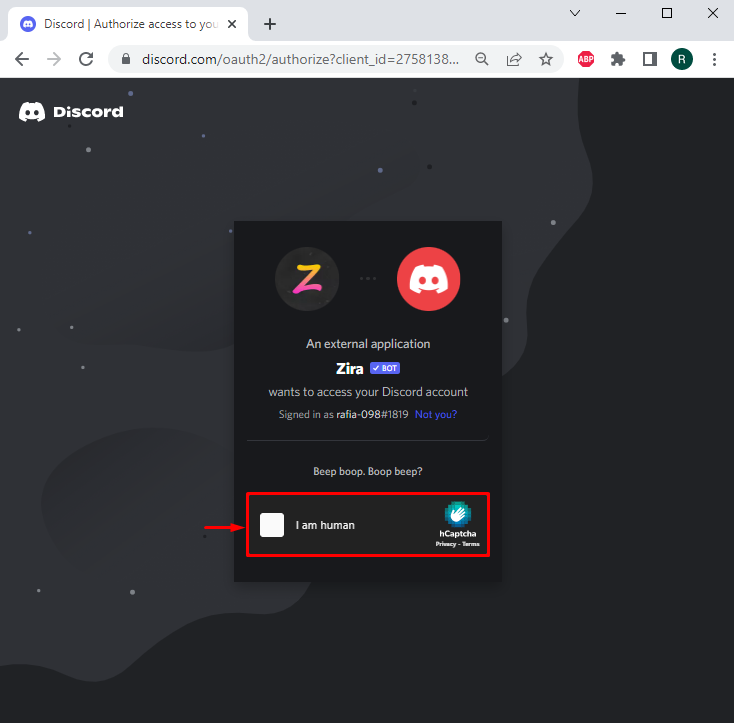
Step 4: Mark Captcha
Mark the below highlighted captcha for verification:
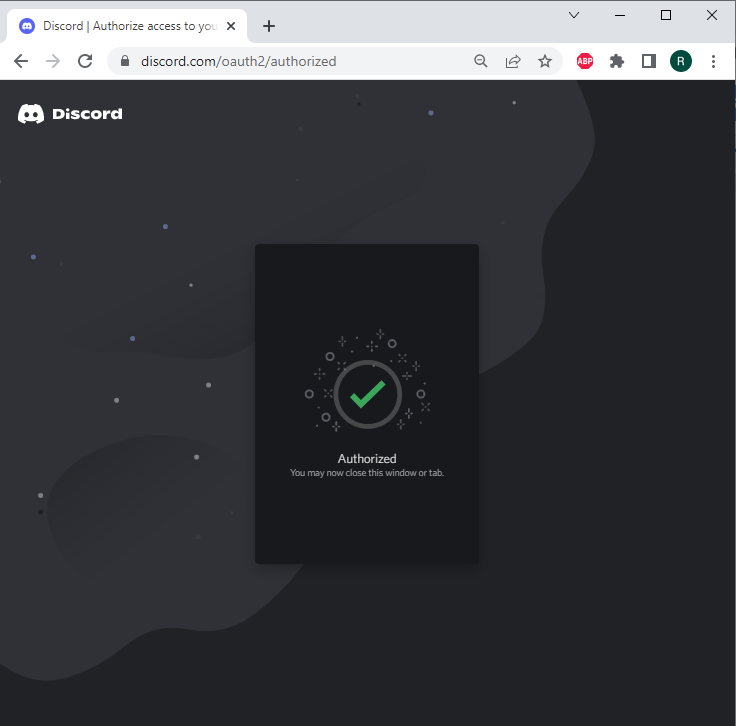
Here, you can see we have added the Zira bot to the selected “Linux Hint” Discord server:
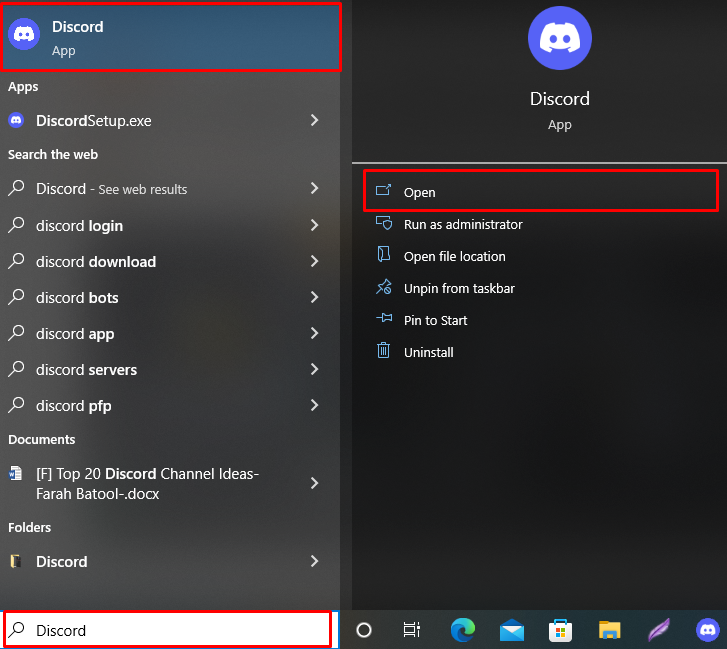
Step 5: Open Discord Application
To verify the presence of the Zira bot, firstly, open the Discord application with the help of the startup menu:
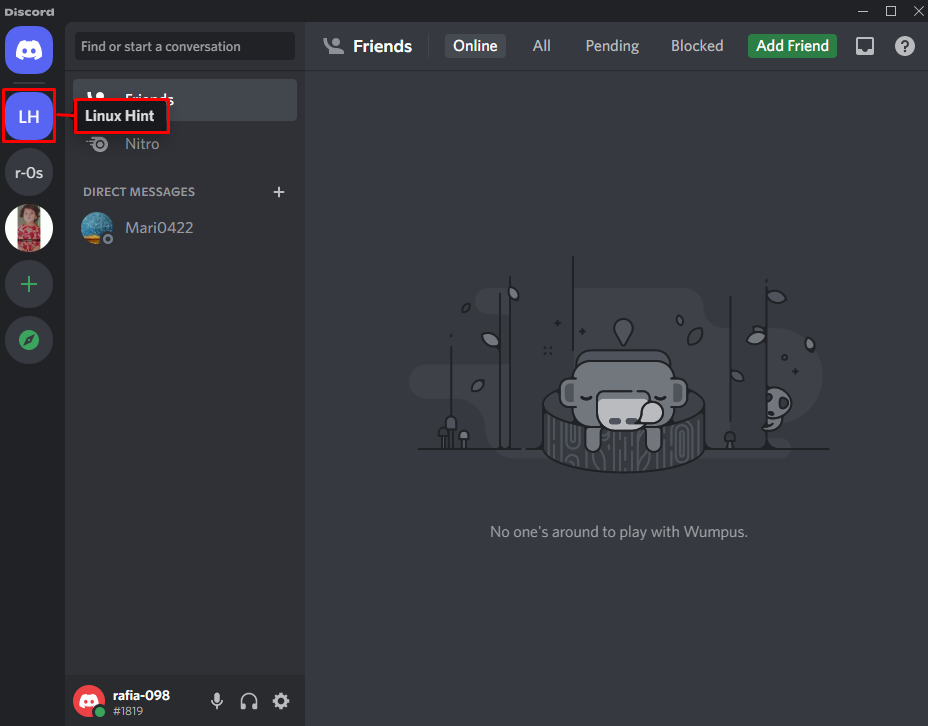
Step 6: Verify if Zira Bot is Added or Not
To verify whether the bot is added or not, open the Discord server where you have added the Zira bot. For instance, the Zira bot is a part of our “Linux Hint” server:
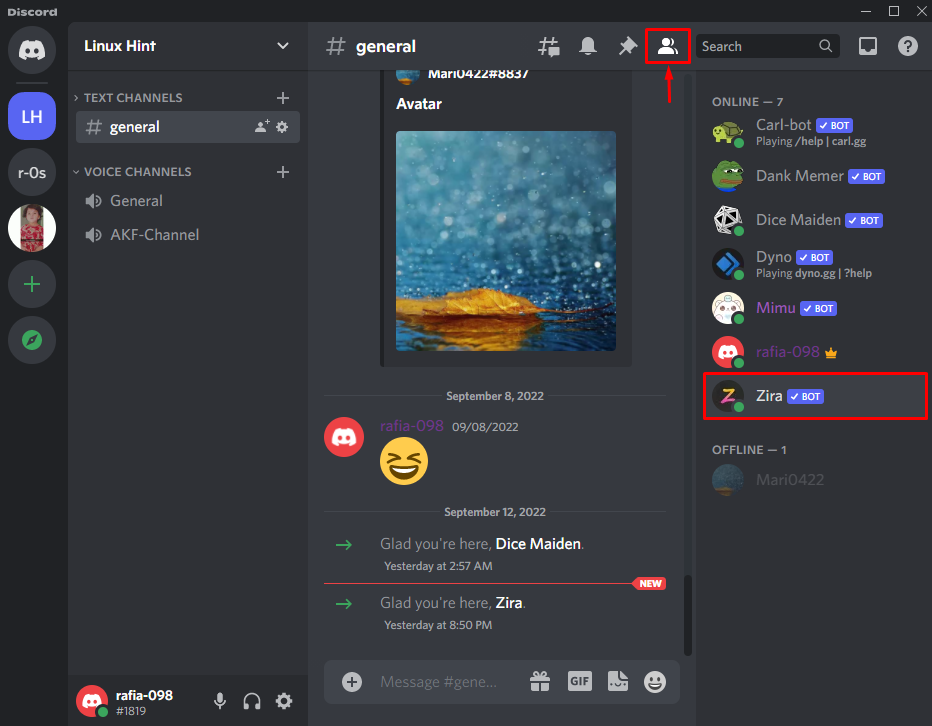
Next, click on the below-highlighted “Members list” icon and view the member list. As a result, you can see that we have effectively set up the Zira bot to the “Linux Hint” Discord server:
We have shown the method to set up the Zira bot on Discord.
Conclusion
To set up the Zira bot on Discord, first visit its official website. Next, press the “Add to Server” button to invite the Zira bot to the server, grant required access to the Zira bot, and mark the captcha checkbox. For verification purposes, open the Discord app, and navigate to the server member list where you have set up the Zira bot. You have learned the method to set up the Zira bot on Discord in this article.