This tutorial will provide the method of setting up level roles in Discord.
How to Create and Set Up Discord’s Level Roles?
To set up level roles in Discord, users need to add the “Arcane” bot. For that corresponding purpose, try out the provided instructions:
- Open Arcane’s bot official website.
- Choose the server to which you need to add it.
- Authorize the bot by granting the needed permissions.
- Open Arcane’s dashboard, select the channel in which the level-up message will show, and add the role rewards.
- Launch the Discord application and send a random text to any server channel.
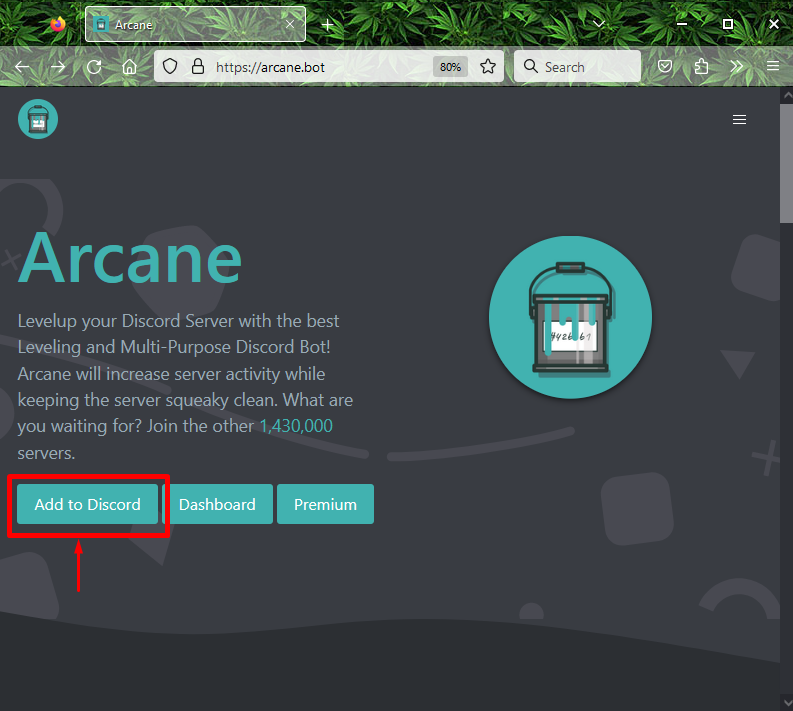
Step 1: Add Arcane Bot
First of all, open the web browser, and add the “Arcane” bot to the Discord server by clicking on the given link:
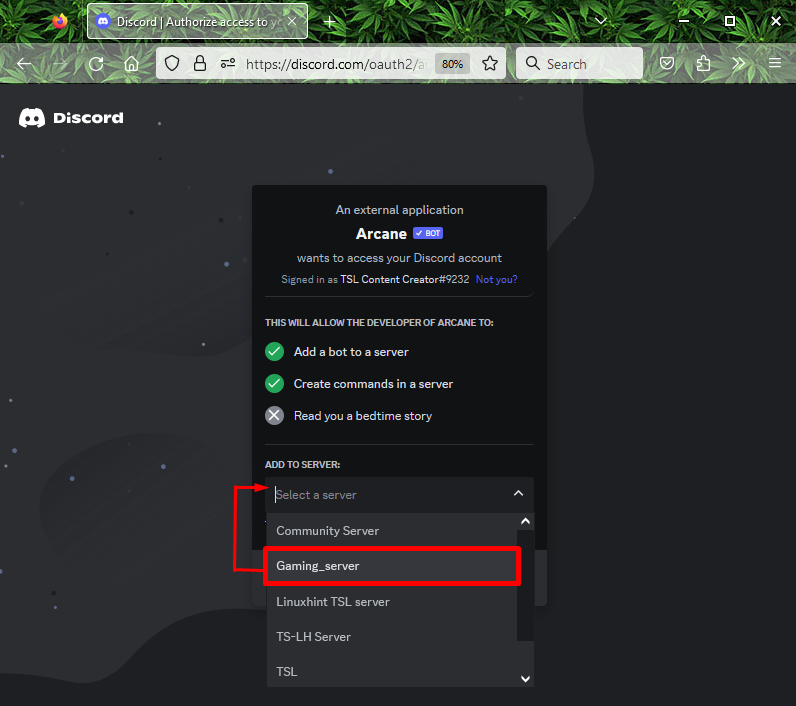
Step 2: Specify Discord Server
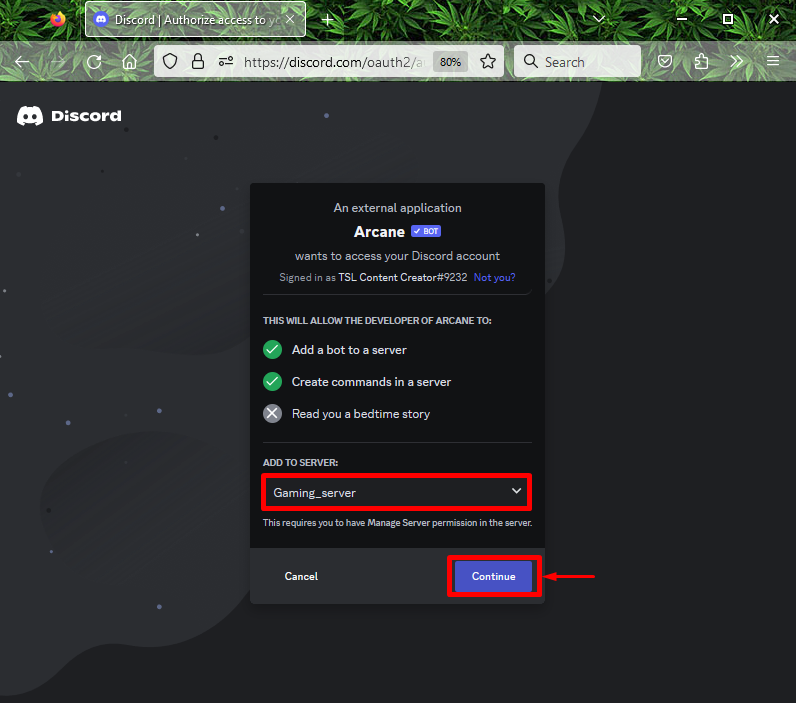
Then, choose the server name from the appeared drop-down menu. For example, we have specified the “Gaming_server”:
After that, click on the “Continue” button:
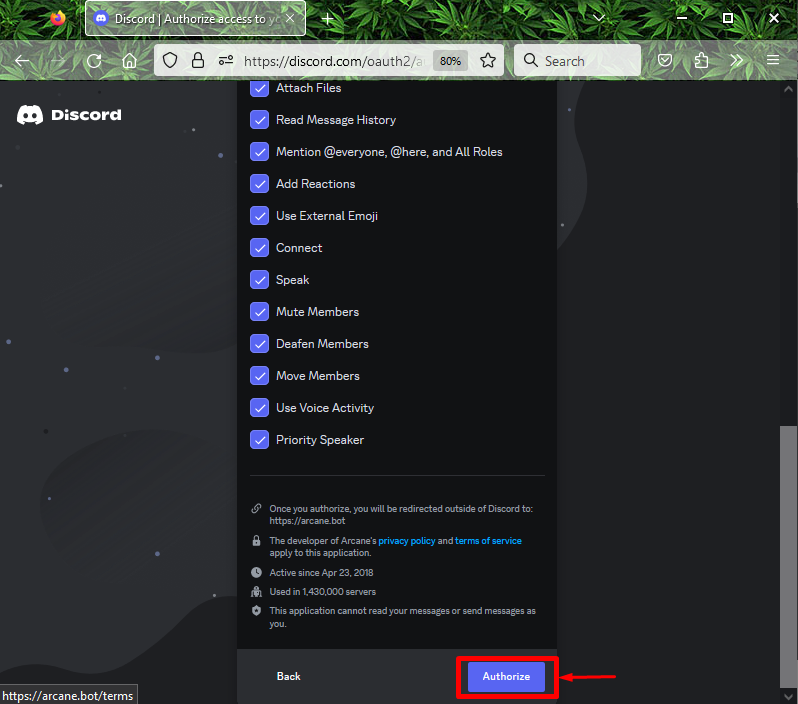
Step 3: Grant Permissions
Now, authorize the invited bot by granting the permissions and clicking the “Authorize” button:
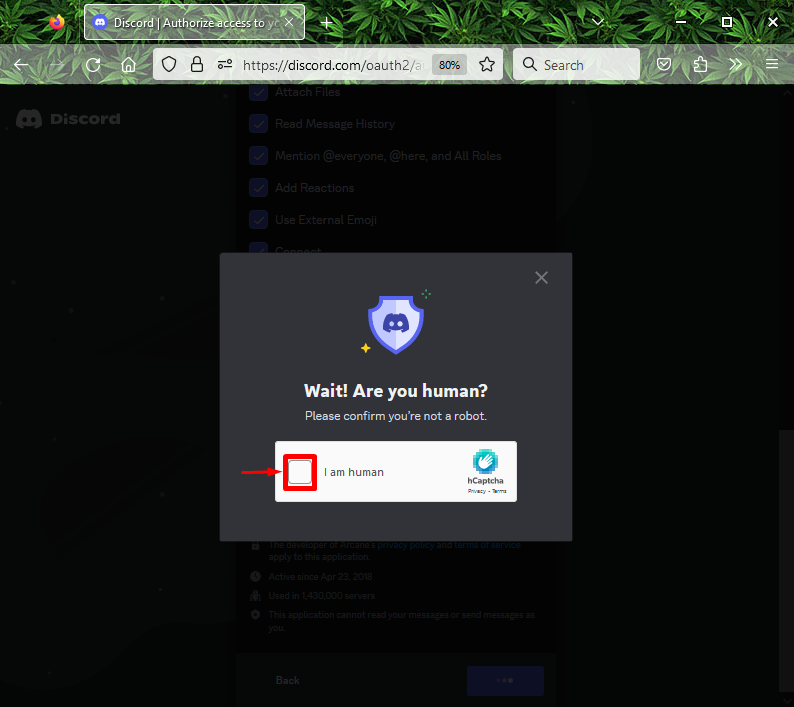
Step 4: Mark Captcha
Next, mark the captcha box for verifying your identity:
Launch the Discord application, access the particular server member list to which the bot has been invited, and check its appearance:

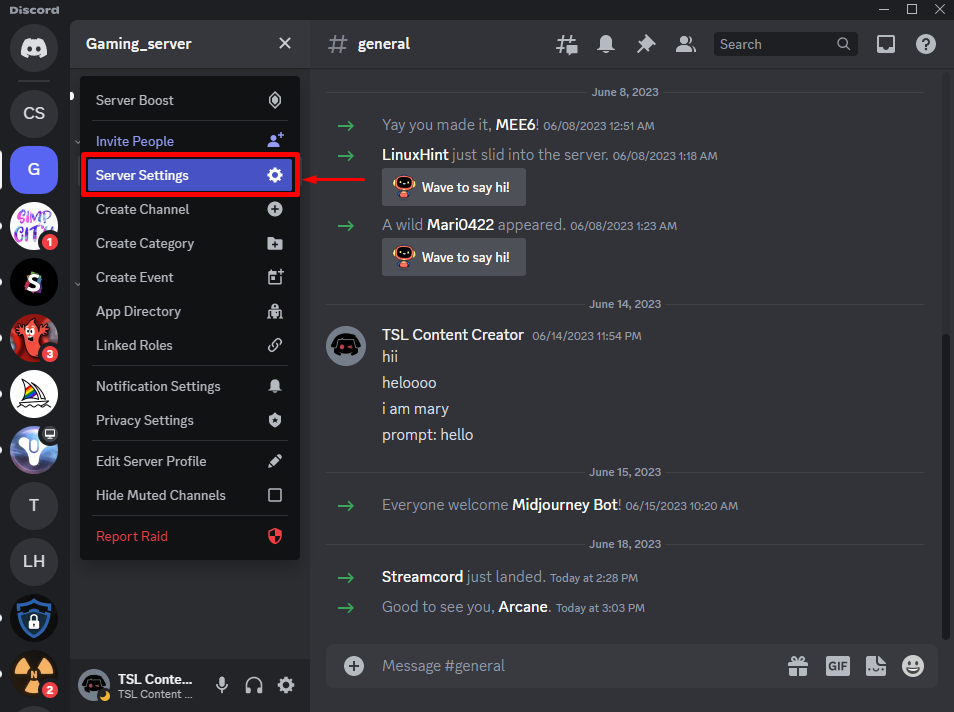
Step 5: Access Server Settings
To open the server settings, hit the “Server Settings” option from the opened drop-down list:
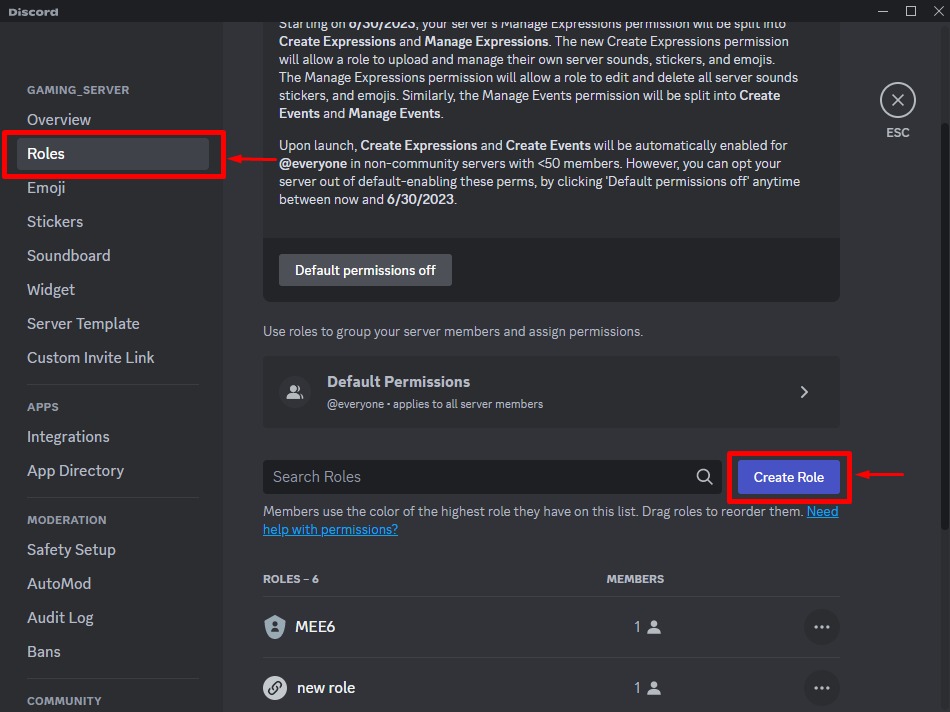
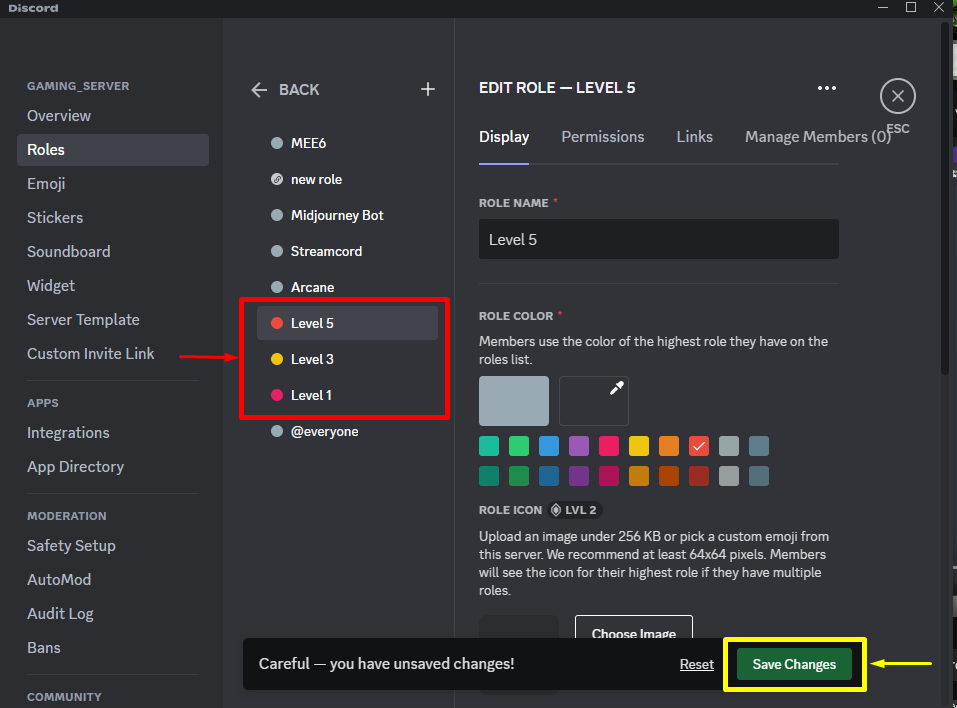
Step 6: Create Roles
Next, choose the “Roles” option inside the “Overview” category and then, click on the “Create Role” button:
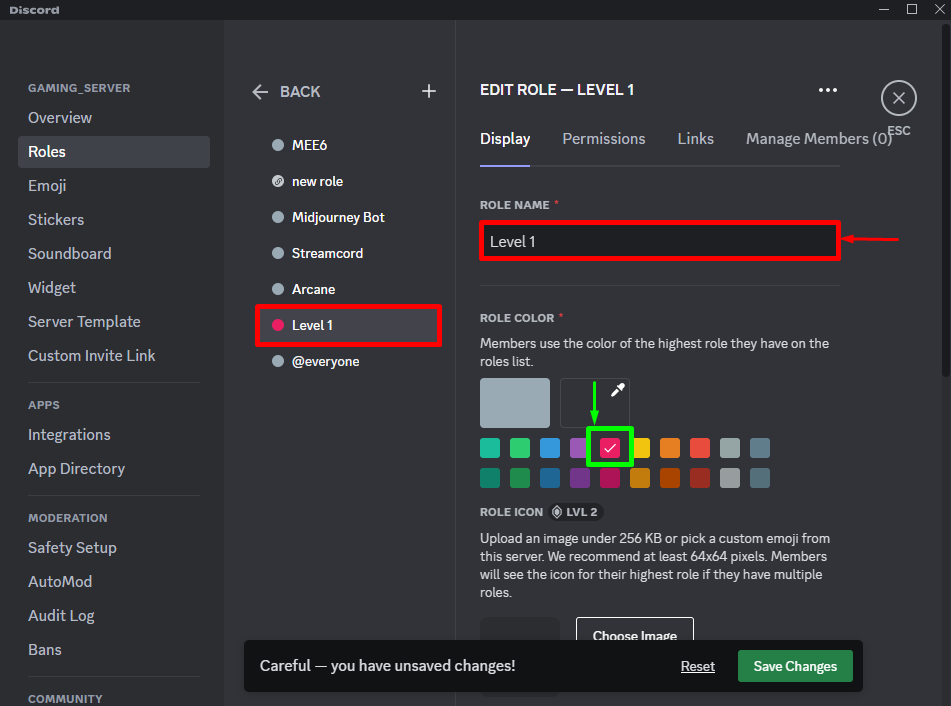
Now, set the role name and its color. Here, we have created a “Level 1” role and selected the pink role color:
Step 7: Save Changes
After creating roles, save all the changes. For instance, we have created three roles named “Level 1”, “Level 3”, and “Level 5” respectively:
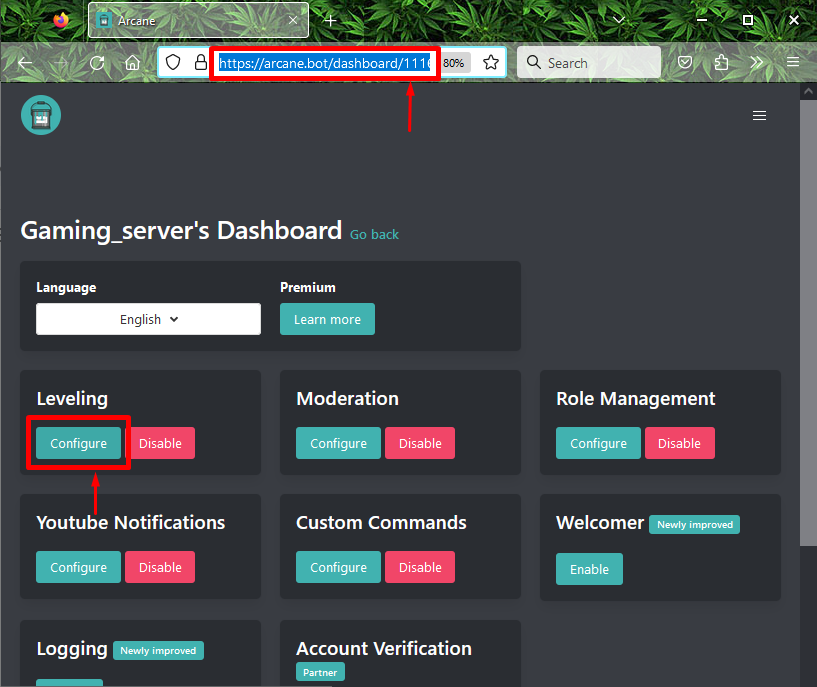
Step 8: Configure Levels
Now, redirect to the invited “Arcane” bot dashboard by clicking on the link and configure the leveling:
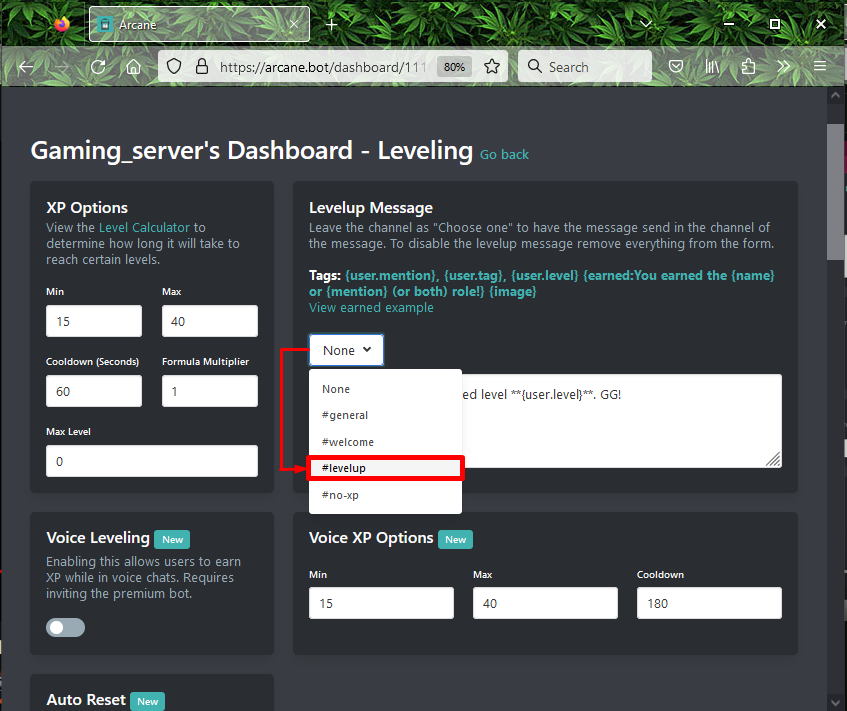
Step 9: Select Server Channel
Next, choose your desired server channel name from the drop-down menu. Here, we have selected the “#levelup” text channel:
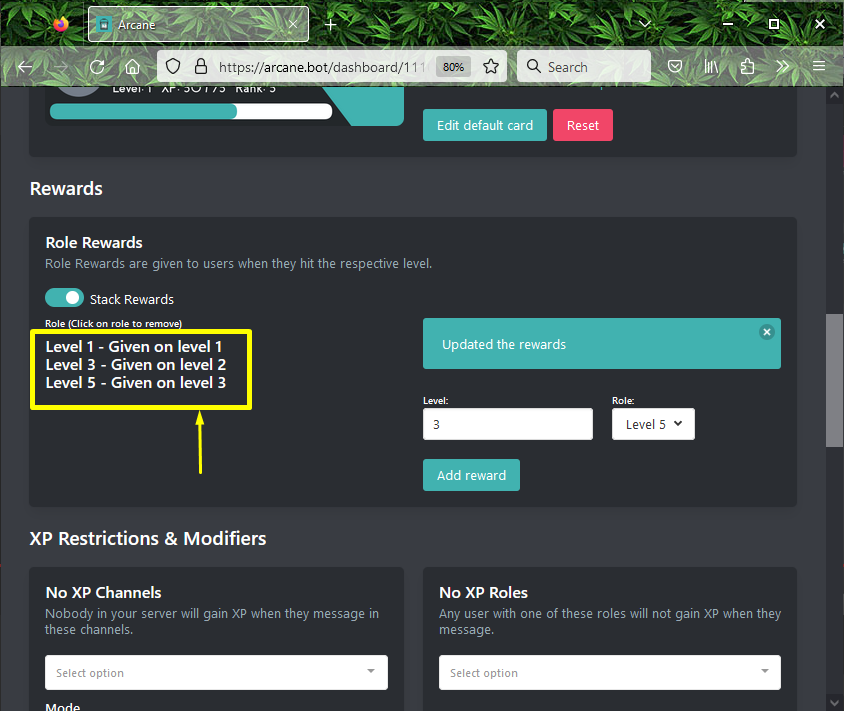
Step 10: Setup the Reward
After that, specify the level number, choose the created level as a role, and hit the “Add reward” button:
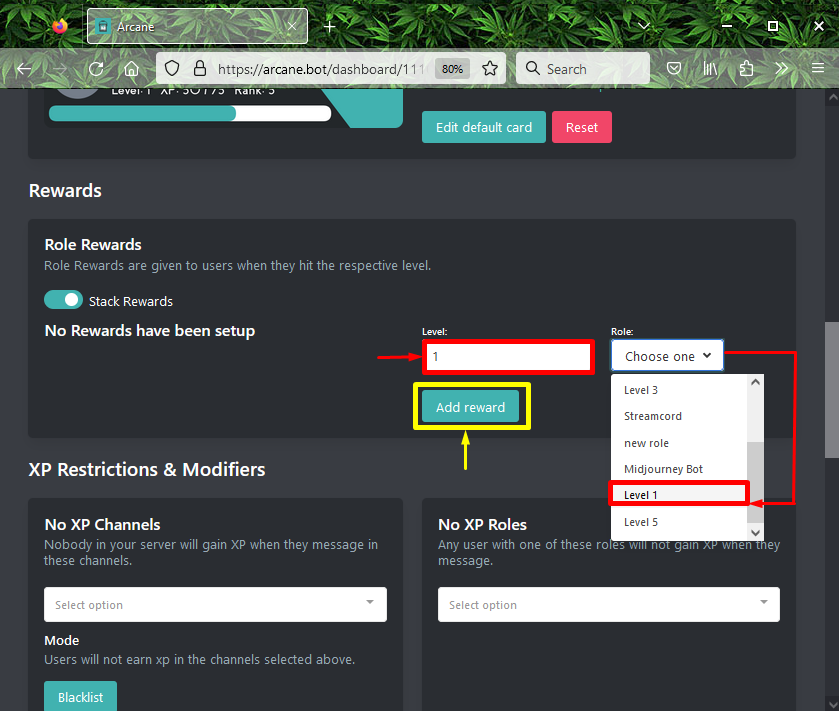
As you can see, all the role rewards have been added successfully:
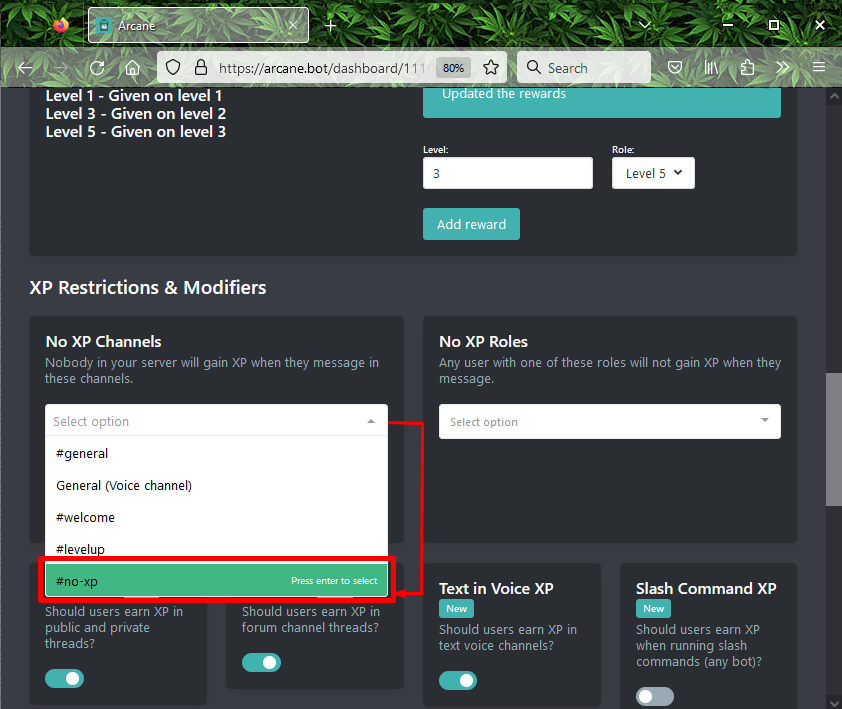
Step 11: Choose the “#no-xp” Channel
Specify the desired server channel name in which nobody will gain XP when they message in these channels:
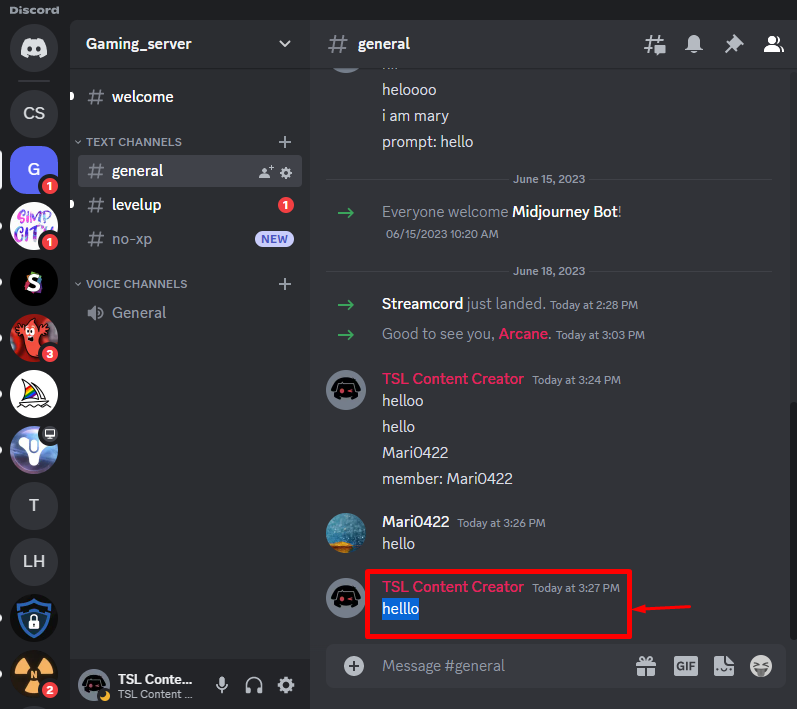
Step 12: Send Text
After configuring the level roles, redirect to the particular Discord server and send any random message:
Lastly, move to the “#levelup” text channel and check the leveling up message:

That’s all about setting up level roles in Discord.
Conclusion
To set up level roles in Discord, users first need to invite the “Arcane” bot into their server. To do so, open Arcane’s official website and invite it. Then, choose the server and authorize the bot by enabling the required permissions. Next, redirect to the Arcane dashboard, select the server in which the level-up message will show, and add the role rewards. After that, launch the Discord application and send a random text to any server channel. This guide illustrated setting up level roles in Discord.