This article will describe the approaches to play audio in JavaScript.
How to Play Audio in JavaScript?
To play audio in JavaScript, apply the below-stated approaches:
Method 1: Play Audio Using the “play()” Method in JavaScript.
The “play()” method plays the current audio, and the “pause()” method stops the audio being played. These methods can be applied to play and pause the associated audio with the help of a user-defined function.
Example
Let’s overview the below-stated example:
<source src="sound.mp3" type="audio/mp3">
</audio>
<br>
<button onclick="playAudio()" type="button">Play</button>
<button onclick="pauseAudio()" type="button">Pause</button>
<script>
let x =document.getElementById('mySound');
functionplayAudio() {
x.play();
}
functionpauseAudio() {
x.pause();
}
</script>
In the above code lines:
- Firstly, include an “<audio>” element along with the “audio” attribute that allows to include the play, and pause controls.
- After that, include a “<source>” element to attach the audio file and specify the type of the file in the “type” attribute.
- In the next step, create two buttons with attached “onclick” events invoking the stated functions to play and pause the audio file.
- Now, in JavaScript code, fetch the audio file by its “id” using the “getElementById()” method.
- Then, define a function named “playAudio()”.
- In its definition, apply the “play()” method to play the associated audio.
- Likewise, declare a function “pauseAudio()”, and the “pause()” method in its definition will similarly pause the corresponding audio.
Output
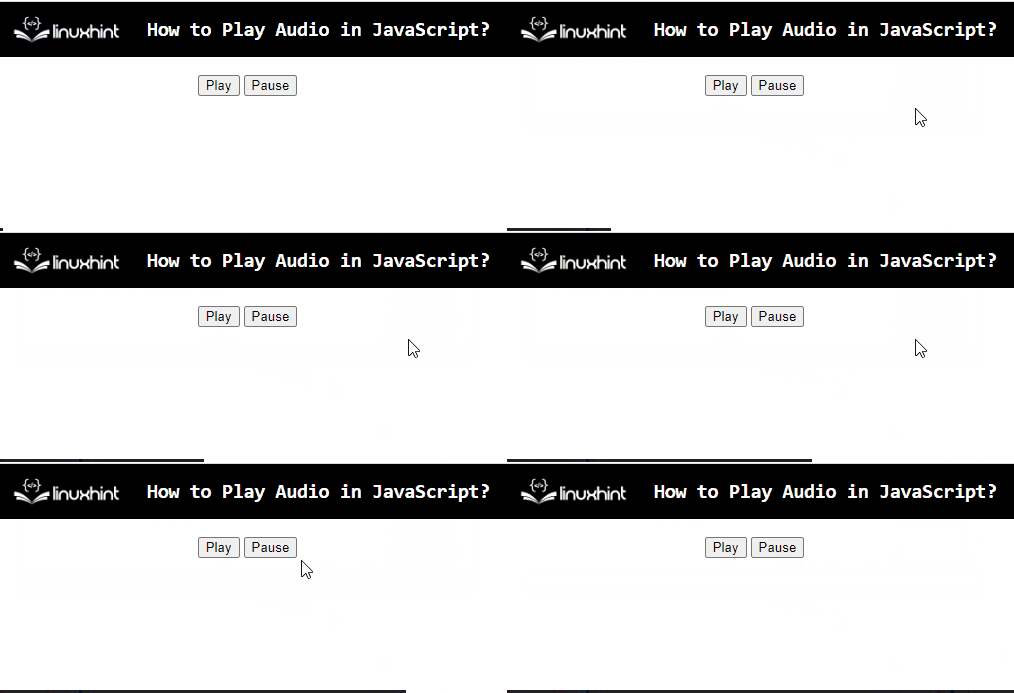
In the output, it can be seen that the included audio is being played and paused properly.
Method 2: Play Audio Using autoplay Property in JavaScript
In this method, the “autoplay” property enables the audio as soon as it is loaded. This property can be utilized to play the corresponding audio upon being loaded.
Example
The below-stated example illustrates the stated concept:
<button onclick="pauseAudio()”>Pause</button>
<script>
let myAudio = new Audio();
functionplayAudio() {
alert('The audio will start playing now.')
myAudio.src = 'sound.mp3';
myAudio.autoplay = true;
myAudio.loop = true;
}
functionpauseAudio(){
alert('Now the audio will pause')
myAudio.pause();
}
</script>
In the above code block:
- Likewise, create two buttons with an “onclick” event redirecting to the functions playAudio() and pauseAudio(), respectively.
- In the JavaScript part of the code, create a new audio object with the help of the “new” keyword and the “Audio()” constructor, respectively.
- After that, define a function named “playAudio()”.
- In its definition, it generates an alert to notify the playing of audio.
- In the next step, the “src” attribute specifies the audio path.
- The “autoplay” property indicates that the audio will play when the function becomes invoked.
- “loop” property defines that the audio file will be played till the next action.
- Lastly, similarly, declare a function named “pauseAudio()”.
- In its definition, display an alert dialogue box referring to a notification before the audio is paused.
Output
The above output indicates that upon clicking the buttons, the audio has been played and paused appropriately.
Conclusion
To play audio in JavaScript, apply the “play()” and “pause()” methods in combination or the “autoplay” property. The former methods can be implemented to play and pause the associated audio file with the help of controls, respectively. The latter approach can be applied to play and pause the audio file as soon as the corresponding functions are invoked. This article discussed the approaches to play audio in JavaScript.

