
The processor of the Raspberry Pi 4 can run a specific number of instructions per CPU and GPU clock cycle. This clock cycle unit is called a hertz (Hz). By default, the CPU of the Raspberry Pi 4 runs at 1500 MHz clock frequency (at max) and the GPU runs at 500 MHz clock frequency(at max).Here, 1 MHz = 1,000,000 Hz
So, if the CPU of the Raspberry Pi runs Y number of instructions per clock cycle, the CPU runs = 1500 MHz x Y = 1,500 x 1,000,000 x Y = 1.5x10⁹Y instructions at max
And if the GPU of the Raspberry Pi runs Z number of instructions per clock cycle, the GPU runs = 500 MHz x Z = 500 x 1,000,000 x Z = 0.5x10⁹Z instructions at max
To improve the performance, you can either increase the number of instructions the CPU and the GPU can run per clock cycle or increase the clock frequency. Sadly, you can’t change the number of instructions a processor can run per clock cycle. So, the only way to improve the performance of your Raspberry Pi 4 is to increase the CPU and the GPU clock frequency.
If you need more processing power on your Raspberry Pi 4, you can increase the CPU and the GPU clock cycle of your Raspberry Pi 4 very easily. This will execute instructions much faster on the CPU and the GPU of your Raspberry Pi 4 and reduce program execution time. This is called overclocking.
You can overclock the CPU of your Raspberry Pi 4 from 1500 MHz to 2147 MHz and the GPU of your Raspberry Pi 4 from 500 MHz to 750 MHz.
In this article, I am going to show you how to overclock the CPU and the GPU of your Raspberry Pi 4. So, let’s get started.
Requirements:
To overclock your Raspberry Pi 4, you will need the following things:
- A Raspberry Pi 4 single-board computer
- A Raspberry Pi 4 USB Type-C power supply.
- A microSD card of size 32 GB or higher with Raspberry Pi OS image flashed on to it.
- A good Raspberry Pi 4 case including a cooling fan and heat sinks.
- Internet connectivity on the Raspberry Pi 4.
- A laptop or a desktop computer for VNC remote desktop access or SSH access to the Raspberry Pi 4.
NOTE: If you don’t want to access your Raspberry Pi 4 remotely via SSH or VNC, you need to connect a monitor, a keyboard, and a mouse to your Raspberry Pi as well. I won’t need any of these as I will be connecting to my Raspberry Pi 4 remotely via VNC remote desktop protocol. My setup is also called the headless setup of Raspberry Pi 4.
If you need any assistance on flashing the Raspberry Pi OS image on the microSD card, check my article How to Install and Use Raspberry Pi Imager.
If you’re a Raspberry Pi beginner and you need any assistance on installing Raspberry Pi OS on your Raspberry Pi 4, check my article How to Install Raspberry Pi OS on Raspberry Pi 4.
Also, if you need any assistance on the headless setup of Raspberry Pi 4, check my article How to Install and Configure Raspberry Pi OS on Raspberry Pi 4 Without External Monitor.
Benchmarking Raspberry Pi 4:
To demonstrate how much of a performance increase is possible by overclocking a Raspberry Pi 4, I have used the browser-based benchmarking tool BaseMark.
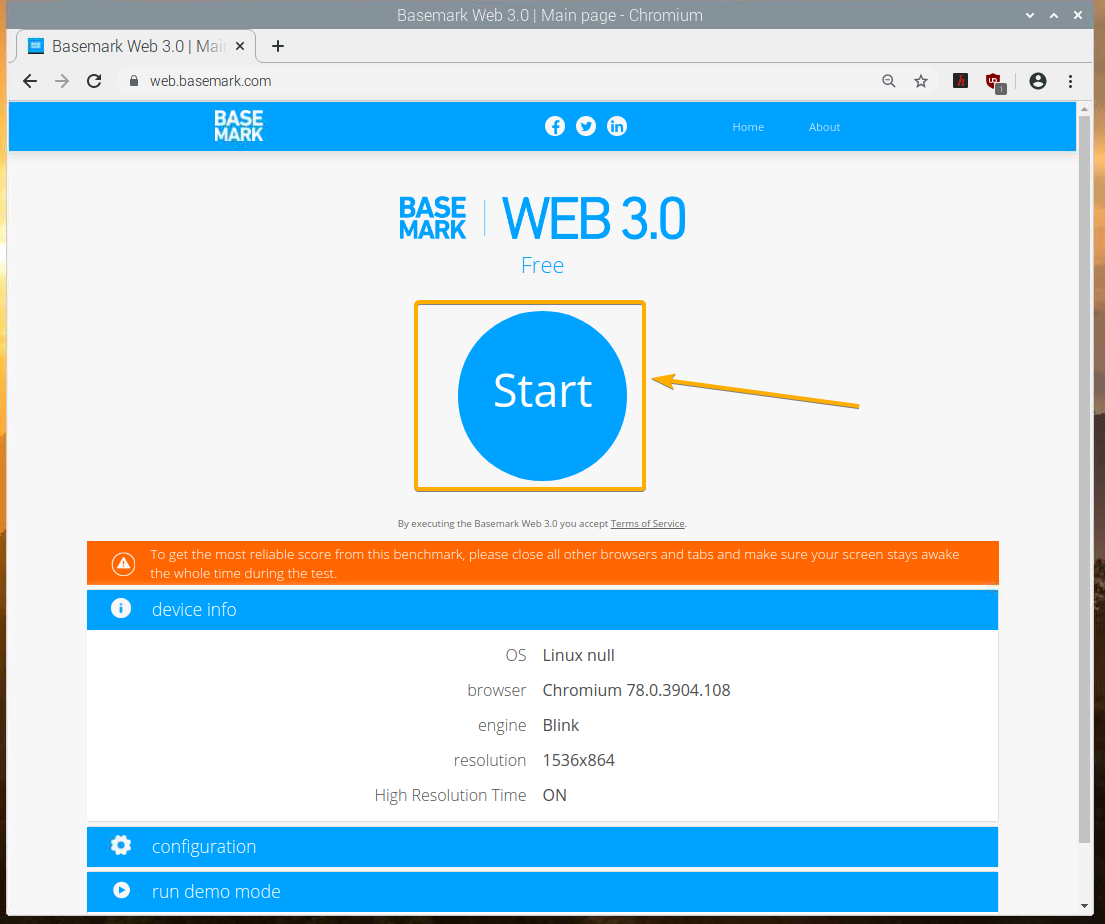
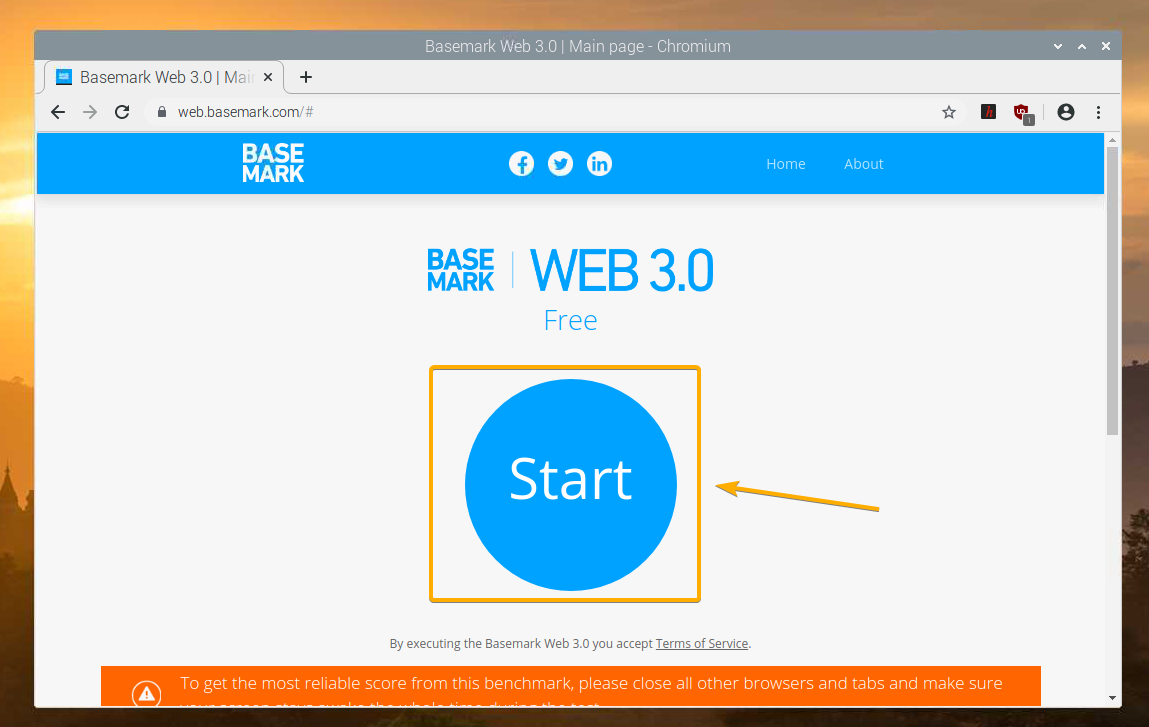
To use BaseMark, visit https://web.basemark.com from the Chromium web browser and click on Start as shown in the screenshot below.
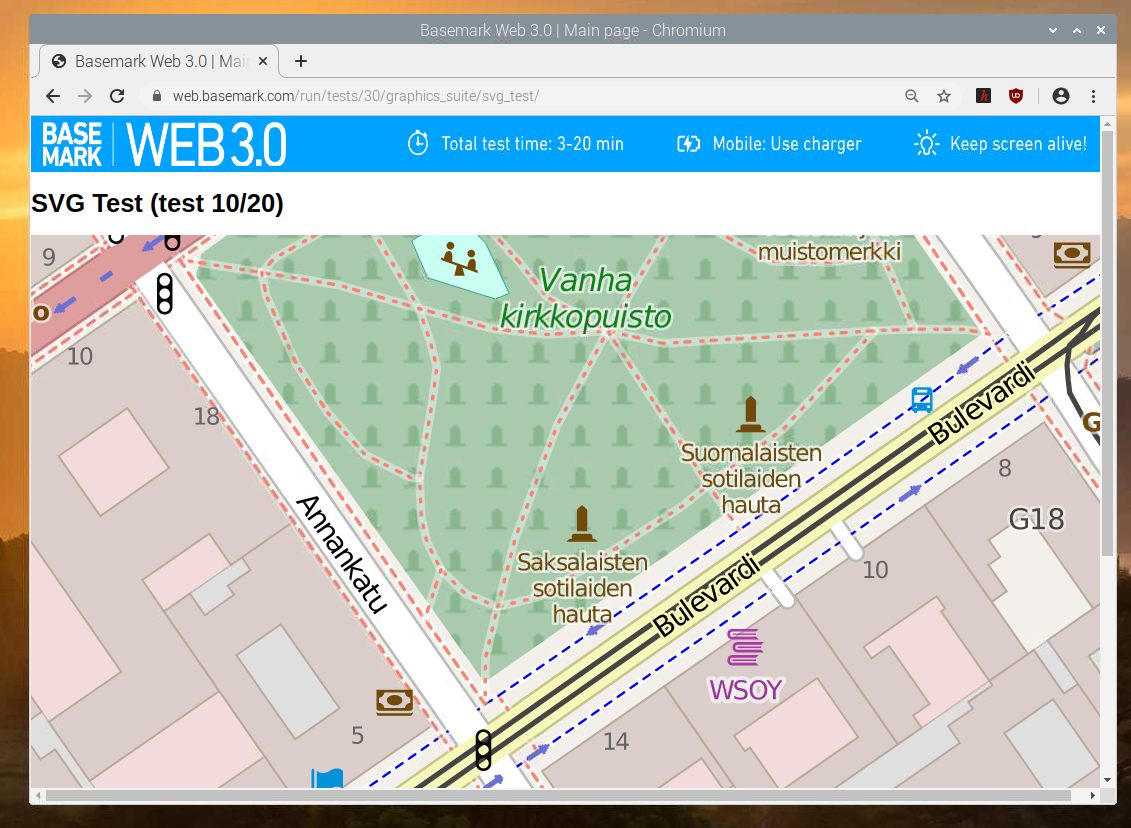
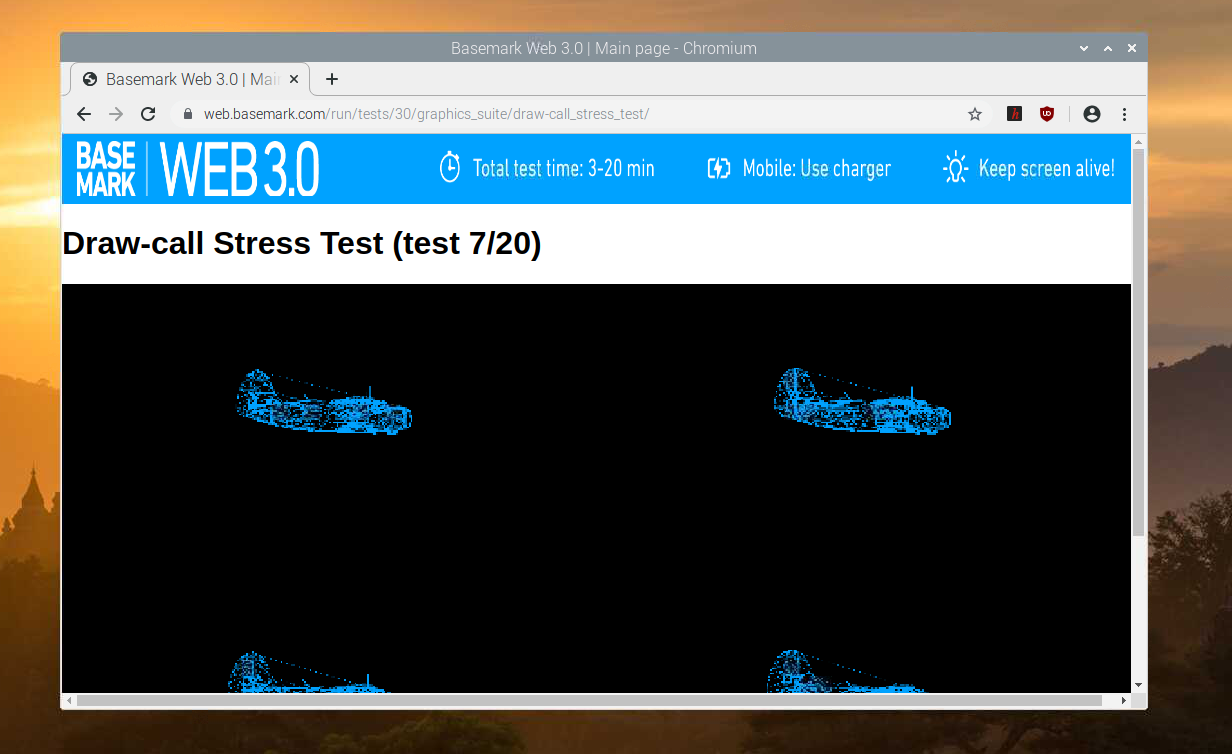
BaseMark will do a few tests on the web browser. This may take a while to complete.
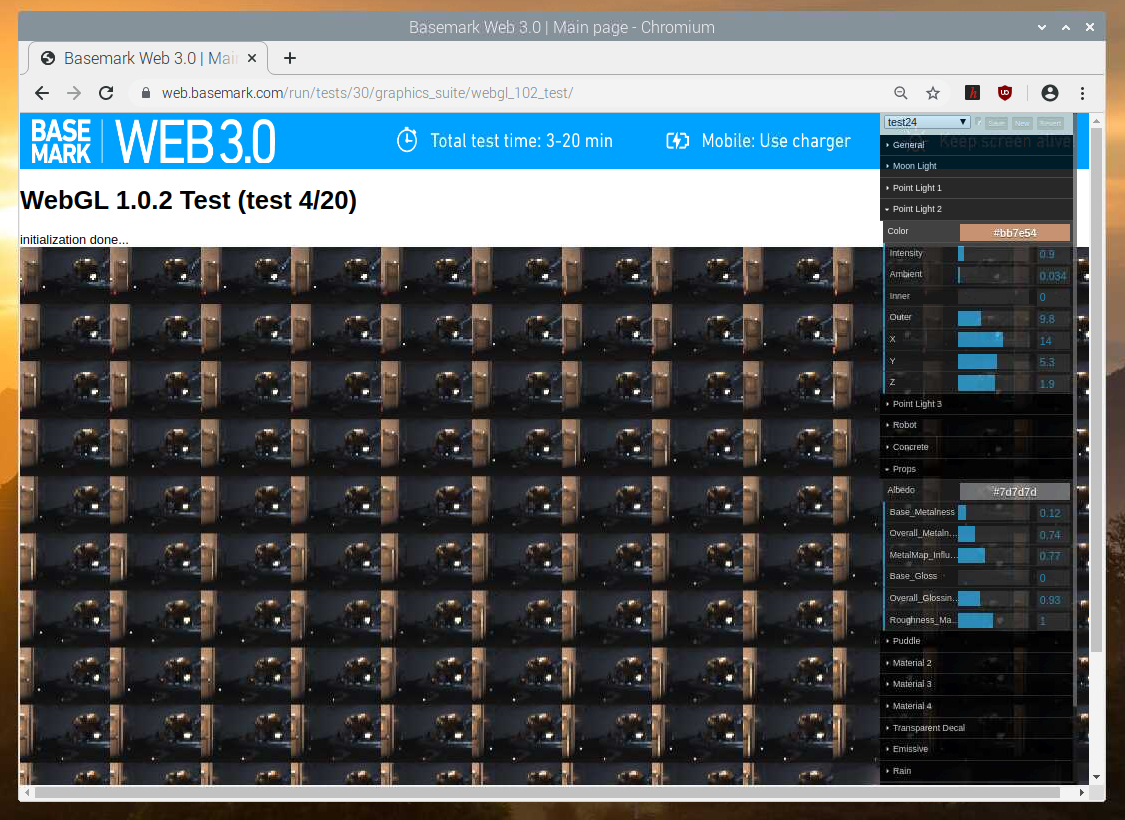
BaseMark tests are running…
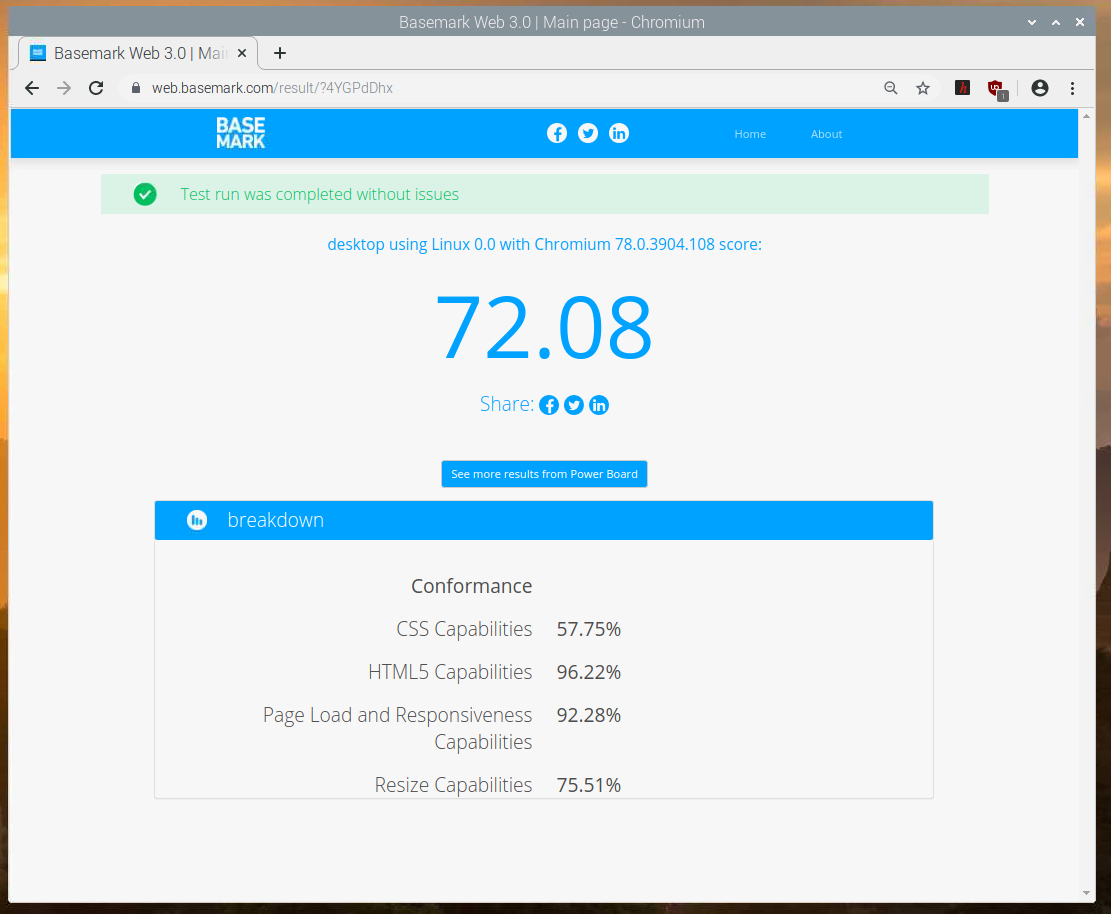
Once the tests are complete, the benchmark result should be displayed. With the default configuration (no overclocking), Raspberry Pi 4 scored 72.08.
In a later section of this article, I will overclock the Raspberry Pi 4, redo the benchmark, and compare the results.
Upgrading Raspberry Pi OS:
Before you attempt to overclock the Raspberry Pi 4, it’s a good idea to upgrade all the existing packages of your Raspberry Pi OS. This way, you will be using the latest kernel and firmware. Any known overclocking bugs may be solved in this new kernel and firmware.
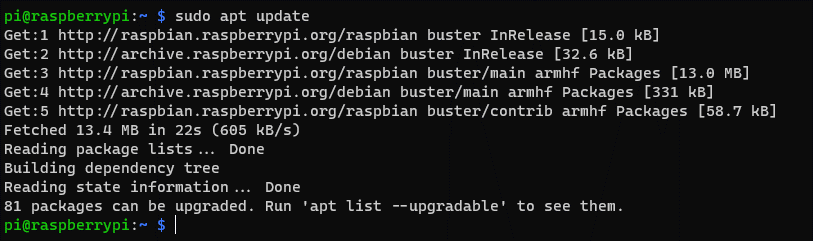
First, update all the APT package repository cache with the following command:
![]()
The APT package repository cache should be updated.
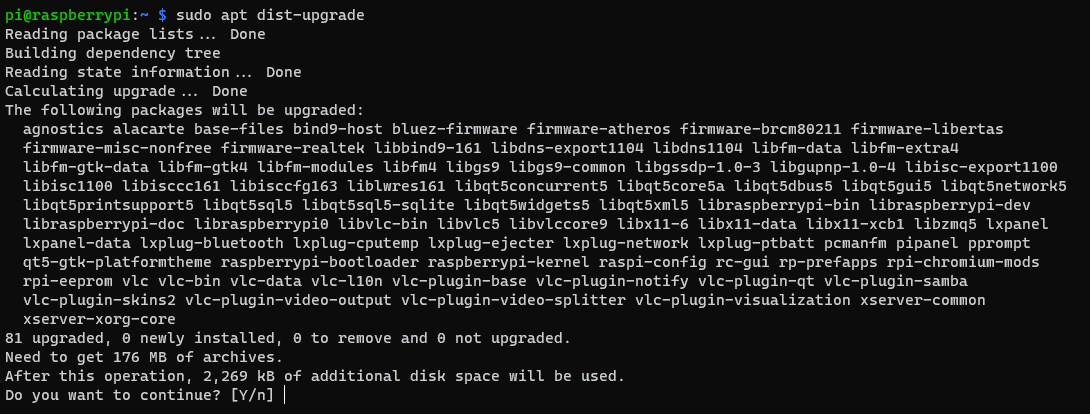
To upgrade all the packages including the kernel and firmware packages (if available), run the following command:
![]()
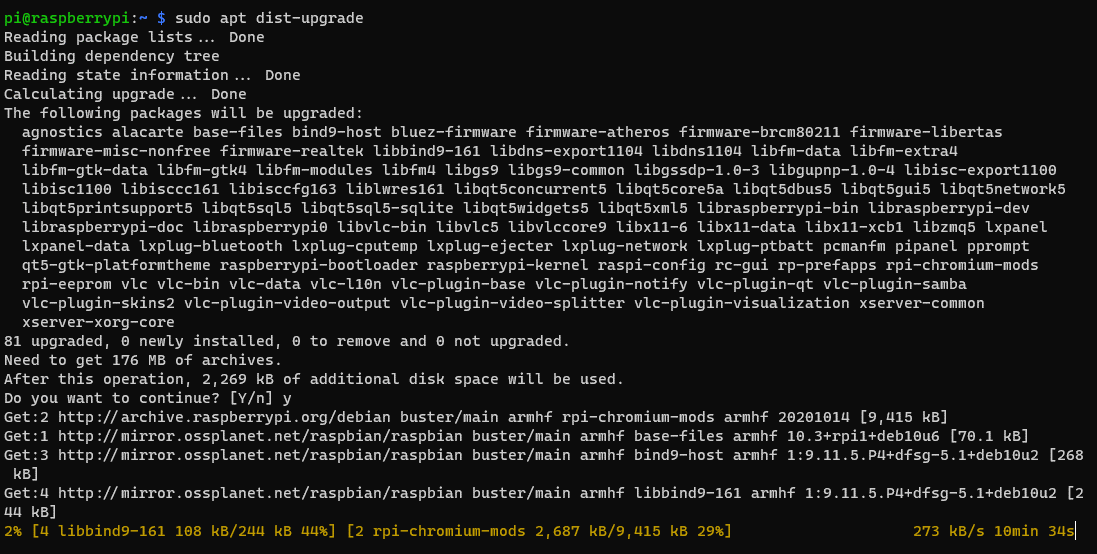
To confirm the upgrade, press Y and then press <Enter>.
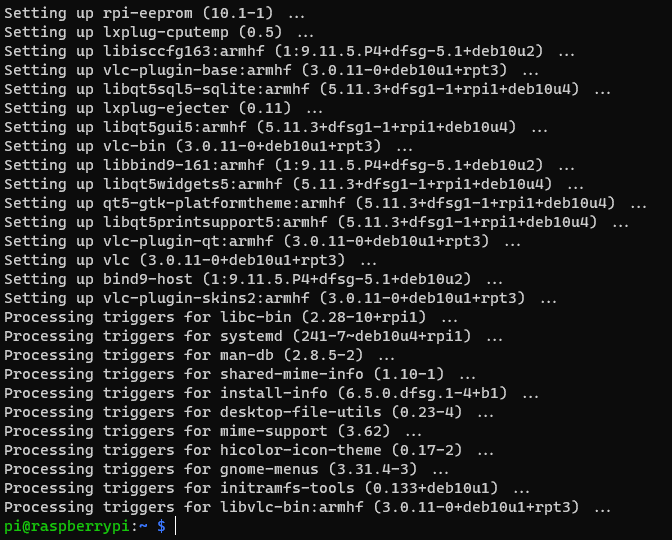
The APT package manager will download and install all the required packages from the internet. It may take a while to complete.
At this point, all the updates should be installed.
For the changes to take effect, reboot your Raspberry Pi 4 with the following command:
![]()
Overclocking the CPU:
In this section, I am going to show you how to overclock the CPU of your Raspberry Pi 4.
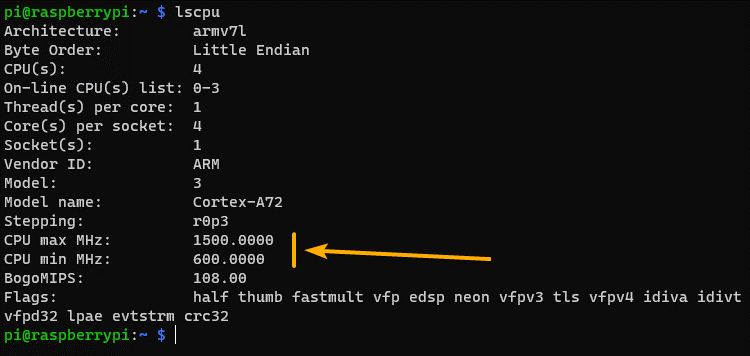
You can display the CPU information of your Raspberry Pi 4 with the following command:
![]()
As you can see, the default maximum CPU clock frequency is 1500 MHz and the minimum CPU clock frequency is 600 MHz.
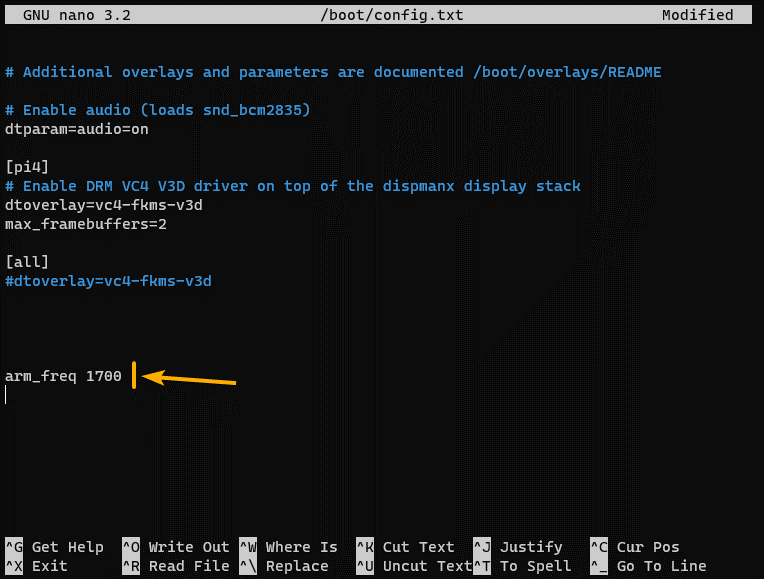
To overclock the CPU of your Raspberry Pi 4, open the /boot/config.txt file with the nano text editor as follows:
![]()
To set the CPU clock frequency from 1500 MHz to 1700 MHz, add the line as marked in the screenshot below at the end of the /boot/config.txt configuration file.
Once you’re done, press <Ctrl> + X followed by Y and <Enter> to save the /boot/config.txt configuration file.
For the changes to take effect, reboot your Raspberry Pi 4 with the following command:
![]()
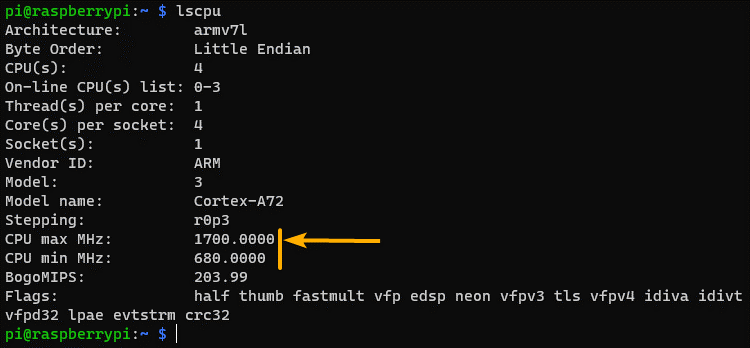
As you can see, the maximum CPU clock frequency has changed to 1700 MHz. The minimum CPU clock frequency has changed as well.
Overclocking the GPU:
In this section, I am going to show you how to overclock the GPU of your Raspberry Pi 4.
By default, the GPU clock frequency is 500 MHz. You can overclock it very easily.
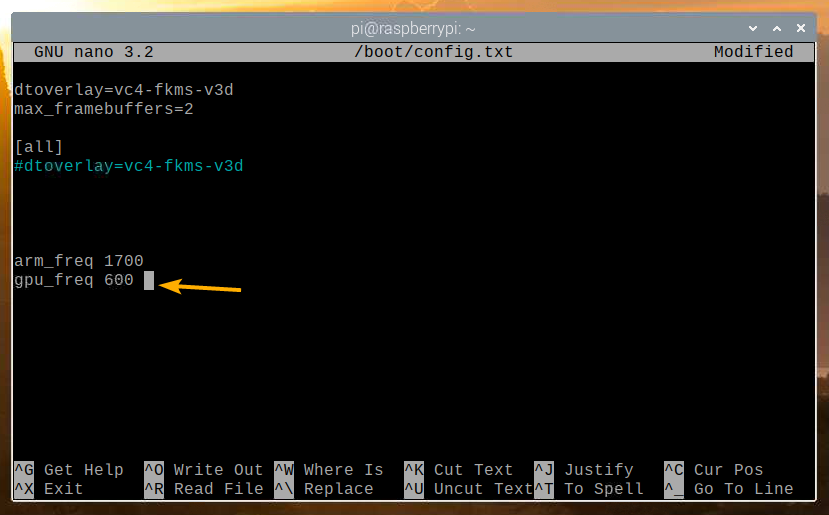
To overclock the GPU clock frequency of your Raspberry Pi 4, open the /boot/config.txt with the nano text editor as follows:

To set the GPU clock frequency from 500 MHz to 600 MHz, add the line as marked in the screenshot below.
Once you’re done, press <Ctrl> + X followed by Y and <Enter> to save the /boot/config.txt configuration file.
For the changes to take effect, reboot your Raspberry Pi 4 with the following command:

Max Overclocking the CPU and the GPU:
You can overclock the CPU and the GPU of your Raspberry Pi 4 to at max 2147 MHz and 750 MHz respectively. To do that, you also need to increase the CPU/GPU core voltage. Otherwise, your Raspberry Pi 4 won’t boot.
The CPU/GPU core voltage can be increased or decreased with the configuration option over_voltage in the /boot/config.txt file. The option over_voltage can be between -16 and 8. The minimum CPU/GPU core voltage is 0.8V (-16) and the maximum CPU/GPU core voltage is 1.4V (8). The increment and decrement step is 0.025V. The default over_voltage value is 0 or 1.2V.
The CPU/GPU core voltage formula is as follows:
CPU/GPU core voltage = 1.2V + over_voltage x 0.025V
Using this formula, you can determine the CPU/GPU core voltage.
For example, the over_voltage value 6 sets the CPU/GPU core voltage to (1.2V + 6 x 0.025V) = 1.35V.
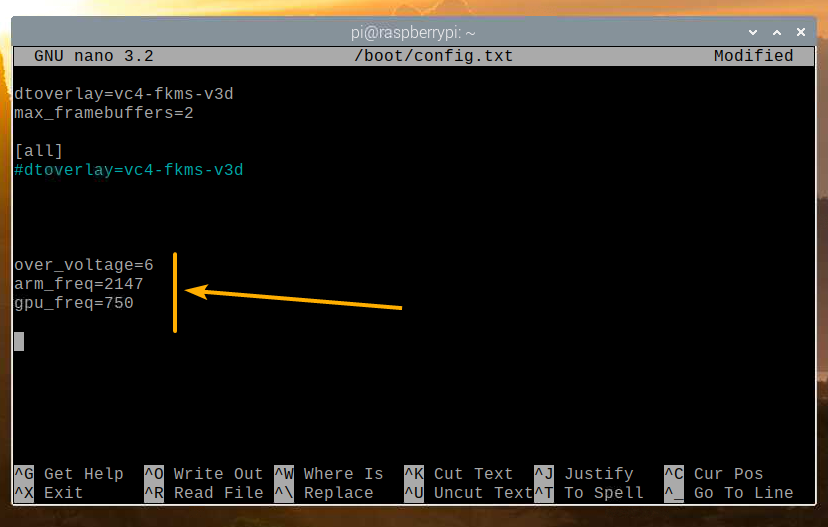
First, open the /boot/config.txt with the nano text editor as follows:

To set the CPU clock frequency to 2147 MHz, the GPU frequency to 750 MHz, and to increase the CPU/GPU core voltage, add the following lines at the end of your /boot/config.txt configuration file.
Once you’re done, press <Ctrl> + X followed by Y and <Enter> to save the /boot/config.txt configuration file.
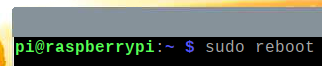
For the changes to take effect, reboot your Raspberry Pi 4 with the following command:
To benchmark your Raspberry Pi 4 to see how much the performance has increased, visit the BaseMark website https://web.basemark.com from the Chromium web browser.
Once the page loads, click on Start.
BaseMark should start benchmarking your Raspberry Pi 4. It will take a while to complete.
BaseMark tests are running…
BaseMark tests are running…
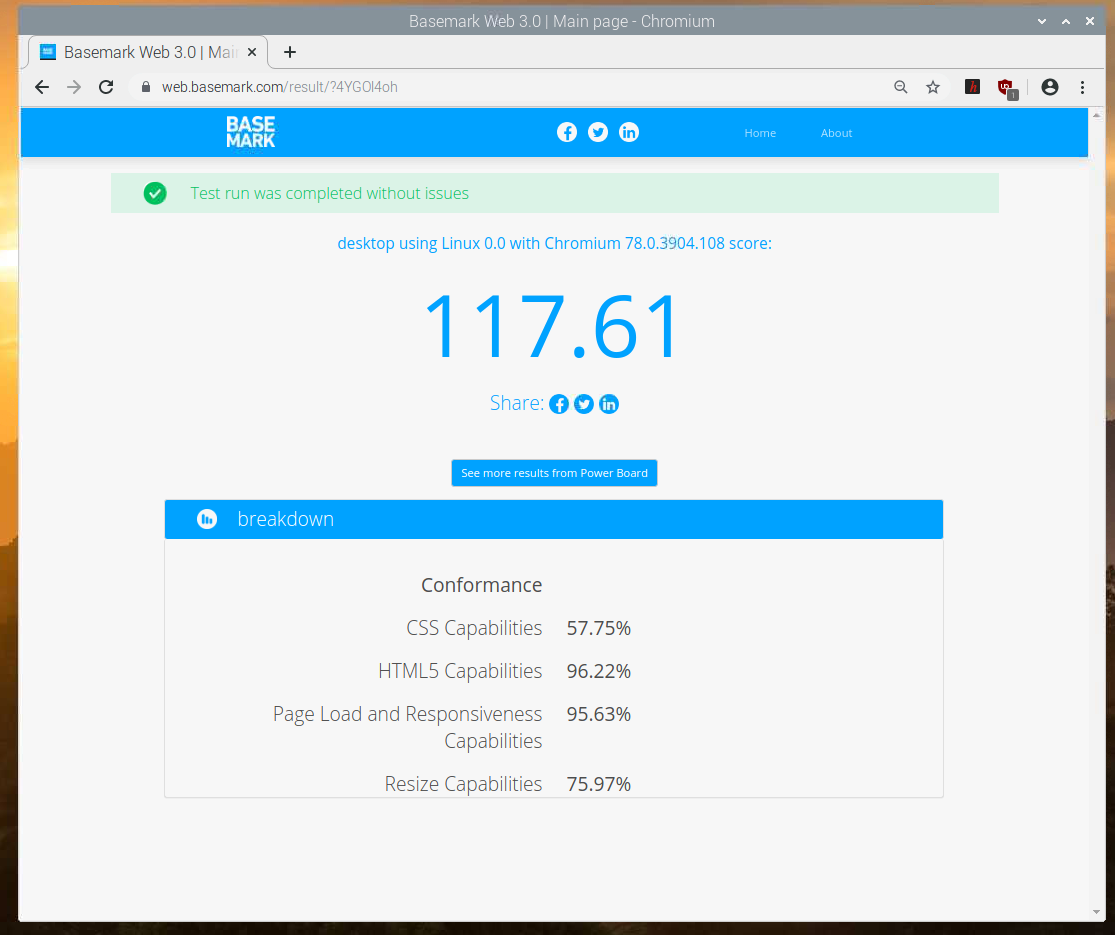
Once the tests are complete, the benchmark result should be displayed. The max overclocked Raspberry Pi 4 scored 117.61. It is much better than the non-overclocked score of 72.08. We can observe about a 63% performance increase by just overclocking the Raspberry Pi 4.
Conclusion:
In this article, I have shown you how to overclock the CPU and the GPU of Raspberry Pi 4 to improve the performance of Raspberry Pi 4. I have also shown you how to benchmark the Raspberry Pi 4 single-board computer. The performance of Raspberry Pi 4 improves about 63% after maximum overclocking. You may have different results. This article should help you get started with Raspberry Pi 4 overclocking.