Things You Will Need:
To try this article, you need the following things:
- A Raspberry Pi 4 single-board computer.
- A USB Type-C power adapter for Raspberry Pi 4.
- A 16GB or higher capacity microSD card.
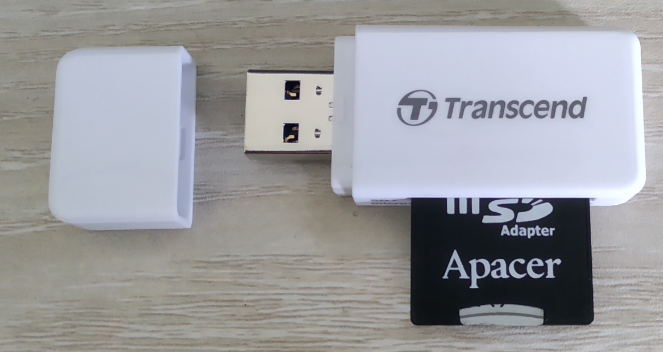
- A card reader for flashing Raspberry Pi OS on the microSD card.
- A computer/laptop for flashing the microSD card.
- A keyboard and a mouse.
- A monitor.
- A micro-HDMI to HDMI cable.
- Wi-Fi or wired network for connecting the Raspberry Pi 4 to the internet (optional).
Downloading Raspberry Pi OS:
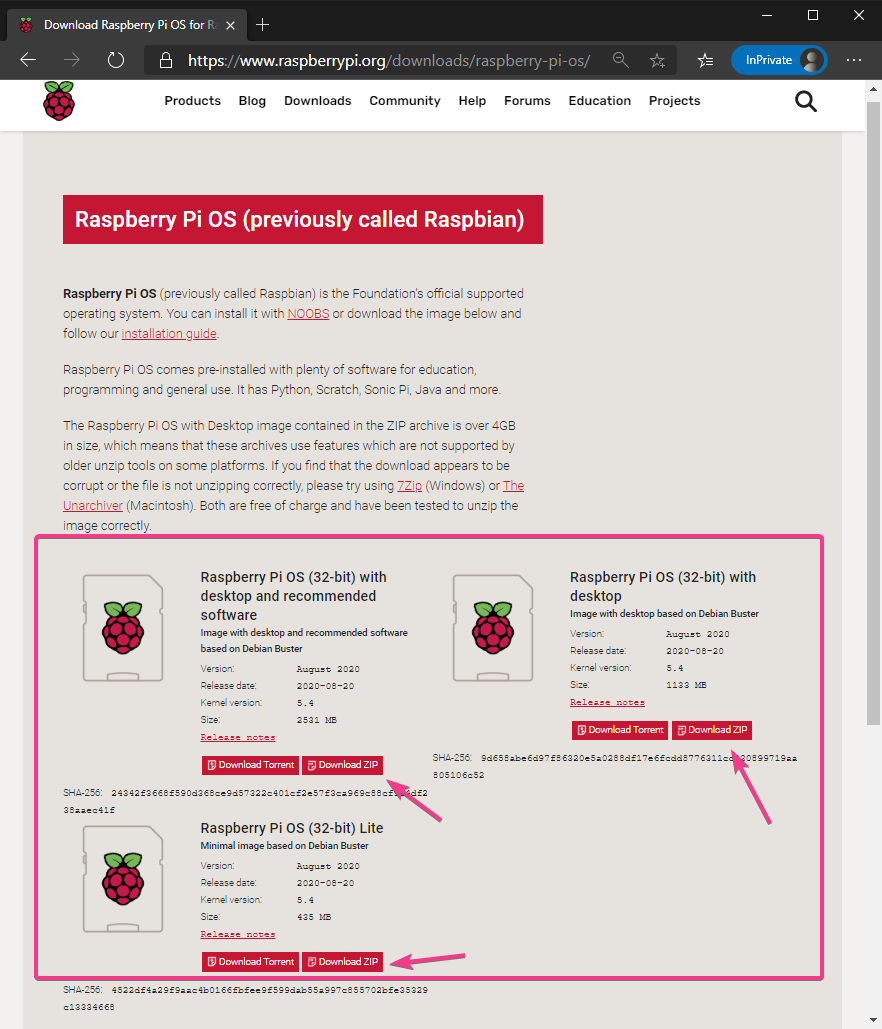
To download the Raspberry Pi OS image, visit the official Raspberry Pi OS download page from your favorite web browser.
Once the page loads, scroll down a little bit and you should find the download links of Raspberry Pi OS.
You will find 3 versions of Raspberry Pi OS:
Raspberry Pi OS (32-bit) with desktop and recommended software – This Raspberry Pi OS image will have most of the necessary software and libraries required for Raspberry Pi projects and the Raspberry Pi OS desktop environment preinstalled.
Raspberry Pi OS (32-bit) with desktop – This Raspberry Pi OS image will have only the bare minimum number of programs and the Raspberry Pi OS desktop environment preinstalled.
Raspberry Pi OS (32-bit) Lite – This is the minimal version of the Raspberry Pi OS. It does not have any Raspberry Pi OS desktop environment preinstalled. So, you will have to do your work from the command-line. A very limited number of command-line programs are preinstalled. This one requires a very little amount of RAM to run. So, you will be able to use almost all of the RAM of your Raspberry Pi for other programs.
To download your desired version of the Raspberry Pi OS, click on the Download ZIP button. I will use the Raspberry Pi OS (32-bit) with a desktop for the demonstration in this article.
Your browser should prompt you to save the Raspberry Pi OS image. Select a directory where you want to save it and click on Save.

Your browser should start downloading the Raspberry Pi OS image. It may take a while to complete.

Flashing the Raspberry Pi OS Image to MicroSD Card:
Once the Raspberry Pi OS image is downloaded, you can flash it on a microSD card and boot your Raspberry Pi 4 from the microSD card.
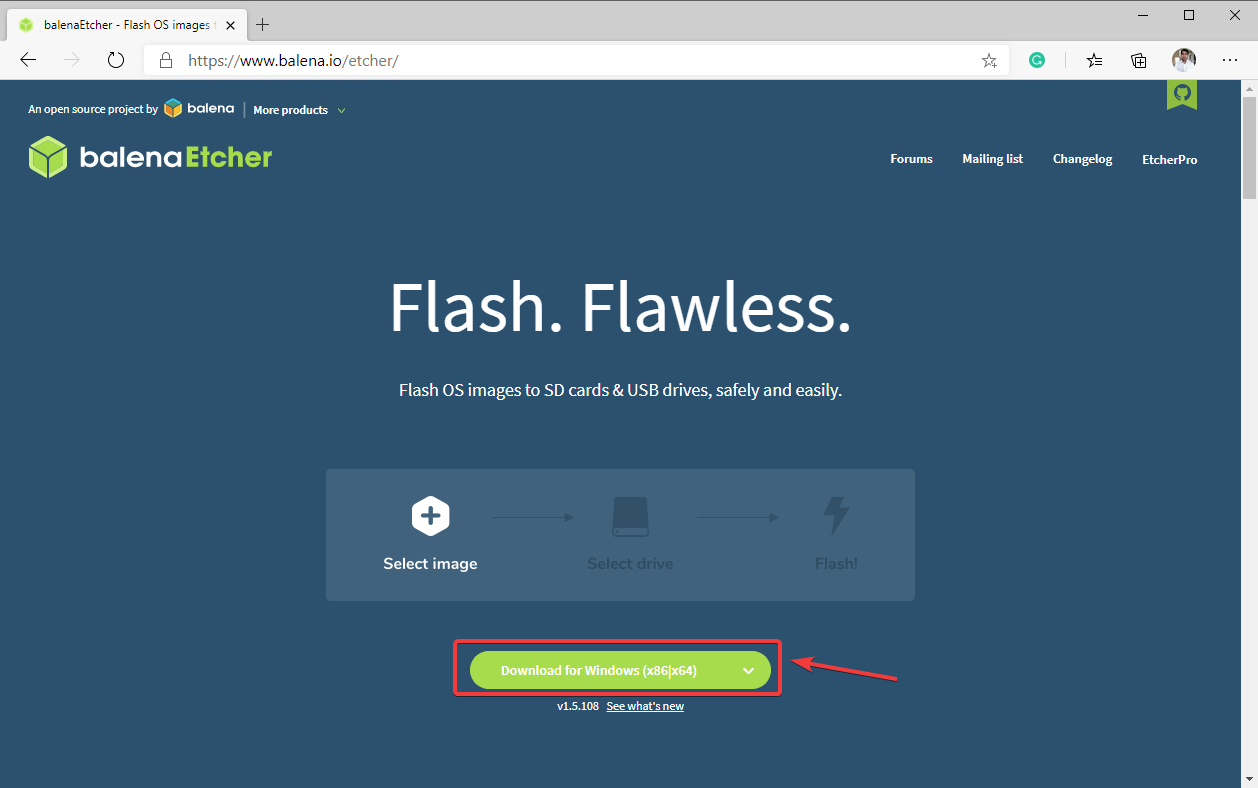
For flashing the Raspberry Pi OS image on the microSD card, you can use many programs. In this article, I will use Balena Etcher or Etcher in short. You can download Etcher from the official website of Balena Etcher.
Visit the official website of Balena Etcher and you can download Etcher for your operating system from there.
If you need any assistance on installing Etcher on Linux, read my article Install Etcher on Linux.
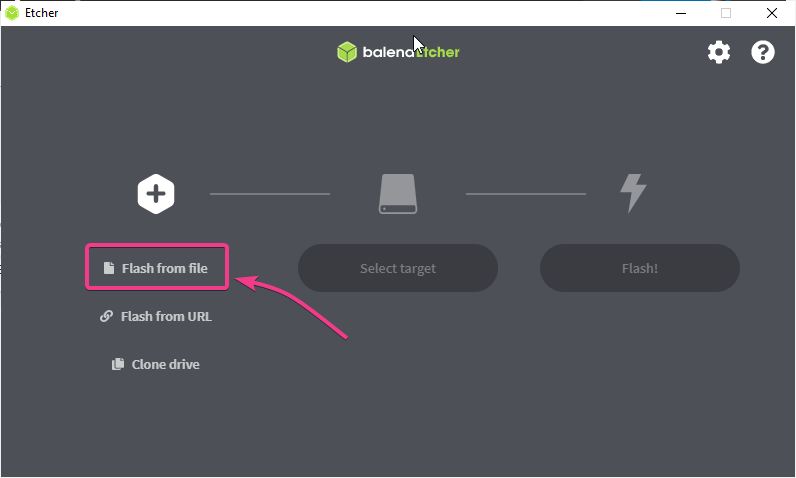
Once you have Etcher installed on your computer, insert the microSD card on your computer and run Etcher.
Once Etcher starts, click on Flash from file as marked in the screenshot below.
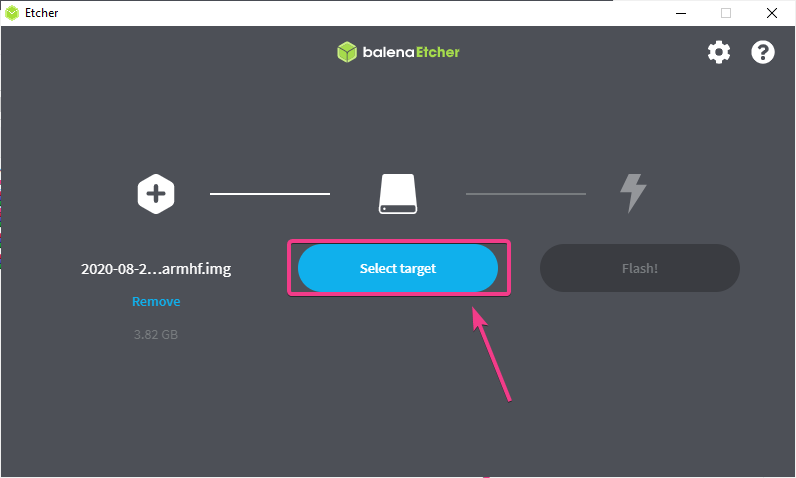
A file picker window should be opened. Select the Raspberry Pi OS image that you have just downloaded and click on Open.

Click on Select target.
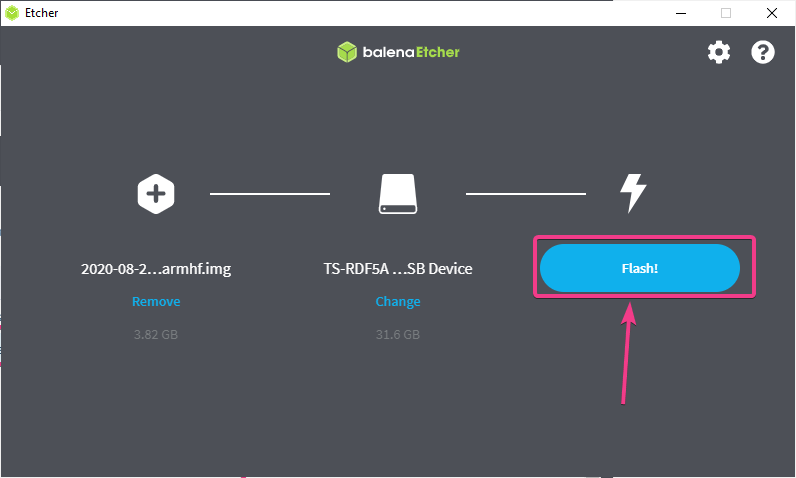
Check the microSD card from the list and click on Select as marked in the screenshot below.

Your microSD card should be selected. Click on Flash! to start flashing the Raspberry Pi OS image to the microSD card.
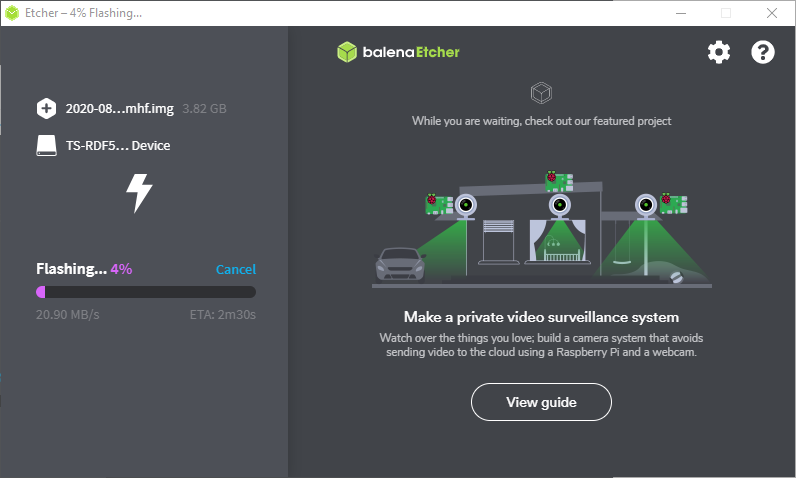
The Raspberry Pi OS image is being decompressed.
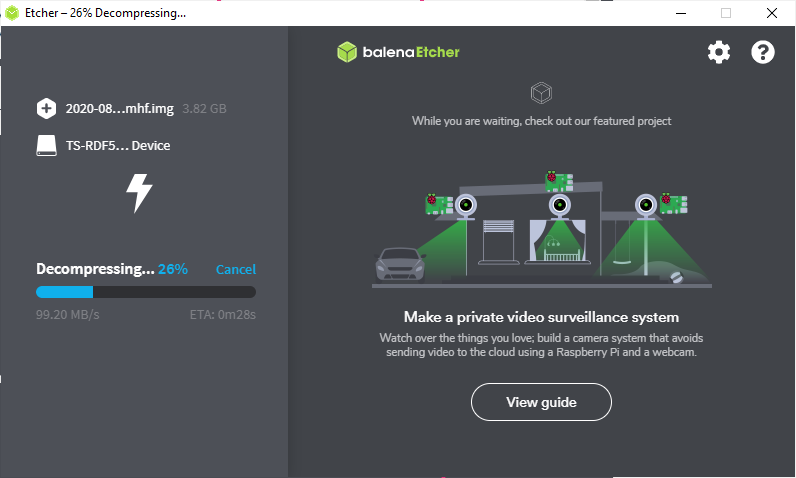
The Raspberry Pi OS image is being flashed to the microSD card. It may take a while to complete.
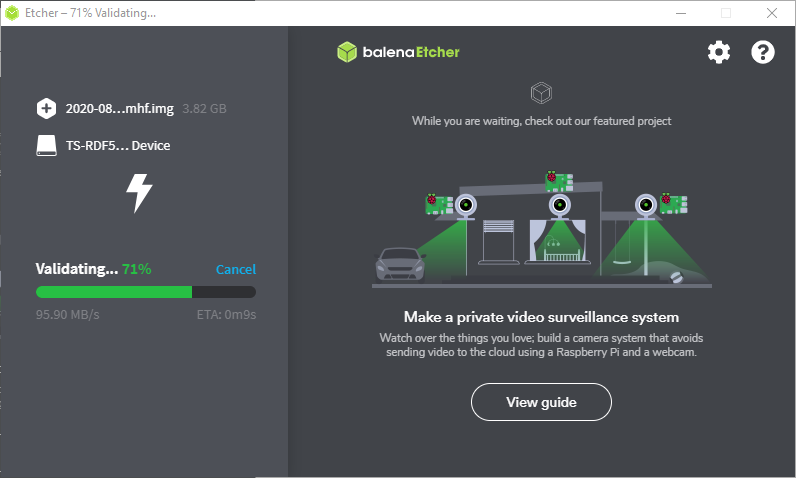
Once the Raspberry Pi OS image is flashed on to the microSD card, Etcher will check whether there are any data corruptions in the microSD card. This may take a while to complete.
At this point, the Raspberry Pi OS image should be flashed on the microSD card. You can close Etcher and eject the microSD card from your computer.

Booting Raspberry Pi OS from the MicroSD Card:
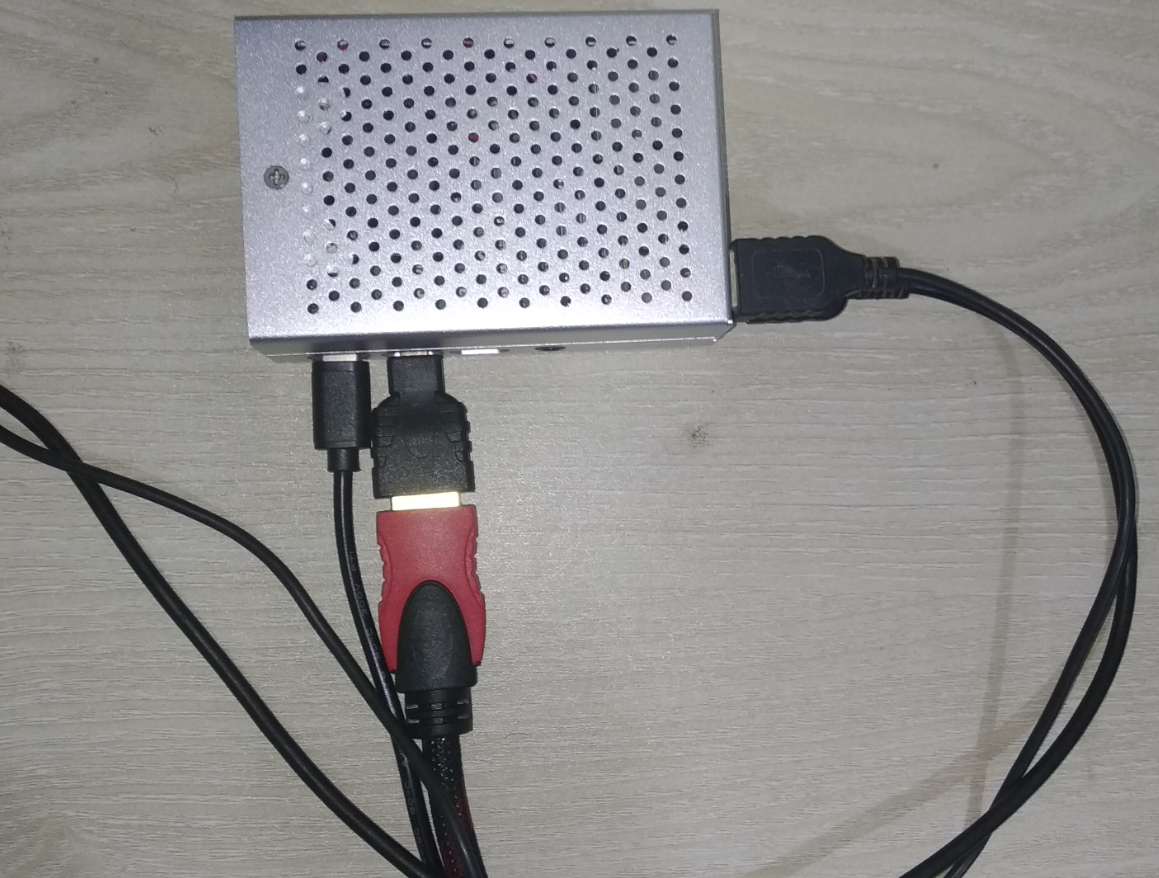
Insert the microSD card you have just flashed with the Raspberry Pi OS image to the microSD card slot of your Raspberry Pi 4. Then, connect a USB keyboard, a USB mouse, and a micro HDMI cable of your monitor to your Raspberry Pi 4.
Finally, connect the USB Type-C power cable to your Raspberry Pi 4 and power it on.
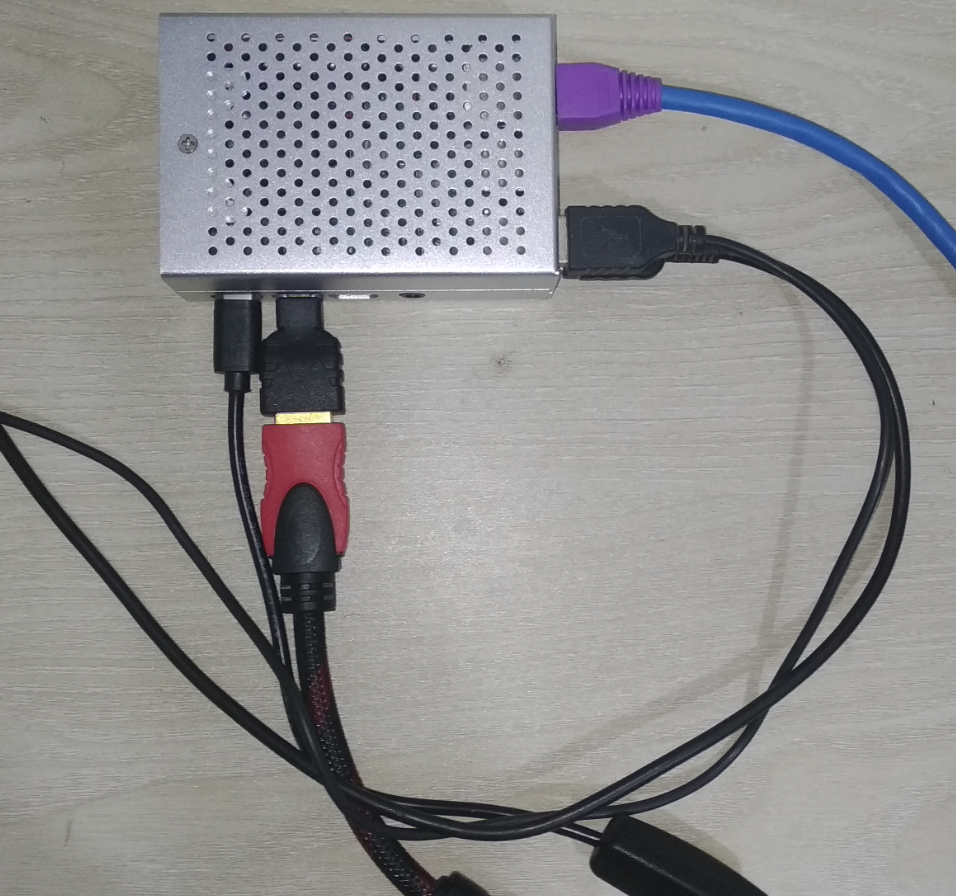
If you plan to use a wired network instead of Wi-Fi for internet connectivity, make sure to plug in your network cable into the RJ45/Ethernet port of your Raspberry Pi 4.
Once you power on your Raspberry Pi 4, you should see the Raspberry Pi logo on your monitor.
After a while, the Raspberry Pi OS desktop environment should be displayed.

Initial Configuration of Raspberry Pi OS Desktop:
As you’ve booted Raspberry Pi OS for the first time, you have to do some initial configuration.
Click on Next.

Select your Country, Language, and Timezone from the dropdown menus. If you want to use the English language and the US keyboard layout, make sure to check the Use English language and Use US keyboard as marked in the screenshot below.
Once you’re done, click on Next.

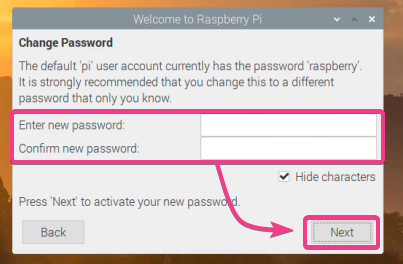
Type in a new password for your Raspberry Pi OS and click on Next. This will change the default password from raspberry to your desired password.
Then, you will see the Set Up Screen window as shown in the screenshot below. This is important.
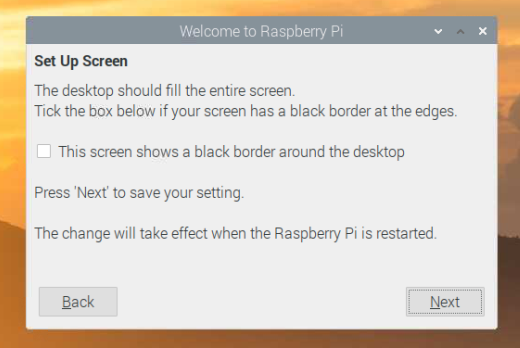
At times, you will see black borders or exclusion zone around your monitor.

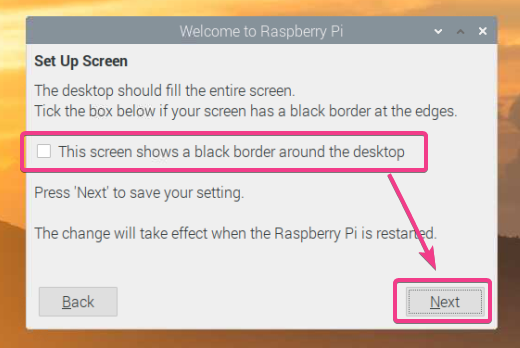
If you see black borders or exclusion zone around your monitor, then check This screen shows a black border around the desktop and click on Next. This will disable overscan and fix the black borders on the next boot.
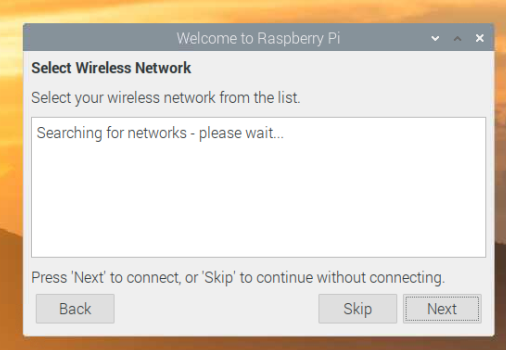
The available Wi-Fi networks will be listed in this window. If you want to connect to the internet via Wi-Fi, you can do so from here. Just select the Wi-Fi SSID from the list and click on Next.
You can connect to your Wi-Fi network later as well. If you’re using a wired network like I am, then you don’t need Wi-Fi. In that case, you can just click on Skip.
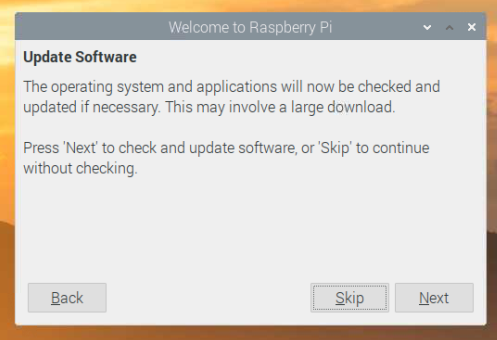
You can also update all the existing packages of your Raspberry Pi OS.
If you have configured Wi-Fi or using a wired network, then you can click on Next to update all the existing software packages of your Raspberry Pi OS. Otherwise, click on Skip.
Once the initial setup is complete, click on Restart to reboot your Raspberry Pi for the changes to take effect.

Once your Raspberry Pi boots, you can use it as much as you want.
Connecting to a Wi-Fi Network:
If you did not connect to a Wi-Fi network during the initial configuration (as shown in the earlier section of this article) of your Raspberry Pi OS and you want to do it now, then this section is for you.
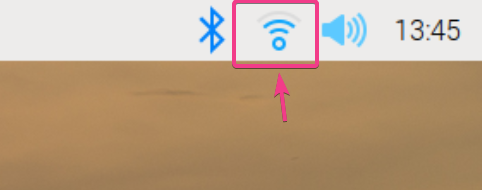
To connect to a Wi-Fi network, click on the network icon (

) at the top-right corner of your screen and select the SSID or Wi-Fi network which you want to connect to.
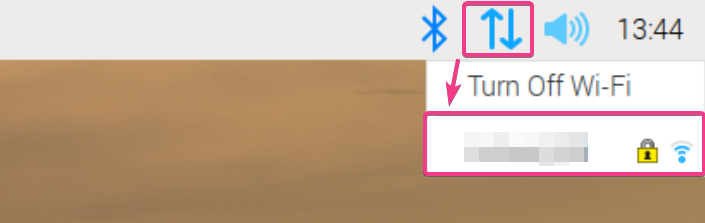
Then, type in the password of the Wi-Fi network you want to connect to and click on OK.

Your Raspberry Pi should be connected to your desired Wi-Fi network.
Enabling SSH Access:
If you want to allow SSH access to your Raspberry Pi 4, then you must enable it first.
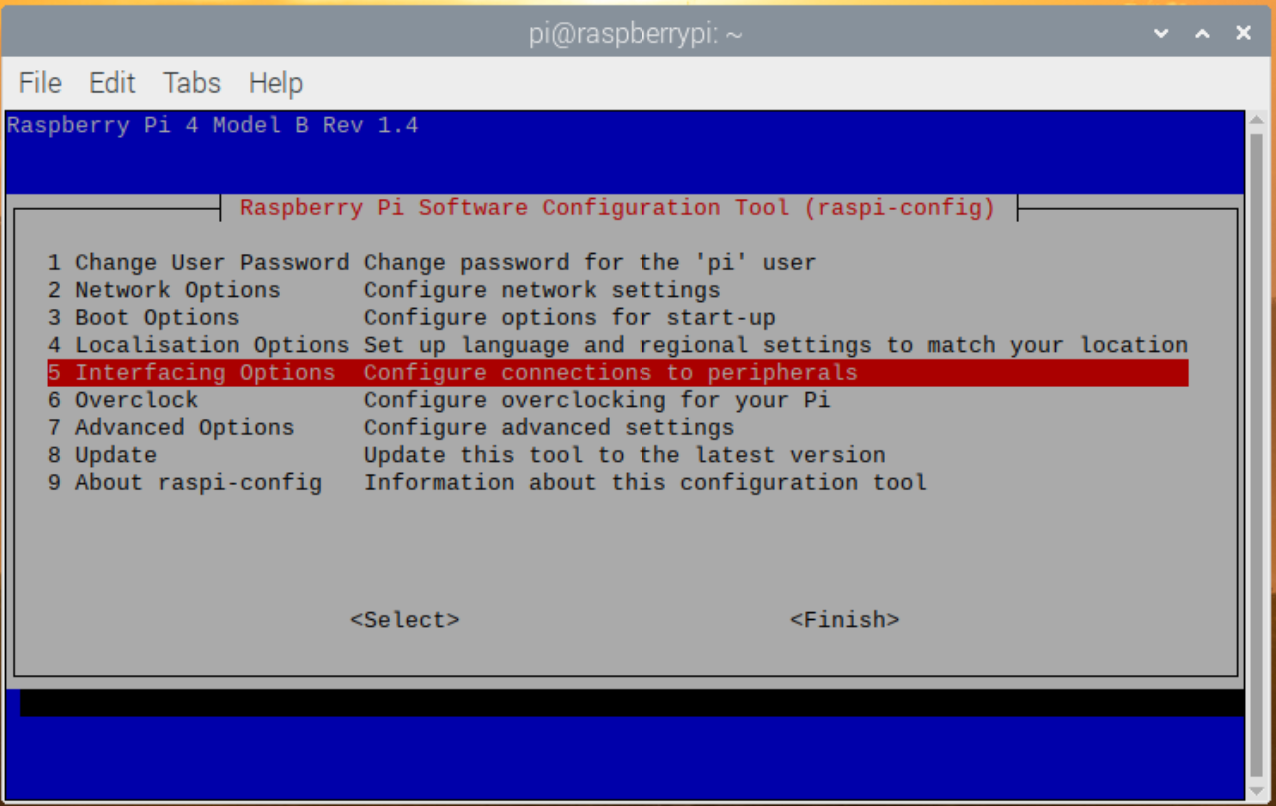
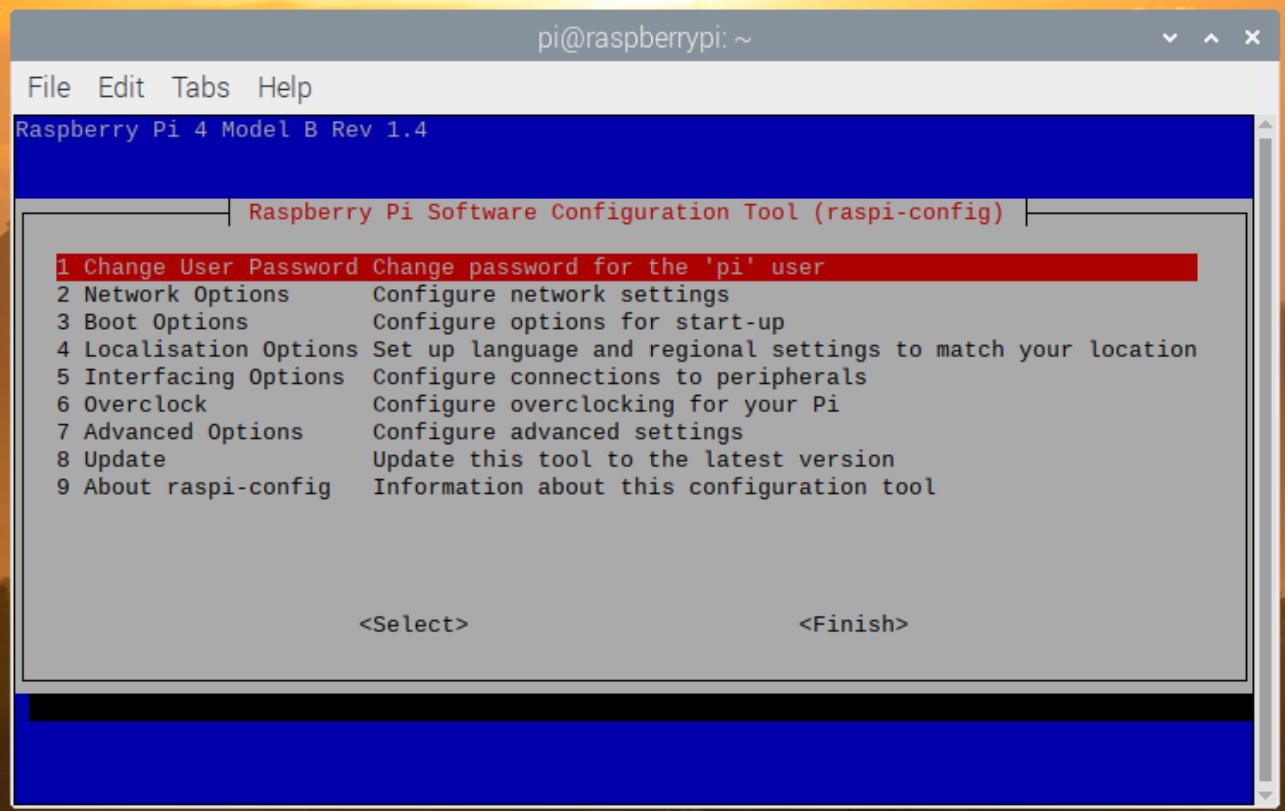
To enable SSH access, start raspi-config as follows:

Select Interface Options and press <Enter>.
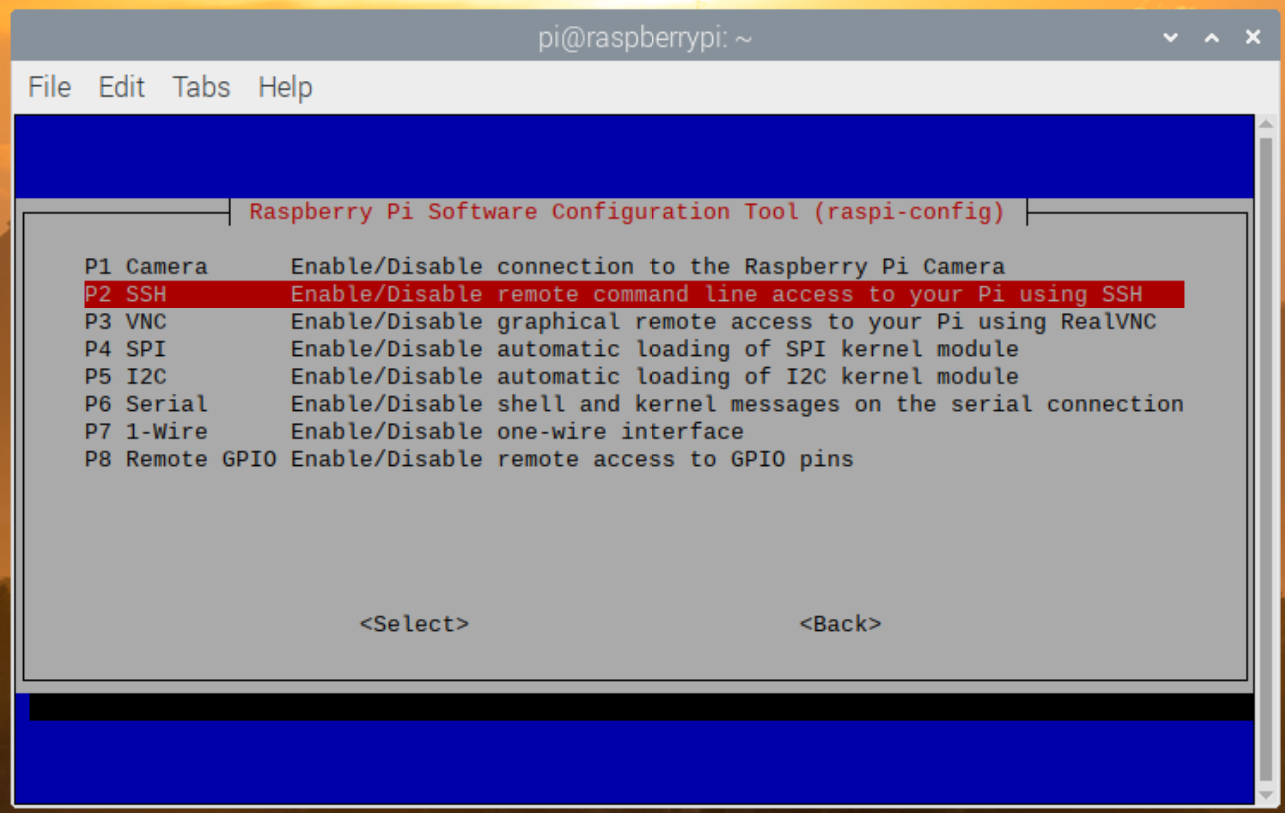
Select SSH and press <Enter>.
Select <Yes> and press <Enter>.

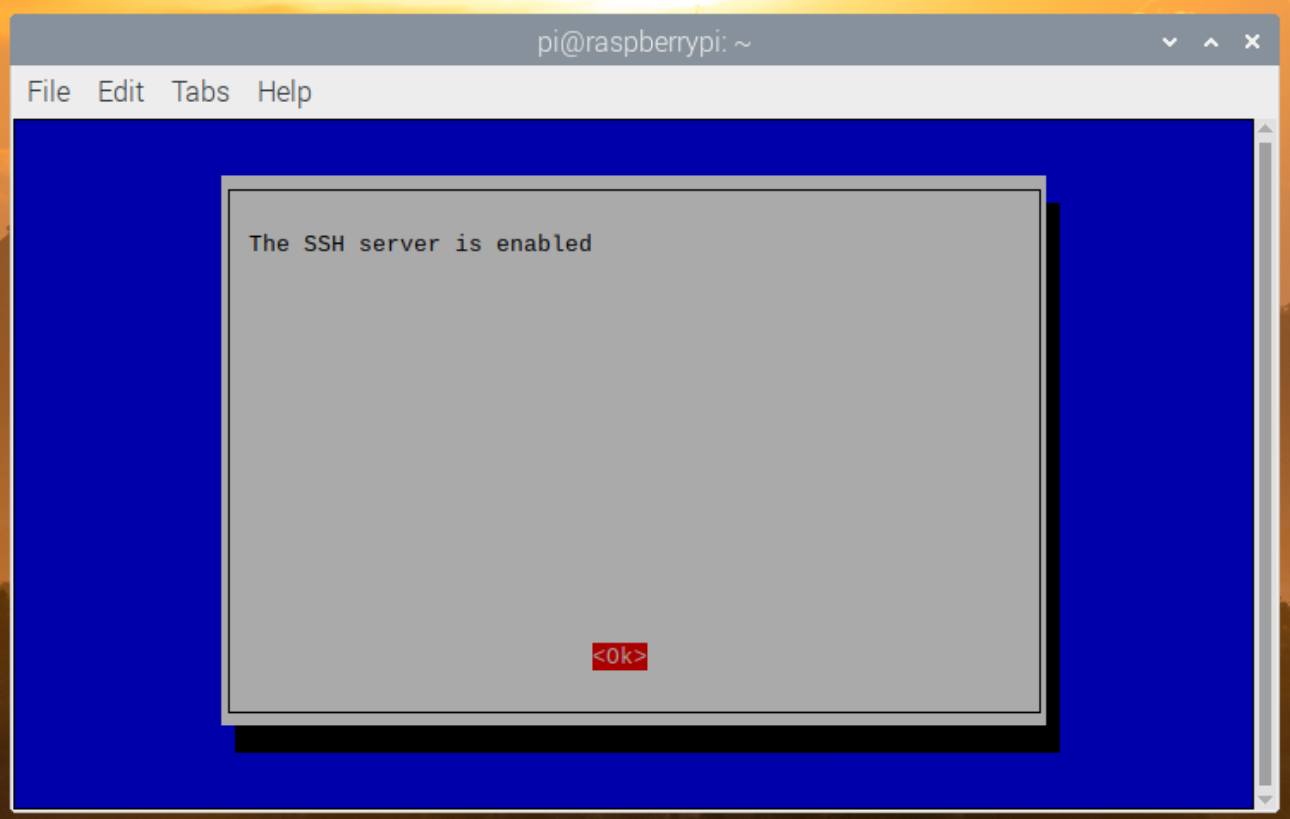
SSH should be enabled. Select <Ok> and press <Enter>.
Press <Esc> to exit out of the raspi-config window.

To remotely connect to your Raspberry Pi 4 via SSH, you need to know the IP address of your Raspberry Pi 4.
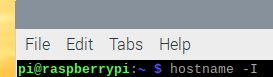
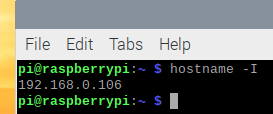
You can find the IP address of your Raspberry Pi 4 with the following command:

As you can see, the IP address in my case is 192.168.0.106. It will be different for you. So, make sure to replace it with yours from now on.

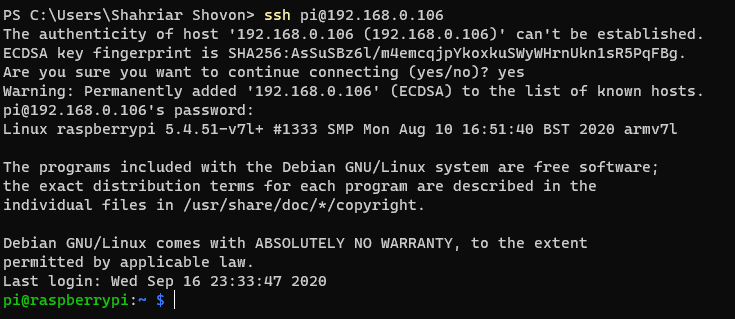
Once you have SSH enabled and you know the IP address of your Raspberry Pi 4, you can connect to it remotely via SSH as follows:
![]()
As you are connecting to your Raspberry Pi 4 via SSH for the first time, you have to confirm the fingerprint of your connection. To do that, type in yes and press <Enter>.

Type in the password of your Raspberry Pi 4 and press <Enter>.

You should be logged in to your Raspberry Pi 4 via SSH. Now, you can run any command you want on your Raspberry Pi 4 remotely.
Enabling VNC Access:
VNC is a protocol that is used to remotely access the desktop environment (in this case, the Raspberry Pi Desktop Environment) of your computer. So, that you can use your computer graphically from a remote computer.
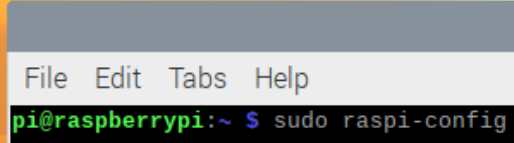
To enable VNC access, start the raspi-config command-line program as follows:
Select Interface Options and press <Enter>.

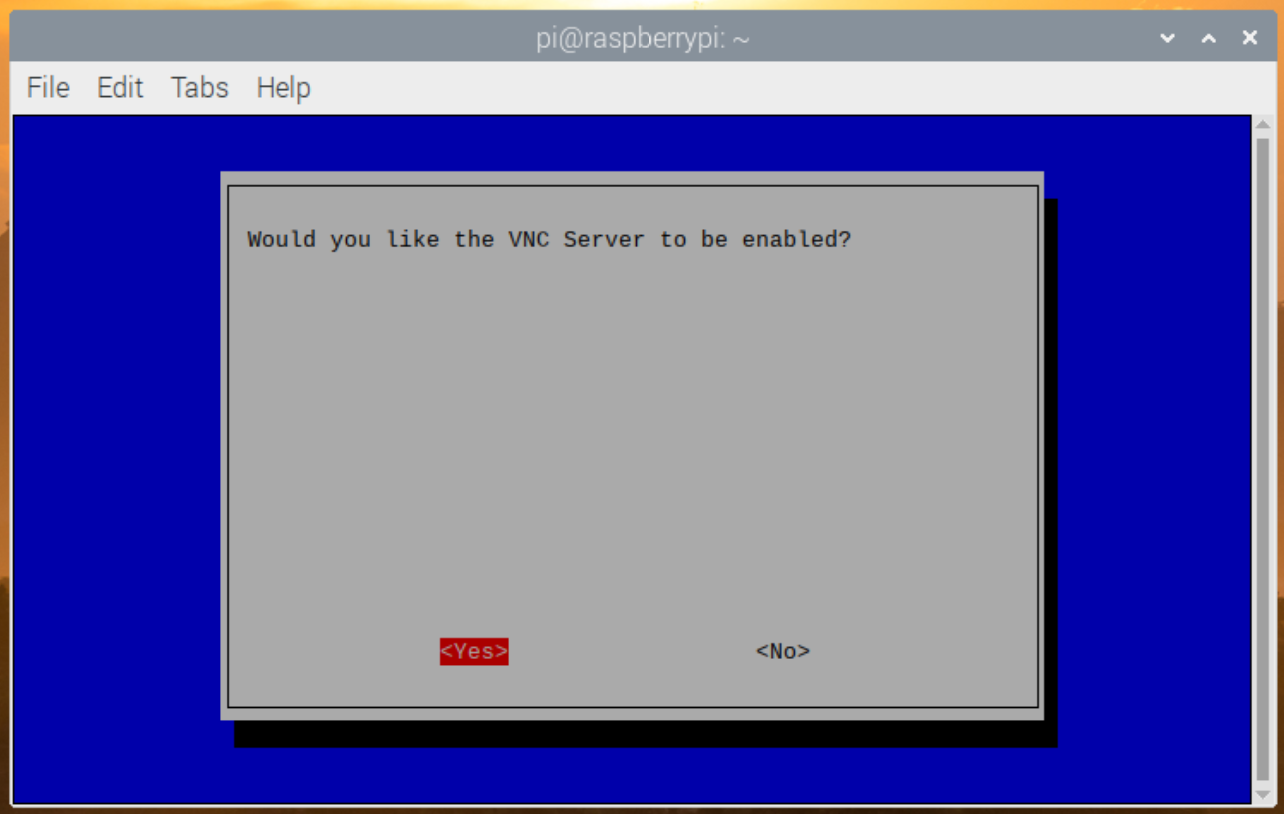
Select VNC and press <Enter>.

Select <Yes> and press <Enter>.
VNC access should be enabled. Select <Ok> and press <Enter>.
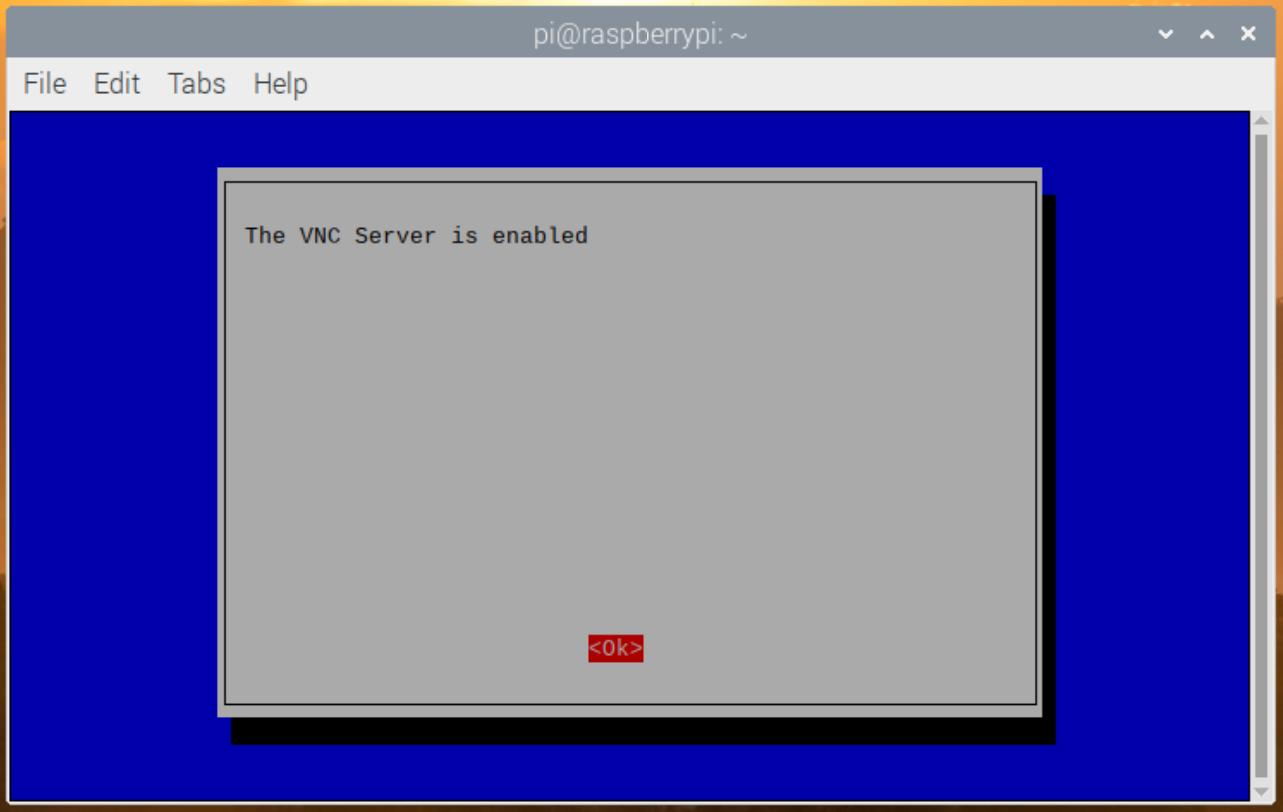
Press <Esc> to exit out of the raspi-config window.
To remotely access the Raspberry Pi Desktop environment running on your Raspberry Pi 4 via VNC, you need to know the IP address of your Raspberry Pi 4.
You can find the IP address of your Raspberry Pi 4 with the following command:
As you can see, the IP address in my case is 192.168.0.106. It will be different for you. So, make sure to replace it with yours from now on.
Once you know the IP address of your Raspberry Pi 4, you can use any VNC client to remotely manage your Raspberry Pi 4 via the VNC protocol.
In this article, I will be using the VNC Viewer (VNC client) from RealVNC. You can download it for your operating system from the official website of RealVNC.
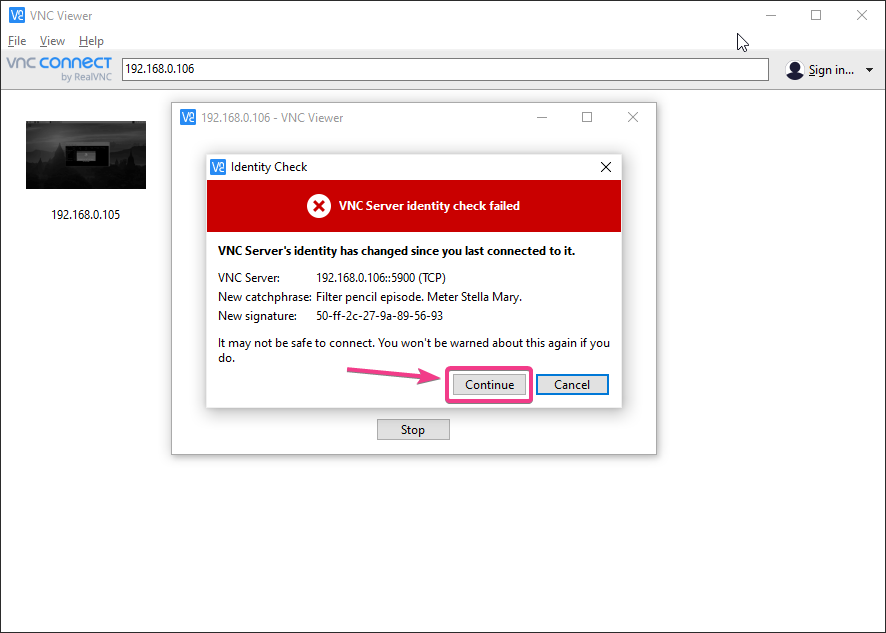
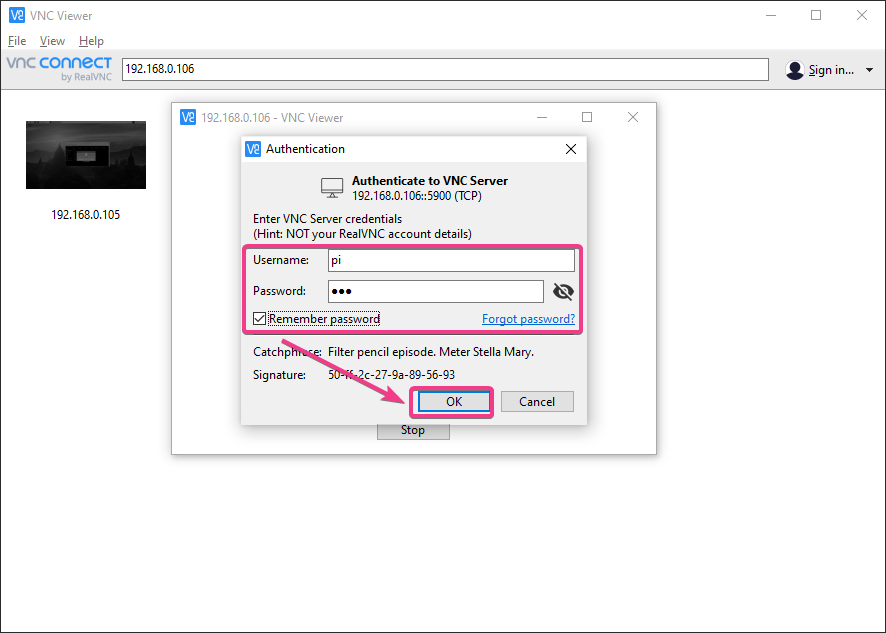
From your desired VNC client, connect to the IP address (192.168.0.106) of your Raspberry Pi 4.

Click on Continue.
Type in pi as the username and the password of your Raspberry Pi 4. Check Remember password if you don’t want to be asked for the password every time you connect to your Raspberry Pi 4 via VNC.
Once you’re done, click on OK.
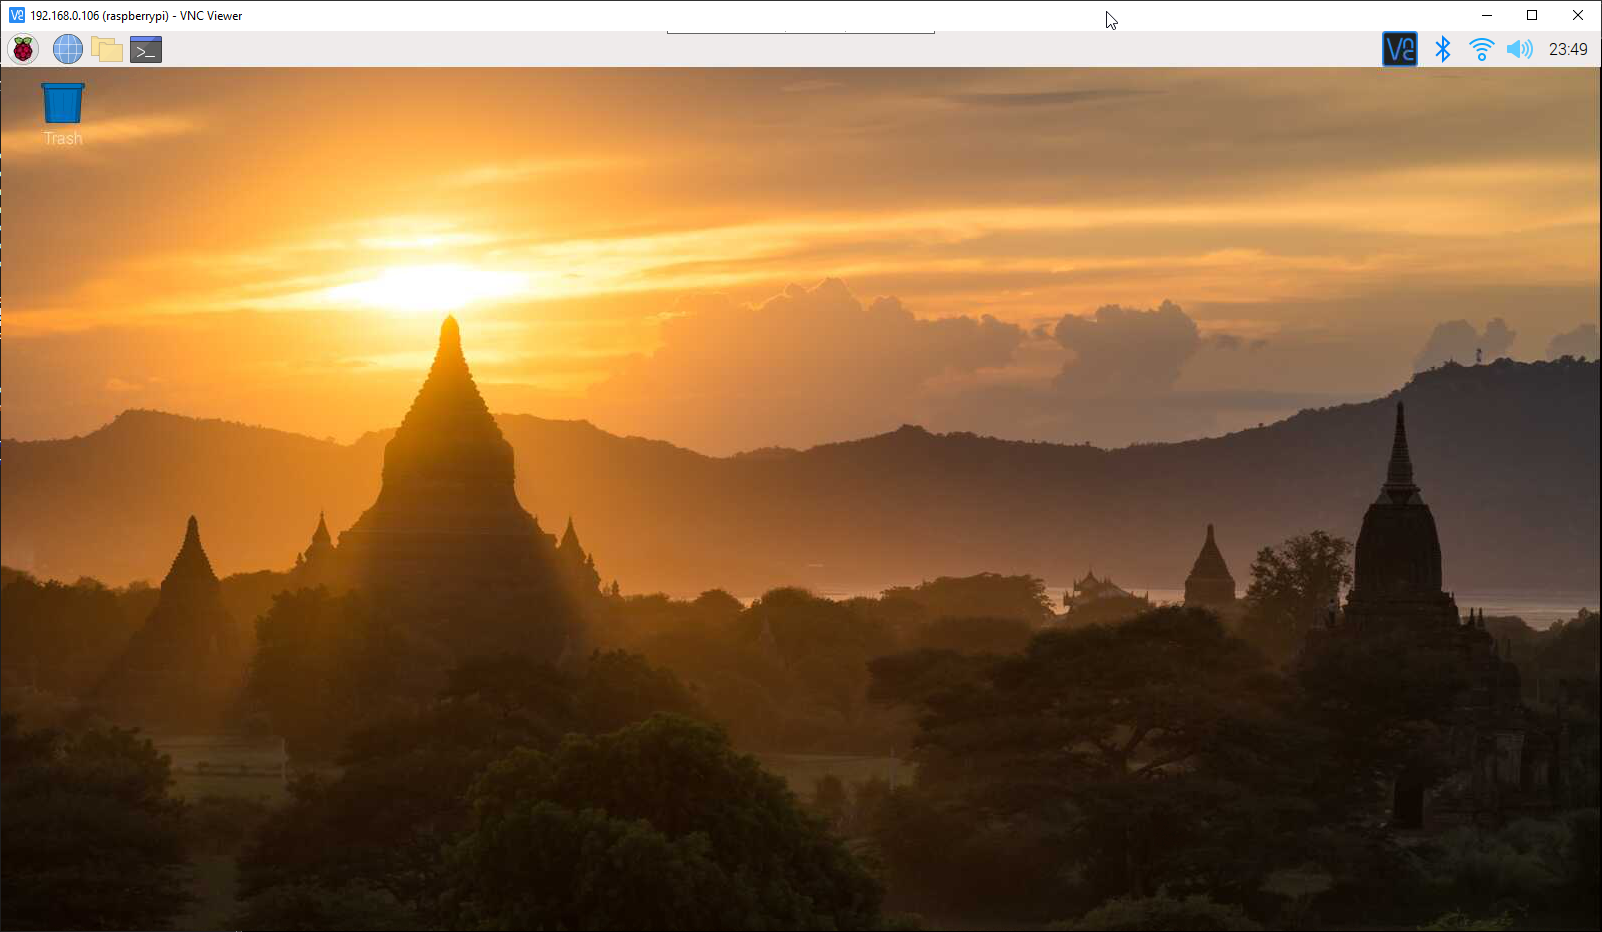
You should be connected to your Raspberry Pi 4 via the VNC remote desktop protocol. Now, you can use the Raspberry Pi OS remotely.
Conclusion:
In this article, I have shown you how to install the Raspberry Pi OS (previously known as Raspbian) on your Raspberry Pi 4 device. I have also shown you how to connect your Raspberry Pi 4 to a Wi-Fi network. Finally, I have shown you how to manage your Raspberry Pi 4 remotely via SSH and VNC.