Raspberry Pi is a single-board portable computer that one can use for various purposes, like running multiple emulators, web servers, Linux distributions, and much more. To improve system performance and to have larger storage sometimes the user may need to migrate the data from a smaller SD card to a larger one.
This article will provide you with the step-by-step procedure to migrate from a small SD card to a larger SD card.
Prerequisites
There are some prerequisites that you need to fulfill to migrate from a smaller SD card to a larger one, which is as follows:
-
- Firstly, a user needs to have Raspberry Pi OS. You can learn that from here
- A larger SD card for migrating data (Minimum 32 GB)
- Win32DiskImager software
Procedure
Below is the step-by-step procedure to migrate from a smaller SD card to a larger one:
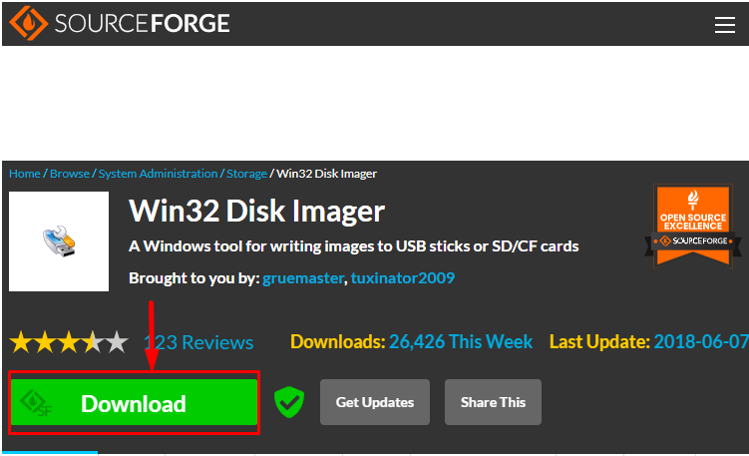
Step 1: First, you should download and “install Win32 Disk Imager” from here by clicking on the “Download” button.
Step 2: Now, insert the SD card into a card reader and then connect it into the PC. You should have Raspberry Pi OS installed on the SD card.
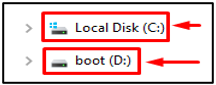
Step 3: After plugging in the SD, you will see two distributions in the File Explorer. One label with “Boot” and the other with “Local Disk”. The drive letters could vary for each system. In my case, the drive letter for boot is (D:). It is better to pick a “Boot” drive because this will copy the entire SD card.
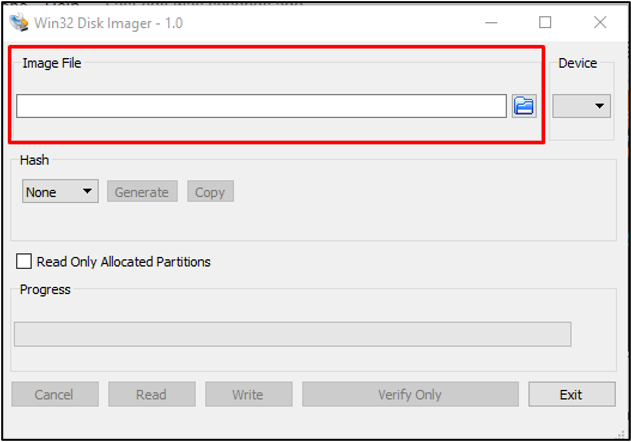
Step 4: Now, open Win32 Disk Imager on a Windows desktop, and it will show you a dialogue box with the name “Image File”.
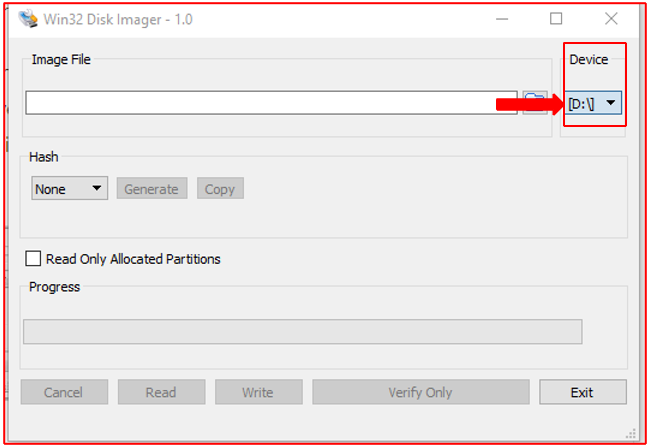
From the “Device” option select the “Boot” drive, which is “D:\” in my case.
Step 5: Enter the name of the image file and the destination you want to store the file on your system. You can also select the location from the “Folder icon” on the right.
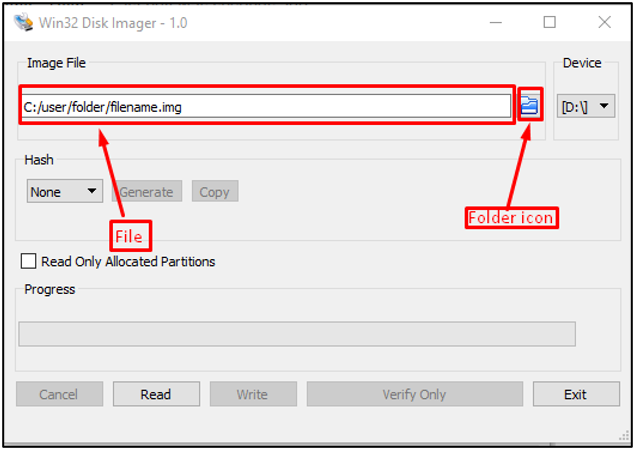
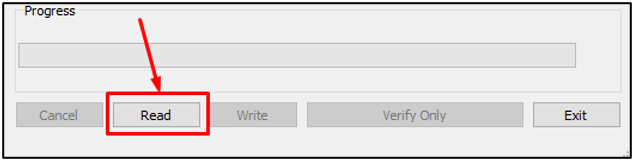
Step 6: Then click on the “Read” button for building an image.
Step 7: Once the reading process is finished, you can write/copy the data to a larger SD card, and to do that, you have to:
-
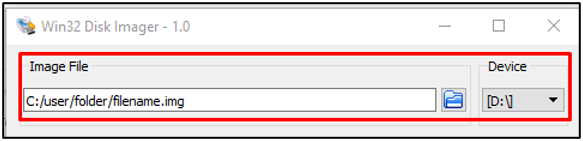
- Remove the smaller SD card from the card reader and insert the larger SD card into the PC.
- Open Win32 Disk Imager and choose the location where the image file is placed.
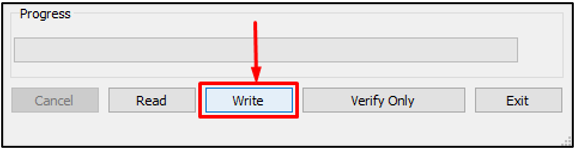
Step 8: Now after loading the image file, hit the “Write” button to initiate the image writing process.
Step 9: After finishing the writing process, “remove the SD card and insert it” into the Raspberry Pi and wait for some time, till it boots.
Step 10: Log in to your system and your old data will be present there.
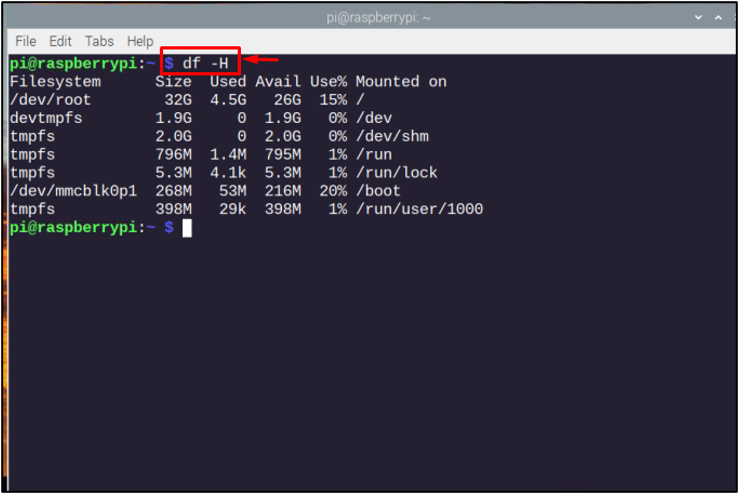
Step 11: Now, check the dimension of the drive by typing in the command:
Since the new card is larger than the previous one, to increase the file system we will use the “raspi-config” command to open the “Software Configuration Tool” box.
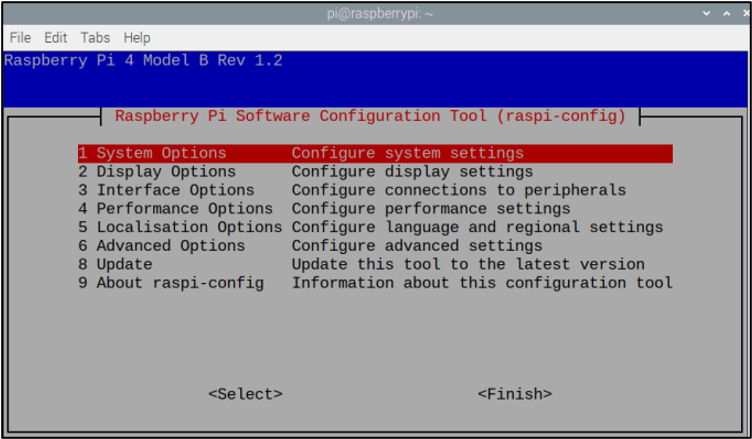
From the software configuration menu, opt for the “Advanced Options”.
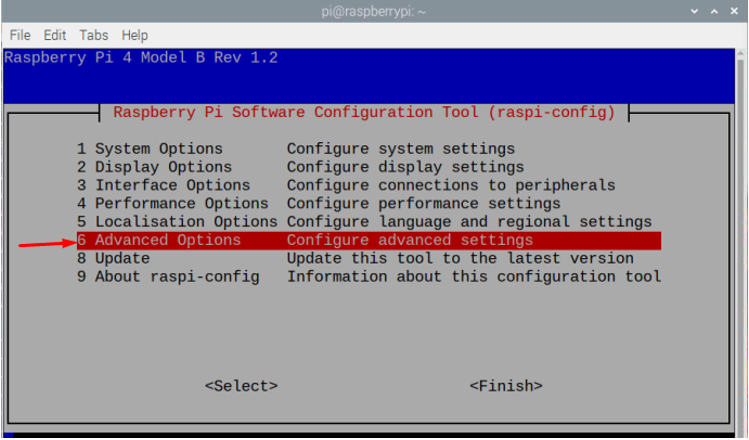
Then select the “Expand Filesystem” option.

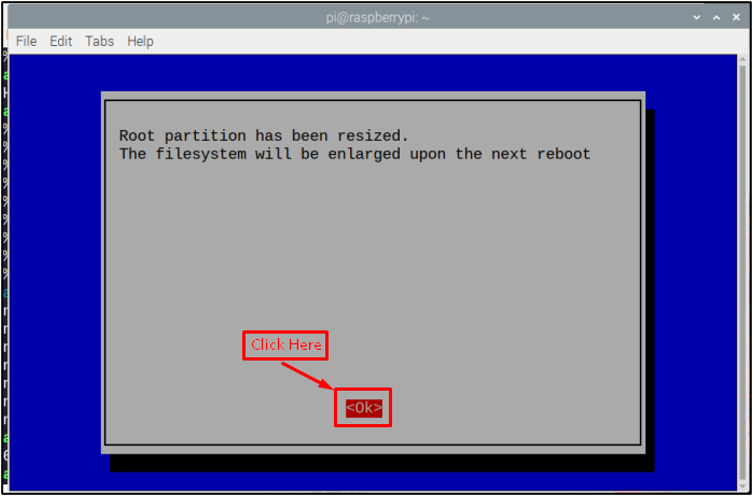
Click “OK” to confirm expanding the root partition of SD card.
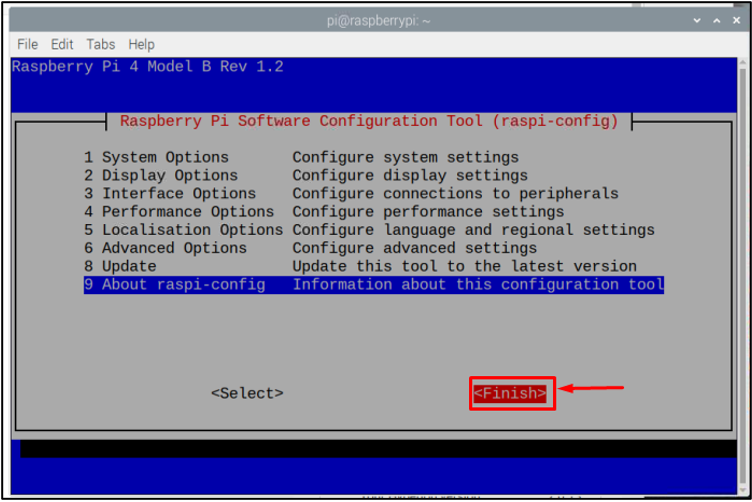
To complete the process, choose “Finish” button from the bottom right of raspi-config screen.
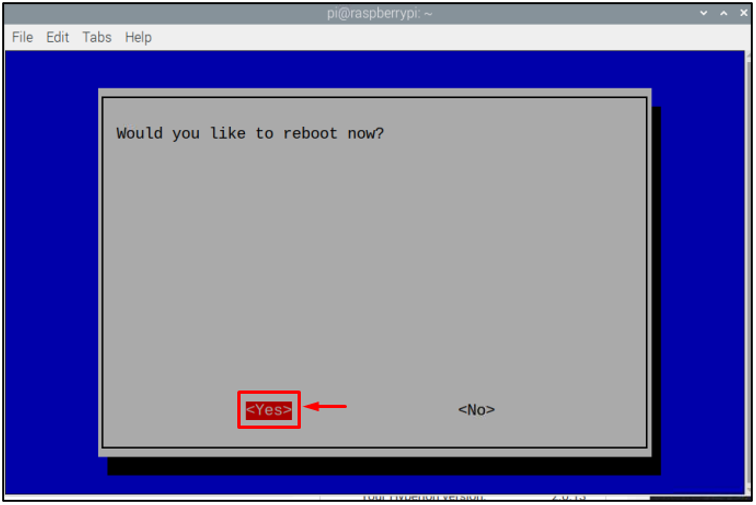
Now, you will see a window asking you to reboot the device and you have to do it by selecting the “Yes” option.
Wait for the reboot to complete and then log in to your system and you are done. That’s it, the migration process is finished!
Final Thoughts
By using Win32 Disk Imager, the user can migrate Raspberry Pi data from a smaller SD card to a larger SD card. After the successful migration, you must expand the dimensions of the existing file system in Raspberry P through the “Expand File System” option. Once it is done, you can then enjoy a much-improved performance of your Raspberry Pi device. Also, it will provide you with more storage to install further applications and run them smoothly on your system.