This guide illustrates the approach to making a checkbox read-only using JavaScript.
How to Make Checkbox Readonly in JavaScript?
The DOM input checkbox “disabled” property helps to set and find out whether the particular checkbox element is enabled or disabled. This property by default returns “false” i.e., if a checkbox is not disabled, and “true” for disabled. In this section, it is utilized to make the given checkbox read-only.
HTML Code
First, look at the given HTML code:
<button onclick="readOnly()">Make Readonly</button>
In the above code block:
- The “<input>” tag adds a “checkbox” with the help of the input type “checkbox”, id “field1” and the “checked” property’s status as “true”.
- Next, the “<button>” tag embeds a button to execute the “readOnly()” function when its associated “onclick” event is fired.
JavaScript Code
Next, an overview of the JavaScript code:
function readOnly() {
var checkbox = document.getElementById('field1');
checkbox.disabled = true;
}
</script>
In the above code snippet:
- Define a function named “readOnly()”.
- In its definition, the “checkbox” variable applies the “getElementById()” method to access the given checkbox using its id “field1”.
- Lastly, set the status of the “disabled” property by specifying its value “true” which disables the accessed checkbox.
Output
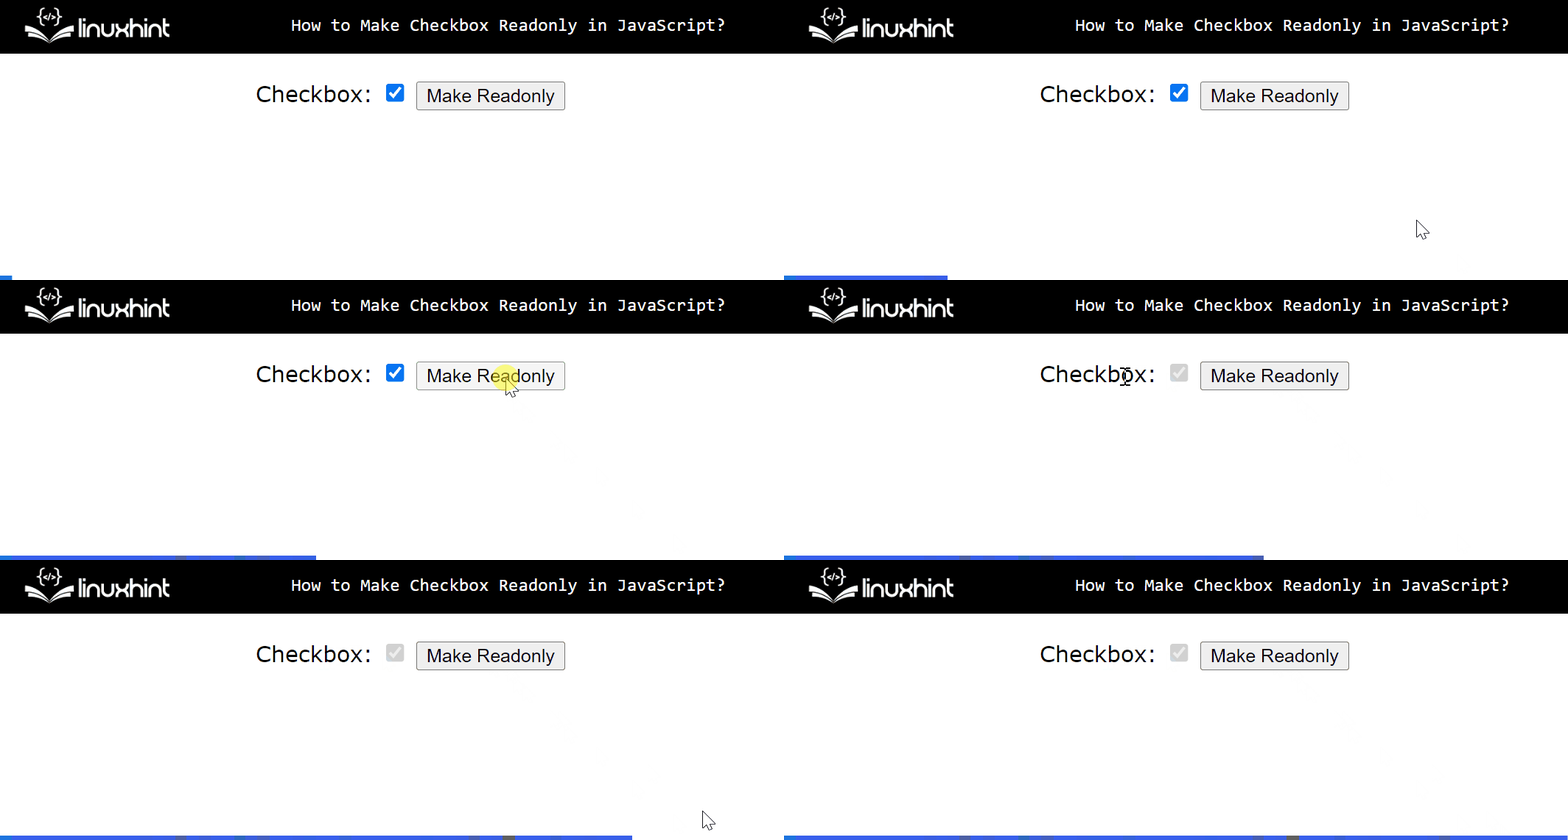
As seen, the created checkbox (checked) disables upon the button click i.e., transformed to “read-only”.
Conclusion
To make the checkbox read-only, use the JavaScript “disabled” property by specifying its status as “true”. This property converts the targeted checkbox into “grey” which indicates that it is “disabled” and the user can only read it, not check or uncheck. This guide briefly illustrated the approach to making a checkbox read-only in JavaScript.

