Datalore is a web-based platform for data analysis and machine learning which is created by JetBrains. It aims to offer a complete and easy-to-use atmosphere for both data scientists and machine learning engineers. It offers the users the ability to perform almost any task which is related to the cleaning and preprocessing of data, as well as running the inference extrapolation algorithms on this data once it is processed. The reason why Datalore is growing in popularity as an amazing data analysis tool is because of its lightweight nature. It does not come as a huge downloadable package that hogs up most of your computer’s resources. It uses the default web browser to open up an instance of itself and allows you to code straight out of the web browser.
What makes Datalore such an interesting and useful tool to have is that it provides seamless integration with other applications and platforms like the Google Cloud Storage and popular data science and ML libraries like scikit-Learn and TensorFlow which further adds to its utility and makes it a very useful tool to have and take advantage of. It comes with a very intuitive user interface which makes the overall developer experience really vibrant and offers well-explained documentation to make your coding experience even better.
Installation
Datalore can be installed on various devices through various methods. Installing it on Linux is straightforward. Datalore suggests utilizing it by downloading the Anaconda Navigator. Anaconda is a platform that manages the distributions of Python and R, and has integrated support for programming IDEs. It provides convenient environment management and the ability to install and utilize multiple versions of the same packages by keeping them separate in distinct environments.
To install Anaconda on your Linux machine, follow these steps:
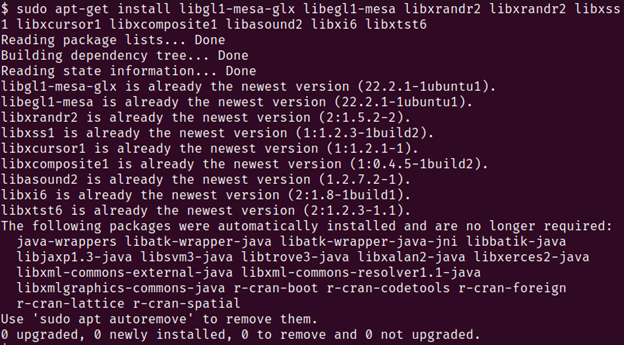
1. Since Anaconda comes with a graphical user interface, we need to install some necessary components by executing the command that is shown in the following terminal:
You should see an output which is similar to the following:
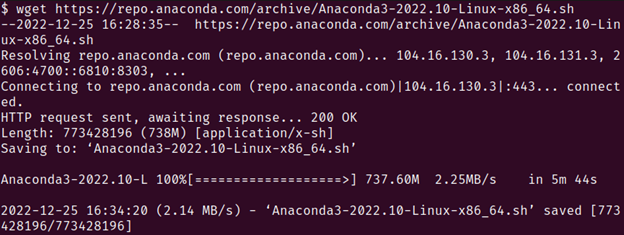
2. We now download Anaconda using the wget tool in the terminal.
Run the following command in the terminal:
You should see an output which is similar to the following:
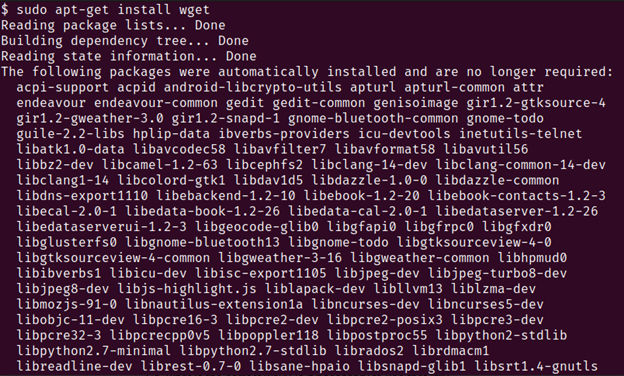
You can also install wget by running the following command in the terminal:
3. Run the following command to install Anaconda for Python 3:
Replace the “.sh” file name with the name of the file that you downloaded.
Replace the ~/Downloads with your actual path.
You should see an output which is similar to the following:
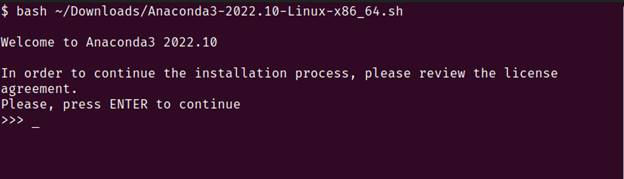
4. Press “enter” to go through and review the licensing information. Press and hold “enter” to scroll through.
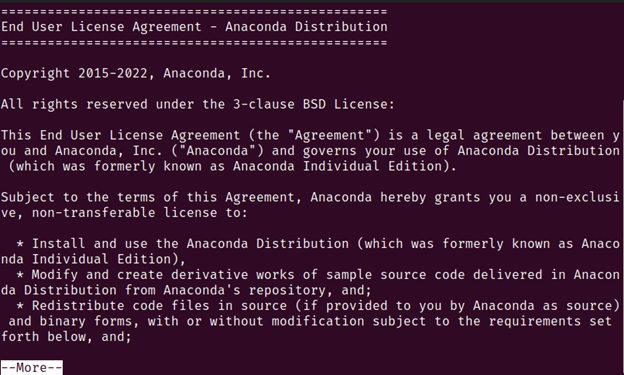
5. Type in “yes” when prompted whether or not you accept the license terms of the Anaconda tool.

6. During the installation process, you will be asked to choose the location where you would like to install Anaconda. Simply input the desired path for the installation. By default, the root directory option to install Anaconda will be available.
7. You will be presented with the option to choose whether or not you want the installer to set up Anaconda3. It is recommended by Anaconda that you select “yes” so that you do not have to repeat the setup process each time you use Anaconda. Type “yes” in this field.

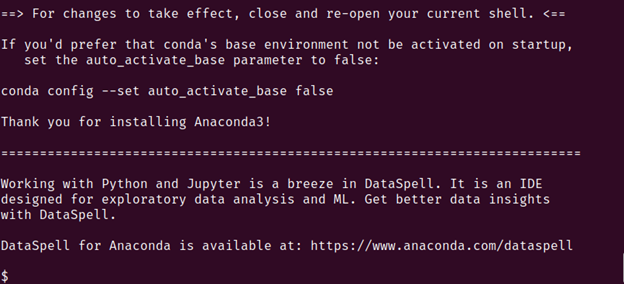
8. To run the Anaconda navigator, run the following command in the terminal:
You should see the navigator open up:

Note: If you opted for “no” in step 7, you have to initialize the Anaconda environment before running the command in step 8.
Run the following command before running the command 8:
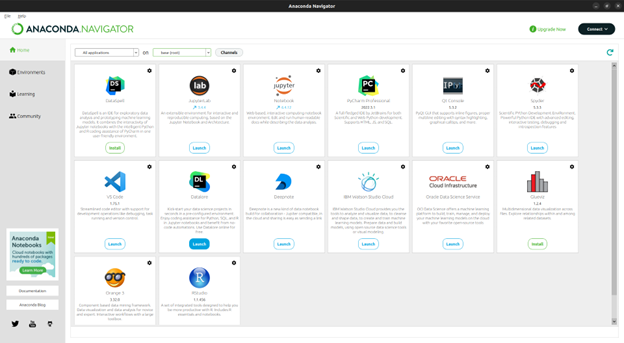
Now, you have the option to pick from a vast array of tools that are designed for specific purposes. These tools can be utilized to create the code that varies from basic automation scripts to sophisticated deep neural networks to solve specific real-world issues.
Click on the “Install” button under the “Datalore” option to start the programming in Datalore.
User Guide
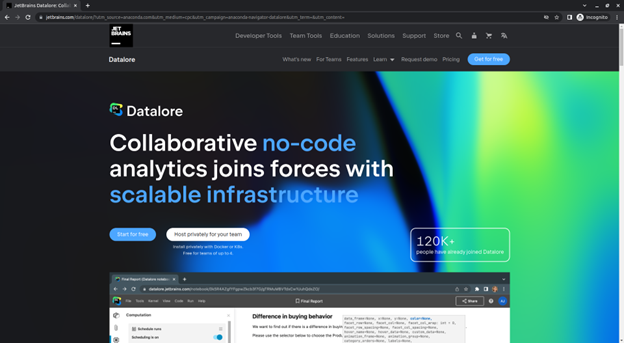
When you click the “Launch” button under “Datalore”, a browser instance pops open and it redirects you to the following page where you are required to follow along and either sign-up in case you do not have an account or sign-in in case you have an account.
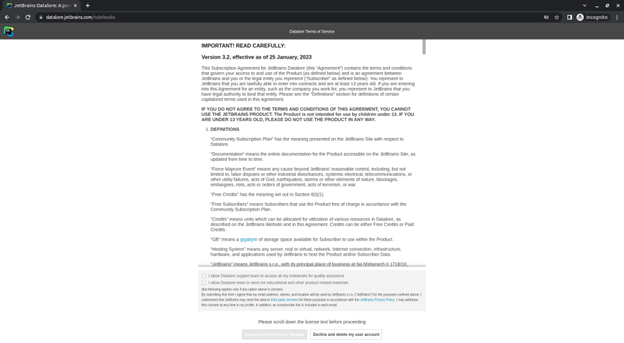
1. You will then be prompted to accept the terms and conditions before you can use the Datalore.
2. After accepting the terms and conditions, you will be redirected to the Homepage of the application in your browser. Here, you can make new Notebooks and start coding in them.

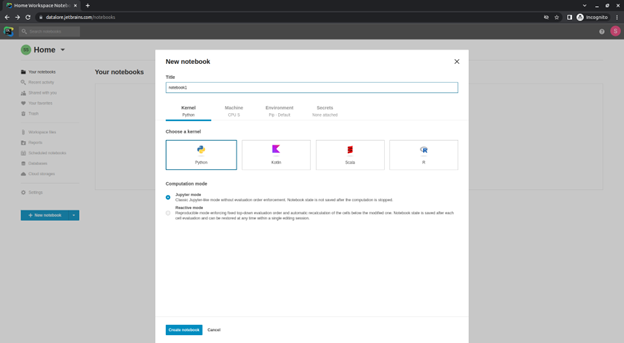
3. Let’s create a new notebook by clicking on the “New Notebook” option at the bottom-left of the screen.
We select Python as the language of choice and name this notebook as “notebook1”.
We will be greeted by a new notebook that looks like this:
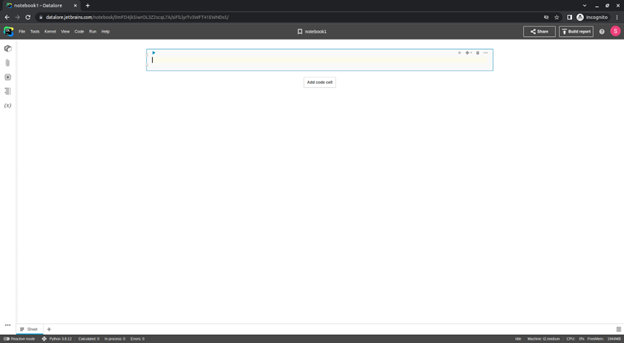
We can start coding in it and make use of all the features that Datalore offers.
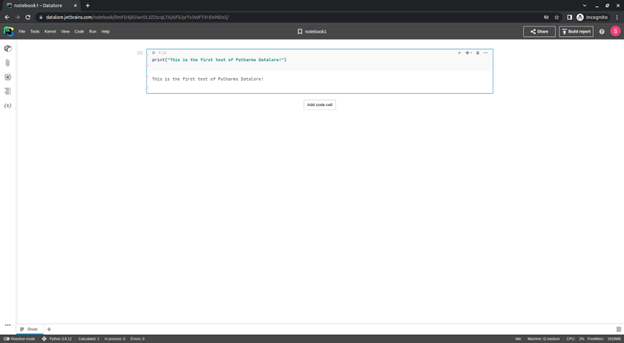
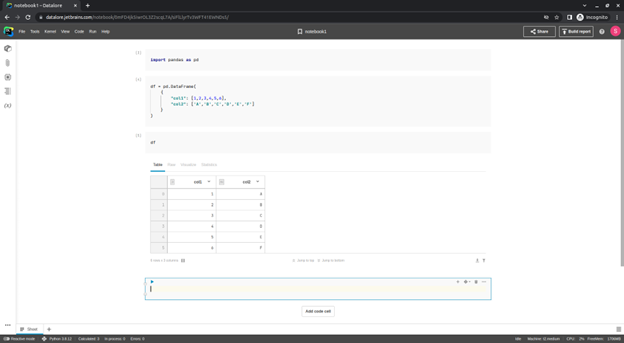
4. We now create a simple DataFrame using Pandas and display it.
Conclusion
Datalore is a versatile platform for data analysis and machine learning which is designed for both technical and non-technical users. With its ease of use, integration capabilities, and flexible computing environment, Datalore provides a comprehensive solution for data science and machine learning projects.