In MLflow, Docker can be utilized to:
Package and deploy the MLflow projects
An MLflow project’s code and dependencies can be packaged into a single image that incorporates the Docker containers. This makes it straightforward to deploy the project to various environments like a cloud platform or a production server.
Isolate the MLflow projects over the host environment
Docker containers offer MLflow projects a sandboxed like environment. As a result, any changes to the host environment won’t affect the project. This indicates that the project is isolated from its host system.
Reproduce the MLflow experiments
Docker may be used to replicate the MLflow experiments. MLflow experiments can be reproduced using Docker. This is so that all of the experiment’s dependencies and code are located in the experiment’s Docker image. As a result, no matter what system the Docker is installed on, the experiment’s outcomes are the same.
Step-by-Step Guide to Install Docker and MLflow
Install MLflow
Go to the desired directory where we choose to install MLflow by opening the command prompt or terminal window. Install MLflow next by executing the following command. This may take a while based on your internet speed.
Install Docker
After obtaining Docker from the official website, install it on the appropriate system. Due to the installer’s large size, the installation takes some time.
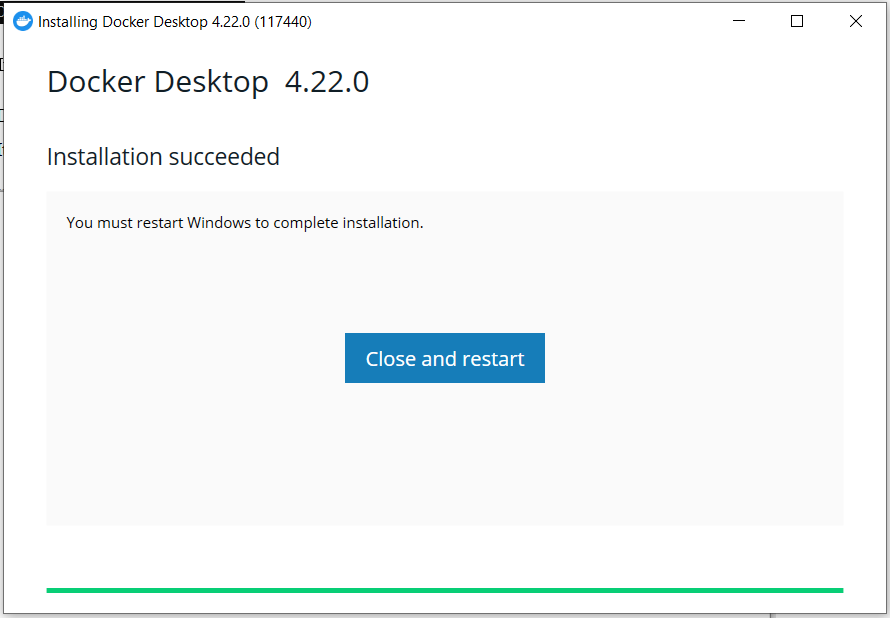
Here is the successful installation screenshot of Docker on Windows:
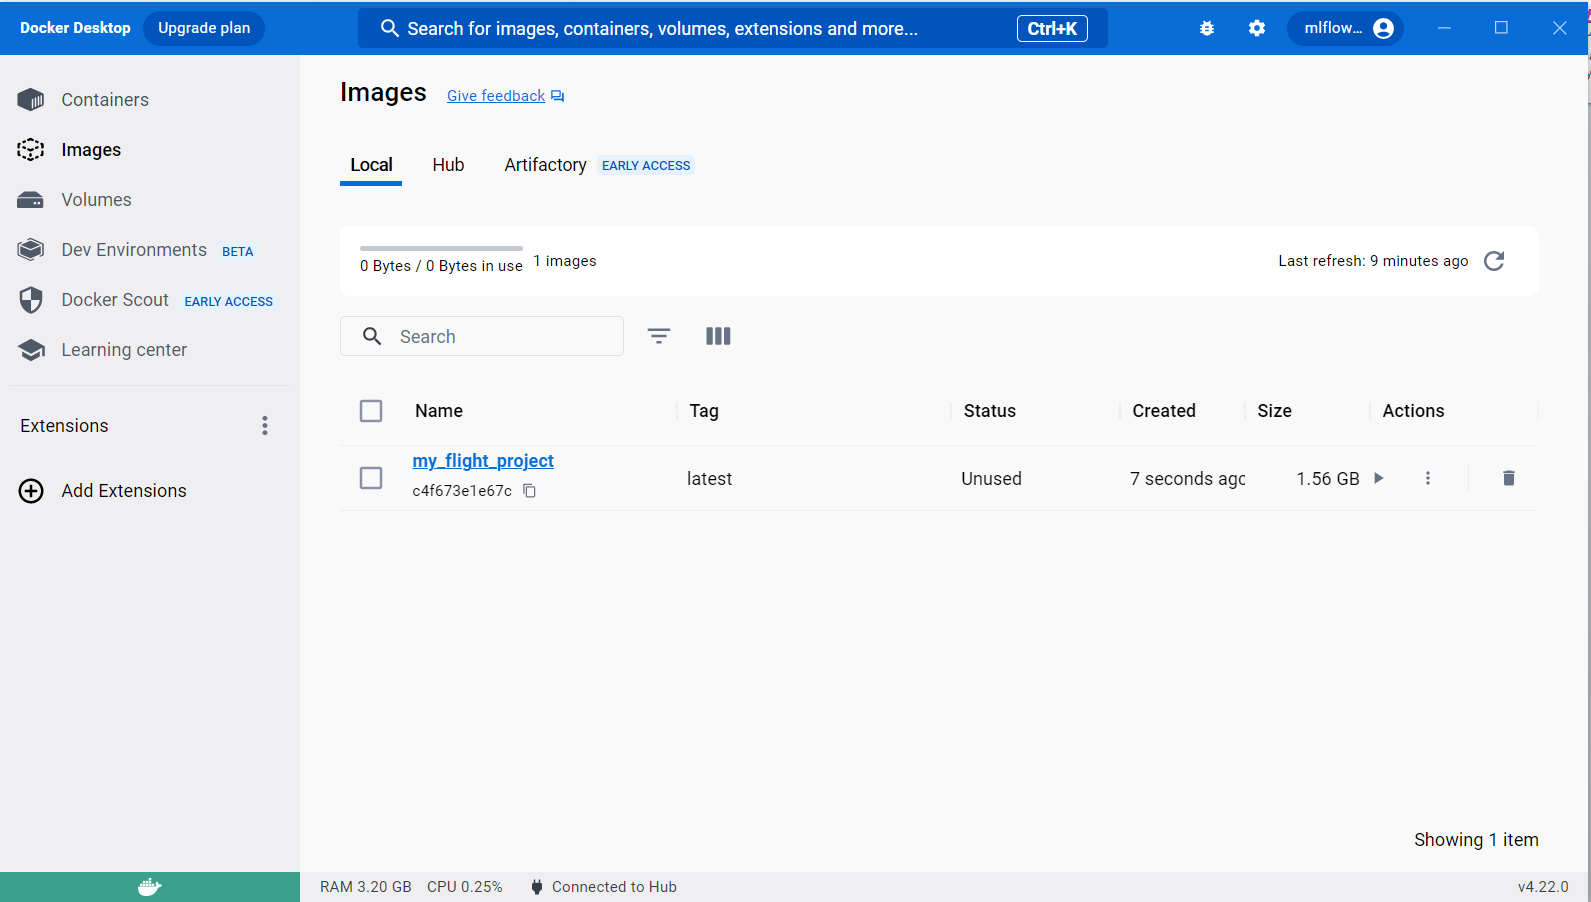
Click the Docker icon on the desktop to launch the Docker User Interface (UI) following a successful installation. The Docker UI is as follows:

Create the MLflow Project
Assuming we have an Airline Flight machine learning project with MLflow already set up, create a directory named “flight_dir” for our project and navigate into it.
![]()
Create a Dockerfile
In the project directory (like flight_dir in this case), create a file named “Dockerfile”. Open it in the notepad and enter the following commands that are given after the code explanation section.
The FROM line instructs Docker to apply the base image for the new image, the python:3.8 image. Python is pre-installed on this image, so we don’t need to install it from scratch.
The WORKDIR line sets the working directory within the container. The application is installed and launched from this location.
The COPY line transfers the directory’s contents to the container. This comprises the “pre-requisite.txt” file, any data files, and the application code.
The RUN line executes a command within the container. In this instance, the protobuf package and the project requirements are installed using the pip command.
The application port on the container is made visible by the EXPOSE line. This indicates that the application is reachable on port 5000 while the container is operating.
The ENV line sets a variable for the environment. The application can set its behavior using this environment variable.
The CMD line specifies the instruction to run when the container begins. In this instance, the “flight_model.py” file is used as an argument when we run the Python command.
Code Snippet:
FROM python:3.8
WORKDIR /app
COPY . /app
# Install specific version of protobuf (3.20.x)
RUN pip install protobuf==3.20.0
# Install project dependencies
RUN pip install -r pre-requisite.txt
# Expose the application port
EXPOSE 7000
# Set environment variables for MLflow (if needed)
# ENV MLFLOW_TRACKING_URI=http://mlflow-server:7000
# Run the application when the container starts
CMD ["python", "flight_model.py"]
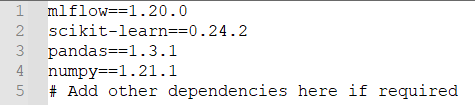
Prepare the Pre-requisite.txt
Create a file named “pre-requisite.txt” in the project directory and list all the Python dependencies that your MLflow project needs, including scikit-learn for the machine learning model and any other necessary libraries:
Organize the Project Structure
Ensure that your project files (Python scripts, notebooks, data, etc.) are organized within the project directory. For example:
├── Dockerfile
├── requirements.txt
├── flight_model.py
├── Generate_Flight_CSV.py
├── predict.py
├── data/
│ └── flight_data.csv
└── models/
└── mlflow_model/
Build the Docker Image
A Docker image is created from the current directory using the docker build -t my_flight_project command. The dot(.) at the end of the command defines the context or the collection of files that is used to generate the image, while the -t flag gives the name of the image that will be built. Since the current directory represents the context in this instance, the image is constructed using every file in the directory. With the -t flag, we can give our Docker image a name which, in this example, is “my_flight_project.”
To create the Docker image for the ML project, launch a terminal or command prompt, navigate to the project directory, and enter the following command. The prerequisite packages that are listed in the “pre-requisite.txt” file for Docker are downloaded using this command and are installed for Docker:
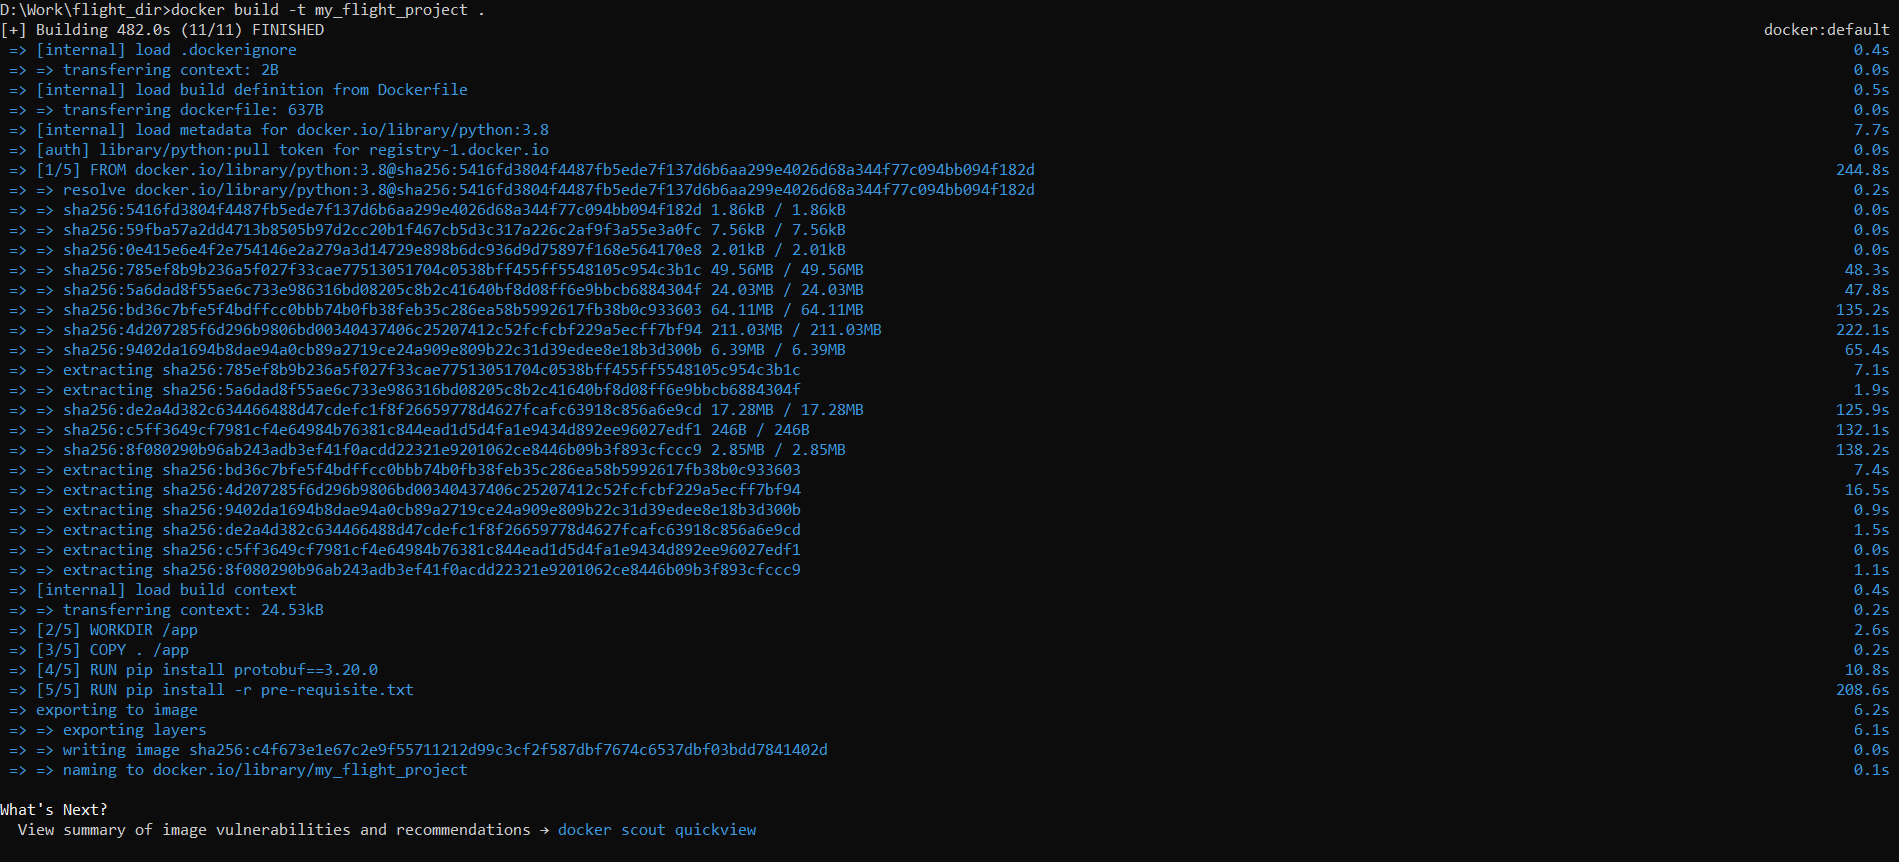
The following Docker screen shows that the “my_flight_project” image is created successfully:
Run the MLflow Server Container
After the image is built, you can run the MLflow server in a Docker container using the following command:
![]()
The following error indicates that Docker is not running:

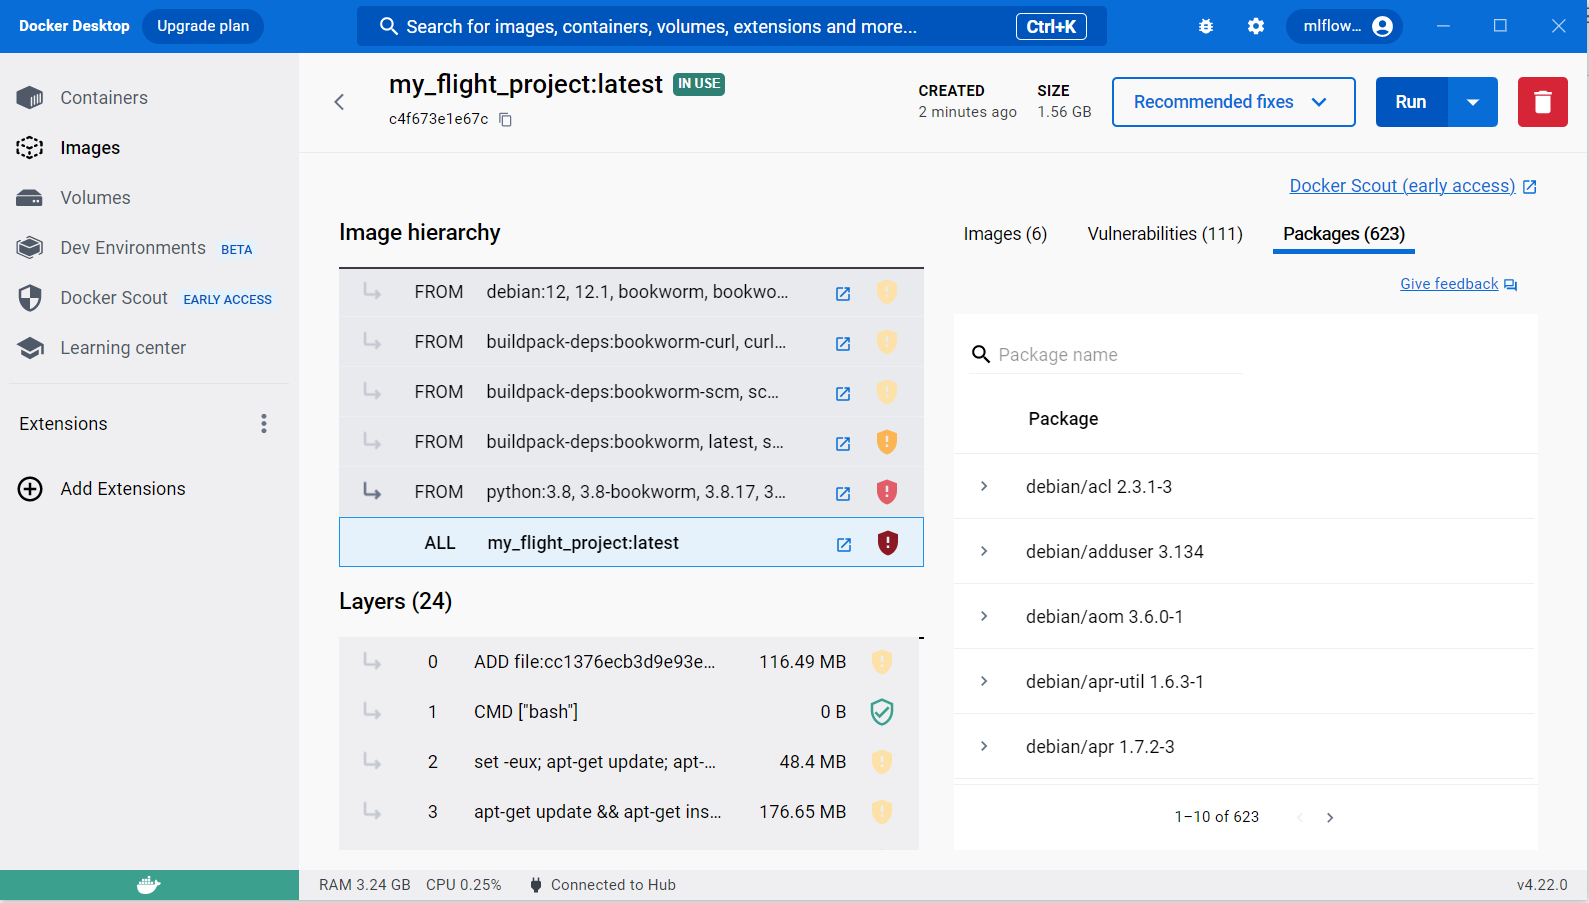
An alternative way to start the image that is created earlier is with the use of the Docker UI Container. Go to the “Images” tab, select the desired image, and click on the “Run” button in the upper right corner.
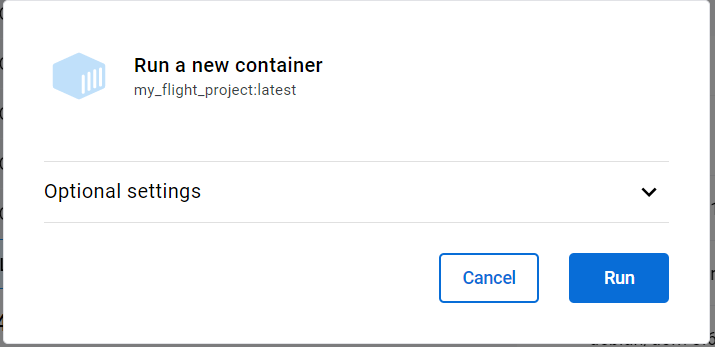
When prompted to confirm that you want to start a container, click on the “Run” button to do so:
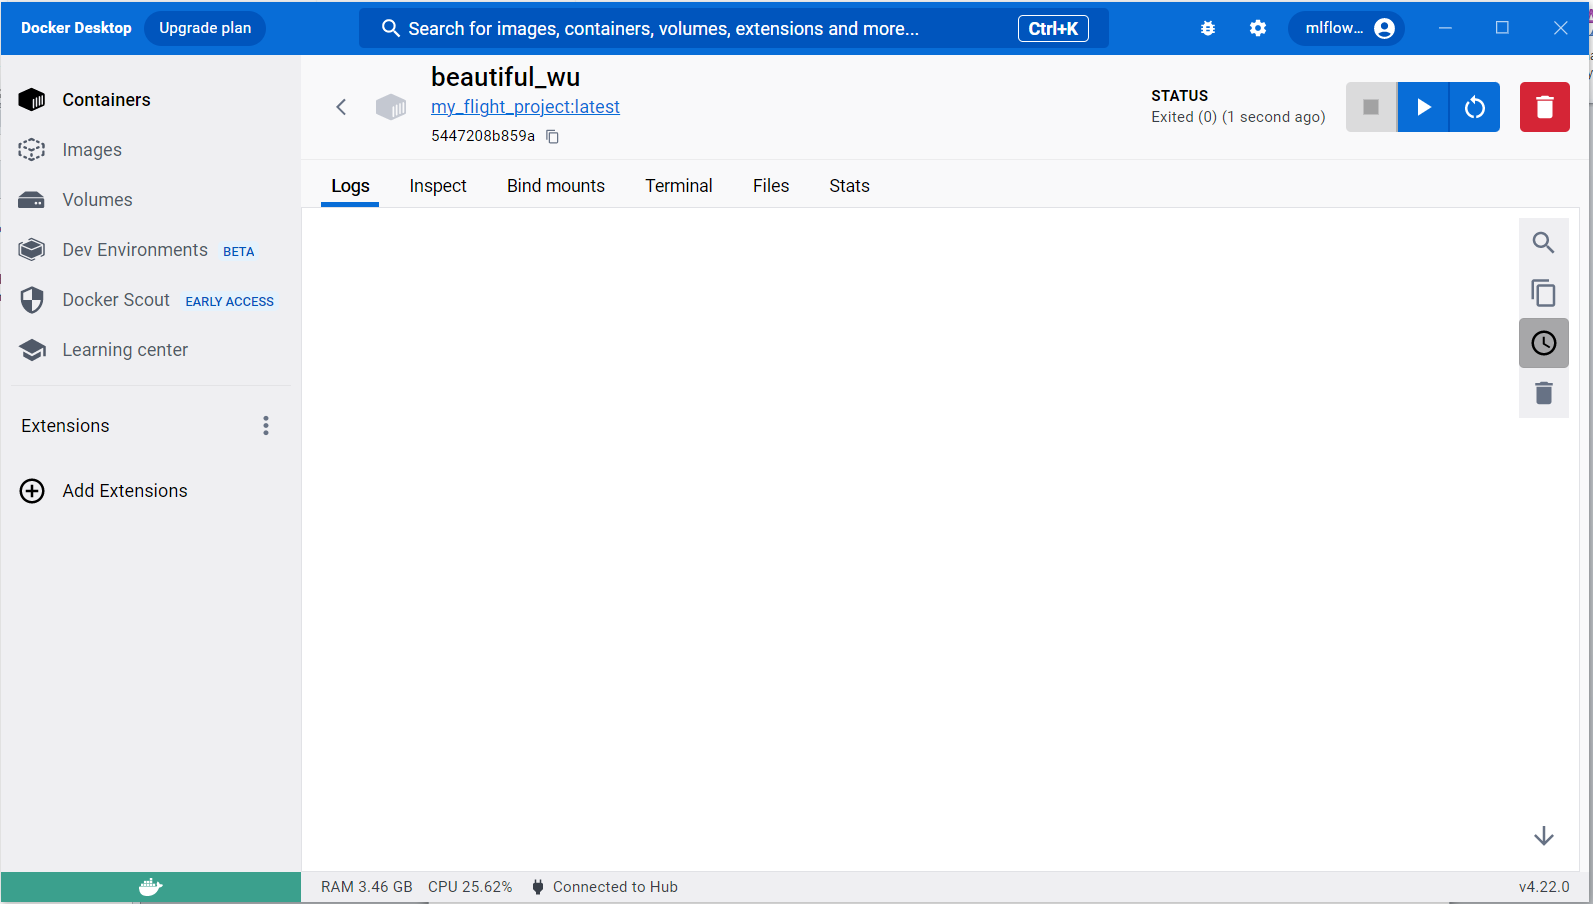
The following screen comes when the container has run successfully. Click on the play button to alter the status if it says “Exited”:
Access MLflow in the Browser
Open the web browser and visit http://localhost:7000 to access the MLflow web interface and start tracking the ML (Machine learning) experiments.
Problems Encountered During Docker Installation
Virtualization must be enabled before running the Docker on the Windows operating system. After enabling the Virtualization in BIOS, whe run the Docker on the desktop and encounter the error WSL kernel version as shown in the following:

Enter the following command to update WSL (Windows shell for Linux):

Here is the successful update of WSL on the Windows platform:

Docker Drawbacks
Security: Because containers are not totally separated from one another, there is a chance for security flaws.
Complexity: Docker might be challenging for beginners to learn and utilize.
Performance: The underlying operating system’s performance may be impacted by containers.
Conclusion
The creation, deployment, and execution of programs can be more straightforward for developers and system administrators using Docker, a compelling platform. It accomplishes this by building small, self-contained containers that combine the code, runtime, system libraries, system tools, and settings of an application. This makes it possible to open the same application on any device, regardless of its operating system.