This study will demonstrate the right-click menu and how to create a custom right-click menu in JavaScript.
What is the Default Right Click Menu on a Webpage?
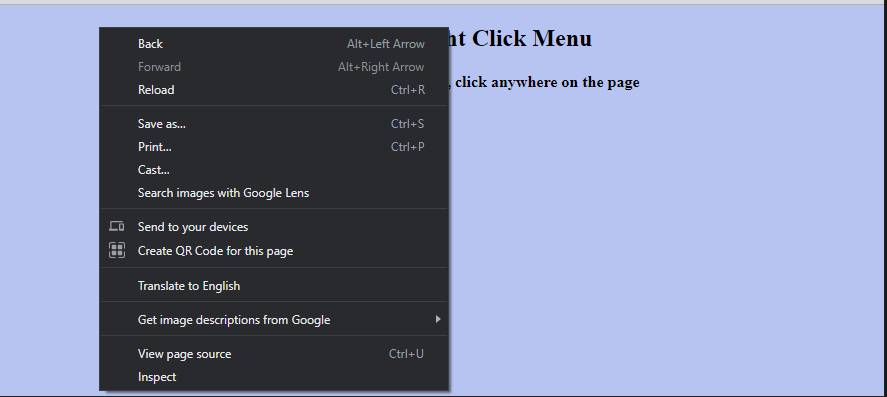
When you click on a web page with the right button of your mouse, a box appears with various menu options, it is called a right-click menu or a default context menu:

Let’s see an example of how to create a custom right-click menu on a webpage.
Creating a Custom Right-Click Menu with JavaScript
We will create a simple webpage with HTML and CSS and then create a custom right-click menu on the webpage using JavaScript. We will position and style our custom right-click menu using CSS properties:
<h4>To get a custom context menu, click anywhere on the page</h4>
Then, write the code for the custom right-click menu in a JavaScript file. First, hide or block the default context menu on a webpage.
- Call the “preventDefault()” method that prevents the default right-click menu from appearing while triggering the “contextmenu” event.
- Call the defined function named “createMenuonRightClick()” for custom right-click menu with “e.clientX” and “e.clientY” arguments that shows the mouse position:
document.addEventListener('contextmenu', e => {
e.preventDefault();
createMenuonRightClick(e.clientX,e.clientY);
});
Define a function “createMenuonRightClick()” which will be launched upon the right-click of the user on the webpage:
closetheOpenedMenu();
const menuElement = document.createElement('div');
menuElement.classList.add('contextMenu');
const menuListElement = document.createElement('ul');
const menuArray = ['Refresh', 'Open', 'Save', 'Copy', 'Help'];
for (var element of menuArray) {
var listElement = document.createElement('li');
listElement.innerHTML = '<a href="#">' + element + '</a>';
menuListElement.appendChild(listElement);
}
menuElement.appendChild(menuListElement);
document.body.appendChild(menuElement);
_currentMenuVisible = menuElement;
menuElement.style.display = 'block';
menuElement.style.left = x + "px";
menuElement.style.top = y + "px";
}
Let’s go over what’s happening in the code mentioned above:
- On the right click, the first thing is to close any other right-click or context menus that are currently opened on the page.
- Then we create a new “div” which will host the custom right-click menu.
- Then, inside the “div”, an unordered list is added that contains an array of lists that appear as a menu on the web page.
To close the context menu, click anywhere on the web page. This will be handled using the “click” event which will be triggered when the user clicks on the webpage after opening the right-click menu. This event handler calls the specified function “closetheOpenedMenu()”:
closetheOpenedMenu();
});
Now, define a function “closetheOpenedMenu()” to close the right-click menu where call the “closeContextMenu()” method which will close the menu:
if (_currentMenuVisible !== null) {
closeContextMenu(_currentMenuVisible);
}
}
The “closeContextMenu()” method is defined below:
menu.style.left='0px';
menu.style.top='0px';
document.body.removeChild(menu);
_currentMenuVisible = null;
}
To style a context menu or right-click menu, apply CSS to various elements to make it look good. First, add styling to the body tag to align the text in the center and set the background color:
text-align:center;
background: #b7c4f1;
}
Style the menu by setting the text color, background color, border, and position to “absolute”:
position: absolute;
width: 100px; height: auto;
color: #b7c4f1;
background: #344683;
border: 1px solid #344683;
display: none;
}
Style the unordered list with list items to set the padding and margin:
padding: 0;
margin: 0;
}
.contextMenu ul li {
border-bottom: #b7c4f1 1px solid;
padding: 0;
margin: 0;
}
Set the border of the last option of the menu using the “border-bottom” property that will be none;
border-bottom: none;
}
Style the menu with an anchor tag.
text-align: left;
display: block;
padding: 5px 10px;
color: #b7c4f1;
text-transform: capitalize;
text-decoration: none;
}
Set the background color of the list items on hover:
background: #2777FF;
}
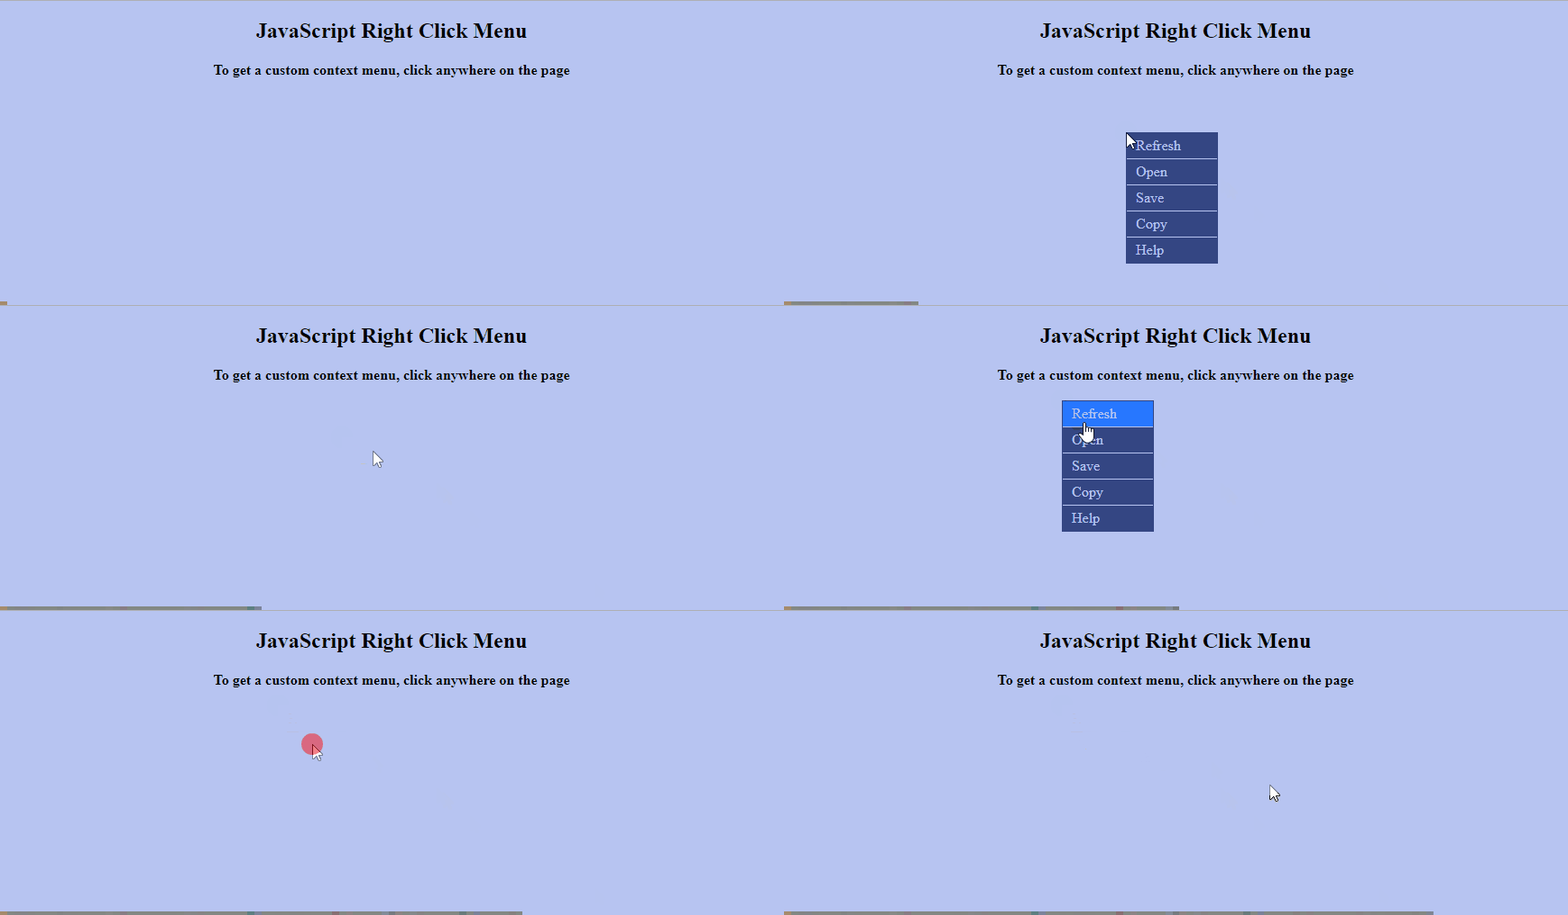
As you can see in the output, clicking on a web page with the right mouse button displays a custom right-click menu:
Conclusion
Since the default context menu cannot be expanded to add custom options, therefore, a custom right-click menu needs to be created to provide custom options to the user. A custom right-click menu can easily be created at the mouse’s current position with the help of JavaScript and CSS. In this blog post, a custom right-click menu has been created and the procedure is explained step by step.

