In web development, data validation is used for ensuring the correct and accurate input from the users. Validation of the data can be performed in many ways. For instance, age validation is the process that is used for confirming the age before allowing age-restricted tasks. These tasks include applying for a loan, and age is validated manually by checking an ID or scanning with an age validation app.
This post will explain the method for checking and validating the age in JavaScript.
JavaScript Age Checking & Validation
To check and validate the age, utilize the “onclick” event and call the function.
Example 1: Age Checking and Validation by Calling Function
The age checking and validation can be performed by defining and calling a function. To do so, make an HTML page and insert the following code:
- The “label” tag is used to insert the label for defining an element. To do so, embed the text for the label between the opening and closing tags.
- Utilize the “input” element to make an input field. For that purpose, specify the “type” of the input and assign an “id” for further use:
- Make a button with the help of “<button>” and set the type of the button as “submit”. Next, use the “onclick” event and call the function “ageValidation()” to perform a particular action:
Inside the “<script>” tag utilizes the following code for checking and validating the age:
var a = document.getElementById("txtAge").value;
if (a < 1 || a > 100){
alert("insert age between 01 to 100")
}
}
In the above-stated code snippet:
- A function is defined as “ageValidation()”.
- Next, get the input field id with the help of the “getElementById()” method and store it in a variable.
- Check the age, if it is less than “1” or greater than “100” it will generate an alert message on the screen.
When the user submits an invalid value, an alert box will be displayed on the screen:

Example 2: Age Checking and Validation Using jQuery
You can also check and validate the age using the jQuery code. To do so, check out the below-stated code:
- First, insert a label using the “<label>” tag and make an input field with the help of the “<input>” element.
- Utilize the “type” attribute to set the input type as “number”. Where you can insert only numeric values.
- Create a button using the “<button>” element and specify an “id” for later use:
Inside the “<script>” tag:
- Invoke the ready function as “$(function ()”.
- Next, access the button with the help of its “id” and attach the “click” event using the “on()” method. Furthermore, call the function to perform an event.
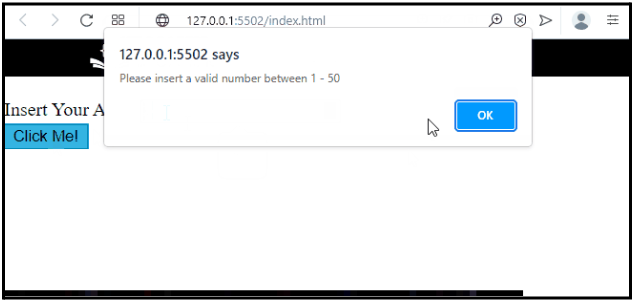
- Check condition, if the age is greater than “50” or less than “1” it will invoke the “alert()” method to show the alert box on the screen:
$("#btn").on("click", function () {
if ($('#age').val() > 50 || $('#age').val() < 1) {
alert("Please insert a valid number between 1 - 50 ");
}
});
});
Output
That’s all about checking and validating the age in JavaScript.
Conclusion
To check and validate the age in JavaScript, make an input field in the HTML page and assign an id to it. Then, make a button and call the defined function with the help of the “onclick” event. Access the input using its id and check the condition, if the condition is not satisfied, it will invoke the “alert()” method to display the alert box on the screen. This post has stated a couple of methods for checking and validating the age in JavaScript.