Zorin OS Ultimate
At the root level, Zorin OS is just another Linux distro based on Ubuntu. However, that’s the only apparent similarity with the Linux world as we know. The appearance and feel are completely different than any of the distros in the wild.
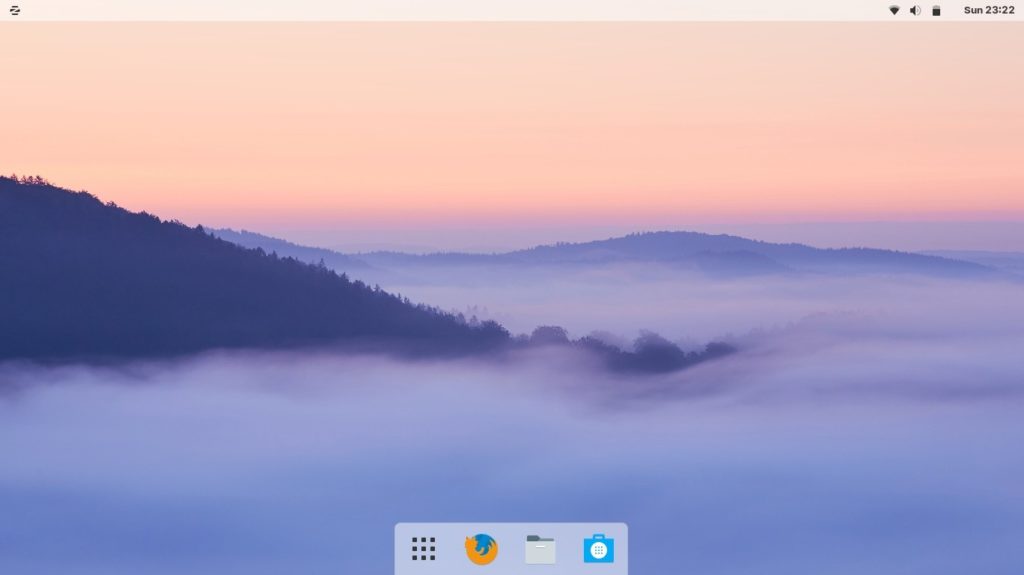
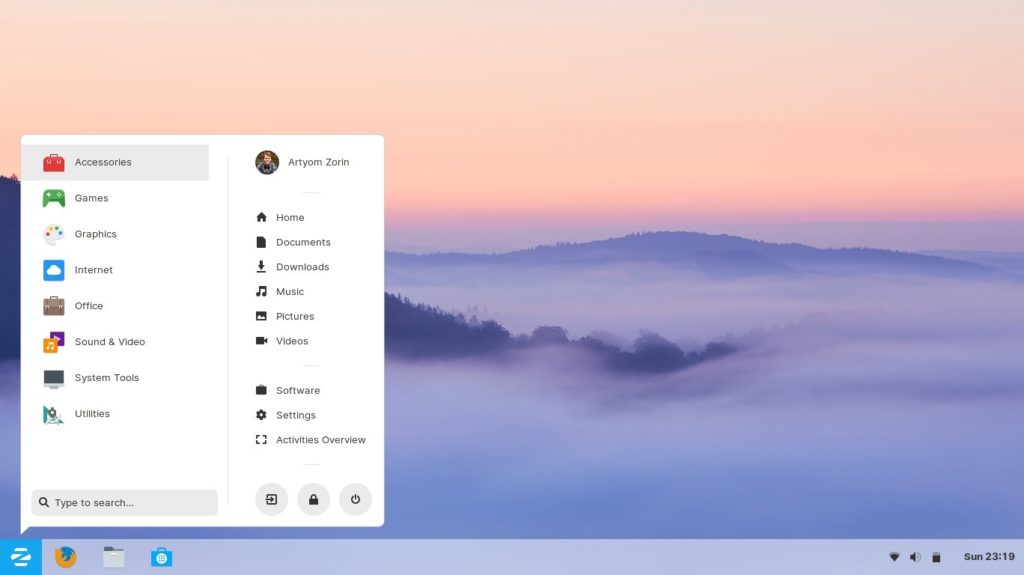
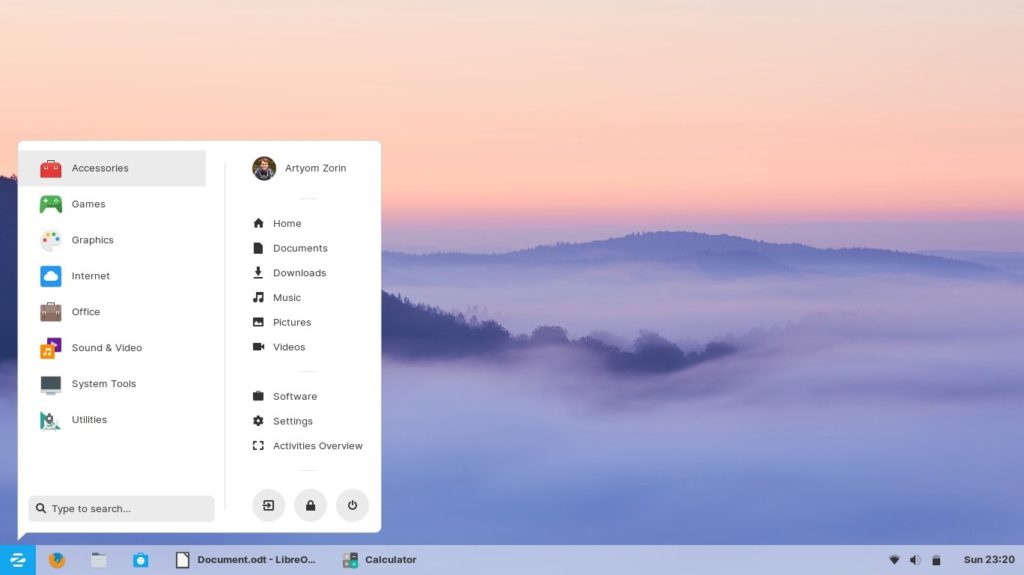
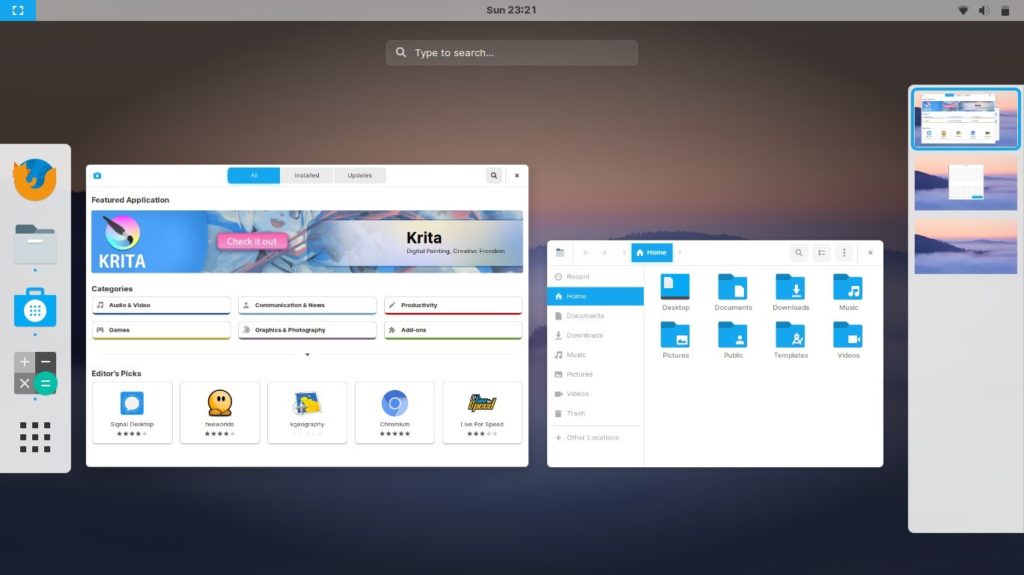
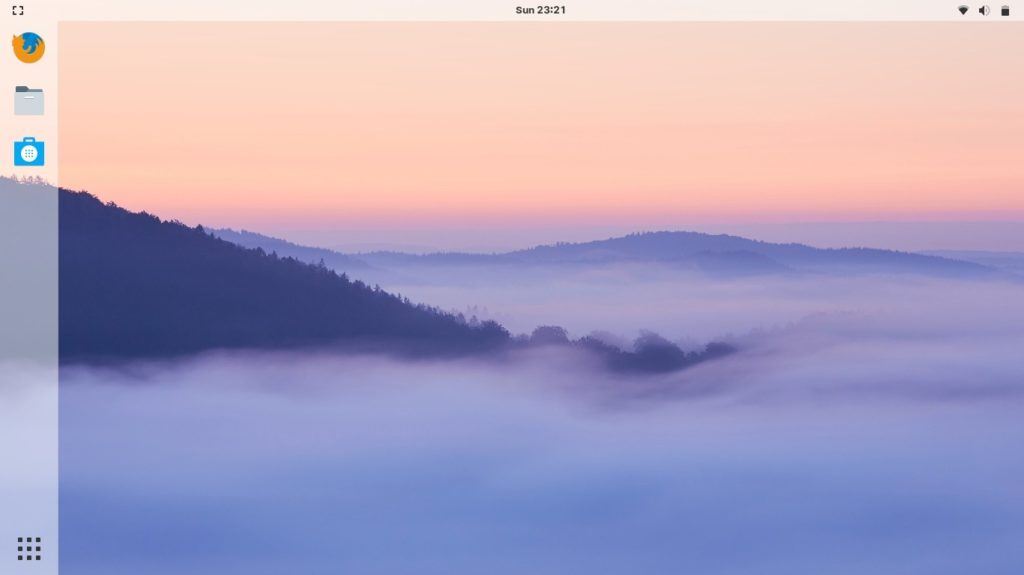
Zorin OS features a highly customized version of the GNOME desktop environment. By doing so, it offers a very similar interface to that of Windows and macOS. All of the Zorin OS editions feature the unique interface.
Zorin OS “Ultimate” edition offers the maximum potential of Zorin OS out-of-the-box. According to the official statement, Zorin OS Ultimate features the most advanced open-source software that can unleash the maximum potential of your system.
The feature list includes various popular desktop layouts.
MacOS Layout
Windows Layout
Windows Classic Layout
Touch Layout
GNOME Layout
Ubuntu Layout
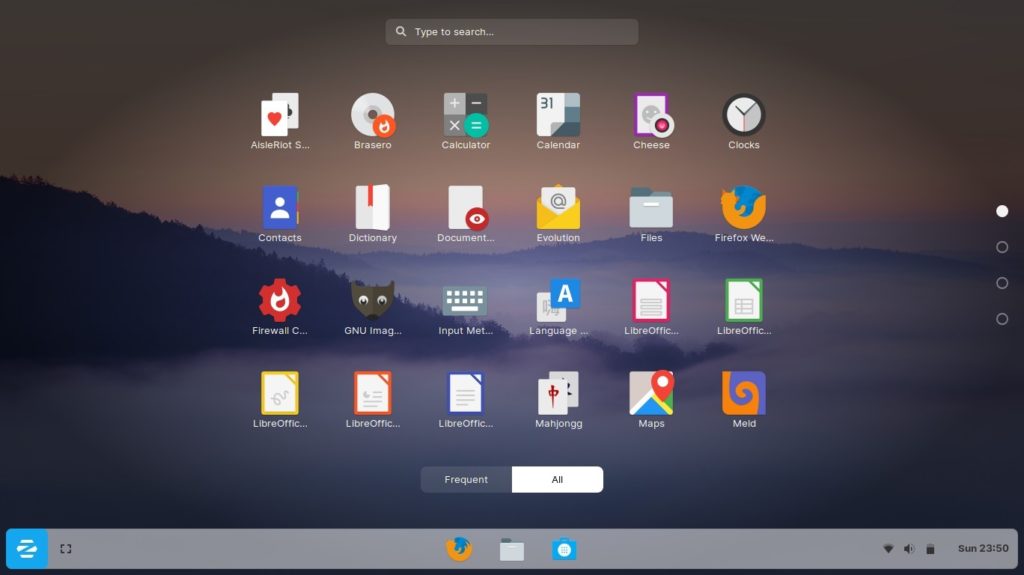
Zorin OS Ultimate has powerful business and media apps, but also games come with it including 20+ games ready to be played.
However, Zorin OS Ultimate is a paid software. At the time of writing this article, it would cost about 40 USD to get a copy of Zorin OS Ultimate. It’s interesting to see despite Linux being a free and open-source platform, Zorin OS Ultimate is a paid software. So is Red Hat and Suse Enterprise. It’s normal to ask what the motive behind this charging is.
According to Zorin OS official website, it’s to support this awesome project that’s delivering the amazing work to the community for a long time. In the attempt to reward the supporters of Zorin OS, devs created Zorin OS Ultimate that packs the best open-source software out-of-the-box. It’s the support of the community that powers the heart of the project.
How to install Zorin OS Ultimate
The installation procedure of Zorin OS is pretty similar for all of its editions: Ultimate, Lite, Core and Education. If you’ve purchased Zorin OS Ultimate, you’ll have an ISO or CD/DVD of the installation package, right?
Creating a bootable media
If you have a bootable CD/DVD, feel free to skip this step. However, if you have grabbed the ISO of Zorin OS, then you need to either burn that image to a CD/DVD or use a USB flash drive to make a bootable media. In this example, I’ll be creating a bootable USB flash drive.
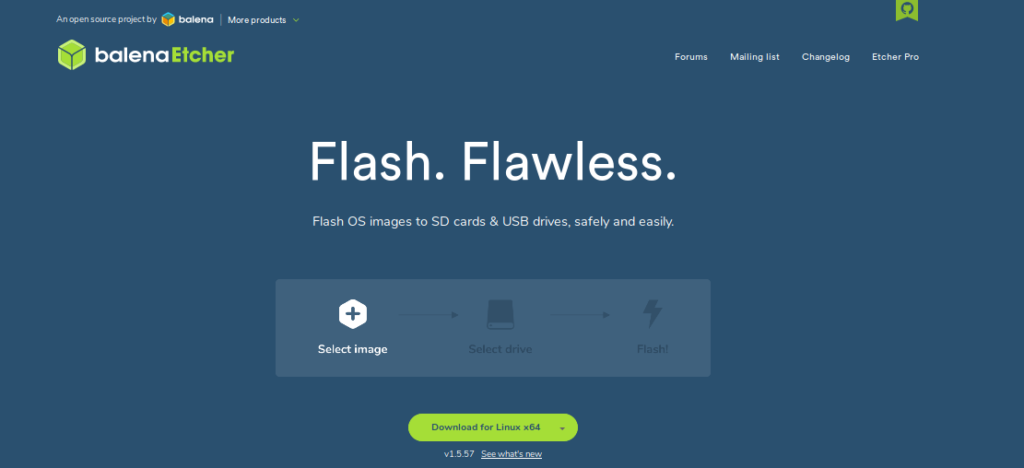
Download Etcher. It’s a free tool available on both Windows and Linux that can create bootable USB flash drive from OS images.
Launch the tool.
At first, select the image file.
Next up, select the USB flash drive.
Once you’re ready, hit the “Flash” button.
Wait for the process to complete.
Voila! The USB flash drive is now ready to perform the installation of Zorin OS.
Installing Zorin OS
Connect the USB drive to your target system, get into the boot menu and select the device. This part is unique to each motherboard vendors, so perform a quick research on the internet.
Once you’ve booted into the device, the following screen will greet you.
There are several options to go for. At first, select the option to check if your installation media is in correct form (no data corruption).
If your system is running NVIDIA graphics card, then it’s better to choose the option that’s specialized with NVIDIA graphics driver.
Otherwise, select the first or second option.
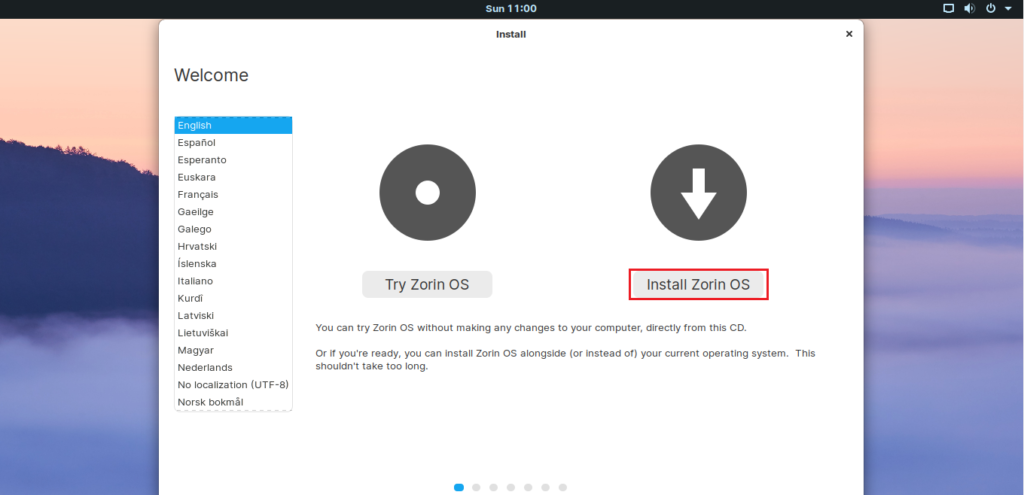
At this stage, you can choose to try out Zorin OS (without any installation) or proceed with the installation. I’m going with the installation process.
The first step is selecting the proper keyboard layout. Choose the wrong one and you’re doomed! If you’re confused, just click the “Detect Keyboard Layout” button. It’ll ask a series of question to detect the keyboard layout for you.
Check the second option. As of the first option, it depends on your internet connection. If you’re running on a slow internet, the installation process will take longer.
It’s time to select the partition that’ll host the OS. I recommend assigning a dedicated 25GB partition for Zorin OS.
Once you hit “Install Now” button, the following warning message will pop up. It’ll destroy the remaining data on the partition, so this is the last chance to go back.
Select your current location. This will decide the time zone of your system. However, you can also change the location later on. Learn how to change time zone. It’s on Ubuntu but as discussed earlier, the same applies to Zorin OS as it’s based on Ubuntu.
Select your current location. This will decide the time zone of your system. However, you can also change the location later on. Learn how to change time zone. It’s on Ubuntu but as discussed earlier, the same applies to Zorin OS as it’s based on Ubuntu.
Enter the credentials to create a user. The password will be used as the “root” password, so make sure that you remember the password!
The installation will take long time, so be patient. Get a cup of coffee and relax!
Once the installation completes, you’ll get the success message. Restart your system.
At this point, remove the uninstallation media and hit “Enter”.
Post-installation steps
There are some things to do after you’ve installed the OS.
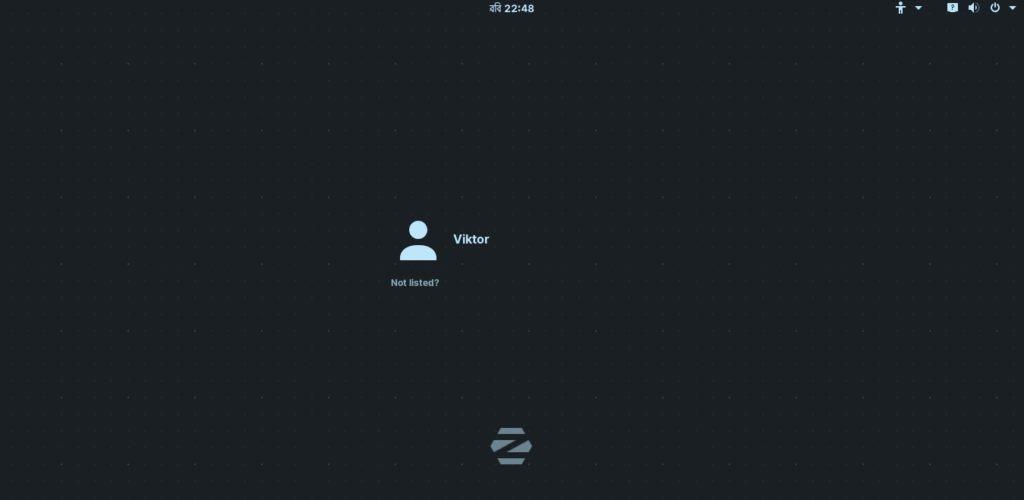
Log into your account.
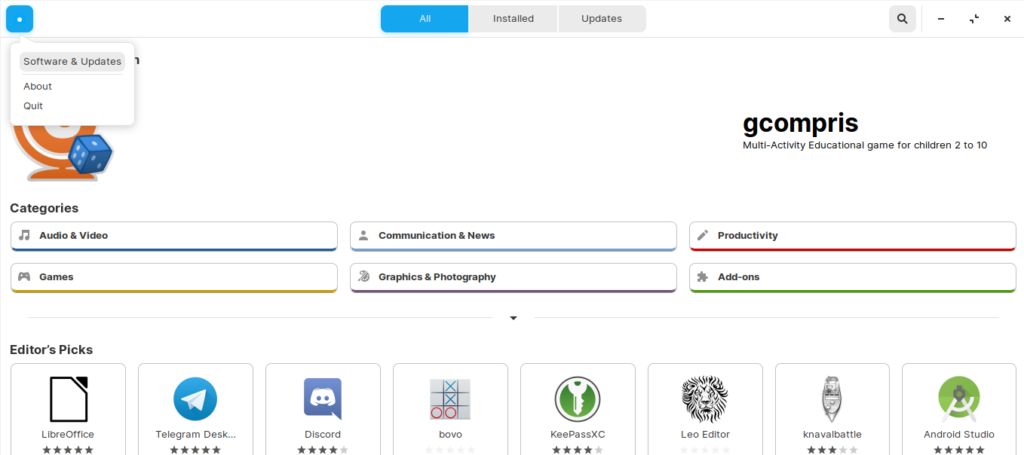
Go to menu >> System Tools >> Software.
Go to top-left button >> Software and Updates.
From the drop-down menu, select “Other”.
Click on “Select Best Server”.
It’ll perform a number of tests to select the nearest server from your location.
Click “Choose Server” once the best server location is decided.
Enter the “root” password.
Click “Close”.
When the dialog appears, click the “Reload” button. It’ll regenerate the APT cache for package database.
Now, fire up a terminal by pressing “Ctrl + Alt + T” and run the following command.
Once the process finishes, reboot your system.
Final thoughts
Zorin OS Ultimate is the finest offering of the project. Over the course of couple years, this project has turned into a marvelous Linux distro. If you can’t afford the price, no problem. There are other free versions of Zorin OS “Core” (bare minimum of Zorin OS), “Lite” (for old machines) and “Education”.
Feel free to experiment your way around. Enjoy!


