Zoom offers multiple variants ranging from basic to enterprise editions. The basic plan offers free access to perform several essential operations like you can conduct unlimited one-to-one meetings, a 40min video conferencing for unlimited participants. Whereas the other variants, Zoom Pro, Zoom business, and Zoom Enterprise, provide extensive package plans to enjoy the amazing features.
Apart from these features, Zoom provides a cross-platform availability to get its functionalities on multiple operating systems. In this descriptive post, we are going to provide a detailed guide on how to install zoom on Manjaro Linux.
How to install Zoom on Manjaro Linux
This section briefly guides you through the installation procedure of zoom on Manjaro Linux. Although zoom is not available on the official repository of Manjaro, it can be installed in the following ways:
- Cloning the git repository of zoom
- Using snap
- Using GUI
Snap is a Linux method to package and distribute Linux applications, the interesting thing is that snap is not limited to any specific distribution.
Method 1: How to install zoom on Manjaro Linux using git repository of zoom
This method describes the installation of zoom by using the git repository of zoom. The following steps must be carried out carefully for a successful installation.
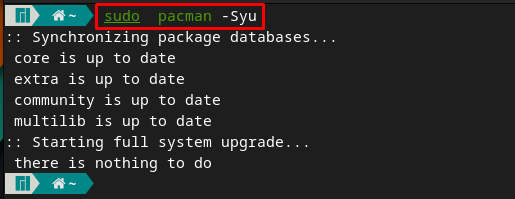
Step 1: Update the system
Before the installation, it is recommended to update your system by issuing the following command:
Step 2: Clone the git repository of zoom
Zoom is not available on the official repository of Manjaro, but AUR provides access to the git repository of zoom. Execute the below-stated command to clone zoom repo.
Note: Don’t use the above command; otherwise, you will not be able to build and compile your package.
Change the present directory to “zoom” with the help of the below-mentioned command:
Step 3: Install zoom
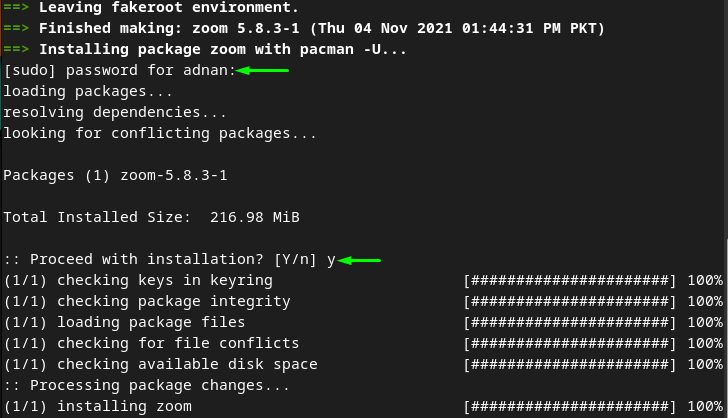
Once the repository is cloned and the terminal in the cloned directory, you are now ready to install zoom on Manjaro. For this, you must execute the command provided below to build and compile the zoom package:
In the midway of command execution, you have to enter your sudo password and y to continue the installation.
Note: If you have used the “git clone” command with sudo privileges, you will encounter the following error while executing the “makepkg -si” command. So, to avoid this error, you should not use the “sudo” with the “git clone” command.
Method 2: How to install zoom using snap on Manjaro Linux
This method exercises the use of snap to install zoom on your Manjaro Linux. The steps provided below will install snap, and then with the help of snap, the zoom will be installed.
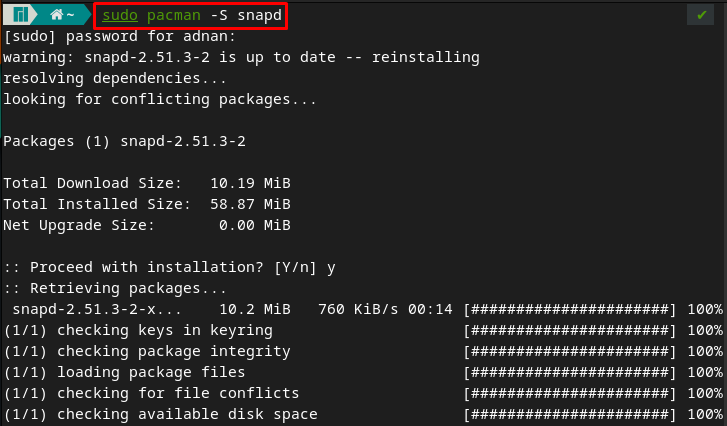
Step 1: Install snapd
The command written below will install snap on Manjaro with the help of Pacman (package manager of Manjaro) :
Step 2: Enable the service
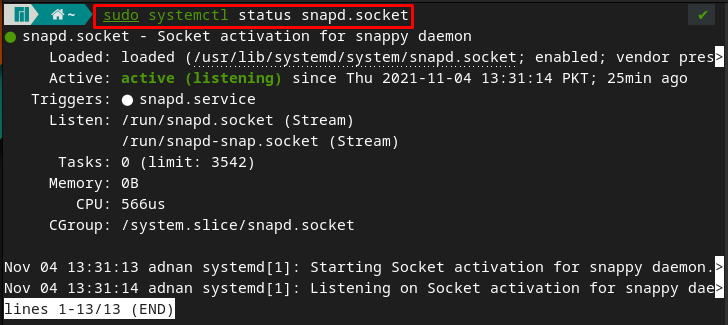
After successful installation, enable snapd by issuing the following command:
Verify the status of the the snapd.socket by issuing the following command:
Step 3: Install zoom
After performing the first two steps, you can now install zoom with the help of snapd. So, execute the below-mentioned command in Manjaro’s terminal to install zoom:
Method 3: How to install zoom on Manjaro Linux using GUI
This method is dependent on the snap. Once you have installed snap, you can also install zoom-client using the GUI support of Manjaro.
Step 1: Enable the snap support
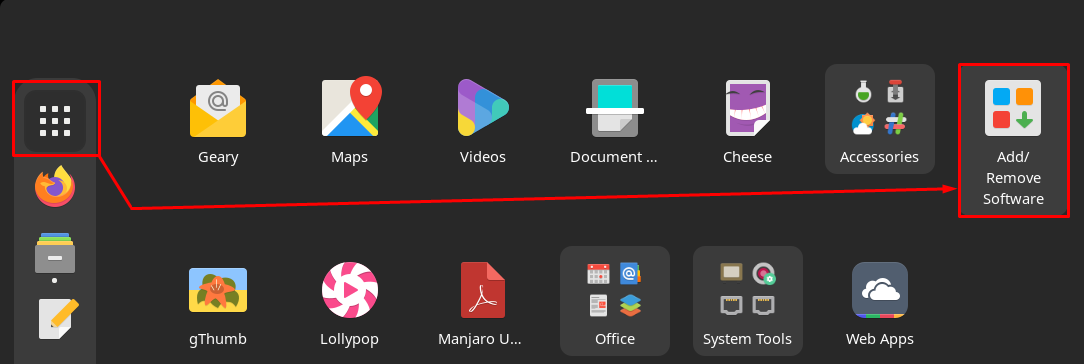
Firstly, open the applications menu by clicking on the “Show Applications” icon on the desktop.
Now, navigate to “Add/Remove Software“. Click on three dots on the menu bar and then click on “Preferences“:
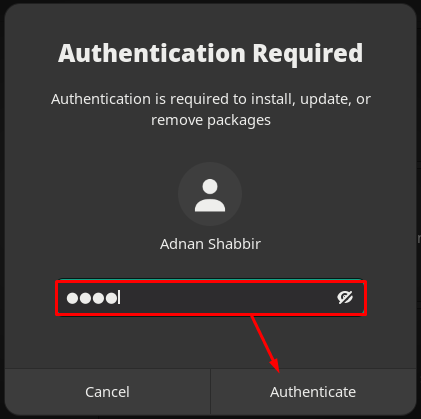
An authentication prompt will appear. The “Preferences” require your password:
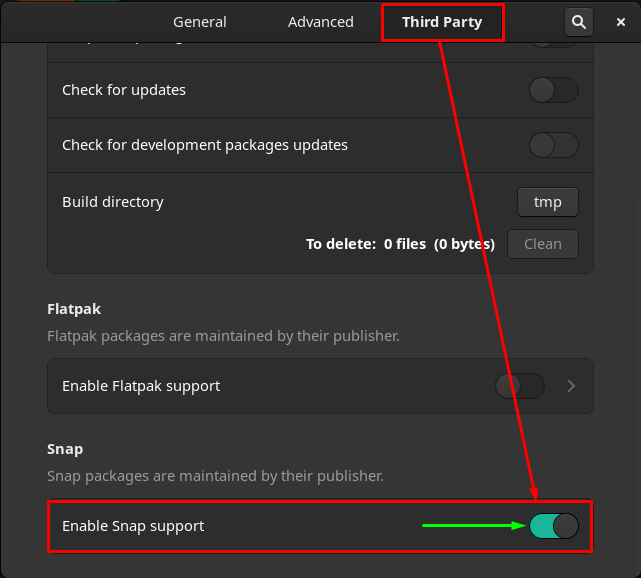
On the “Preferences” window, click on the “Third Party” option:
Scroll down and turn on the toggle button of “Enable Snap support” to make the snap packages available on your Manjaro.
Step 2: Install zoom
After that, go back to the “Add/Remove Software” option and click on the search icon on the window’s menu bar.
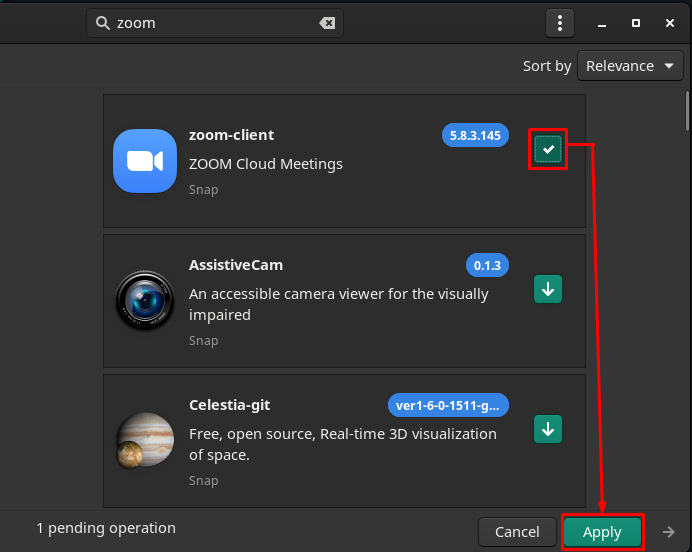
Write “zoom” in search bar and hit enter:
You will find “zoom-client” and click on the download button to start the installation process.
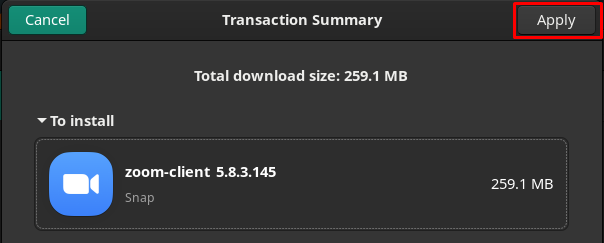
Now, to continue the process, navigate to “Apply” button.
The following window shows that you are going to install “zoom-client”. Click on “Apply” to proceed further:
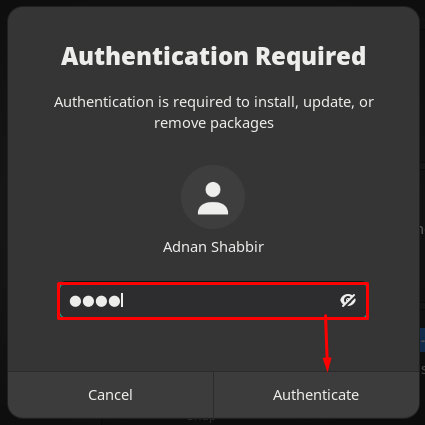
After that, enter the password and click on Authenticate to proceed:
The process will take a minute or two to complete the installation. After completion, you can locate the installed zoom by clicking on the “Show Applications” option on the desktop.
How to uninstall/remove zoom from Manjaro Linux
Zoom can be uninstalled from Manjaro in several ways:
If you have installed zoom using snap, the following command will help you remove zoom from your Manjaro system.
Note: The command will remove zoom-client either if it is installed using terminal or GUI support.
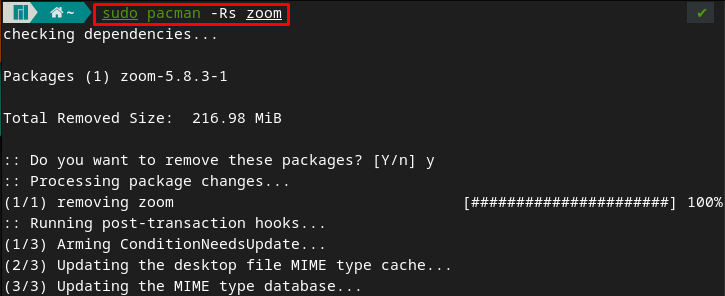
Or, if you followed Method 1, then you can remove zoom with the help of the following command:
Conclusion
Virtual communication tools have eased the way of interacting with people via video/audio conferencing. The communication may be formal or informal; several tools are available that provide such support like Google Meet and Zoom are the leading ones. In this article, we have provided the installation procedure of Zoom on Manjaro Linux. Zoom can be installed by cloning the git repository or using the snap support of Manjaro. Moreover, the snap support can be extended to install zoom using the GUI of Manjaro.

