In this post, we will walk you through the steps to install Android Studio on Manjaro Linux 21 through two different methods. We will cover the installation using the following two methods:
- Through Yay AUR Helper
- Through Snap
Method#1 Installing Android Studio on Manjaro using Yay AUR Helper
In this method, we will be installing Android Studio using the Yay AUR (Arch User Repository) helper. Let’s start the installation process:
Step 1: Update Package Database
First, run the below command to update the package database in your system:
This command will synchronize the local packages with the distribution repositories and update them if new versions are available.
Step 2: Install Yay AUR Helper
Next, we will install the Yay AUR helper. To do so, first run the below command to install some prerequisites that are required for building a package:
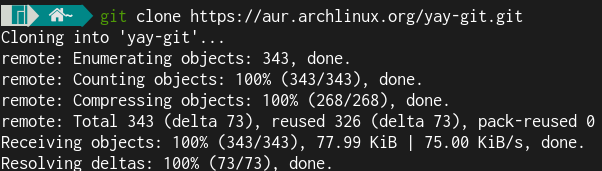
Then, clone the yay git repository through the below command:
Move the git archive to /opt directory:
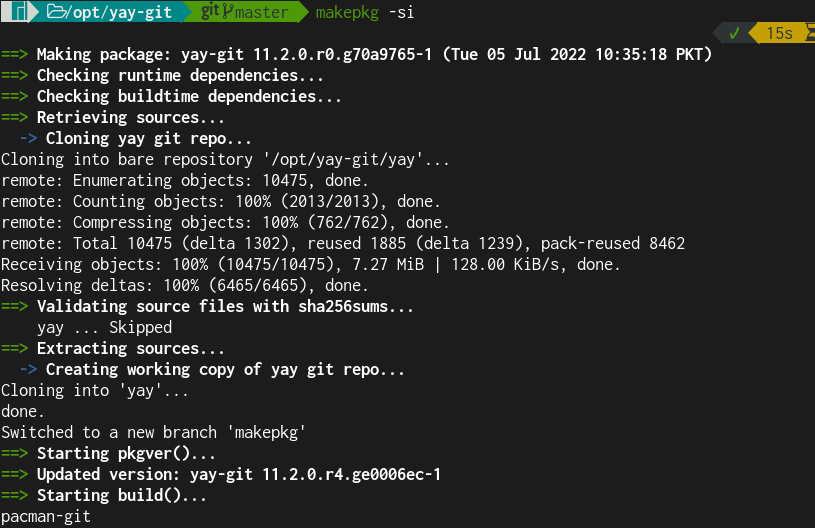
Change directory to /opt/yay-git:
Then, compile the package through the below command:
Step 3: Install Android Studio
Now, install Android studio using the Yay AUR helper:
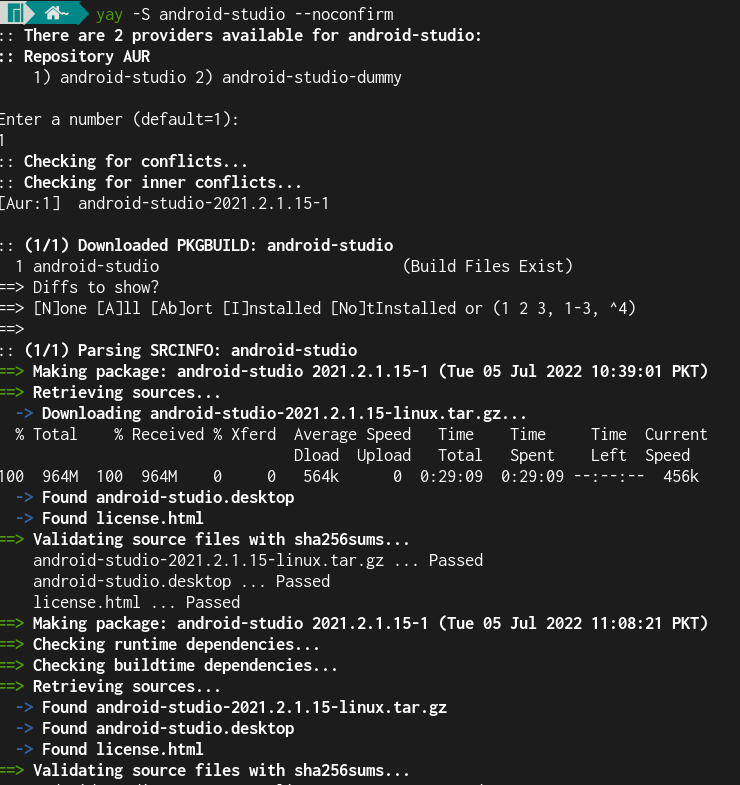
This will install Android Studio on your Manjaro Linux system.
Step 4: Launch Android Studio
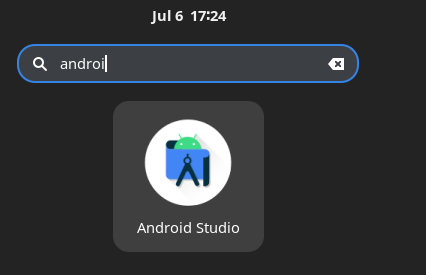
To launch Android Studio, press the super key and type android studio in the search bar. Then, click the Android Studio icon to launch it.

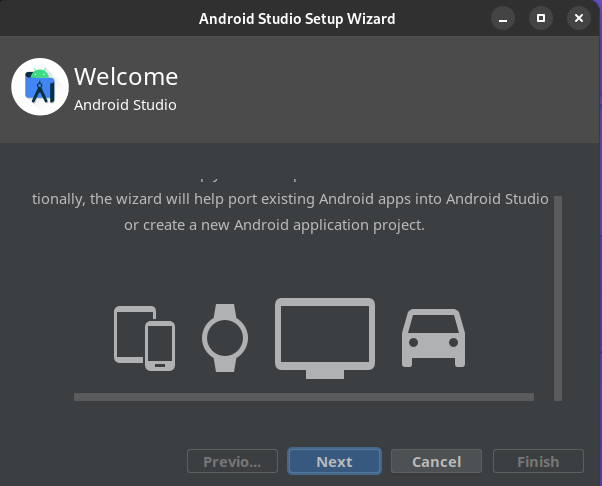
When you first time launch Android Studio, you will be greeted with the following Welcome window. Click Next.
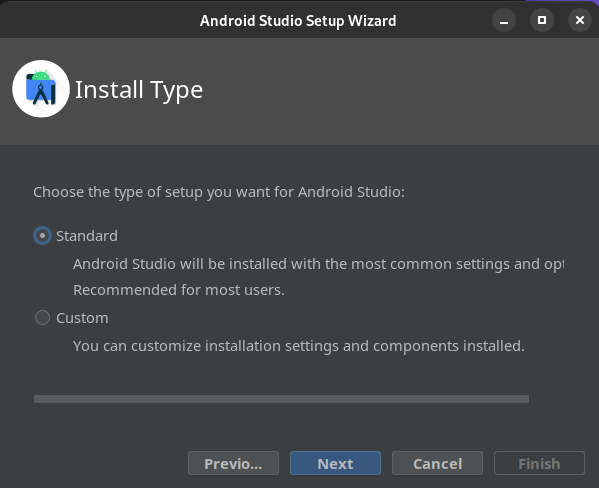
Next for the installation type, choose Standard and click Next.
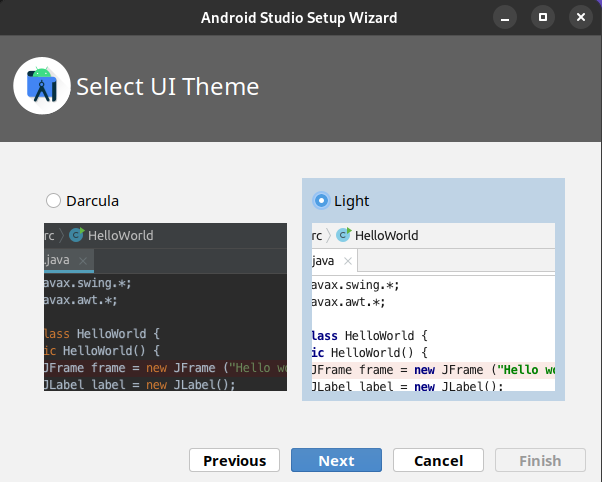
Then, choose either the dark or light UI theme based on your own preferences and click Next.
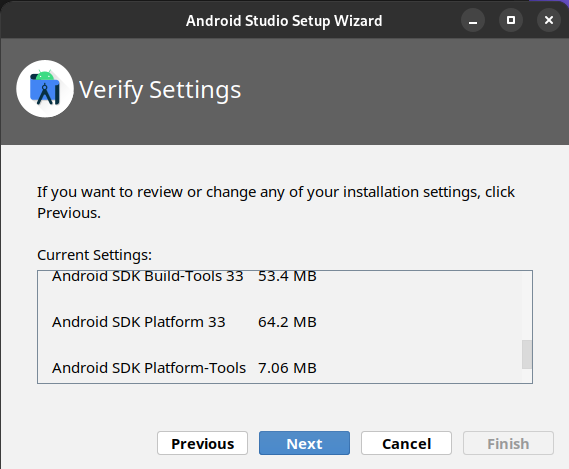
To verify the installation settings, click Next. If you want to make any changes in the settings, go back by clicking the Previous button.
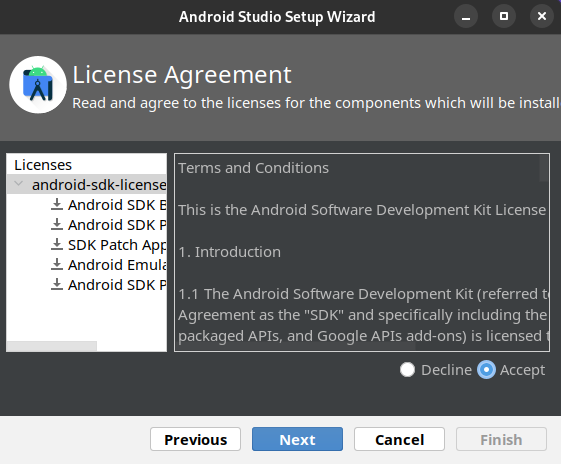
Select Accept to agree with the license terms and click Next.
Click Finish.

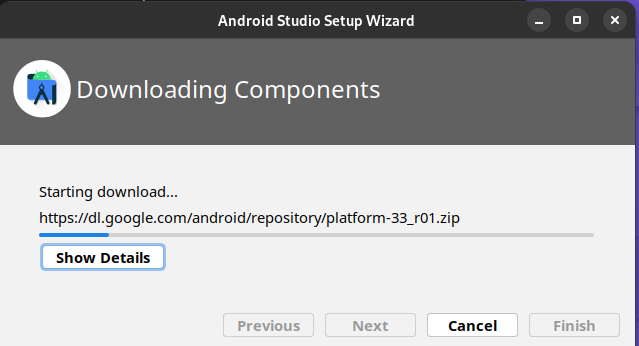
Now, the wizard will start downloading the required components on your system.
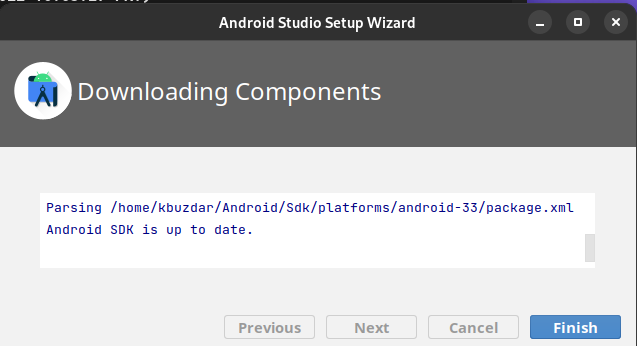
Once the download is completed, click Finish.
Now, the following Welcome to Android Studio window will appear.
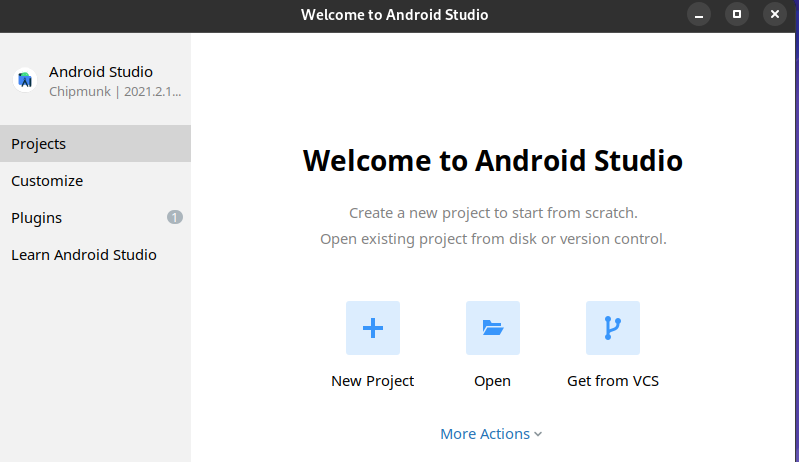
The Android Studio has been installed and configured. You can now start working on it by creating new projects or opening existing ones.
Method#2 Installing Android Studio on Manjaro using Snap
In this method, we will be installing Android Studio through snap. The best thing about snap applications is that they come bundled with all the required dependencies. Also, the snaps are updated to a new version whenever there’s a new release available. Let’s start installing Android studio through snap:
1. First, you will need to install snapd in your Manjaro system using the below command:
2. Then, run the below command to enable the systemd unit:
3. Enable the classic snap support using the below command:
4. Now, use the below command to install Android Studio:

This will install Android Studio on your Manjaro Linux system.
5. To launch Android Studio, run the below command:
You can also launch Android Studio from the applications menu. Press the super key and type android studio in the search bar. Then, click the Android Studio icon to launch it.
Uninstall Android Studio
If for some reason you want to uninstall Android Studio, you can do so as follows:
If you have installed Android Studio using the Yay AUR helper, you can remove it using the below command:
If you have installed Android Studio using snap, you can remove it using the below command:
In this post, we covered the installation process of Android Studio on Manjaro Linux 21 through two different methods. At the end of this post, the process to uninstall Android Studio is also covered in case you want to remove it from your system.