In this post, we will be explaining how to install Jekyll SSG (static site generator) on Manjaro Linux 21.
Installing Jekyll SSG on Manjaro
Complete the following steps to install Jekyll SSG (static site generator) on Manjaro Linux 21:
Step 1: Update Package list
Update the package list in your system using the below command:
Step 2: Install prerequisites
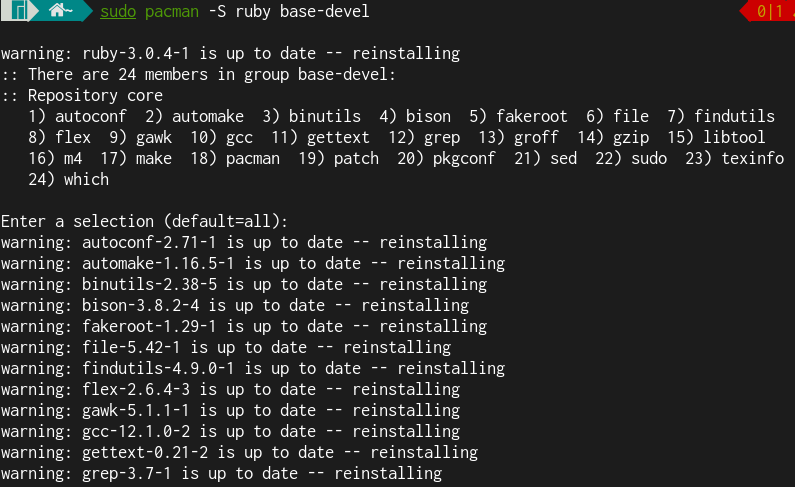
There are some prerequisites you need to install before proceeding with the installation of Jekyll SSG. Run the below command to install them:
Step 2: Install Jekyll
Configure the gem installation path by adding the environment variables to your ~/.zshrc file. For this, edit the .zshrc file with any text editor.
Add the below lines in the .zshrc file.
export GEM_HOME=$HOME/gems
export PATH=$HOME/gems/bin:$PATH
export PATH=$HOME/.local/share/gem/ruby/3.0.0/bin:$PATH
Then, save the file and exit the editor.
Now to apply the changes, reload .bashrc settings using the below command:

Now, run the below command to install Jekyll as well as the bundler to handle gem dependencies.
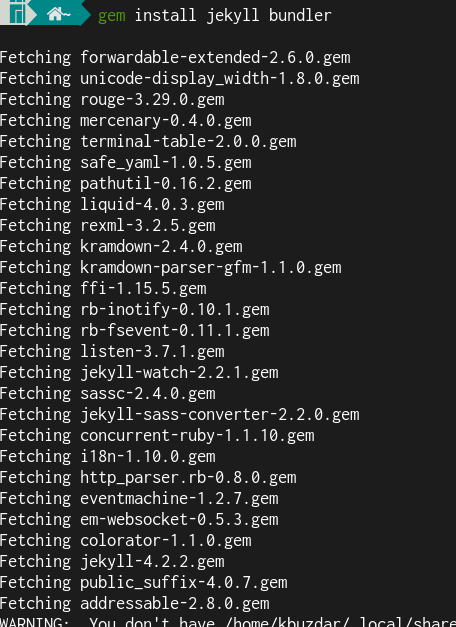
This will install Jekyll and Bundler on your Manjaro system. To verify the installation of Jekyll on your system, run the command below:
The output below verifies that Jekyll version 4.2.2 has been successfully installed on our system.

Step 3: Create the Site
Create a directory for your site. To do so, run the command below:
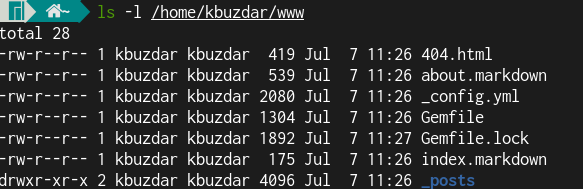
You can give the new directory any name you want. We have created the directory named www under the Home directory.
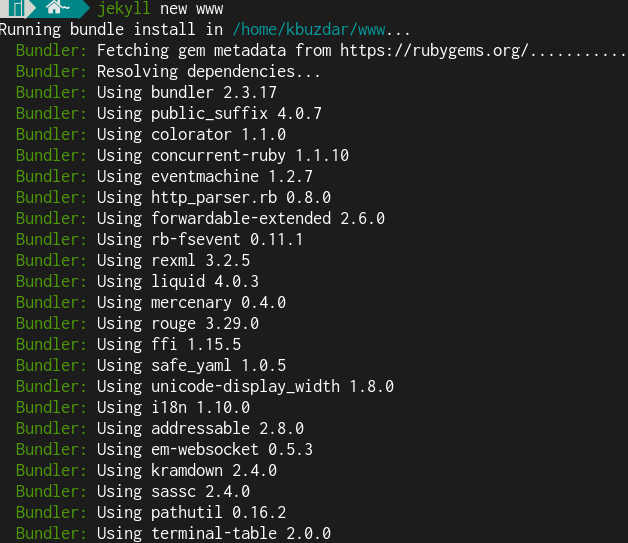
When the command is completed, you will see the output shown below.

The above command will create some files and directories in the www directory. To view them, use the ls command.
Step 4: Build the Site
Next step is to build the site. To do so, run the below command:
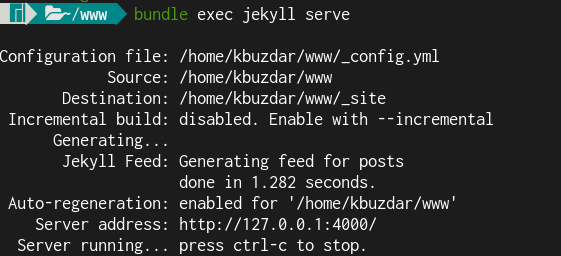
This command builds the site and runs it on a local web server at http://localhost:4000.
You might see the error below after running the “bundle exec jekyll serve” command.
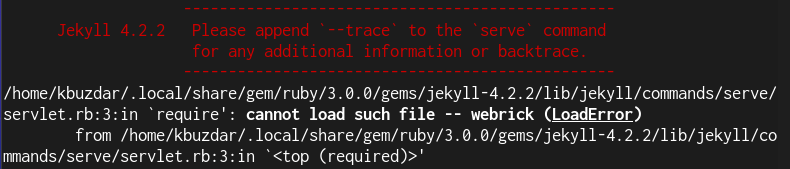
This occurs because ruby 3.0 does not come bundled with webrick. To solve this error, run this command:
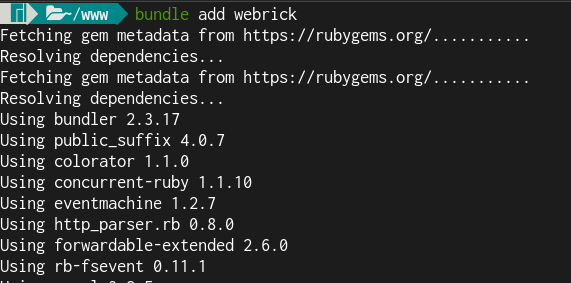
After this, you can run the “bundle exec jekyll serve” command to build the site.
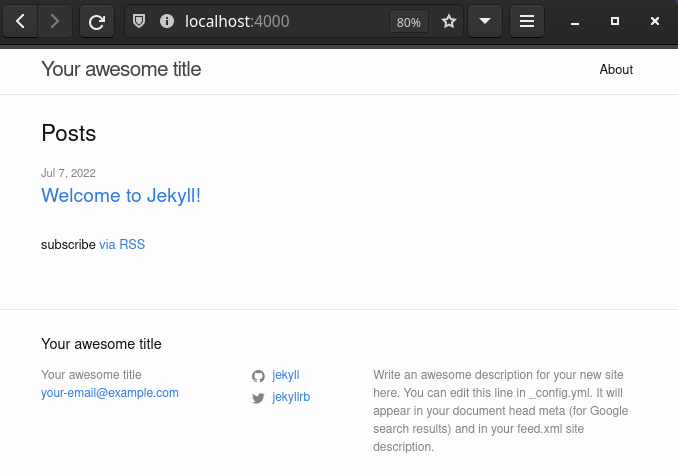
Now, open your web browser and navigate to http://localhost:4000. You will see your static site with the following default content.
In this post, we covered how to install Jekyll SSG (static site generator) and create a test Jekyll site with default content to make it available on the local system. You have seen how easy it is to build a static website without the need for any complex programming and database expertise. Static websites, however, have some limitations. One of the major limitations is that you cannot post and modify its content through your browser. Instead, you would have to make changes in your text files or templates locally and then regenerate the site to make it live.