
Topic of Contents:
- Downloading the Windows 11 ISO Image
- Creating a Windows 11 VMware Workstation 17 Pro Virtual Machine
- Attaching the Windows 11 ISO Image to the VMware Workstation 17 Pro Virtual Machine
- Booting the VMware Workstation 17 Pro Virtual Machine
- Installing Windows 11 on the VMware Workstation 17 Pro Virtual Machine
- Installing the VMware Tools on the Windows 11 Virtual Machine
- Conclusion
Downloading the Windows 11 ISO Image
Before you can create a Windows 11 VMware Workstation 17 Pro virtual machine and install Windows 11 on it, you need to download the Windows 11 ISO image. If you need any assistance on downloading the Windows 11 ISO image, read the article on How to Download the Official Windows 10-11 ISO Image without Any Extra Tools – the Easy Way.
Creating a Windows 11 VMware Workstation 17 Pro Virtual Machine
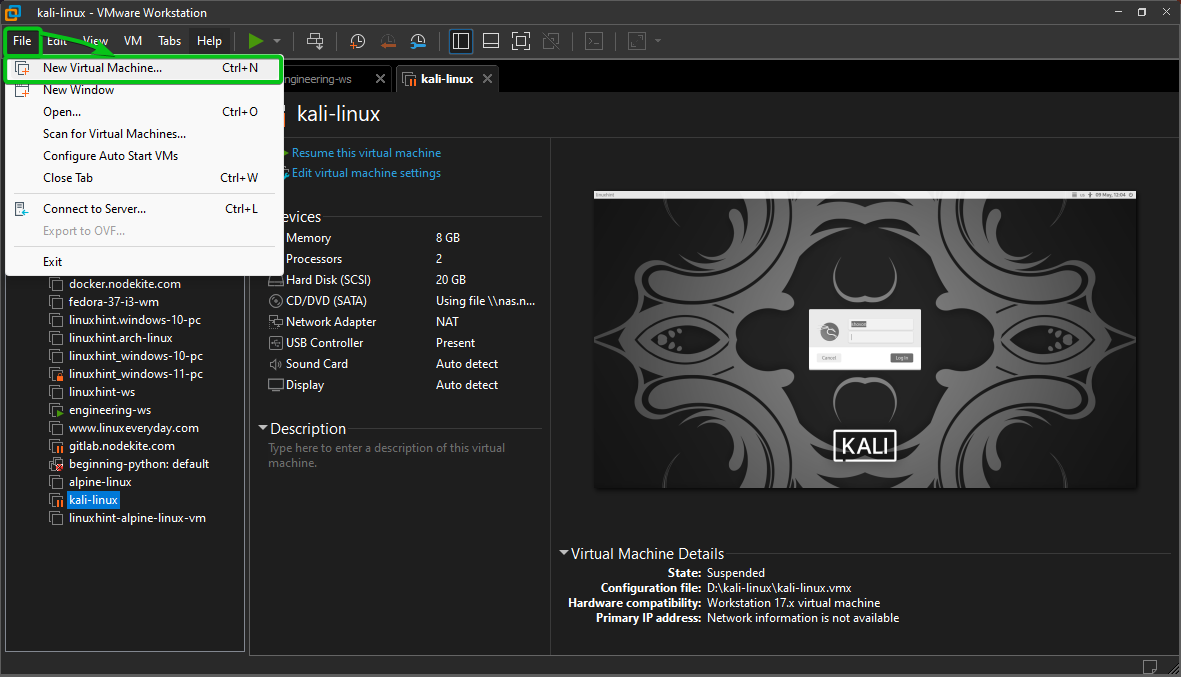
To create a new Windows 11 VMware Workstation Pro virtual machine, open the VMware Workstation 17 Pro and click on File > New Virtual Machine…
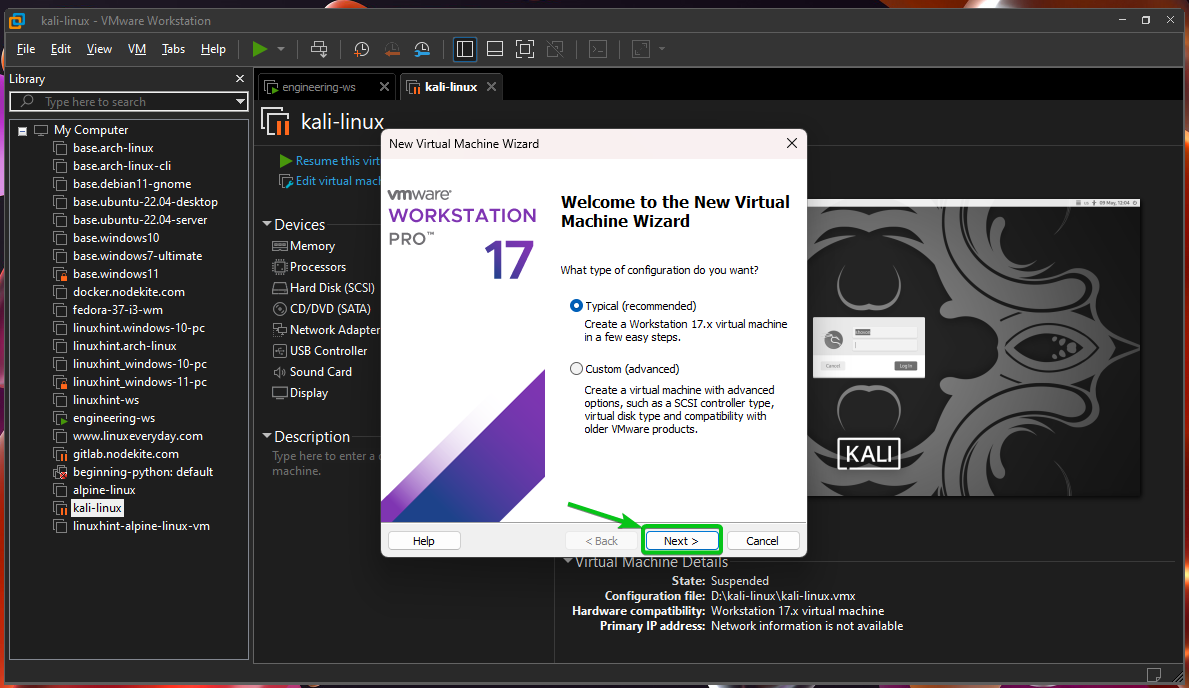
Click on “Next”.
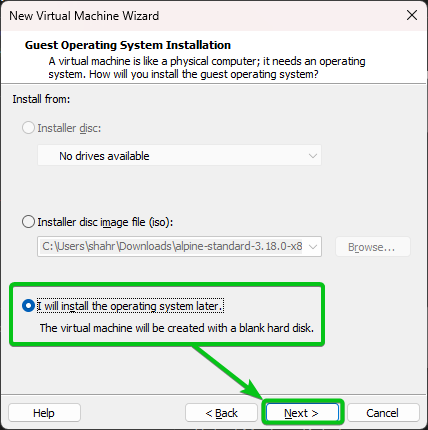
Select “I will install the operating system later” and click on “Next”.
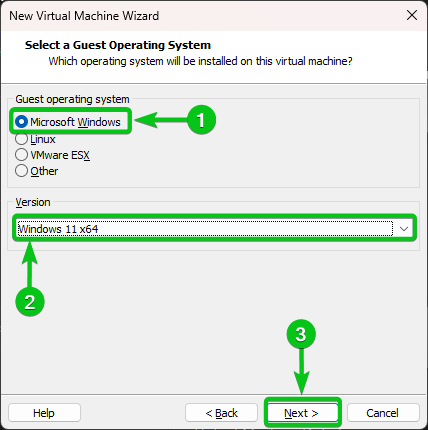
Select “Microsoft Windows” from the “Guest operating system” section[1] and “Windows 11 x64” from the “Version” dropdown menu[2]. Once you’re done, click on “Next”[3].
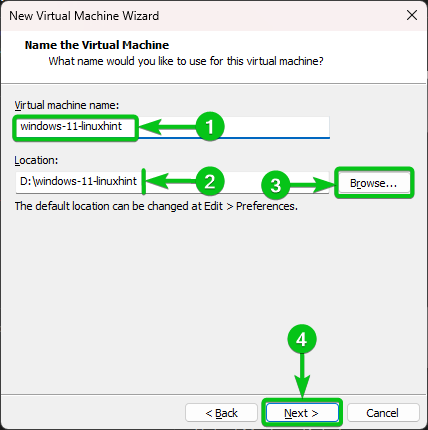
Type in a name for the Windows 11 virtual machine[1].
The virtual machine will be stored in the default VMware Workstation 17 Pro virtual machine directory[2]. If you want to store it somewhere else, click on “Browse…” and select the directory where you want to store the Windows 11 virtual machine[3].
Once you’re done, click on “Next”[4].
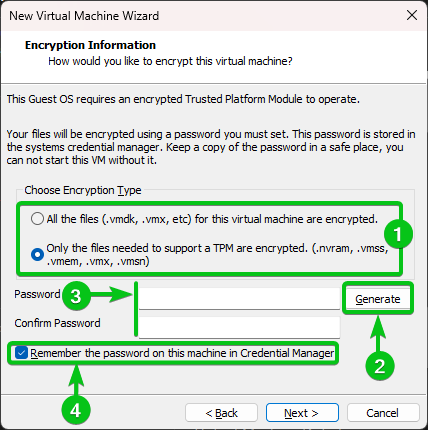
Encrypting the Windows 11 virtual machine is a requirement of VMware Workstation 17 Pro as well as Windows 11. For TPM to work on Windows 11, you have to encrypt the Windows 11 virtual machine.
VMware gives you two options. You can select one of them from the “Choose Encryption Type” section[1].
All the files: If you select this option, it encrypts all the virtual machine files.
Only the files needed to support a TPM are encrypted: If you select this option, only a few virtual machine files are encrypted to fulfill the requirements of TPM.
You also need to generate an encryption password[2]. You can type in an encryption password of your choice as well[3].
If you want the VMware Workstation 17 Pro to remember the encryption password (this saves you the hassle of retyping the password every time you open the virtual machine), keep the “Remember the password on this machine in Credential Manager” checkbox checked[4].
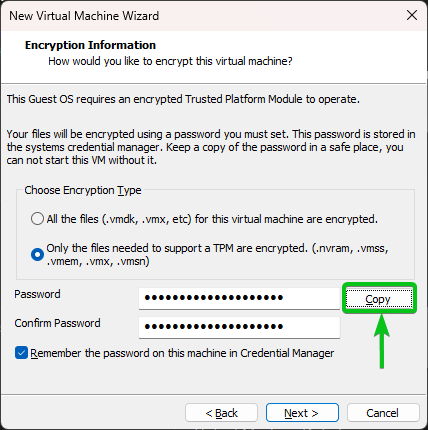
If you generated an encryption password, click on “Copy” to copy the encryption password in the clipboard. You can store it (paste it) safely in a text file or write it down in your notepad just to be safe.
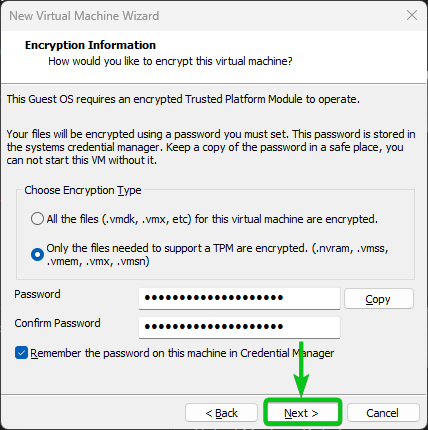
Once you’re done with the Encryption settings, click on “Next”.
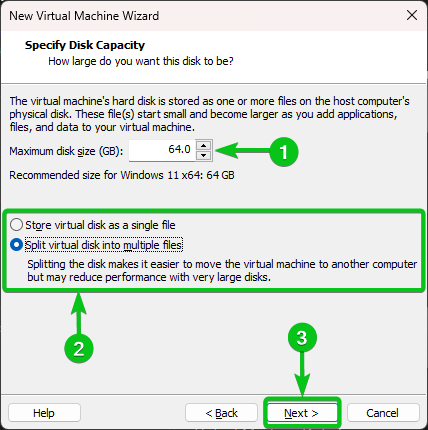
Type in the amount of disk space (in GB units) that you want to allocate to the Windows 11 virtual machine in the “Maximum disk size (GB)” section[1].
You can store the virtual disk as a single file or split the virtual disk into multiple files[2]. The default one is okay most of the time.
Once you’re done, click on “Next”[3].
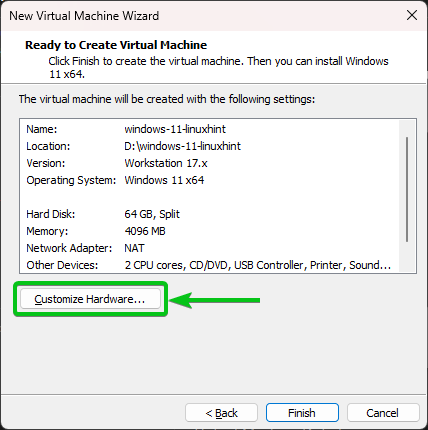
Click on “Customize Hardware…”
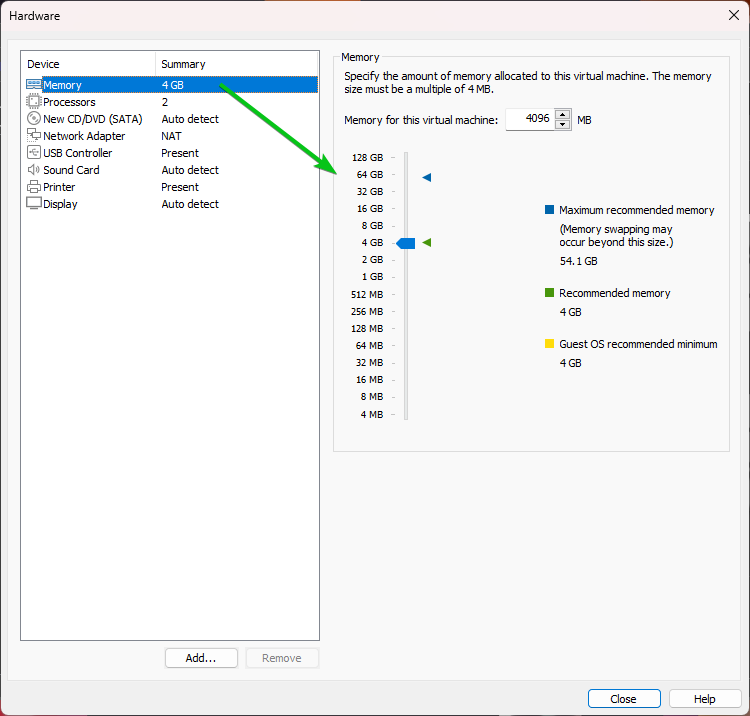
From the “Memory” section, you can specify the amount of memory that you want to allocate for the Windows 11 virtual machine.
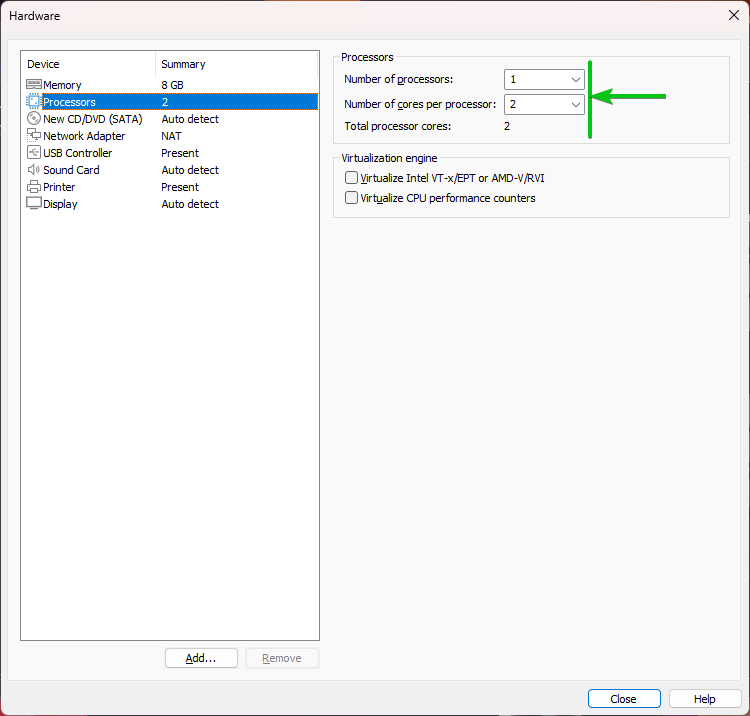
From the “Processors” section, you can select the number of processors (of your computer) that you want to allocate to the Windows 11 virtual machine.
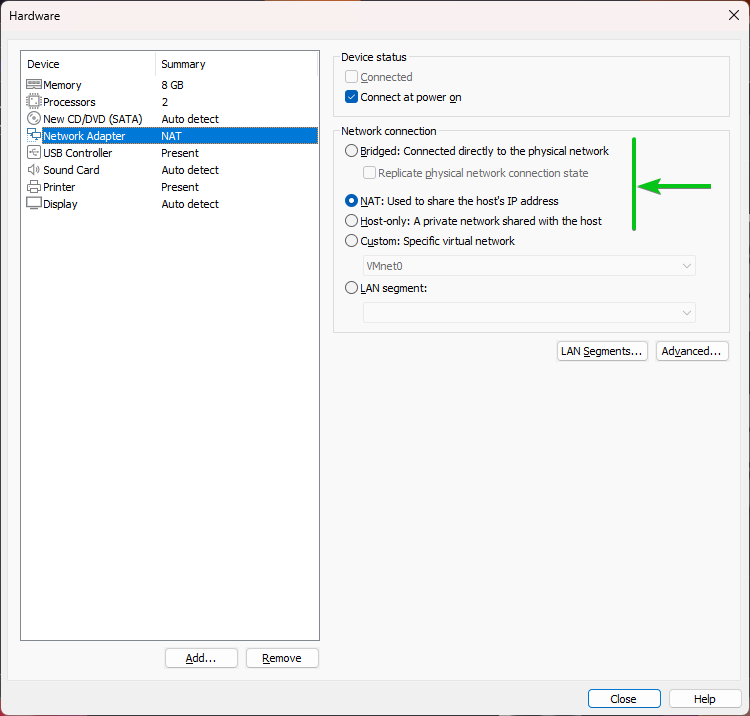
From the “Network Adapter” section, you can select between “NAT” (default) or “Bridged” network for the Windows 11 virtual machine. You can also do the advanced networking. Advanced networking on VMware Workstation 17 Pro is out of the scope of this article.
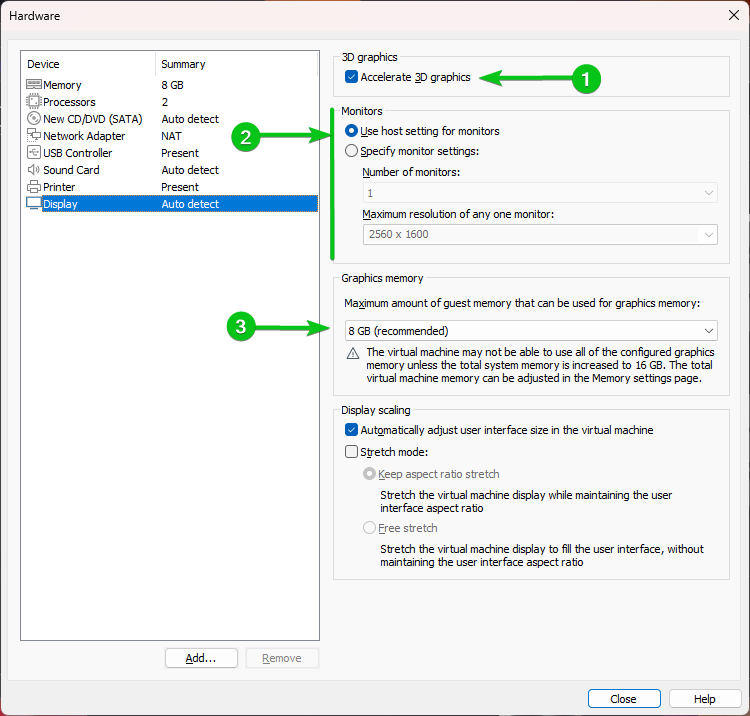
You can configure the 3D acceleration and display settings for the Windows 11 virtual machine from the “Display” section.
Keep the “Accelerate 3D graphics” checked to enable the DirectX 11 acceleration on the Windows 11 virtual machine[1].
From the “Monitors” section, you can use the display resolution of your physical monitor or specify a custom/virtual resolution for the virtual monitor of the Windows 11 virtual machine[2].
From the “Graphics memory” dropdown menu, you can specify the maximum amount of memory that your Windows 11 virtual machine can use for graphics processing[3].
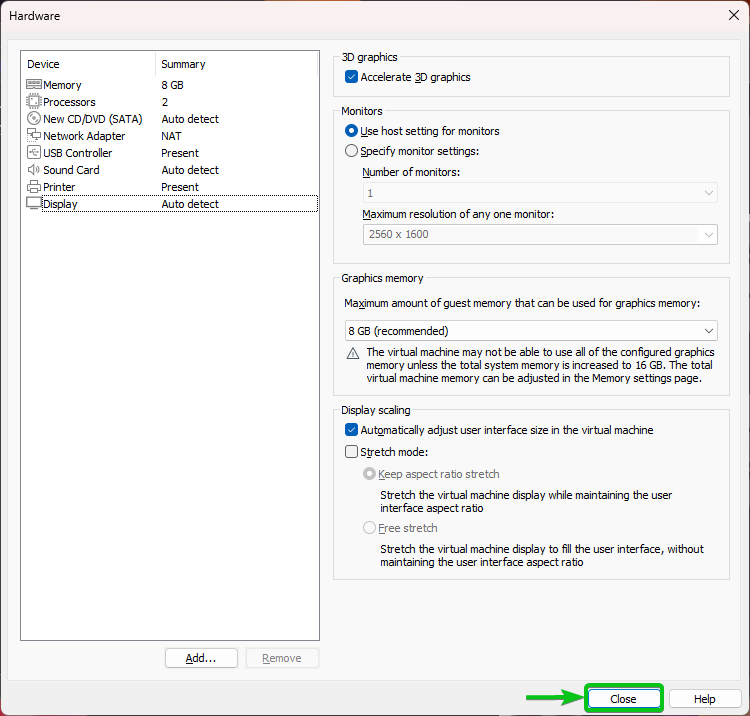
Once you’re done configuring the Windows 11 virtual machine, click on “Close”.
Click on “Finish”.
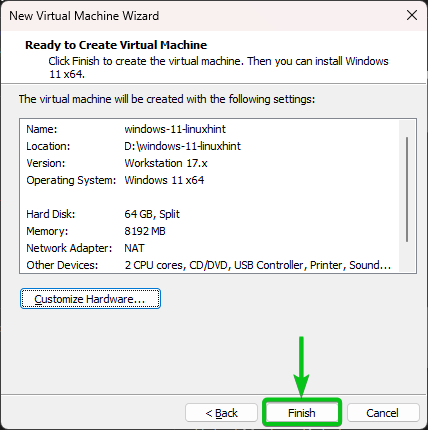
A Windows 11 virtual machine should be created.
Attaching the Windows 11 ISO Image to the VMware Workstation 17 Pro Virtual Machine
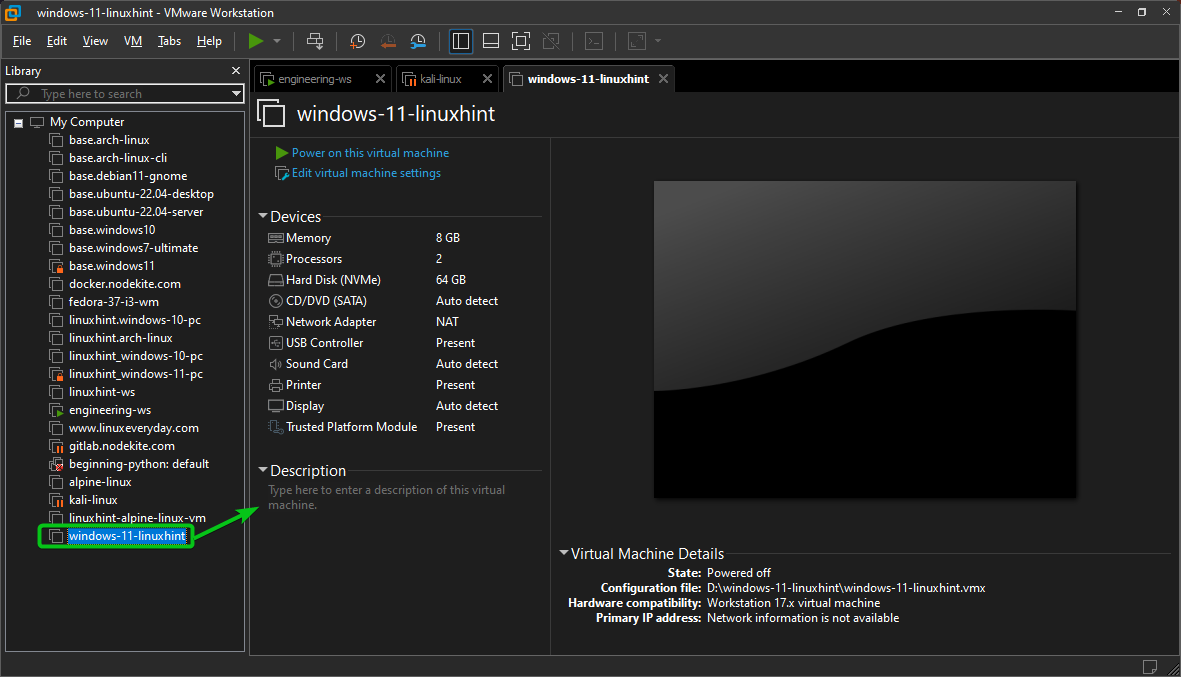
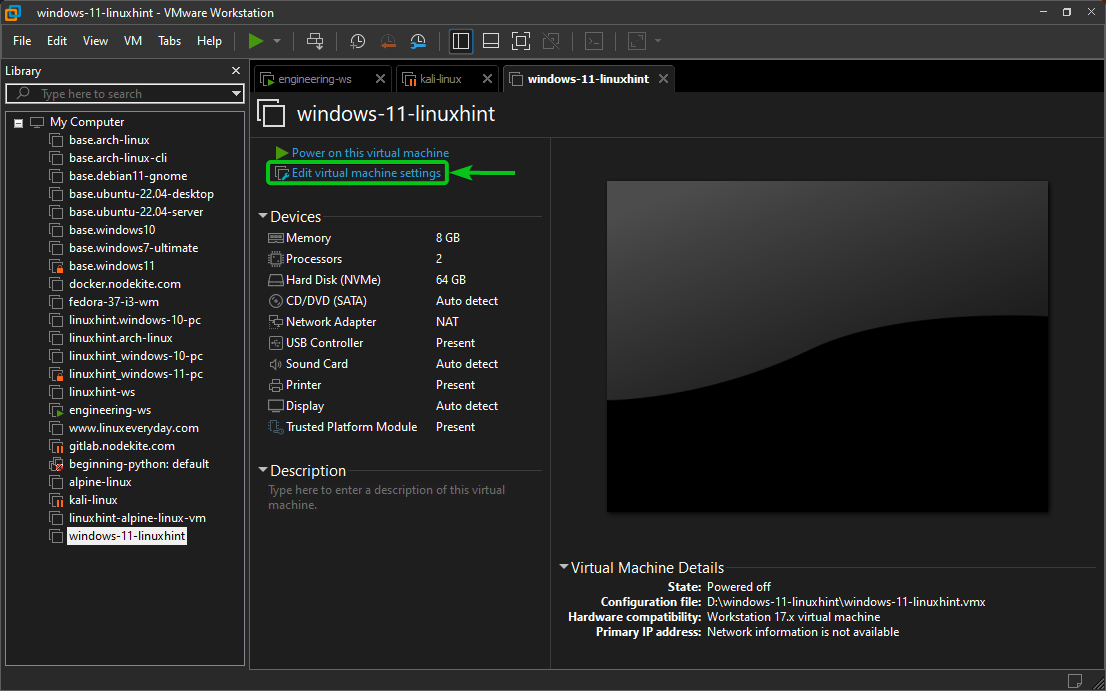
To attach the Windows 11 ISO image to the Windows 11 VMware Workstation Pro virtual machine, open the Windows 11 virtual machine on the VMware Workstation Pro and click on “Edit virtual machine settings” as marked in the following screenshot:
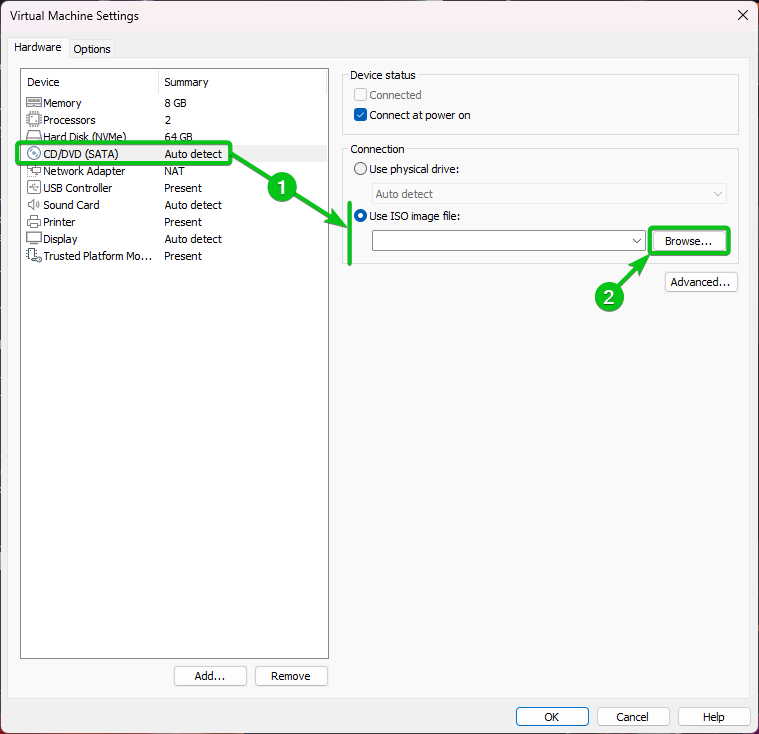
From the CD/DVD (SATA) hardware section, select “Use ISO image file”[1] and click on “Browse…”[2]
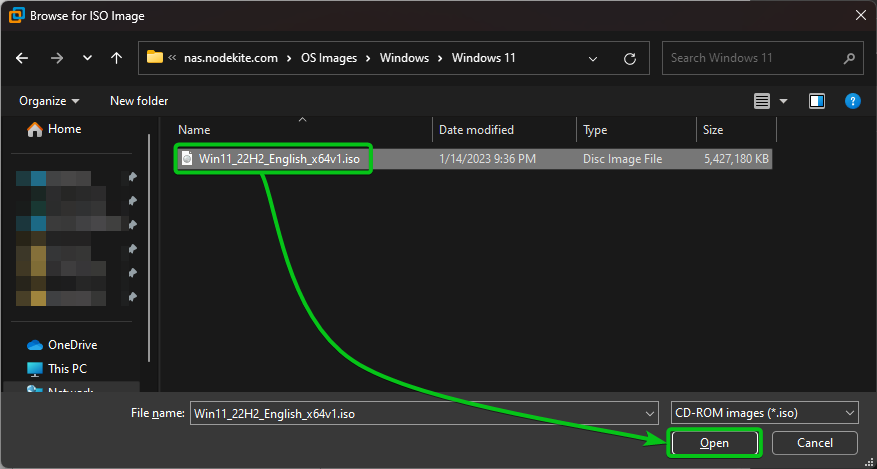
Select the Windows 11 ISO image file that you downloaded and click on “Open”.
The Windows 11 ISO image file should be selected[1]. Click on “OK” to save the changes[2].
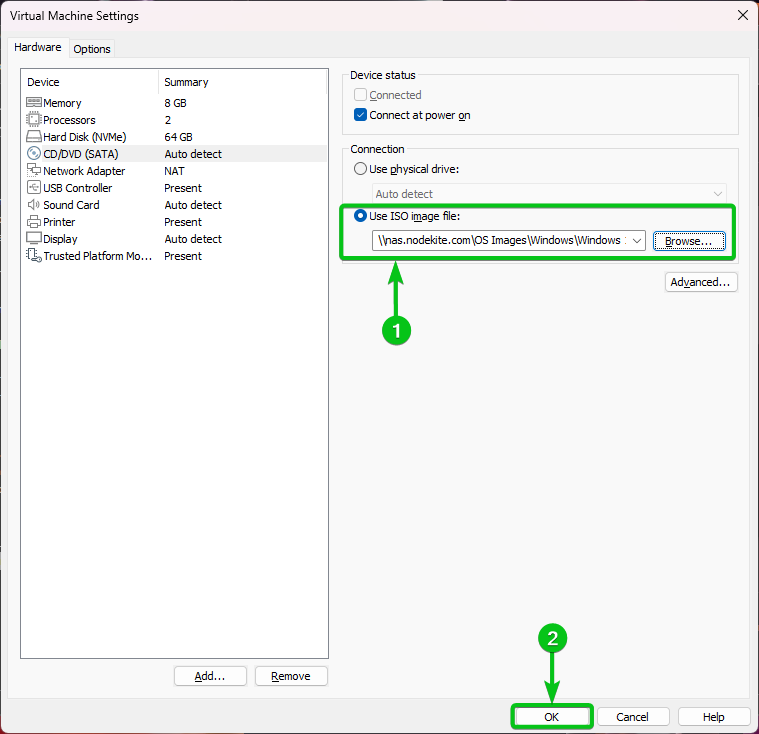
If your Windows 11 ISO image is stored in a NAS (Network Attached Storage), you will see the following window. Click on “OK”.

Booting the VMware Workstation 17 Pro Virtual Machine
To boot the Windows 11 VMware Workstation Pro virtual machine, open it on VMware Workstation Pro and click on “Power on this virtual machine”.

Once you see this prompt, press any key.
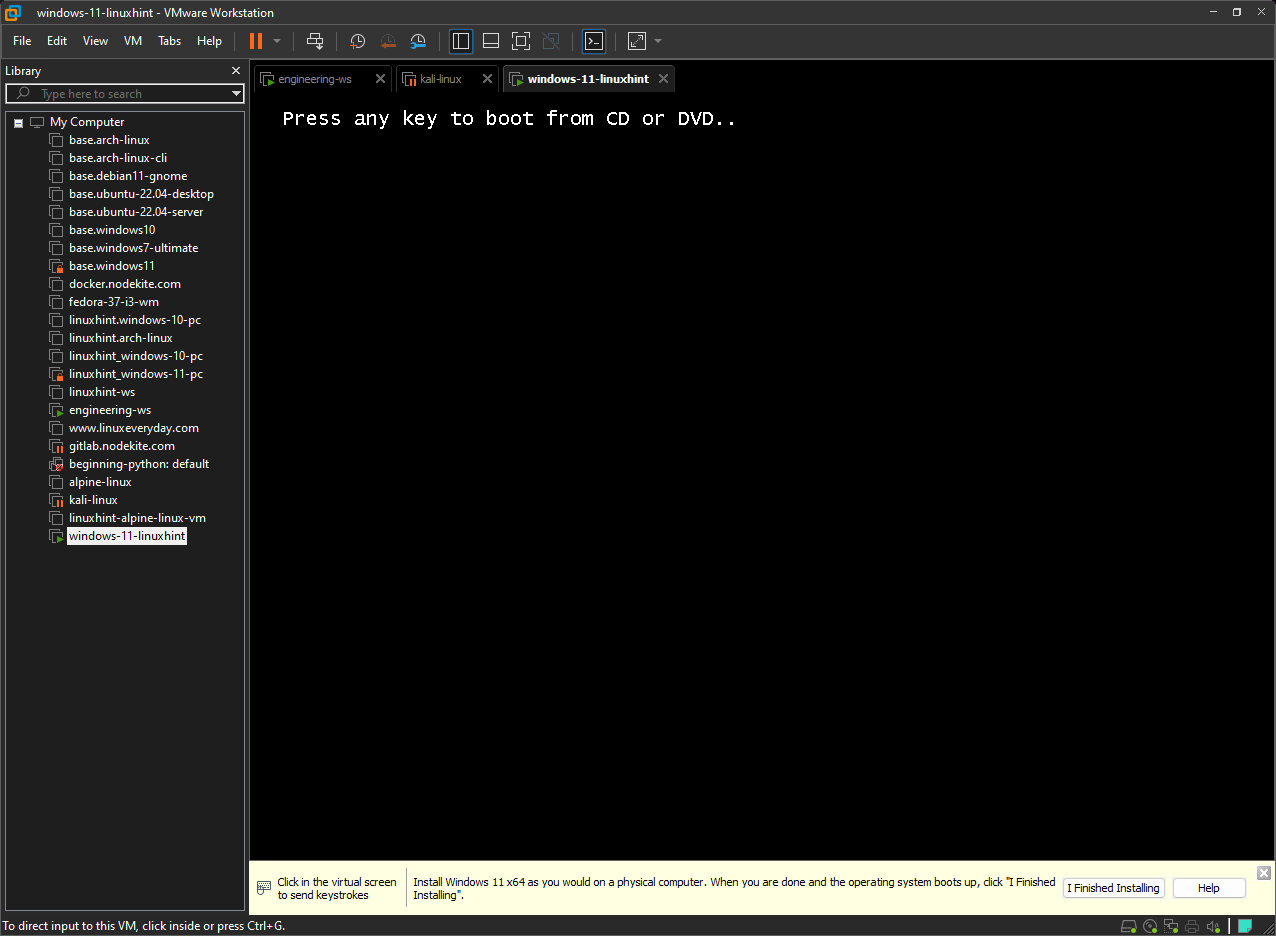
The virtual machine should start loading the Windows 11 installer from the Windows 11 ISO image.
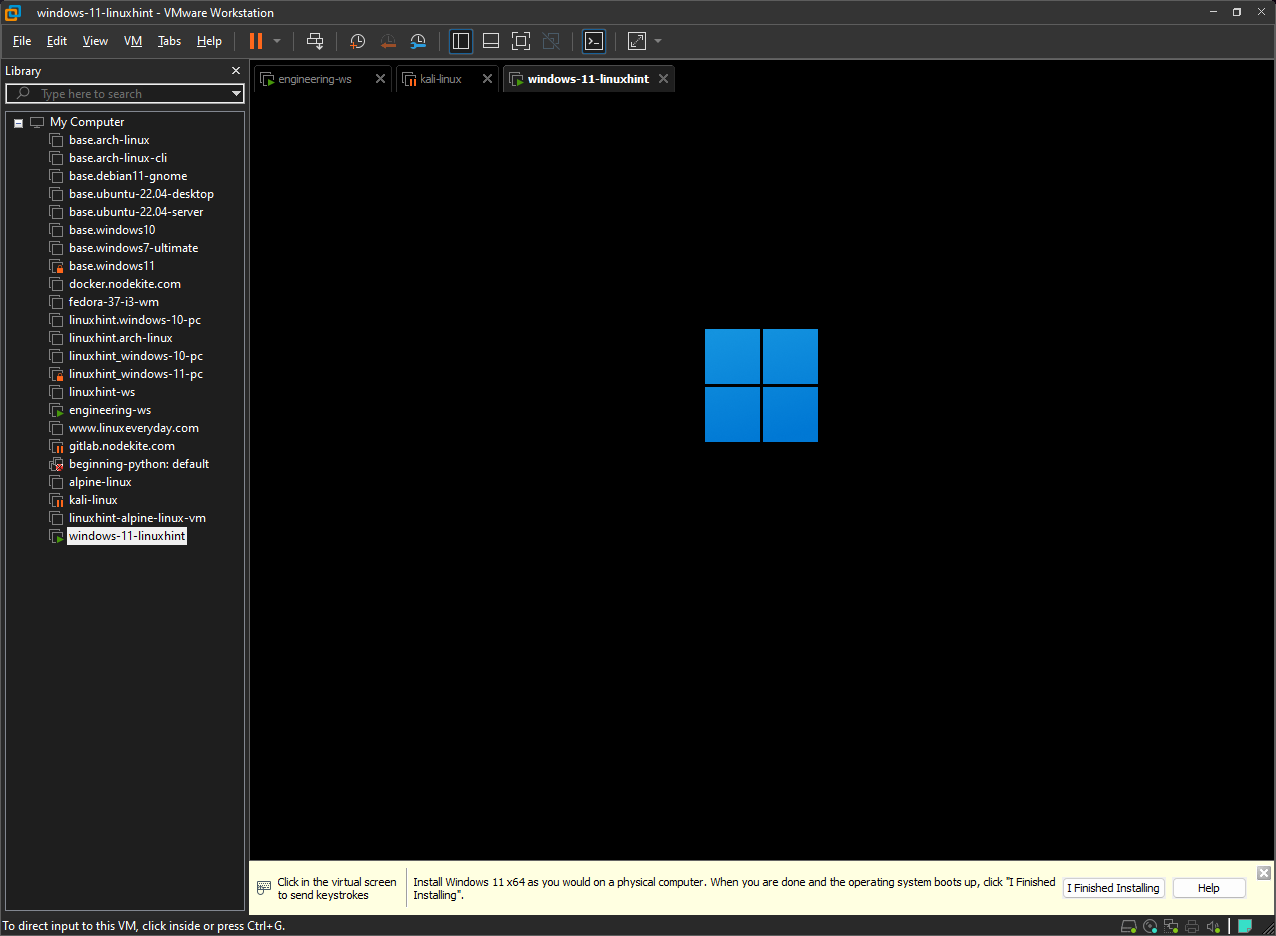
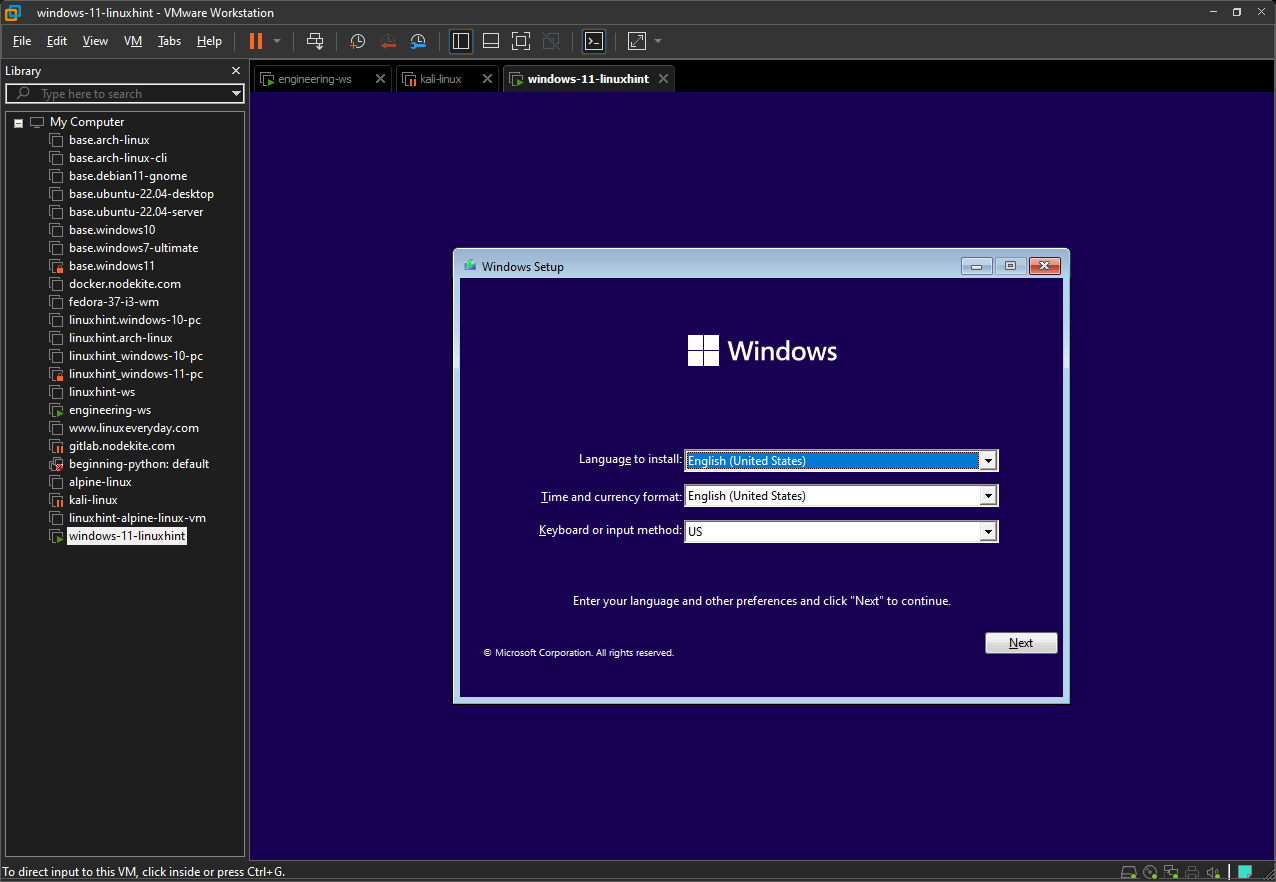
At this point, the Windows 11 setup wizard should be displayed.
Installing Windows 11 on the VMware Workstation 17 Pro Virtual Machine
To install Windows 11 on the virtual machine, select the language[1] first, then the time and currency format[2], keyboard/input method[3], and click on “Next”[4].

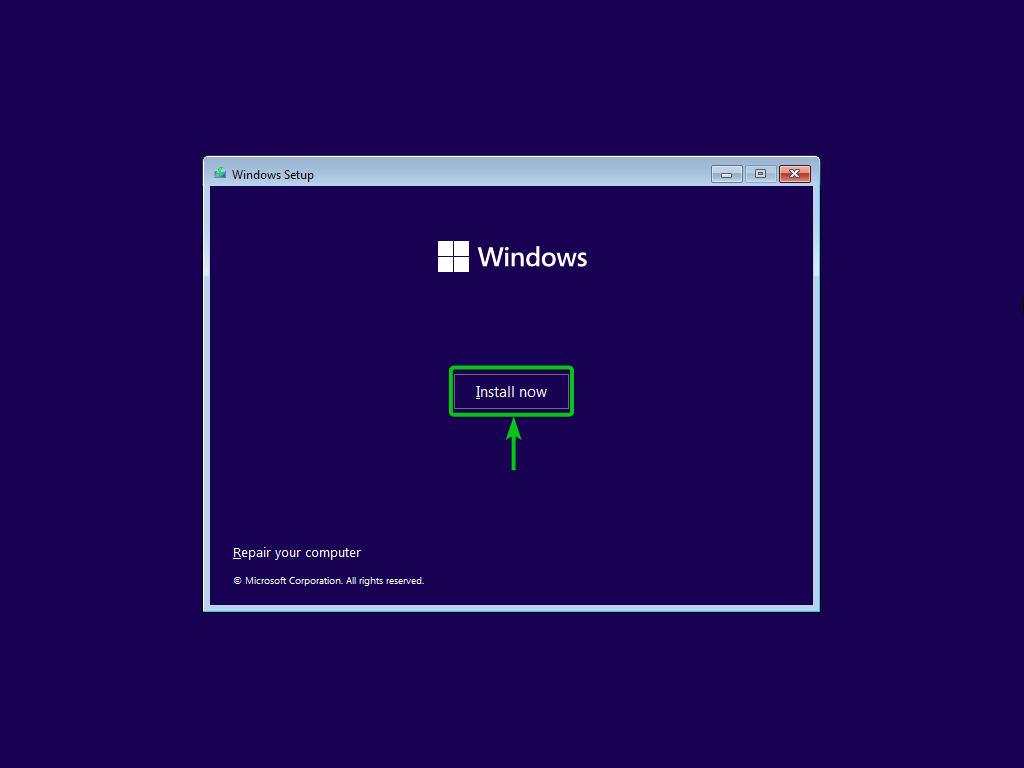
Click on “Install now”.
The Windows 11 setup is now being started. It takes a few seconds.
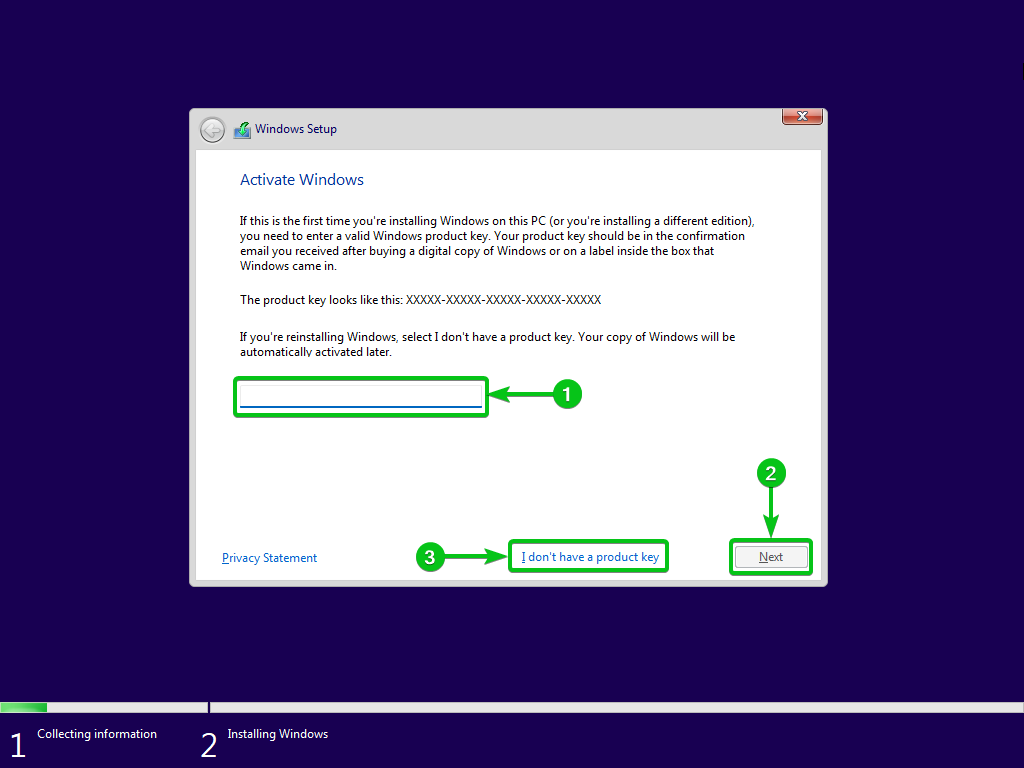
If you have a Windows 11 product key, type it in[1] and click on “Next”[2].
If you don’t have a Windows 11 product key or you don’t want to activate Windows 11, which is most likely as you’re installing Windows 11 on VM, click on “I don’t have a product key”[3].
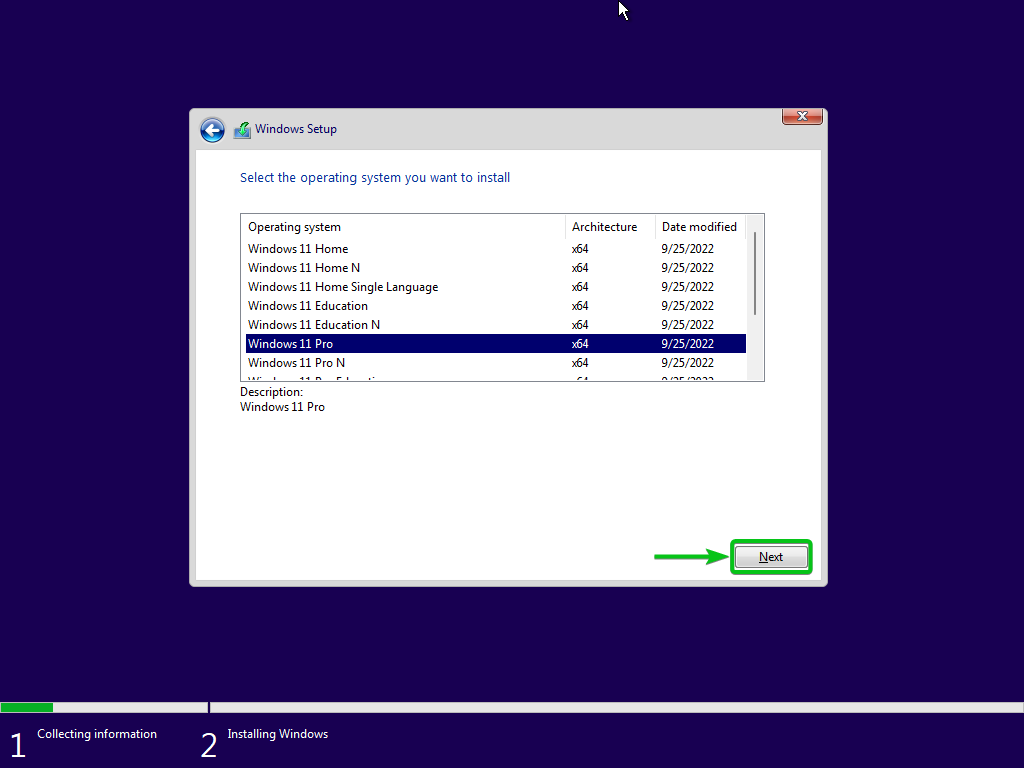
Select the version of Windows 11 that you want to install and click on “Next”.
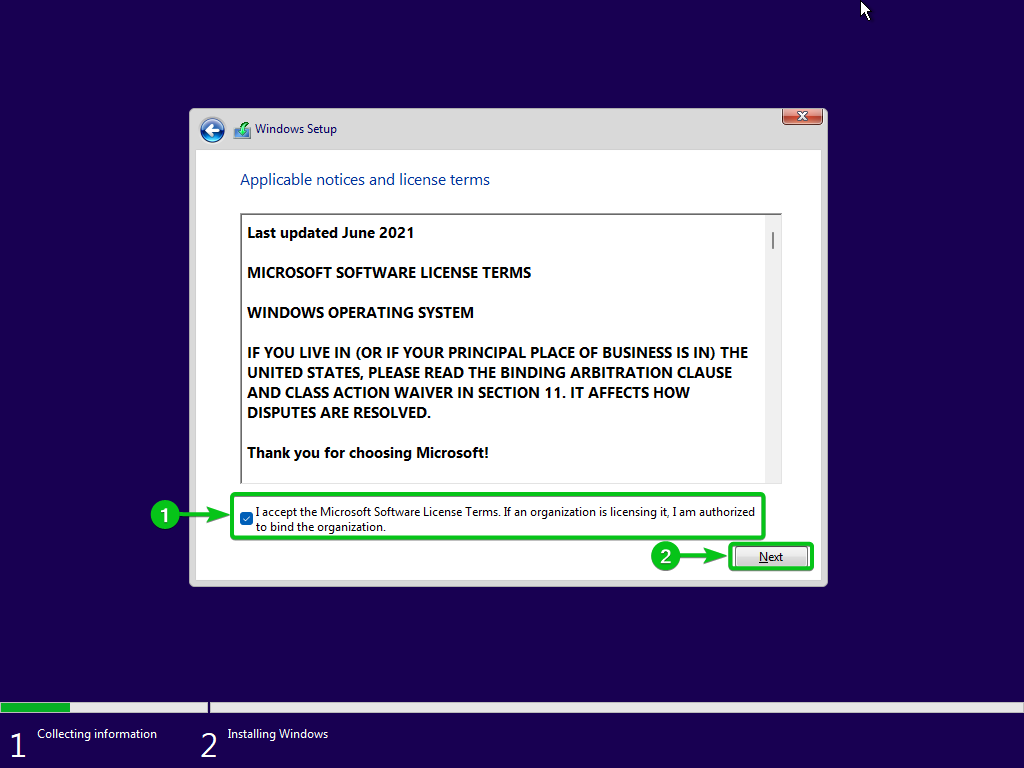
Accept the Microsoft Software License Terms by ticking the marked checkbox[1] and clicking on “Next”[2].
Click on “Custom: Install Windows only (advanced)”.

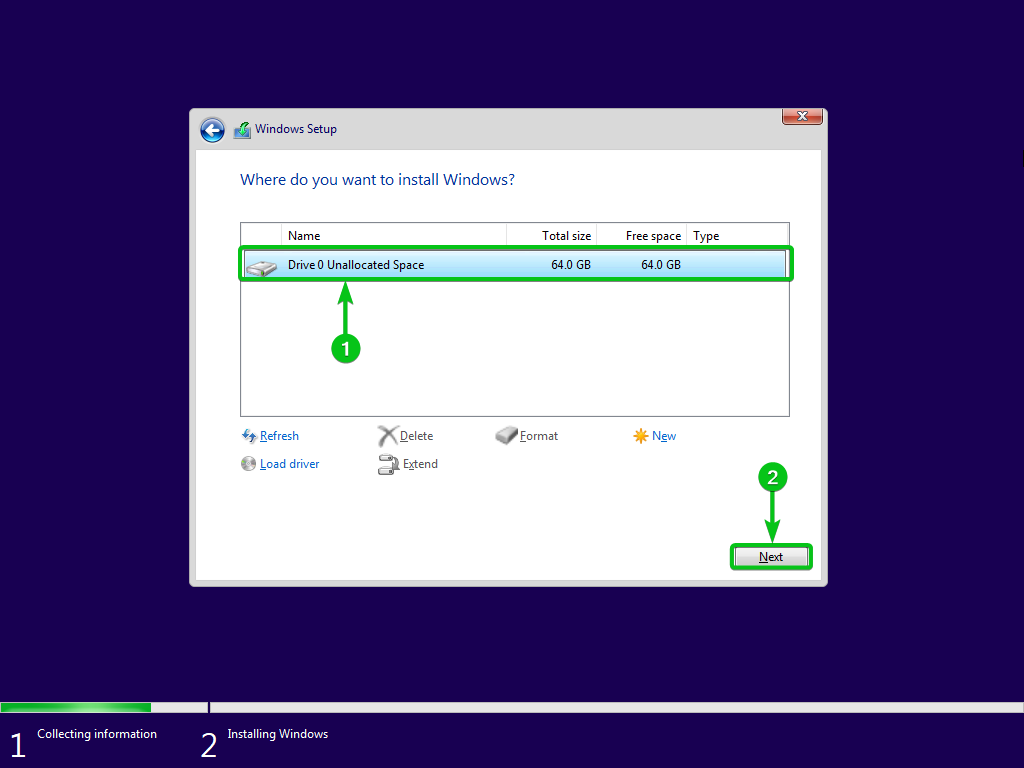
Select the virtual drive Drive 0[1] and click on “Next”[2].
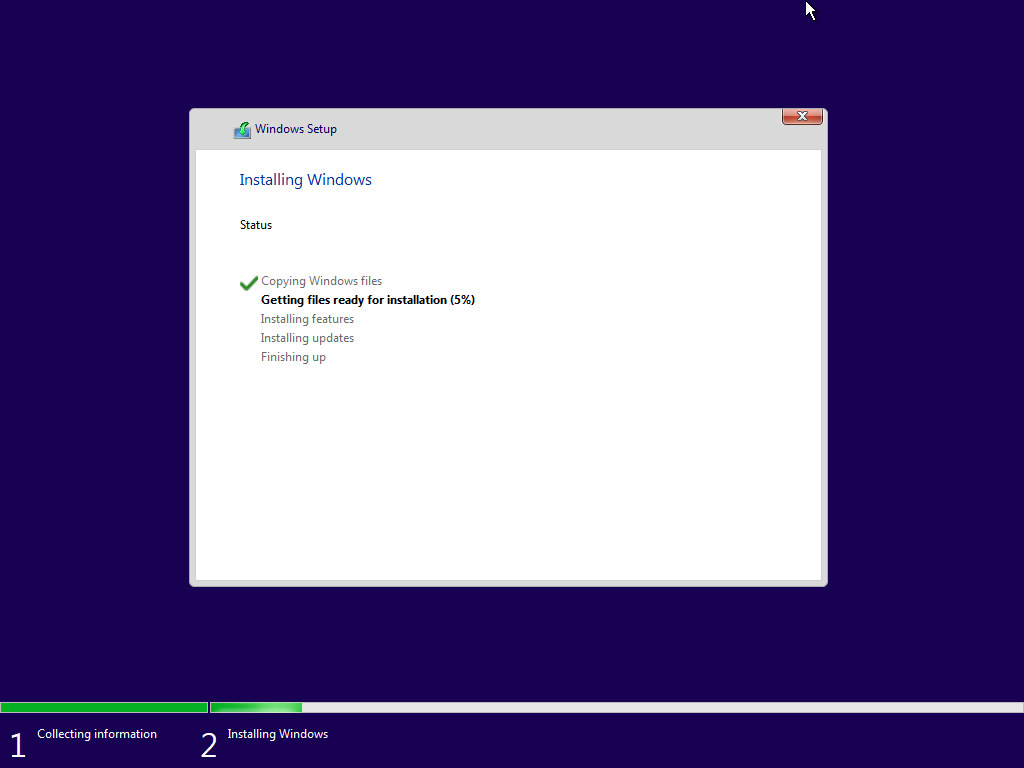
Windows 11 is now being installed on the virtual machine.
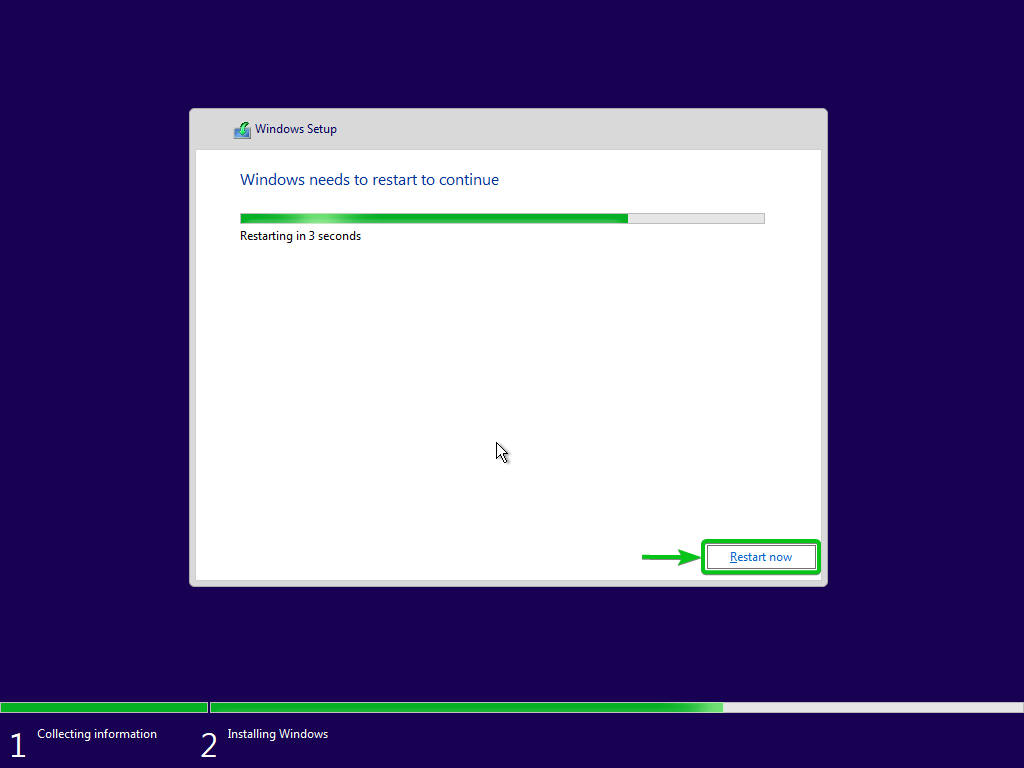
Once installed, your virtual machine will reboot. If you don’t want to wait, click on “Restart now”.
Once your virtual machine boots, you will see the following prompt.
Select your country and click on “Yes”.

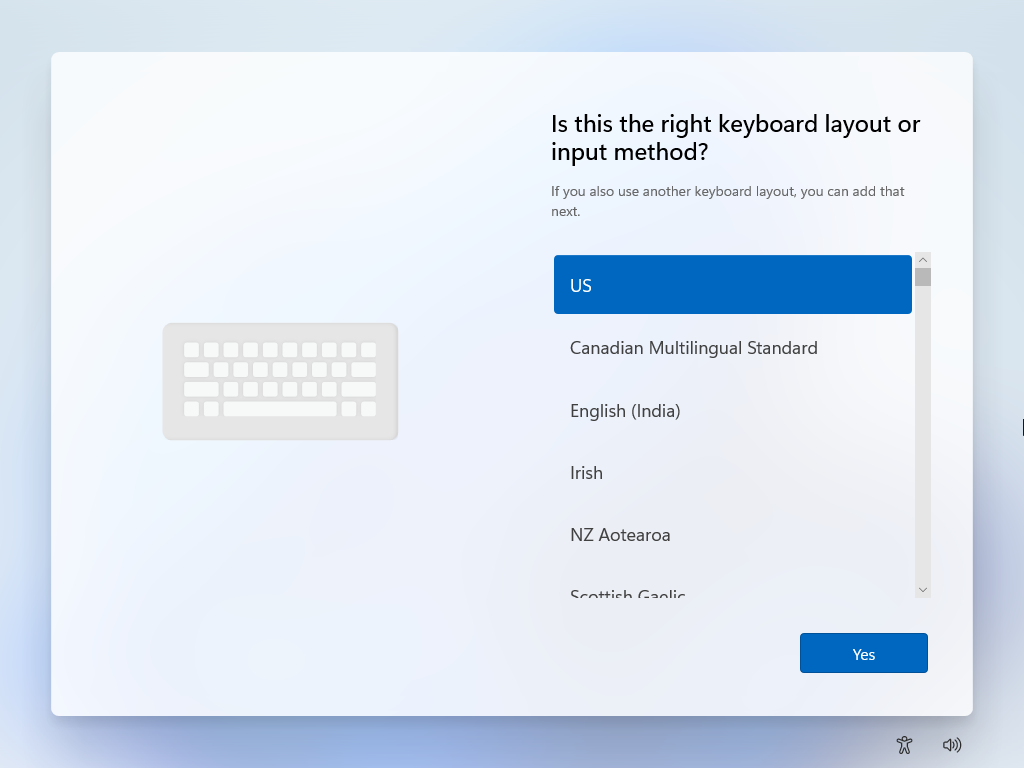
Select your keyboard layout and click on “Yes”.
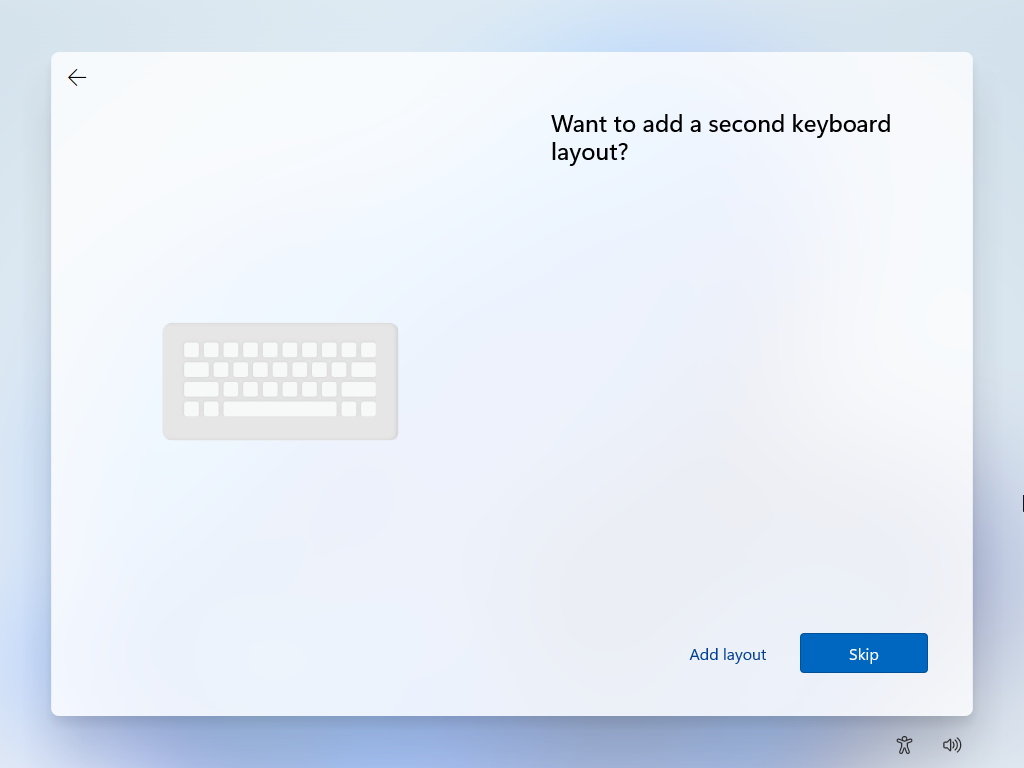
You can add another keyboard layout if you want. Just click on “Add layout” and follow along.
If you don’t want to add another keyboard layout, click on “Skip”.
If you want to name your device, type it in[1] and click on “Next”[2].
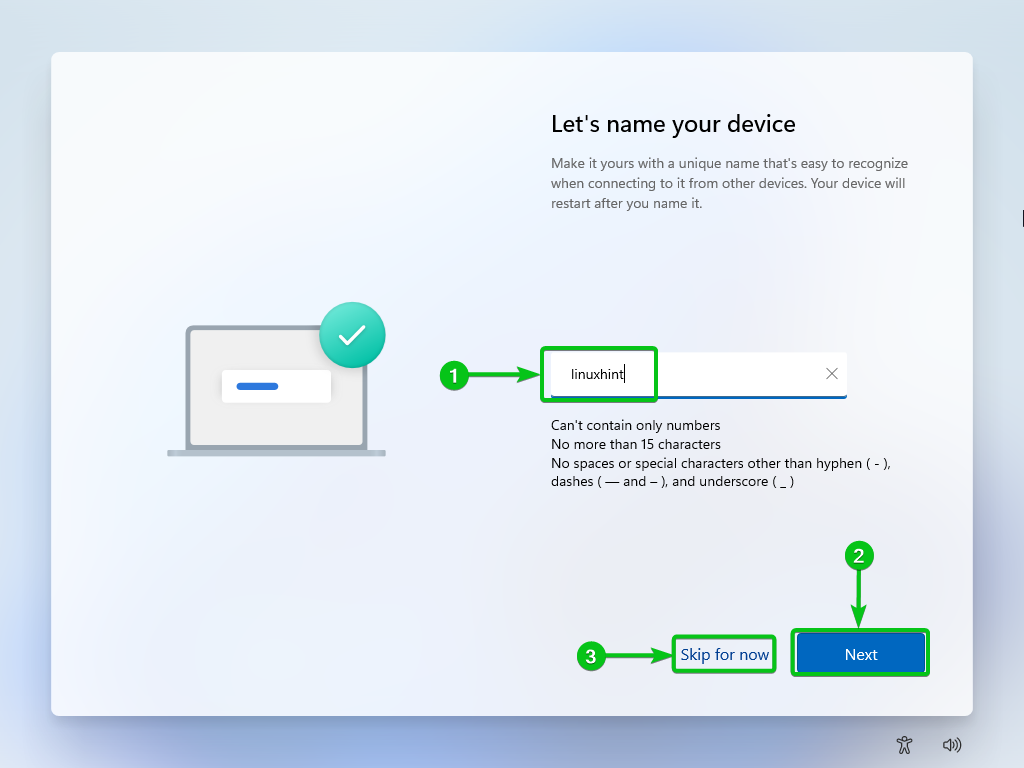
If you don’t want to name your device, click on “Skip for now”[3].
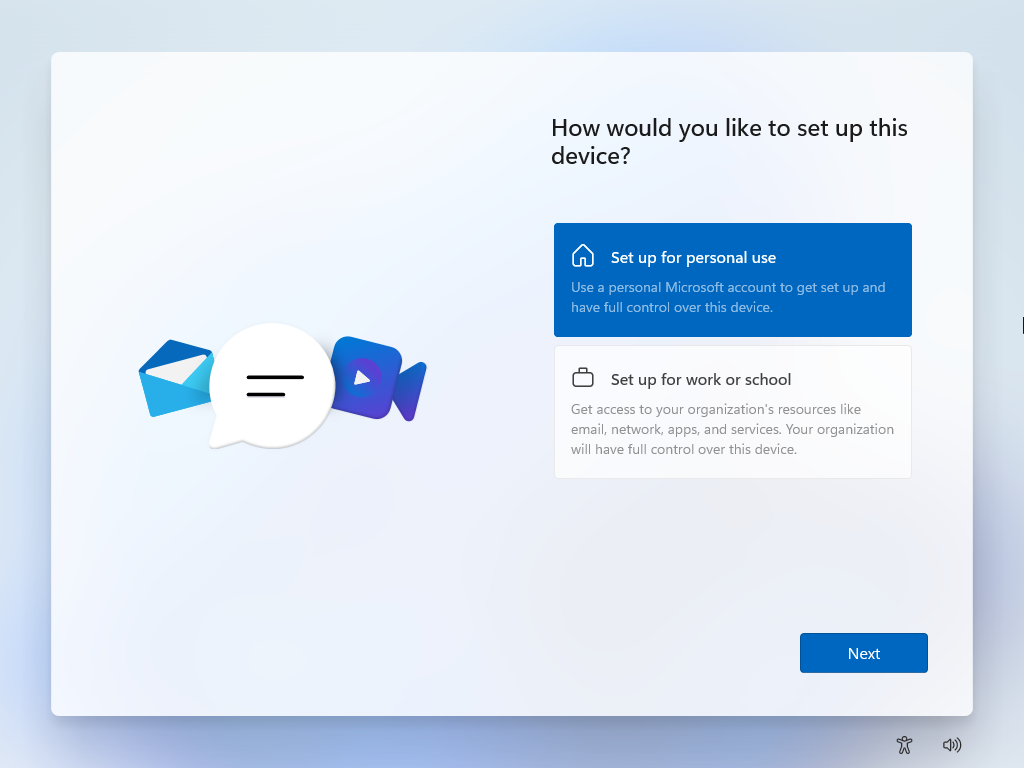
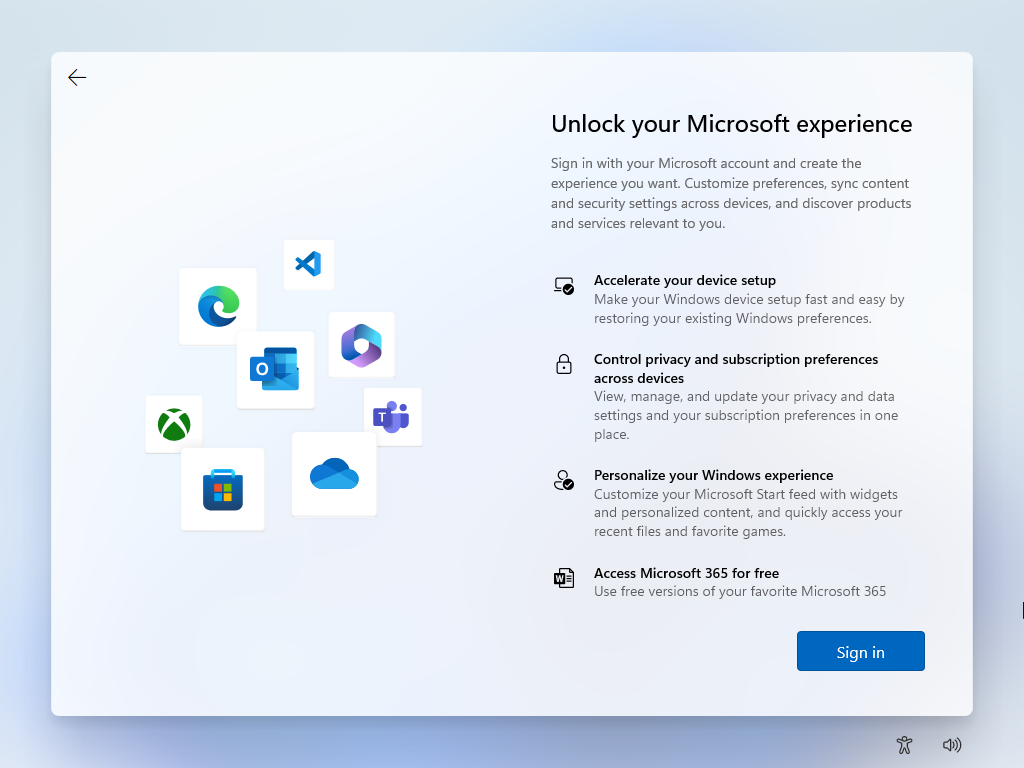
Select how you would like to set up this Windows 11 virtual machine and click on “Next”.
You will be asked to sign in to your Microsoft account. Click on “Sign in” to sign in to your Microsoft account.
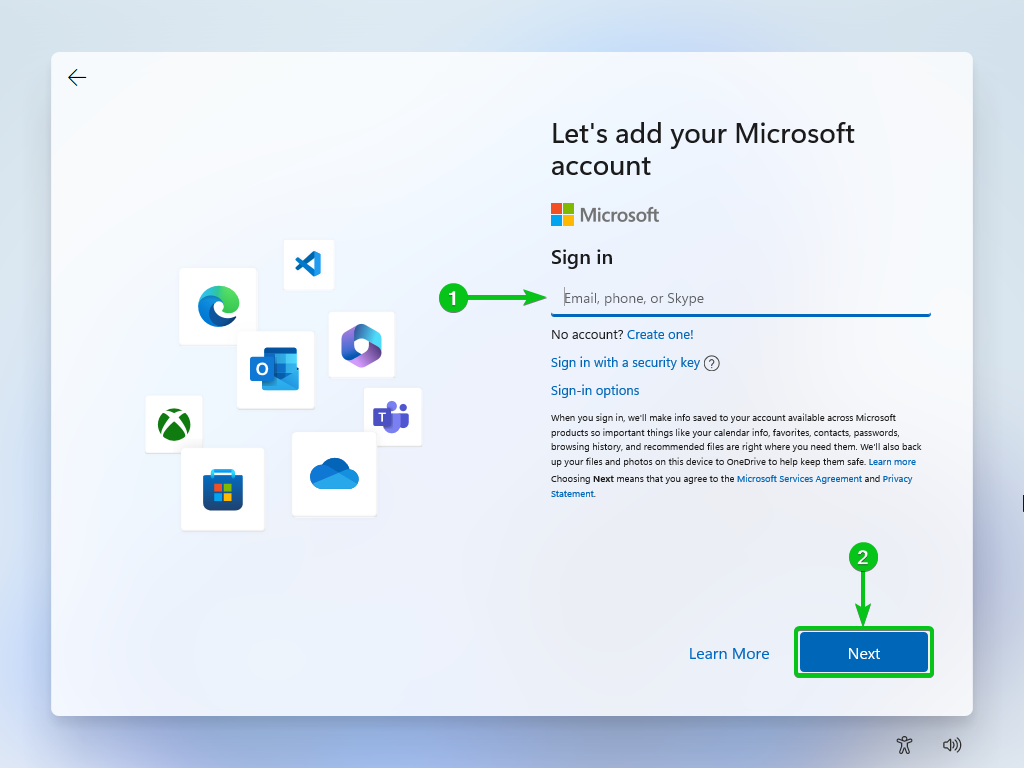
Type in your login email address[1] and click on “Next”[2].
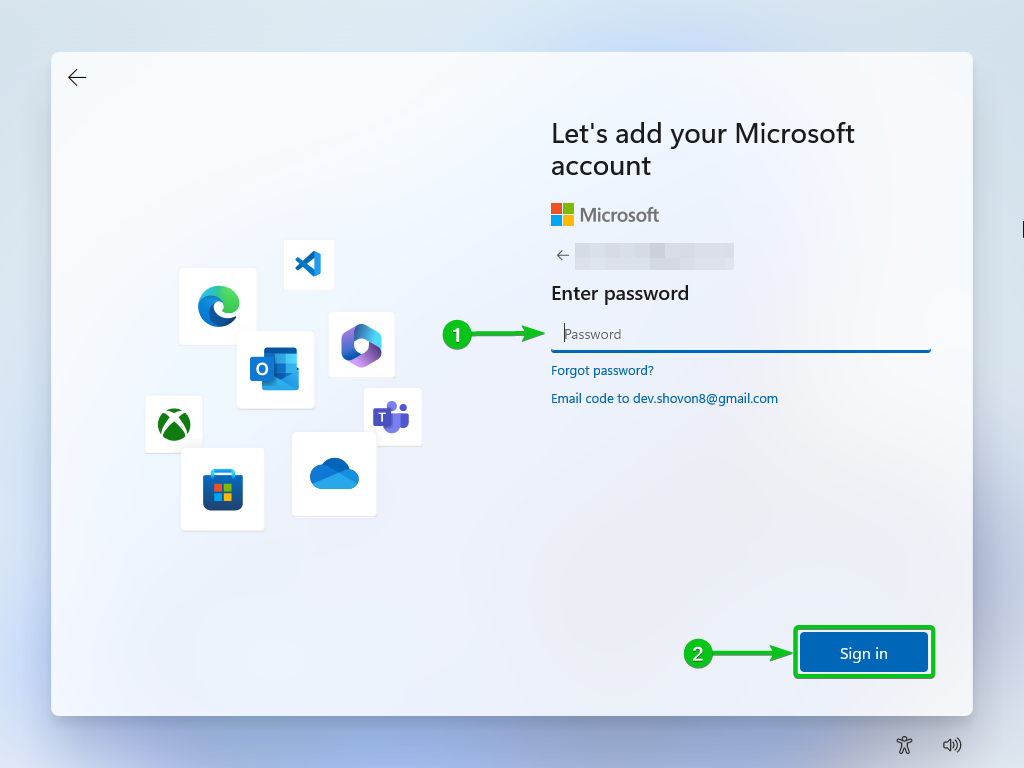
Type in your login password[1] and click on “Sign in”[2].
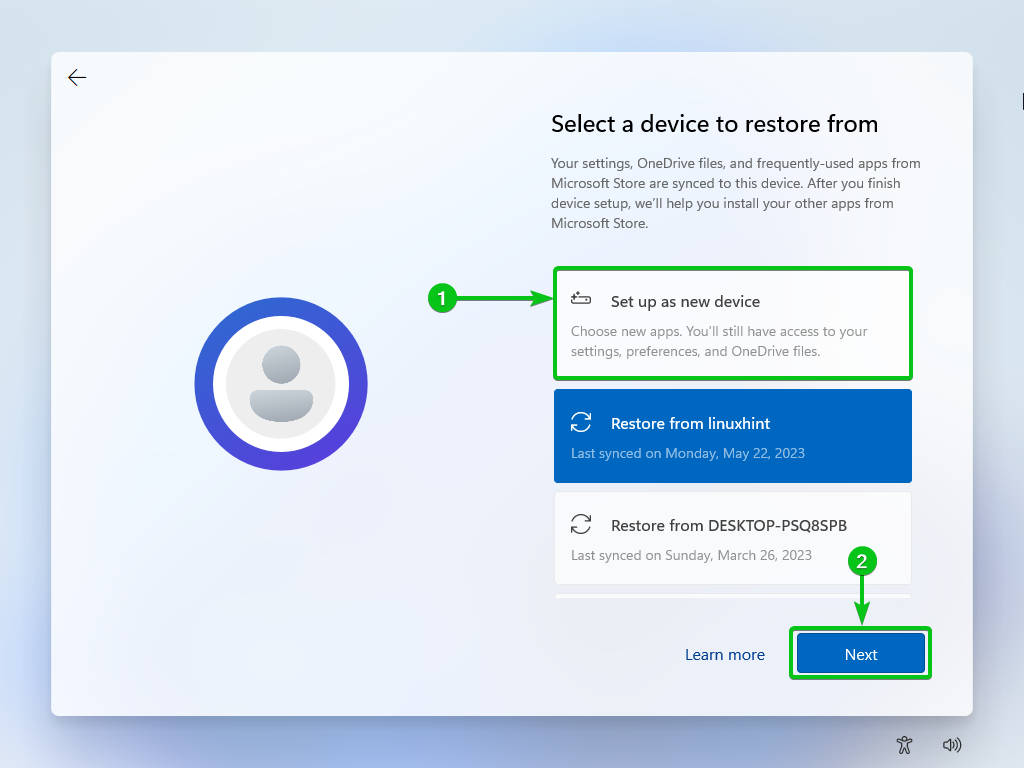
You will be asked whether you want to restore the files, settings, and apps on this Windows 11 virtual machine from one of your Windows 11 computers (that you set up earlier).
To see more options, click on “View more options”.
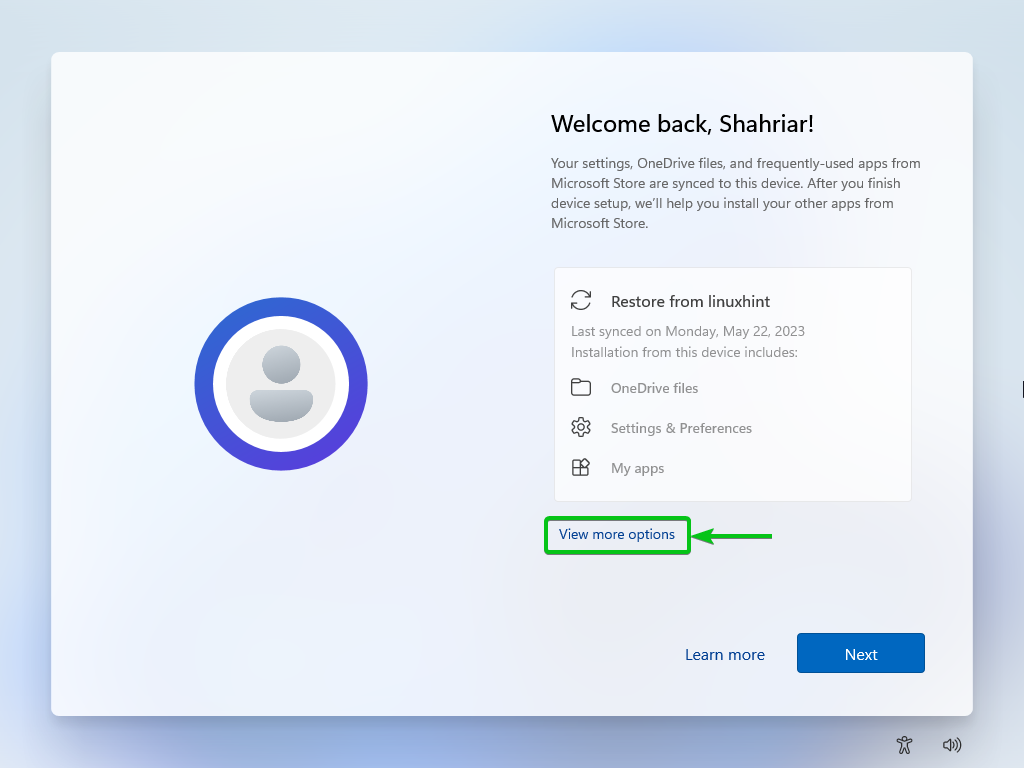
All the previously set up Windows 11 computers should be listed. You can recover the data from any one of them.
If you want to set up this Windows 11 virtual machine as a new device, select “Set up as new device”[1] and click on “Next”[2].
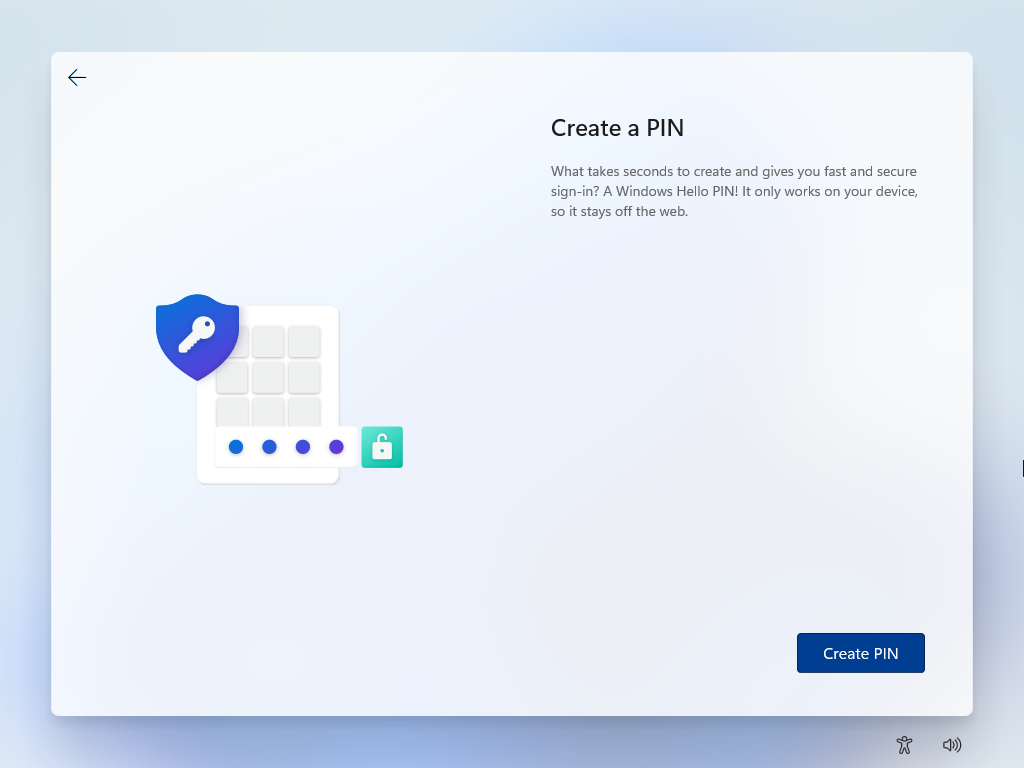
Now, you have to create a PIN for Windows 11.
Click on “Create PIN”.
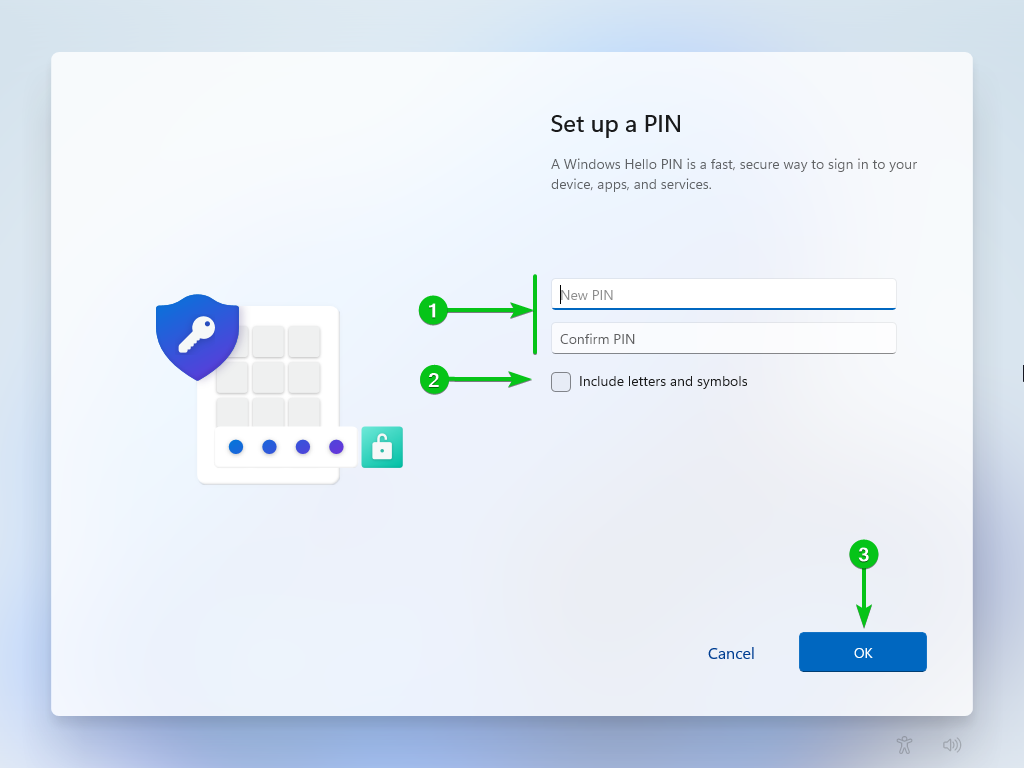
Type in your Windows 11 login PIN[1].
By default, a Windows 11 PIN can only have numbers. If you want to include letters and symbols, tick “Include letters and symbols”[2].
Once you’re done, click on “OK”[3].
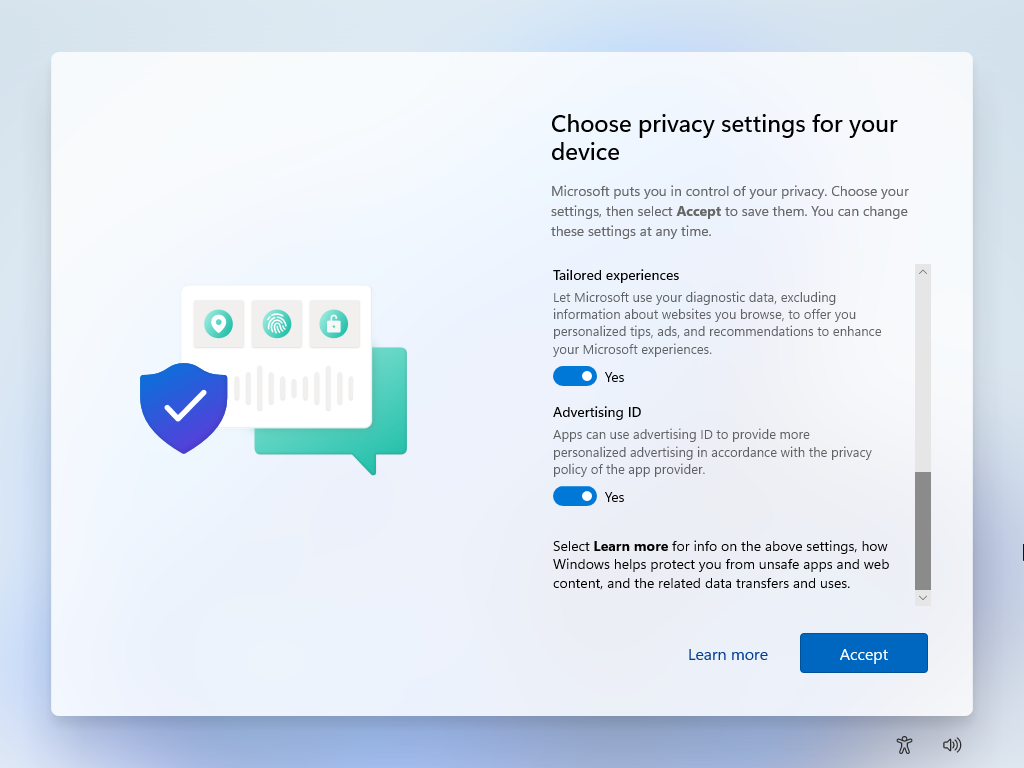
Configure your privacy settings and click on “Next”.
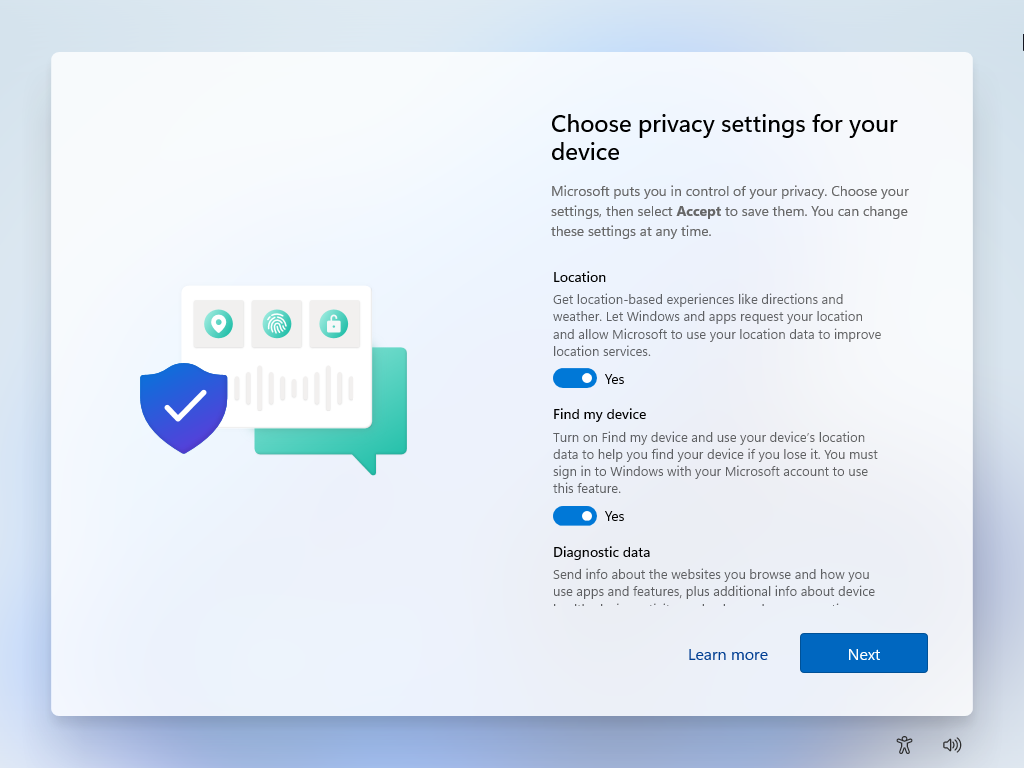
You will see more privacy settings. Scroll all the way down and configure the ones that you’re interested in as you scroll.
Once you reached the end of the privacy settings list, click on “Accept”.
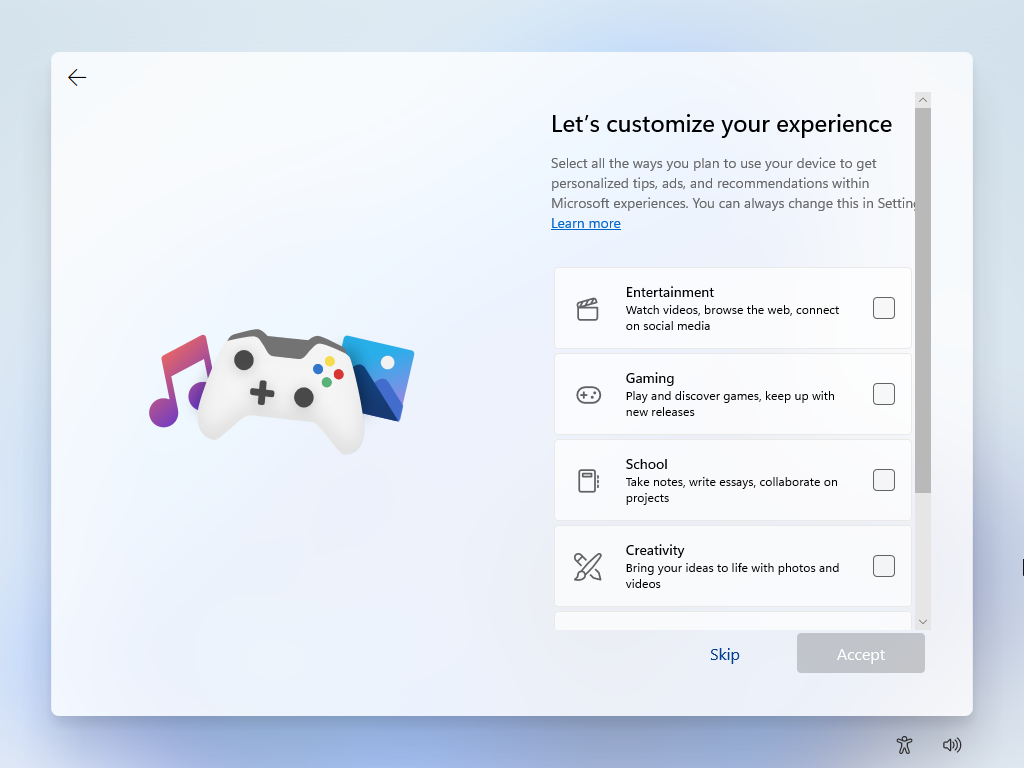
Select what you want to use this Windows 11 virtual machine for and click on “Accept”.
This is optional. If you don’t want to select anything, click on “Skip”.
Windows 11 is now being configured. It takes a few seconds to complete.

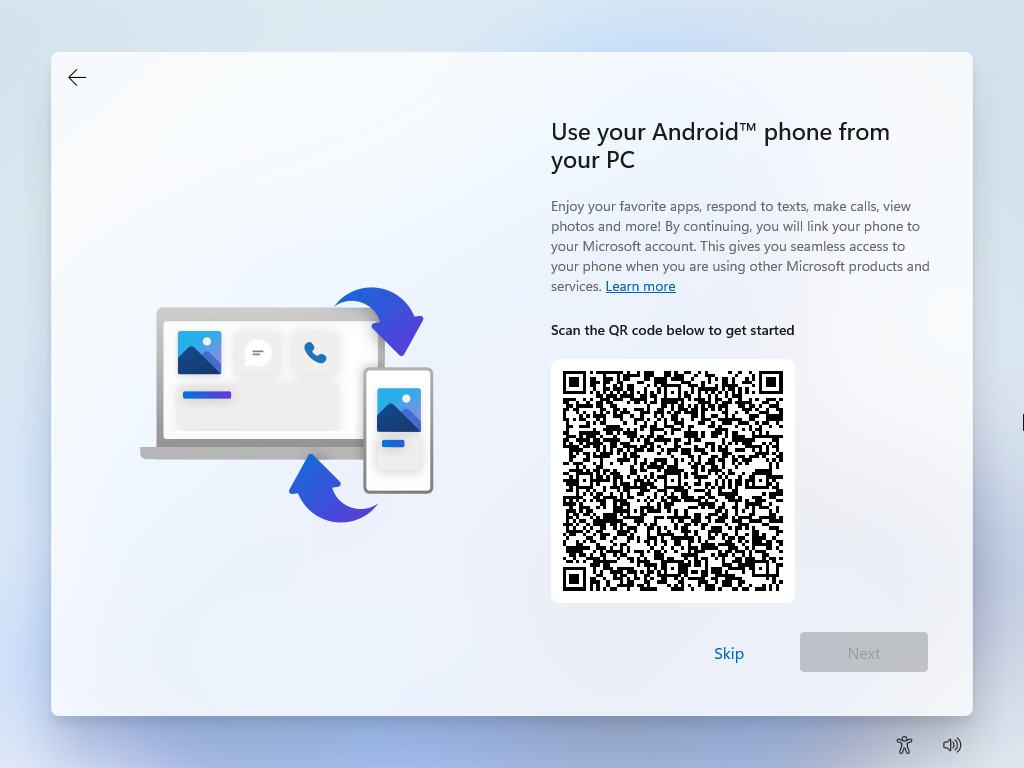
Once you see this option, you can scan the QR code on your smartphone and download the necessary app to connect your Android phone to the Windows 11 virtual machine to receive calls, text messages, view photos, and so on.
If you don’t want to connect your Android smartphone to the Windows 11 virtual machine, click on “Skip”.
Windows 11 is now being configured. It takes a few seconds to complete.
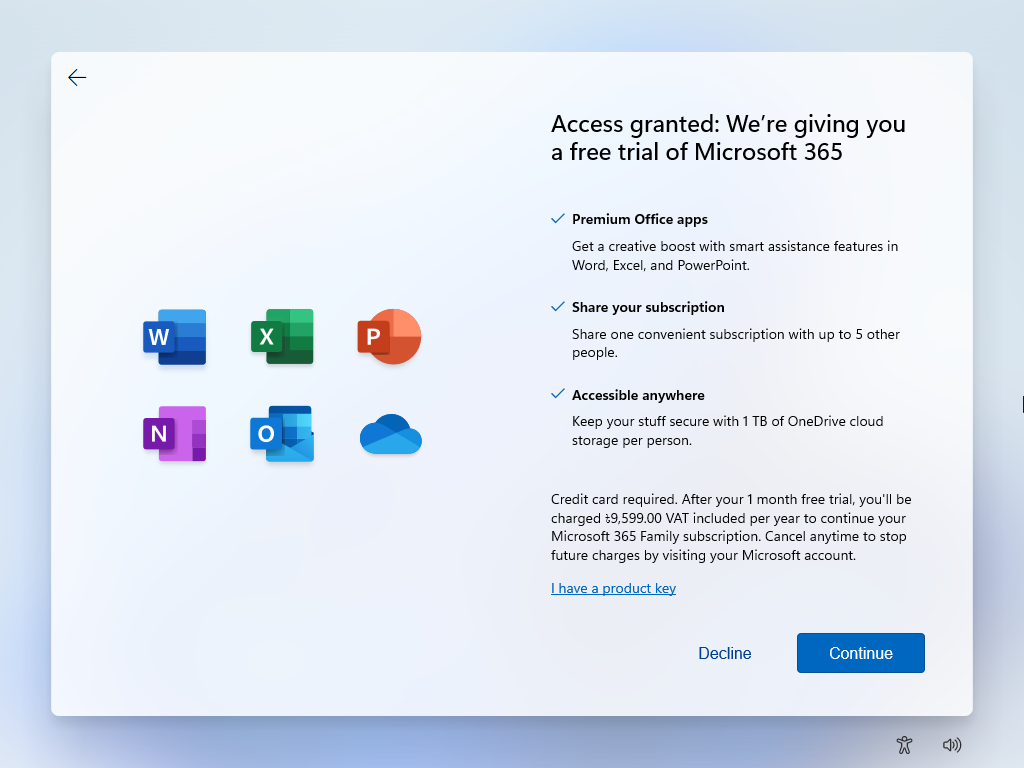
You will be asked to try out Microsoft 365. If you want to try it out, click on “Continue” and follow the instructions.
If you don’t want to use Microsoft 365 at the moment, click on “Decline”.
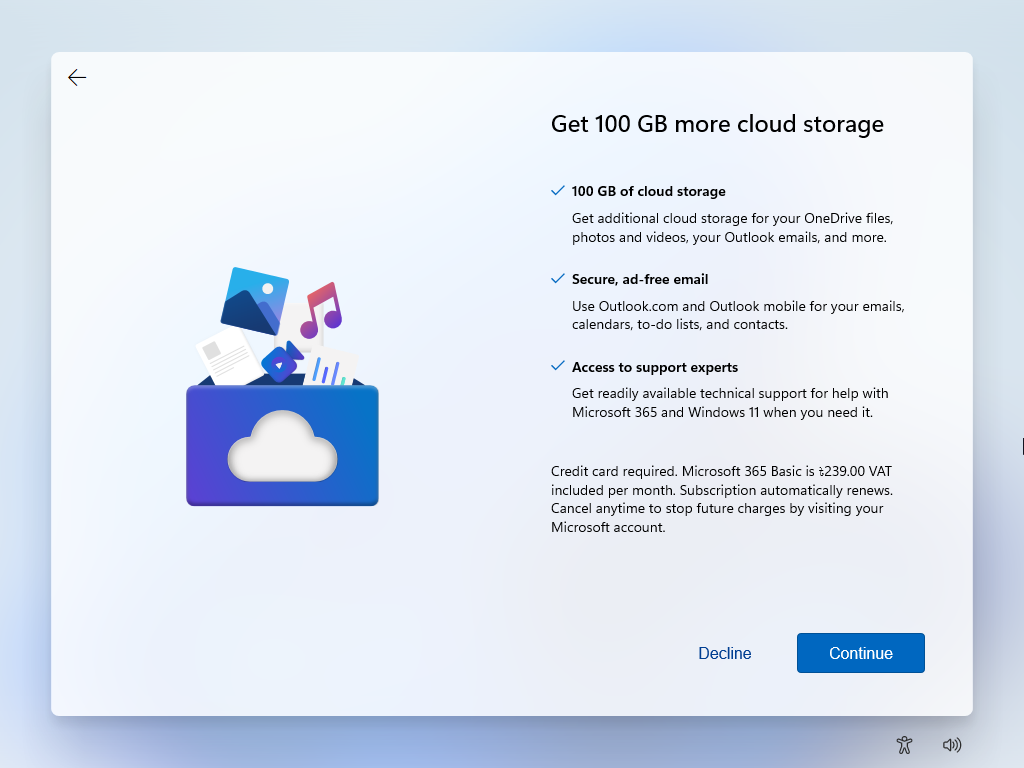
You will be asked to subscribe to OneDrive 100 GB plan. If you want to use it, click on “Continue” and follow the instructions.
If you don’t want to subscribe to OneDrive 100 GB plan at the moment, click on “Decline”.
Windows 11 checks for new updates to install. It takes a while to complete.
Windows 11 is now being prepared for the virtual machine. It takes a while to complete.

Windows 11 is now eing prepared for the virtual machine. It takes a while to complete.

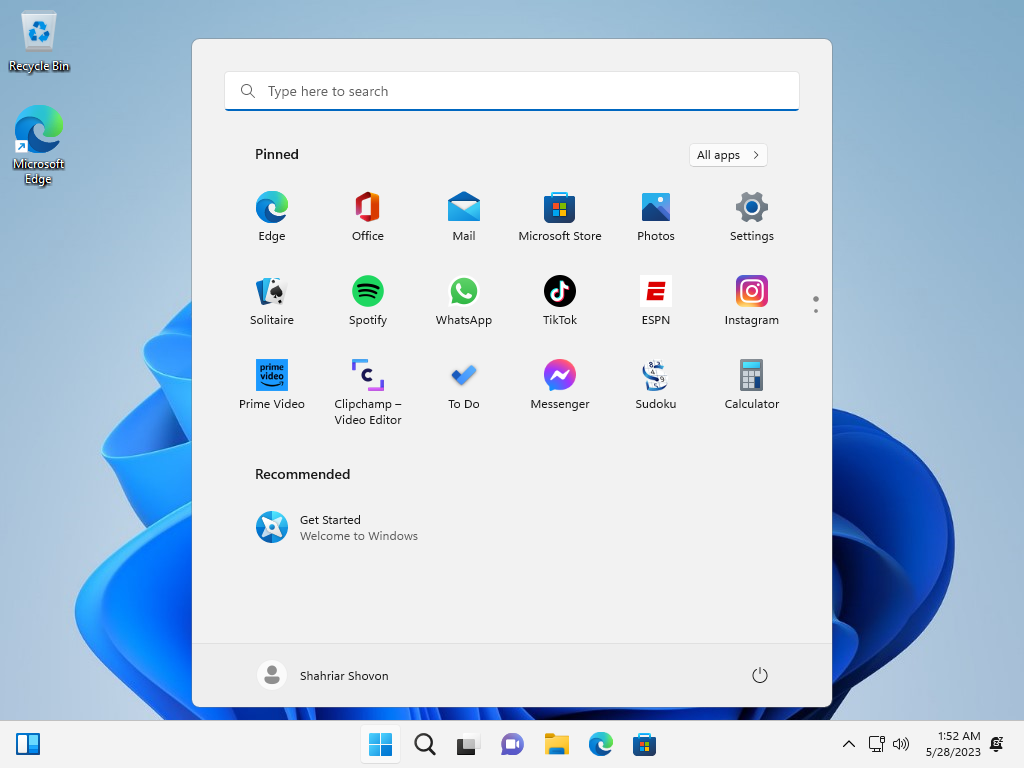
At this point, Windows 11 is ready to use on the VMware Workstation 17 Pro virtual machine.
Installing the VMware Tools on the Windows 11 Virtual Machine
For auto screen resize, 3D acceleration, file/folder drag and drop, and other advanced VMware Workstation 17 Pro features to work, you must install the VMware Tools on the Windows 11 virtual machine.
To install the VMware Tools on the Windows 11 virtual machine, start the virtual machine first, and click on VM > Install VMware Tools as marked in the following screenshot:

The VMware Tools CD/DVD image should be inserted into the virtual CD/DVD drive of the Windows 11 virtual machine.
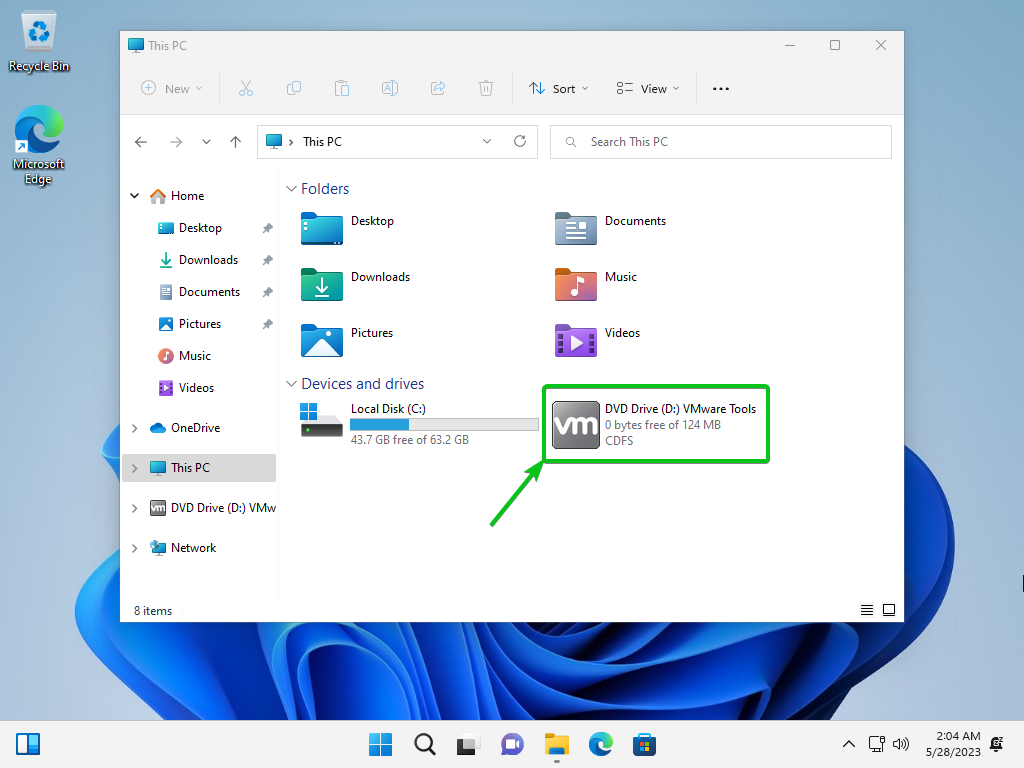
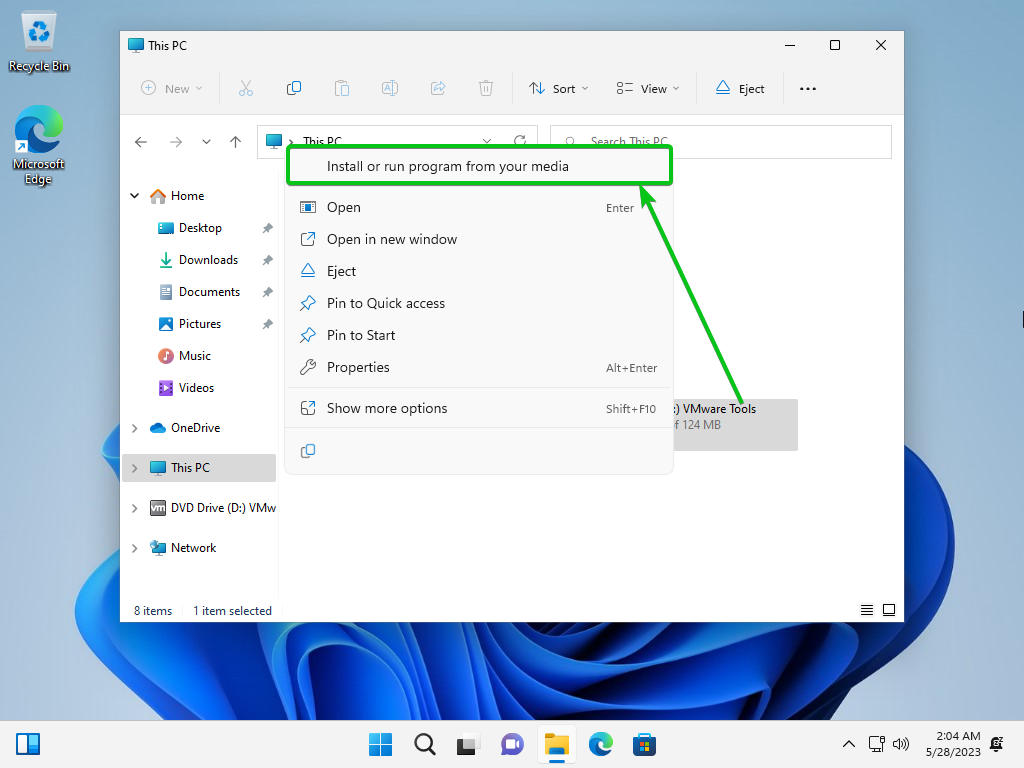
Right-click (RMB) on the VMware Tools CD/DVD drive and click on “Install” or run the program from your media.
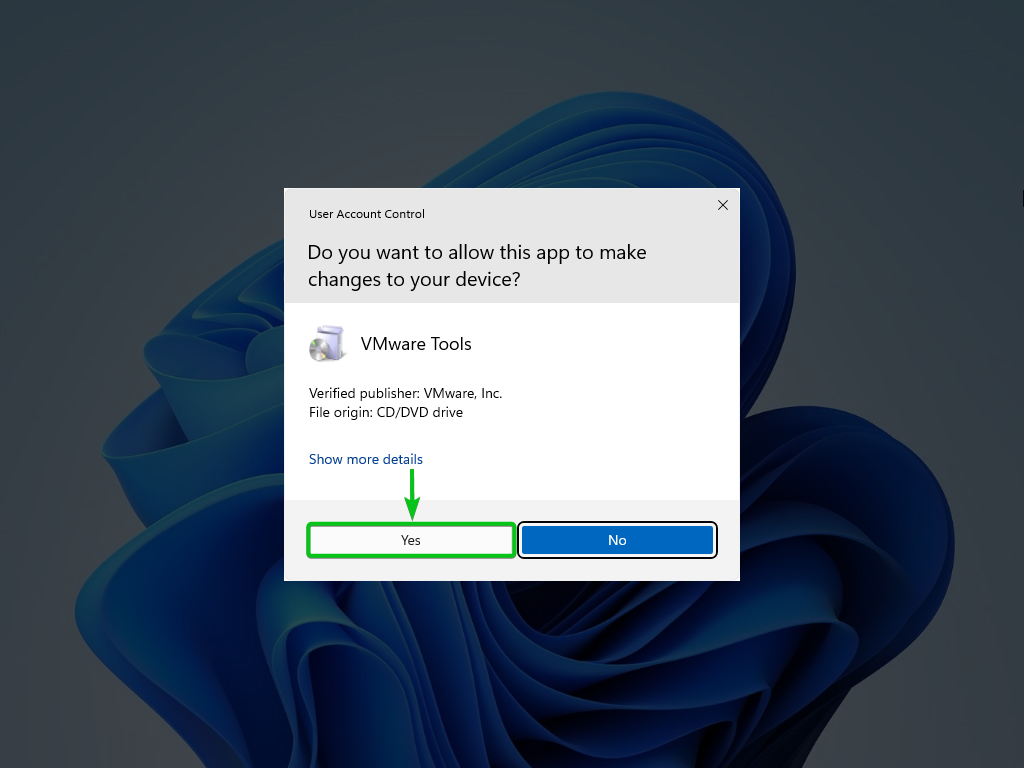
Click on “Yes”.
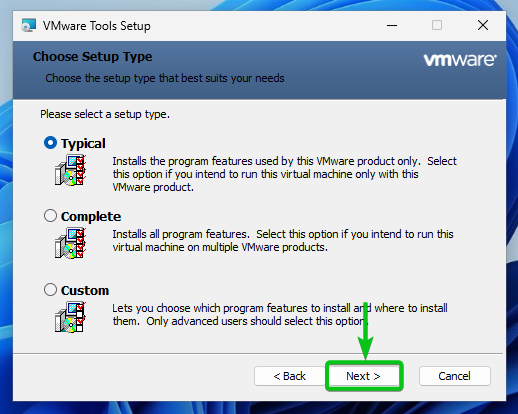
The VMware Tools setup window should be displayed.
Click on “Next” to proceed.

Click on “Next”.
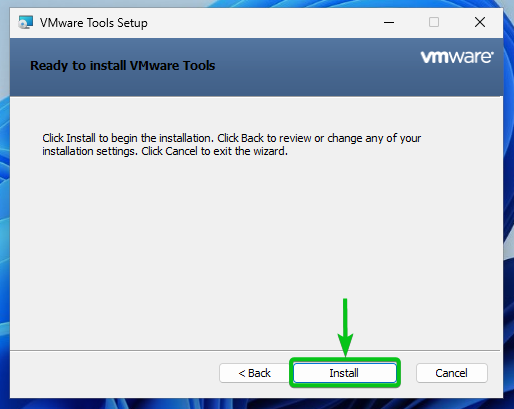
Click on “Install”.
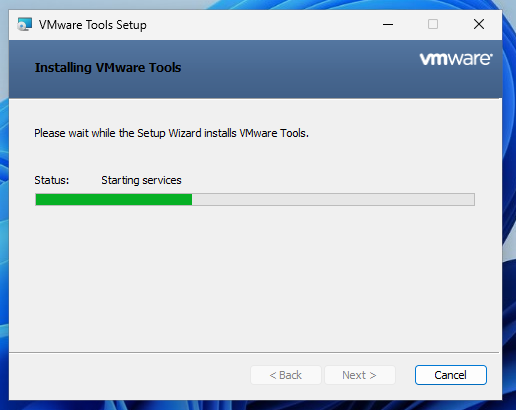
VMware Tools is now being installed on the Windows 11 virtual machine.
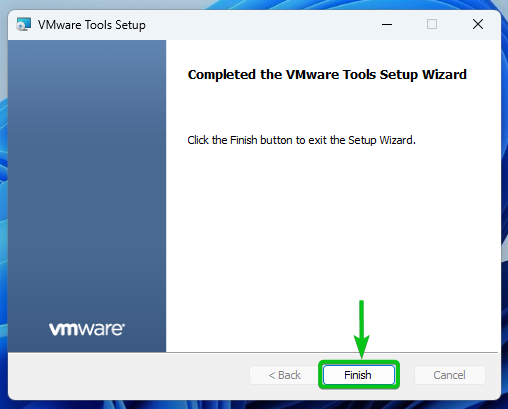
At this point, the VMware Tools should be installed on the Windows 11 virtual machine. Click on “Finish”.
You will be asked to restart the virtual machine. Click on “Yes” to reboot for the changes to take effect.

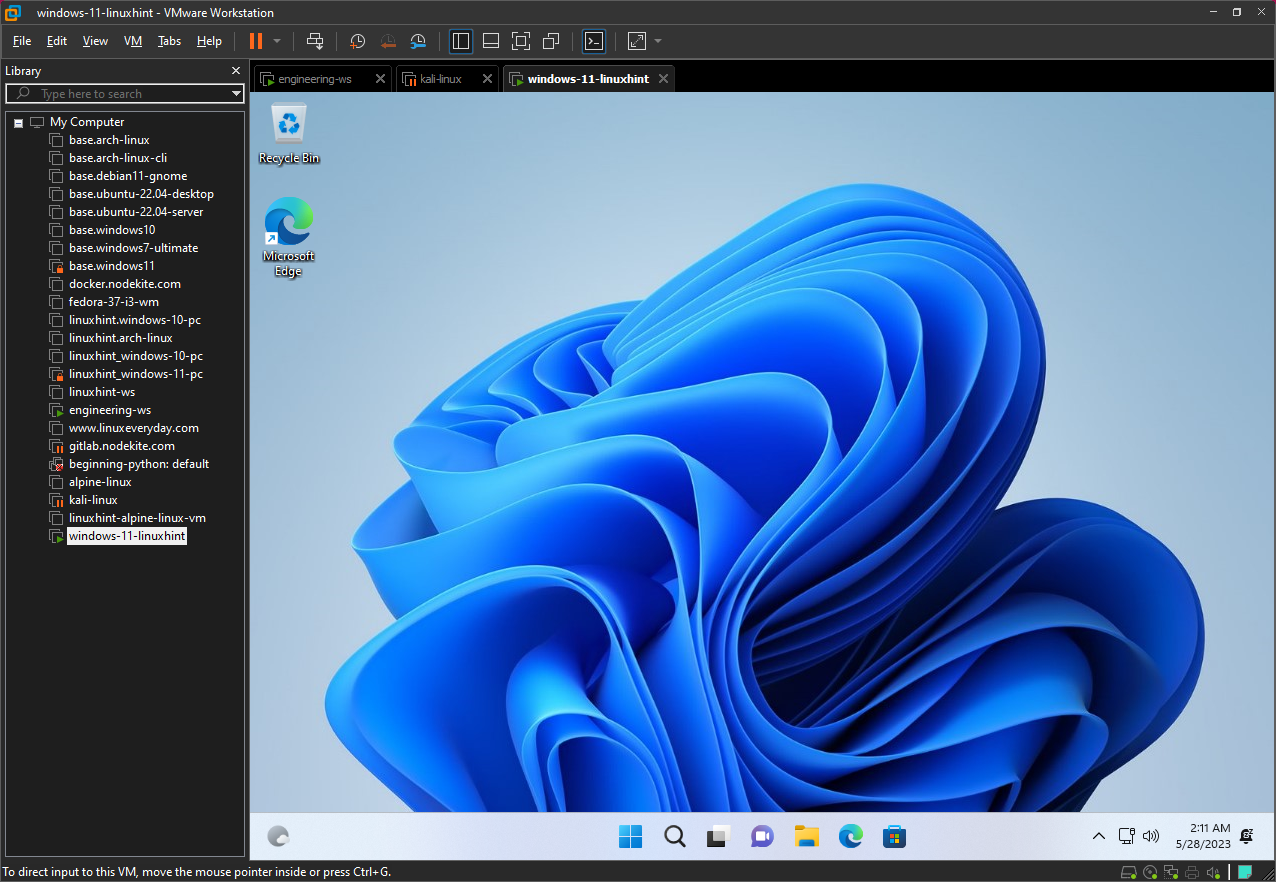
Once the Windows 11 virtual machine boots, all the advanced VMware Workstation 17 Pro features should work just fine.
Conclusion
We showed you how to create a new Windows 11 VMware Workstation 17 Pro virtual machine. We also showed you how to install Windows 11 on the VMware Workstation 17 Pro virtual machine and how to install the VMware Tools on the VMware Workstation 17 Pro virtual machine as well.