This write-up will demonstrate the procedure of installing VS Code in Manjaro Linux using the Official repository, AUR helper, and the GUI. So, let’s start!
How to install VS Code in Manjaro Linux using Official repository
In this method, we will show the procedure of downloading the build repository and installing VS Code from the source manually. For this purpose, firstly, we will install some essential packages from the “base-devel” group. The packages we are going to install will be utilized for building applications from the source. To do so, execute the below-given command:
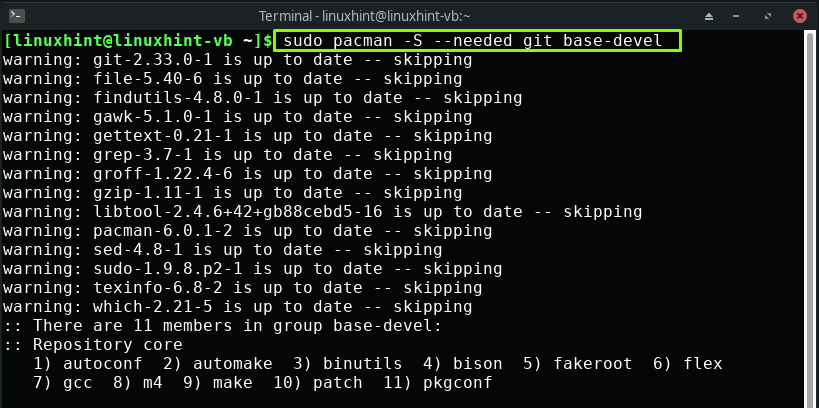
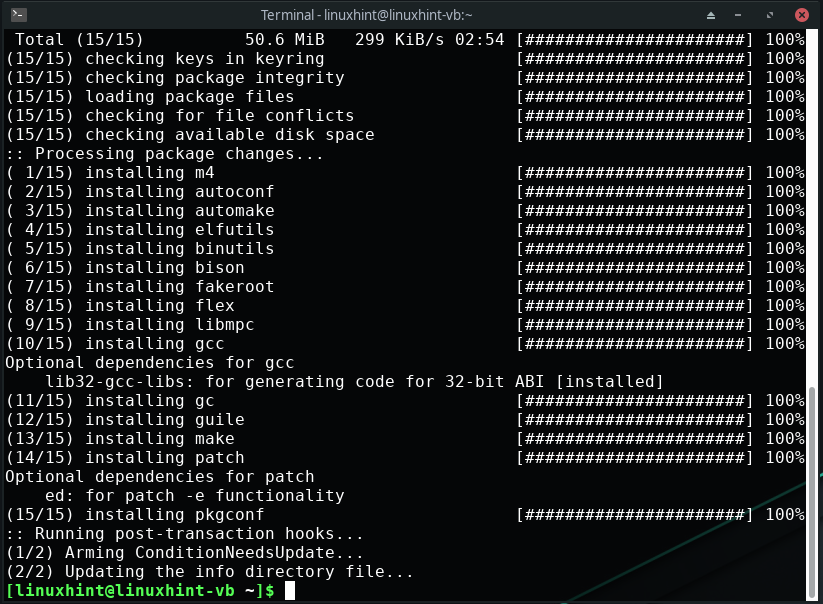
Press “Enter” to install the provided 11 packages from the “base-devel” group:
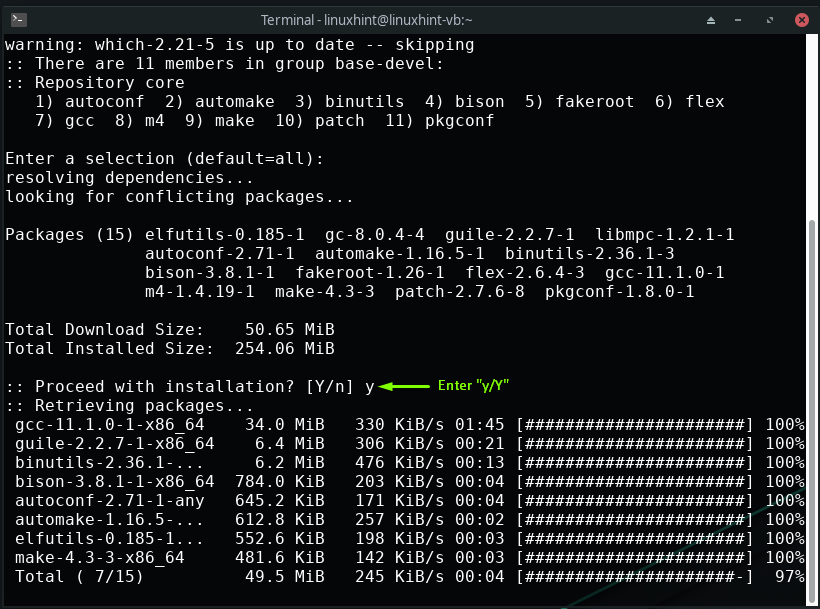
Wait for a few minutes, as the packages installation will take some time:
Now, write out the following command for cloning the VS Code stable repository on your system:
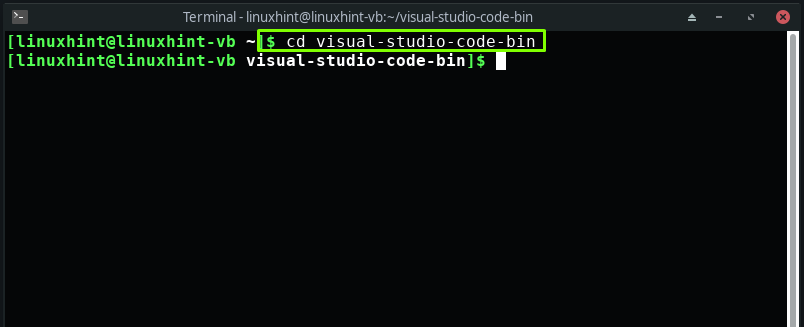
Move into the VS Code package directory using the “cd” command:
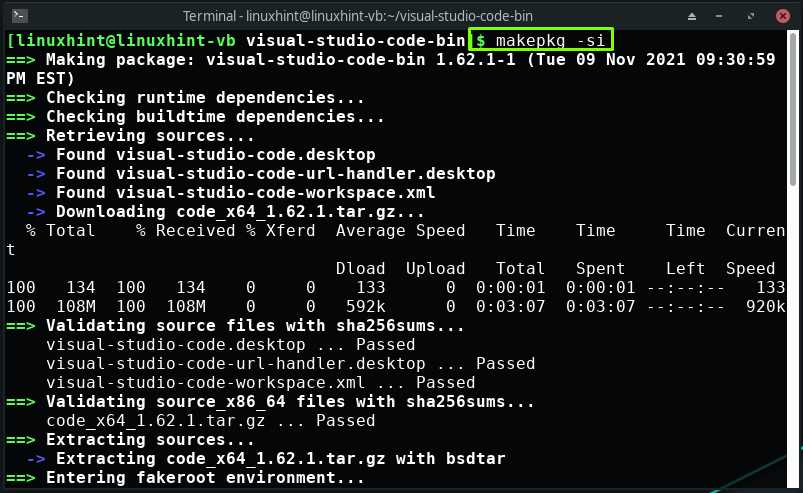
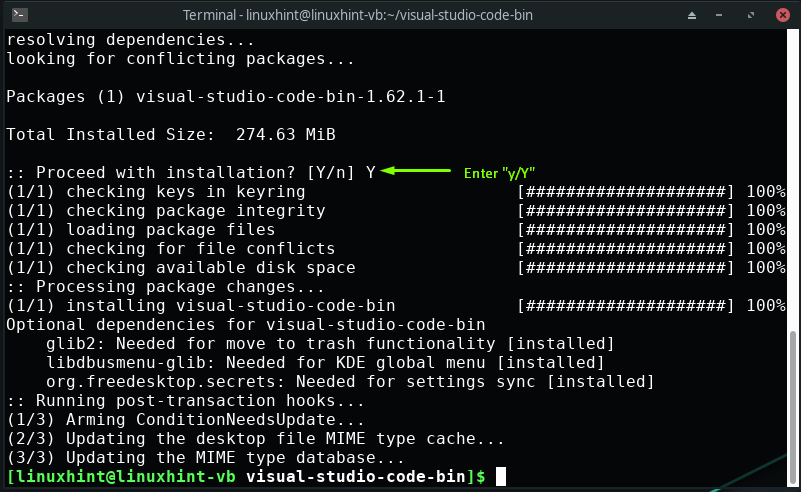
Lastly, utilize the “makepkg” command with the “-si” options to build the VS Code package. This operation will install VS Code along with the required dependencies on your Manjaro Linux system:
The error-free output indicates that VS code is successfully installed on our Manjaro Linux.
How to install VS Code in Manjaro Linux using AUR helper
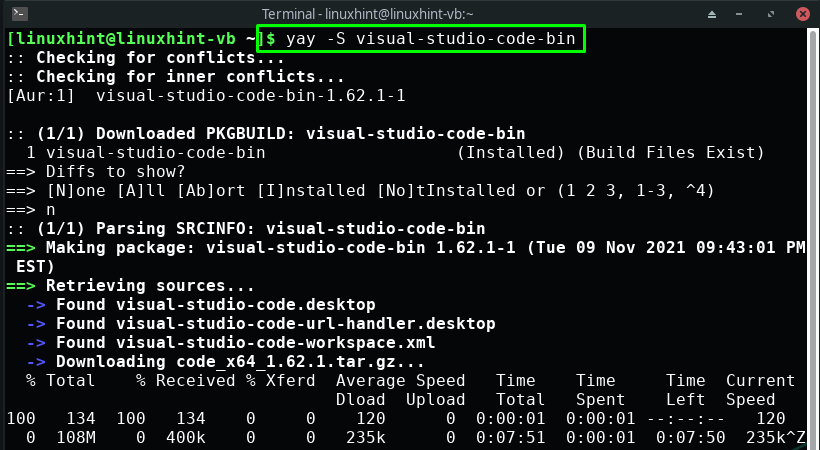
Yay is an acronym for “Yet Another Yogurt”. It is written in the Go programming language. Being an AUR helper, yay permits you to automate the installation of packages from PKGBUILDS. If you want to install VS Code in Manjaro Linux by utilizing “yay”, then you only have to use the following command in the terminal:
How to install VS Code in Manjaro Linux using GUI
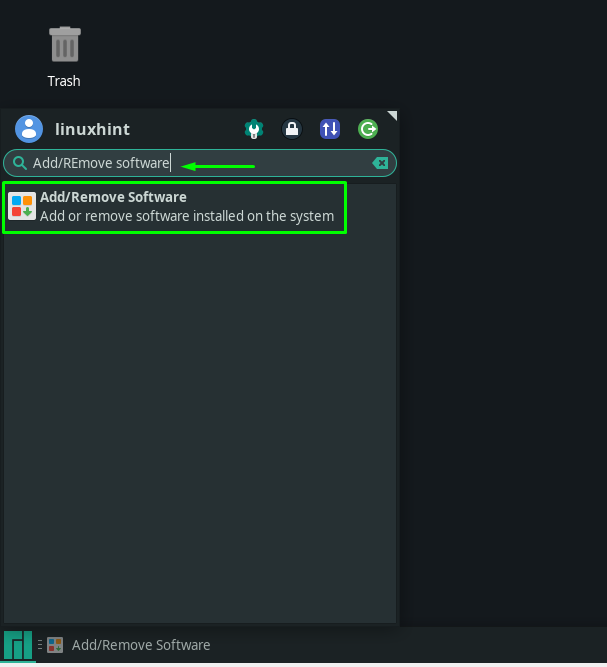
You can also utilize the Graphical User Interface (GUI) of your Manjaro system to install VS Code. To do so, firstly, search for the “Add/Remove software” in your system applications:
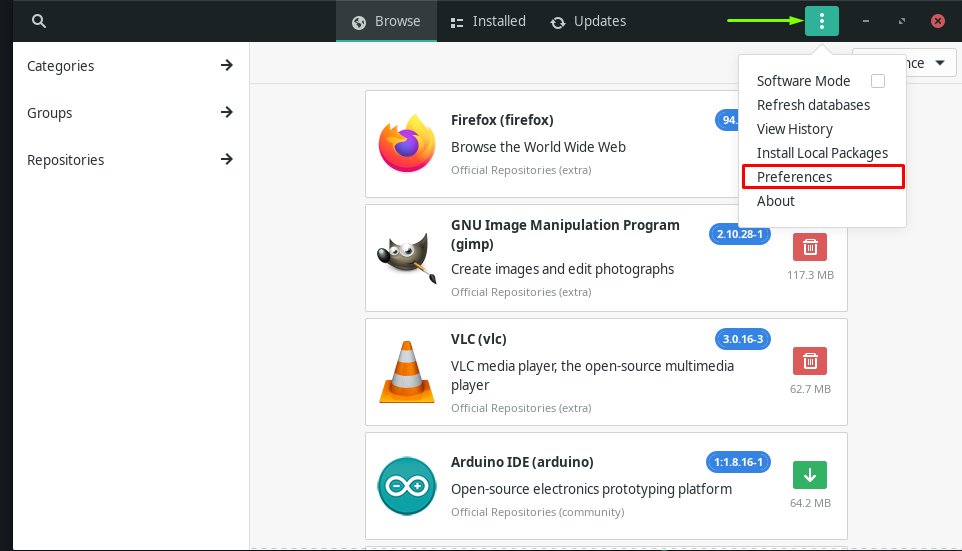
After opening the “Add or Remove Software” utility, click on the “three vertical dots” menu or the “kebab” menu, and select “Preferences”:
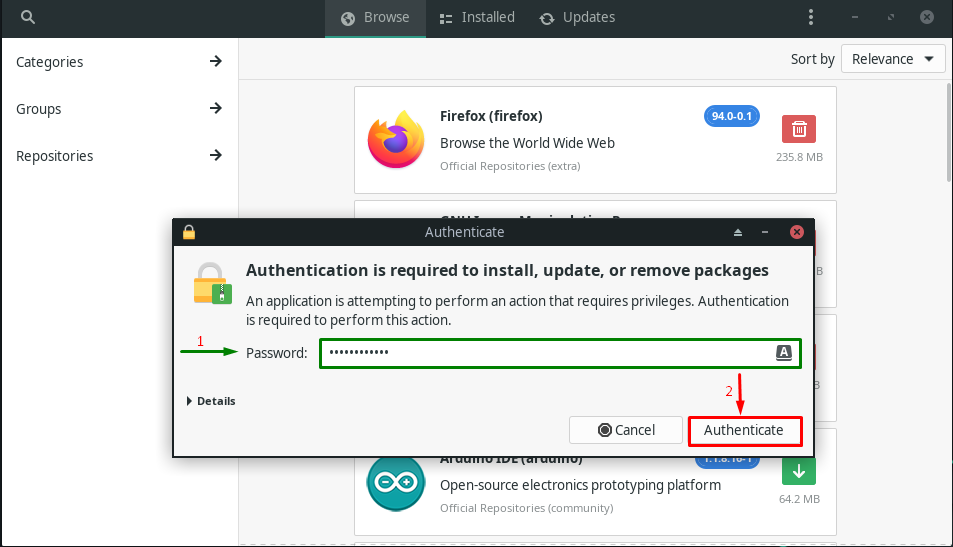
Enter your Manjaro system password for authentication purposes:
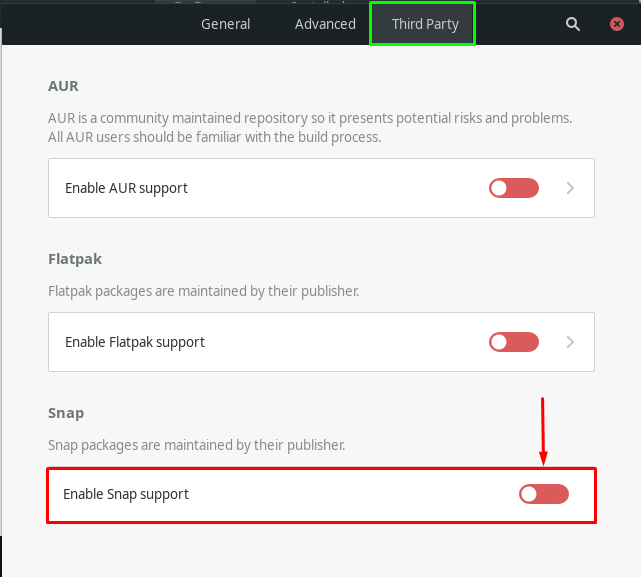
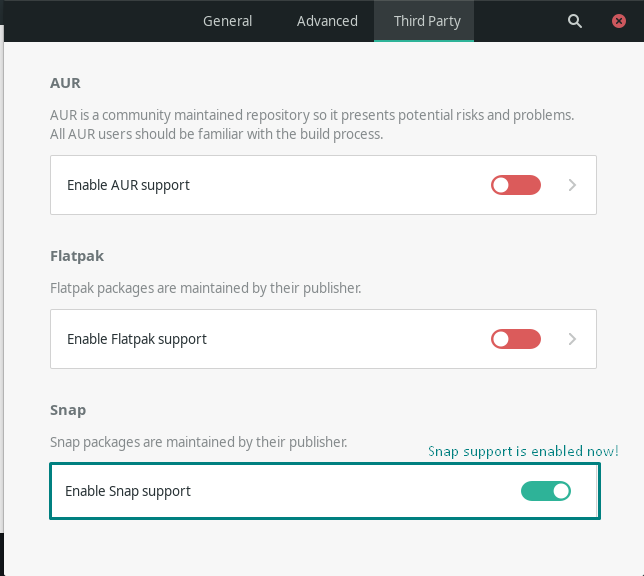
Now, move to the “Third Party” tab and enable snap support from there:
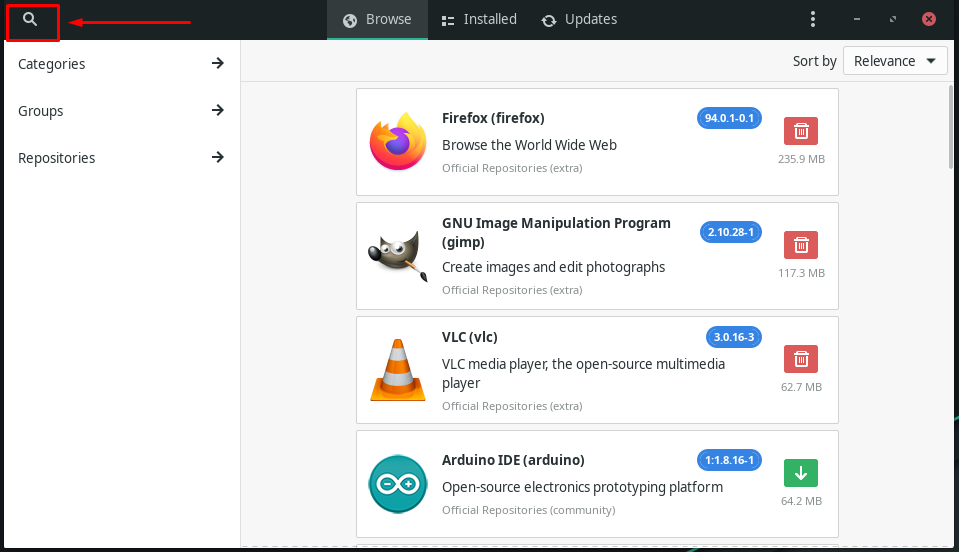
After enabling the Snap support, click on the “Search” icon, which is present at the top right side of the opened window:
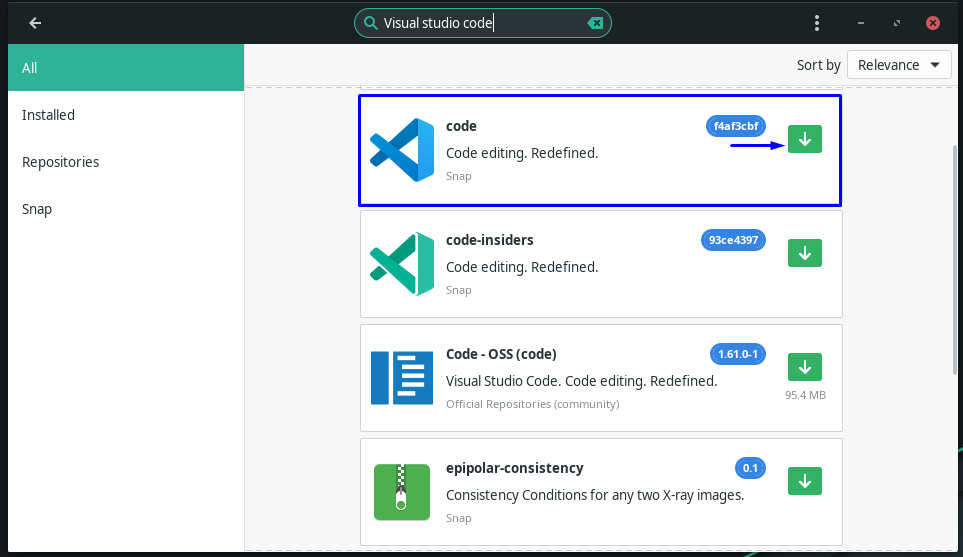
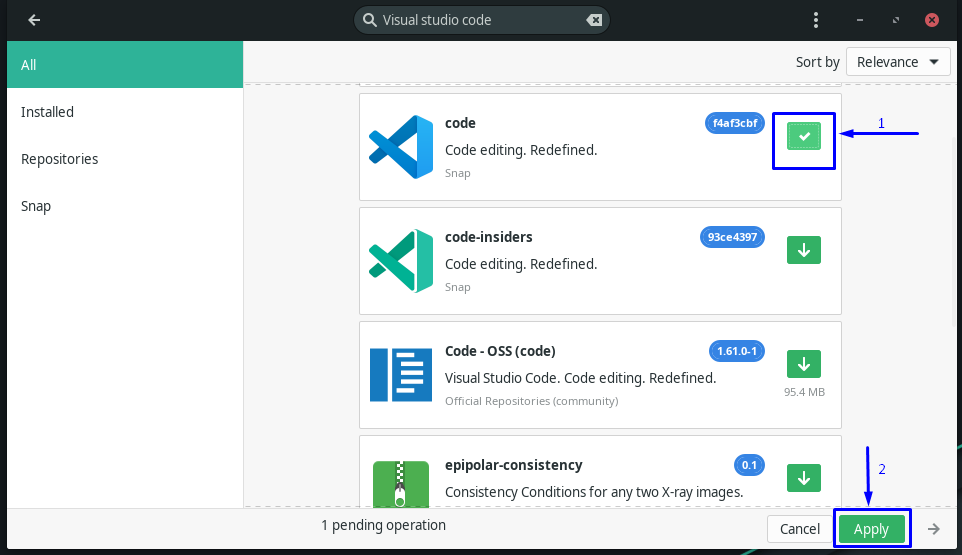
Now, type out “Visual Studio Code” in the search bar and look for the VS Code package in the retrieved result:
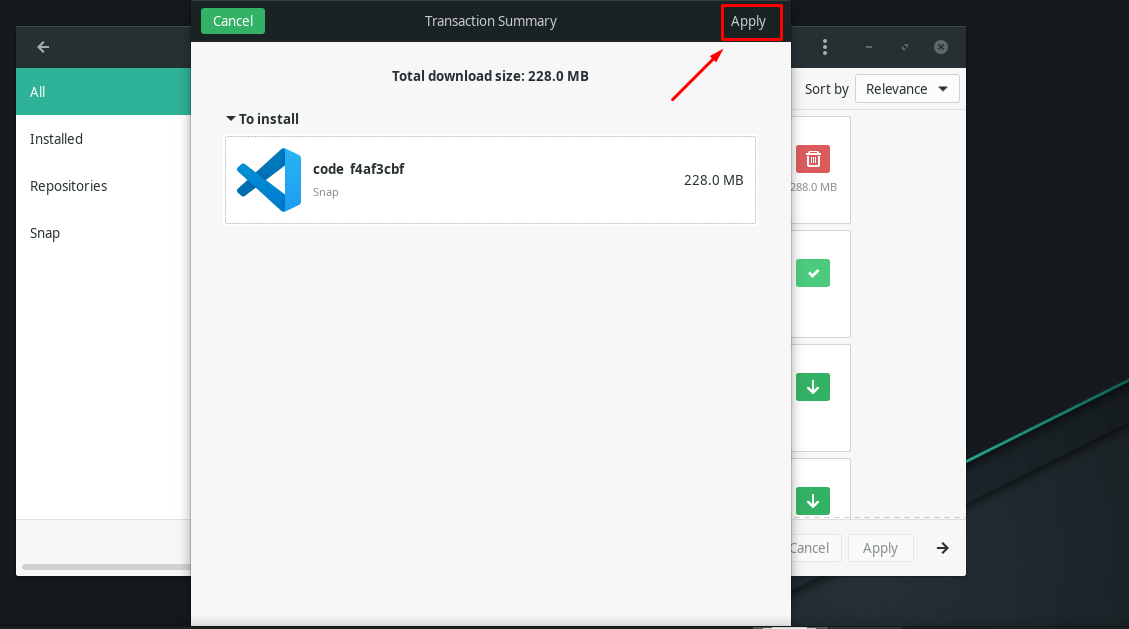
Next, click on the “Apply” button for installing the VS Code on your Manjaro Linux system:
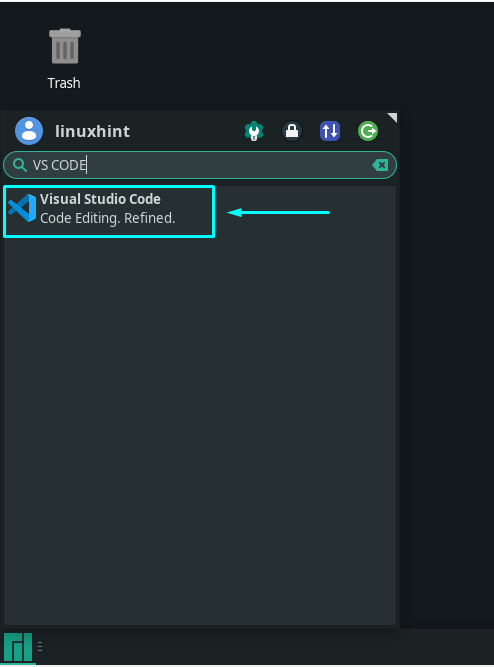
After installing VS Code using the Manjaro GUI, search for it in your system applications to confirm its existence:
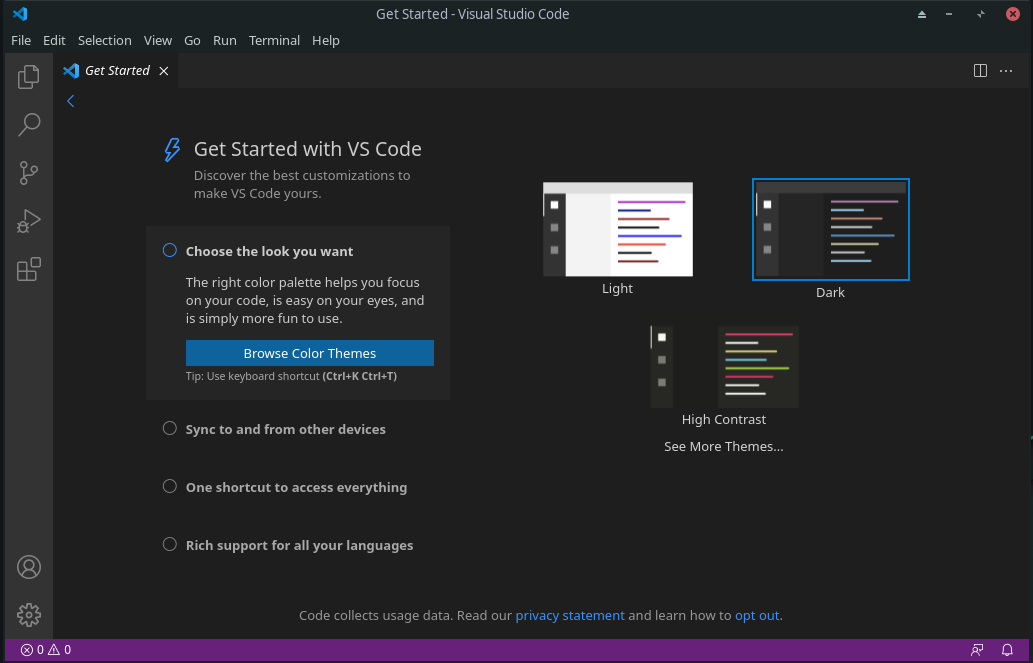
After installing VS Code, you will be able to use this source-code editor on your Manjaro system:
How to uninstall VS Code in Manjaro Linux
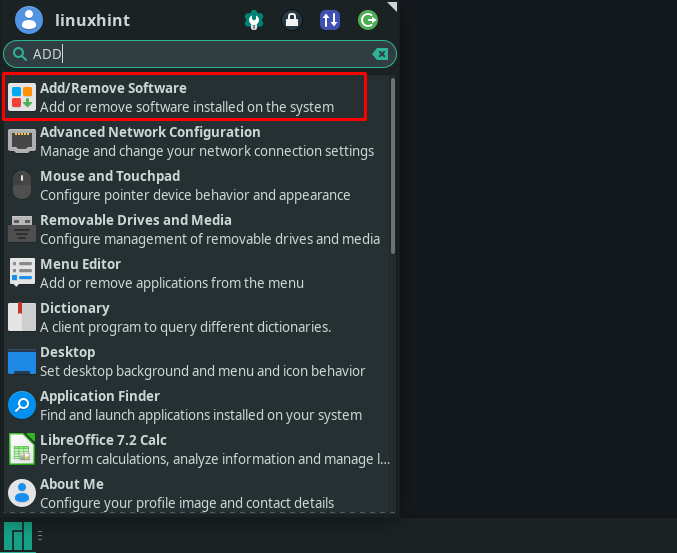
Want to uninstall VS Code from your Manjaro Linux? If yes, then open the “Add/Remove Software” program by searching it manually in the system applications:
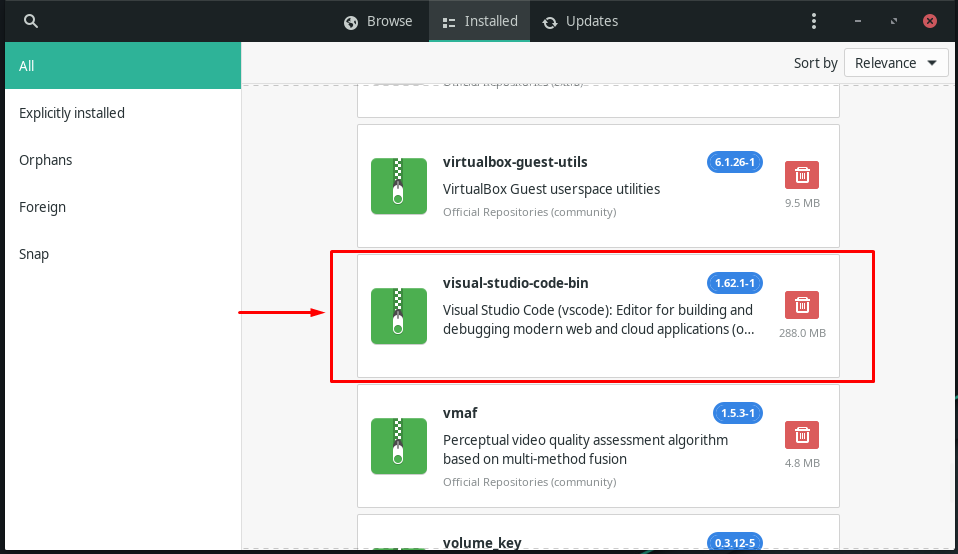
Now, move to the “Installed” tab, and look for the “visual-studio-code-bin” package:
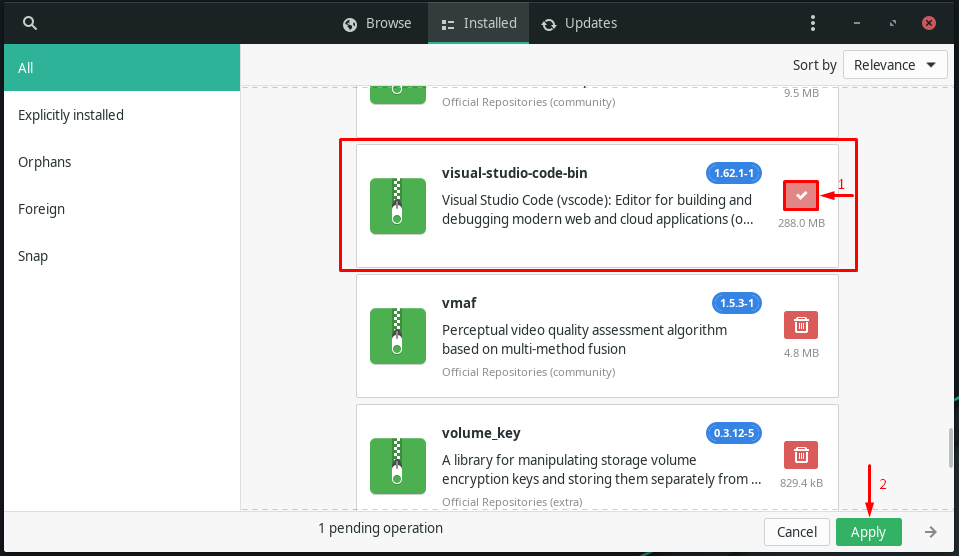
Upon finding the VS Code package, click on the “Delete” icon and hit the “Apply” button:
VS Code will be uninstalled from your Manjaro Linux system in a few seconds with the specified action.
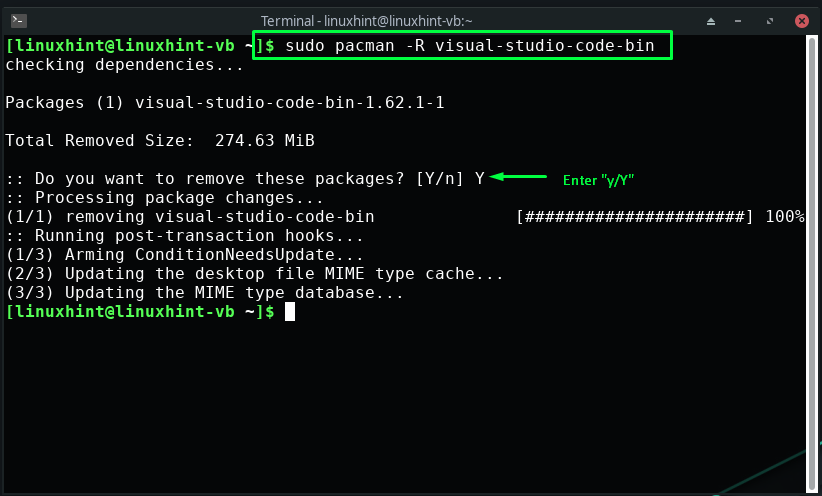
In the other case, if you have installed VS Code using AUR helper or the official repository then, execute the below-given command for uninstalling it from your Manjaro system:
Conclusion
Visual Studio Code or VS Code is a code editor available for macOS, Windows, and Linux-based systems such as Manjaro. The features of VS Code are more than syntax highlighting and auto-complete editing. It offers you the tools required to compile, debug, refactor, and integrate your code quickly. This write-up demonstrated how to install VS Code in Manjaro Linux using the official repository, AUR helper (yay), and the GUI. If you have already enabled the AUR helper on your system, go for the installation of VS Code through the AUR helper.

