Like other servers, PHPMyAdmin also requires the services of servers such as Apache to operate. If you are interested in installing it on your Raspberry Pi device, you should need to install Apache and other required tools for accessing PHPMyAdmin on your browser.
This article is a detailed introduction to installing PHPMyAdmin on your Raspberry Pi device so that you can efficiently perform database management tasks.
How to Install PHPMyAdmin on Raspberry Pi
Here, we will show you the easiest approach to install PHPMyAdmin on your Raspberry Pi device and it won’t take you too long for a complete setup.
To begin the installation, first, you must ensure that you have installed the required prerequisites on your Raspberry Pi device which are as follows:
- Apache Server
- PHP
- MySQL or MariaDB server
You can follow our previous tutorial to install the above prerequisites and you have to follow the first six steps mentioned in the tutorial. Once the steps are completed, you can then be ready to perform the following steps to set up PHPMyAdmin on your Raspberry Pi device.
Step 1: Install PHPMyAdmin on Raspberry Pi
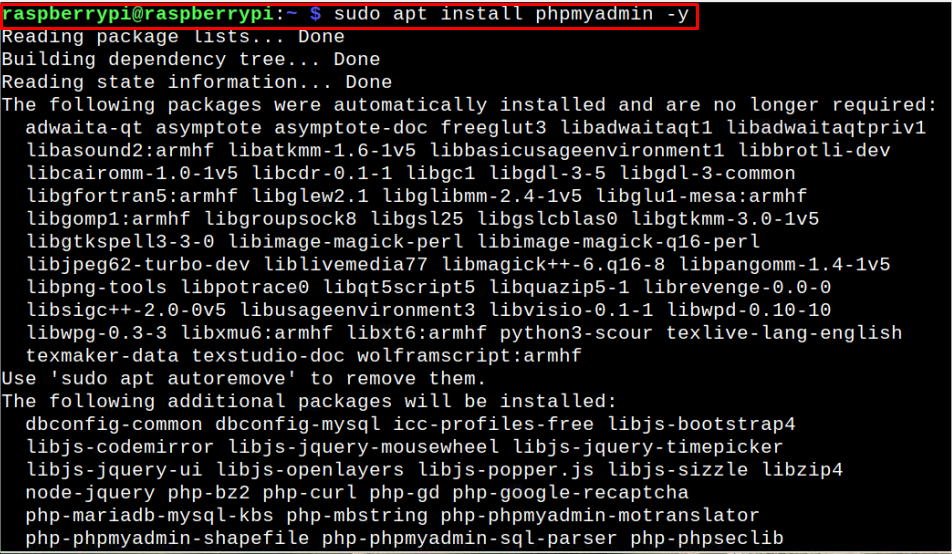
To install PHPMyAdmin on your Raspberry Pi device, you need to execute the following command:
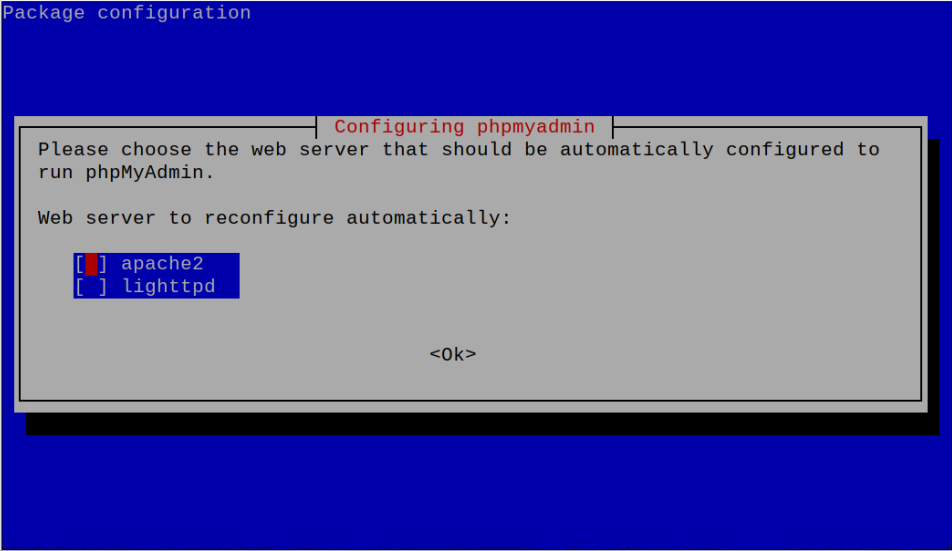
During the installation, you will see an onscreen configuration window, where you have to choose the web server that will run PHPMyAdmin on your system. As you have installed Apache web server on your device, you must select “apache2” in this case by using the space button and then pressing Enter.
You will also see another configuration window, where you have to configure a database for PHPMyAdmin by choosing the “Yes” option.

Further, you will also need to set a password for PHPMyAdmin.
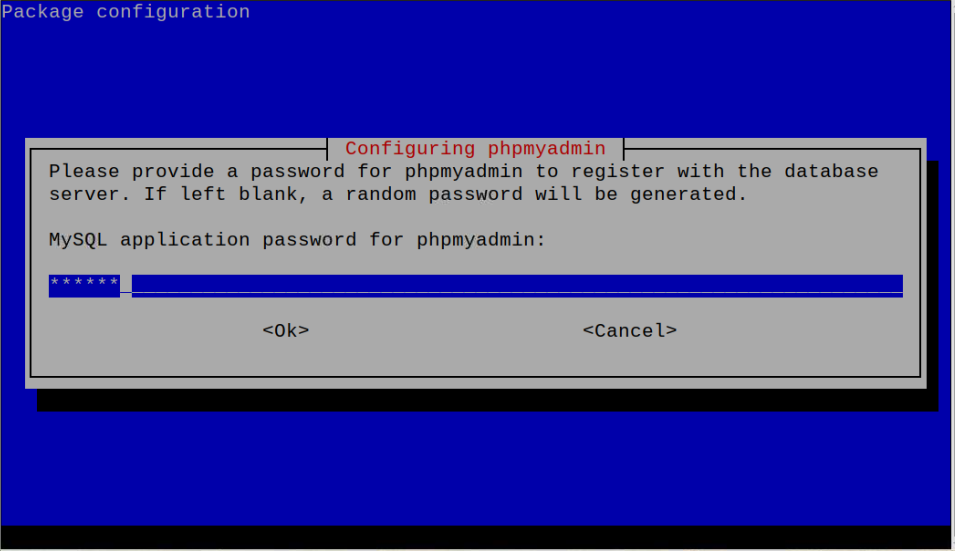
Confirm the password by typing it again.

This completes the installation of PHPMyAdmin on your Raspberry Pi device.
Step 2: Create a New User for PHPMyAdmin
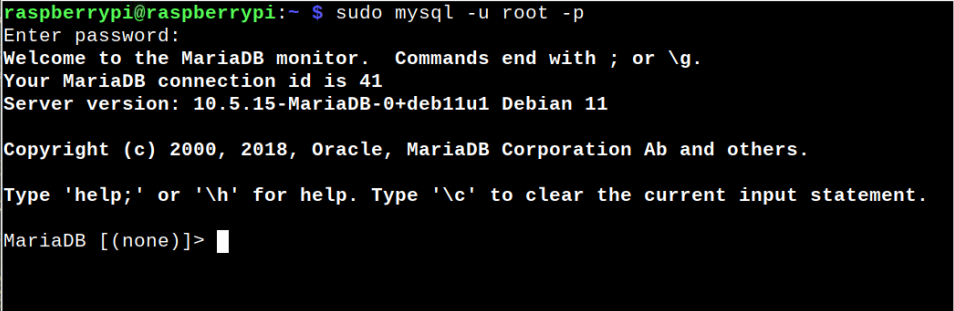
After completing the installation of PHPMyAdmin on your device, it’s now time to create a new user that will enable you to log in to your database. First, you will need to log in to the MySQL database using the following command:

Enter your device password to login to MySQL or MariaDB database.
Next, use the following command to create a new user and a password that will help you in login to PHPMyAdmin.
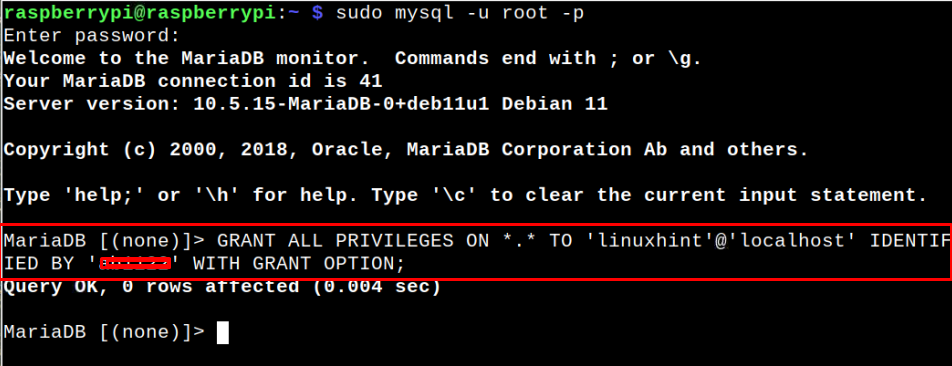
You must write your own username and password and replace them with <username> and <password> in the above command respectively. Once the changes are done, use the “exit” command to quit the database configuration.

Step 3: Configure Apache for PHPMyAdmin
In this step, you have to do one final configuration inside the Apache configuration file, and for this purpose you first need to open the file using the following command:

Go down to the bottom of the file and add the following line:
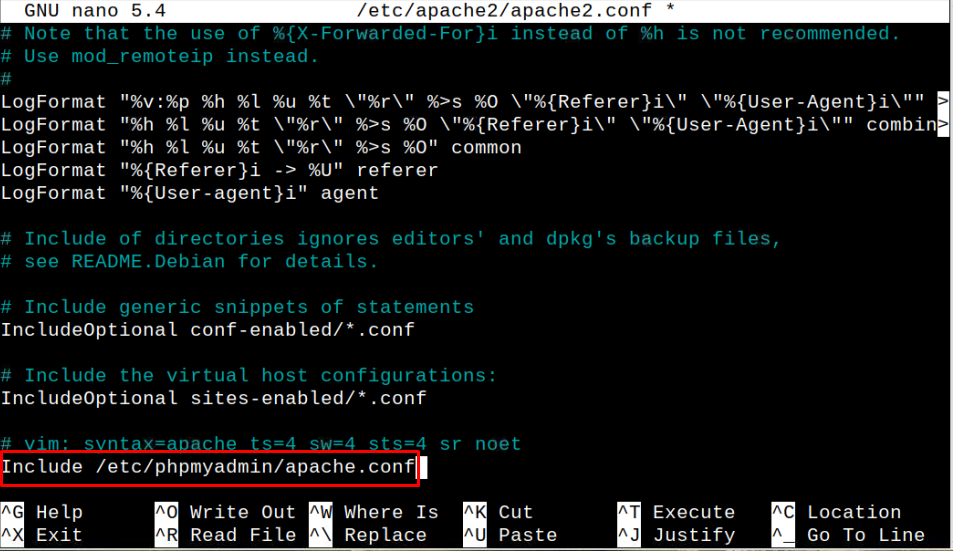
The line added in the file helps the Apache server to listen to the required changes you made for your PHPMyAdmin. Now, save the changes using “CTRL+X”, press Y and Enter.
Step 4: Restart Apache Service
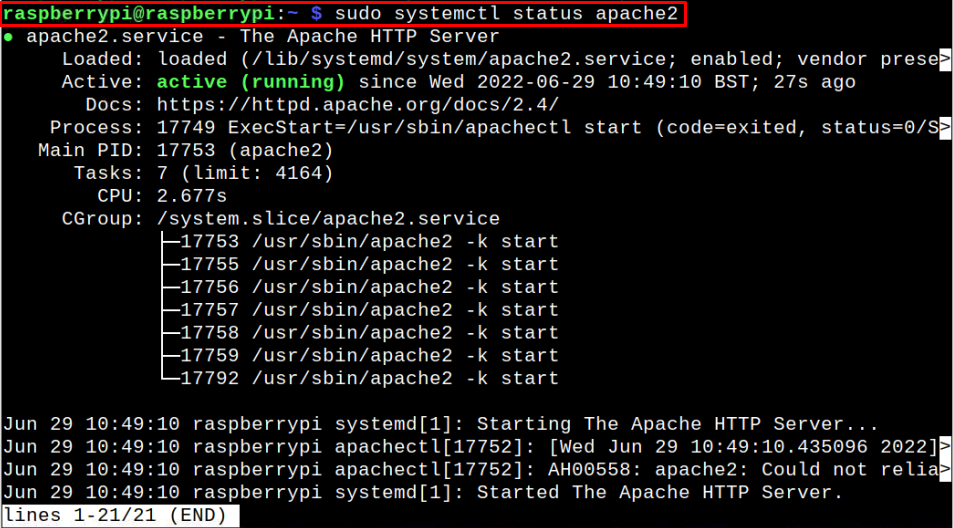
After applying the above changes, it’s necessary to restart the Apache server on your device using the following command:

You can also check the Apache server status using the following command to ensure that the changes you did are right.
Step 5: Create a link between PHPMyAdmin and Root HTML Directory
To create a link between PHPMyAdmin and the root HTML directory, you should need to run the following command in the terminal:

Step 6: Accessing PHPMyAdmin web interface
After completing the above steps, you should now be able to access PHPMyAdmin web interface using your Raspberry Pi address, which you can find out through running the “hostname -I” command in the terminal. After finding out the device IP, use the address http://<IP_Address>/phpmyadmin on your browser.
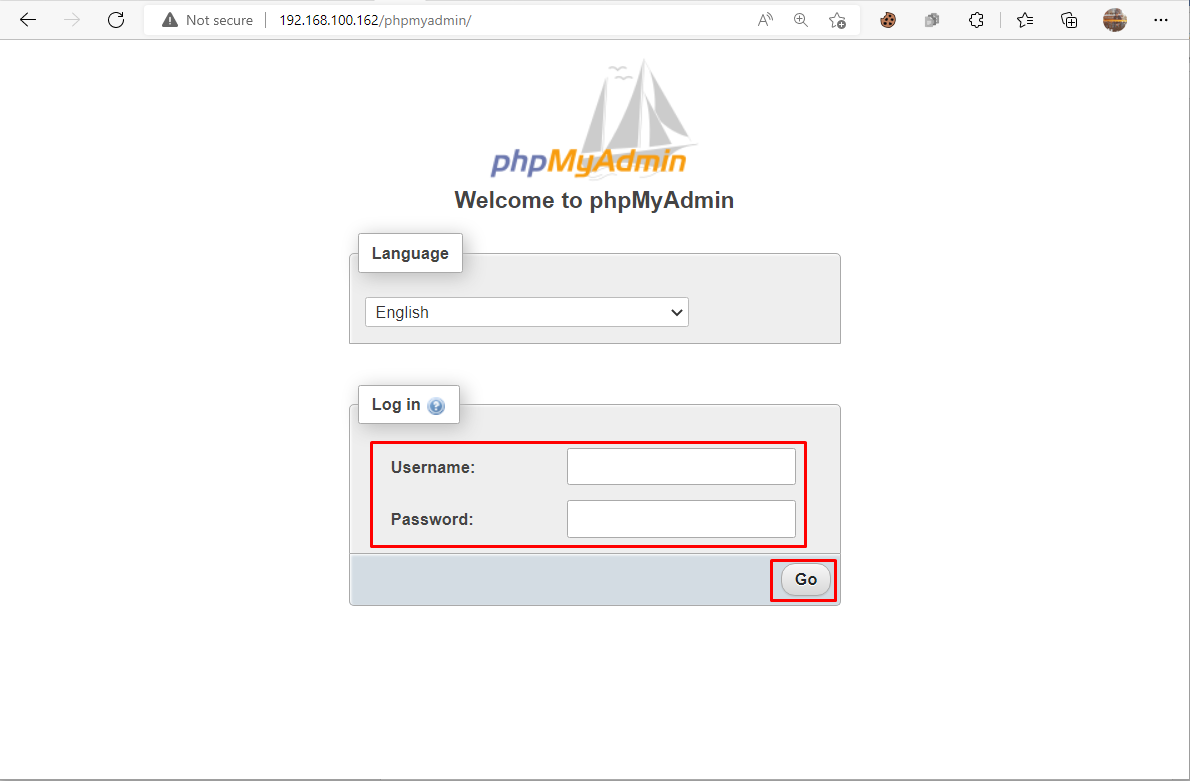
Write your username and password, which you set in Step 2, and then click on the “Go” button to open the PHPMyAdmin web interface on your browser.
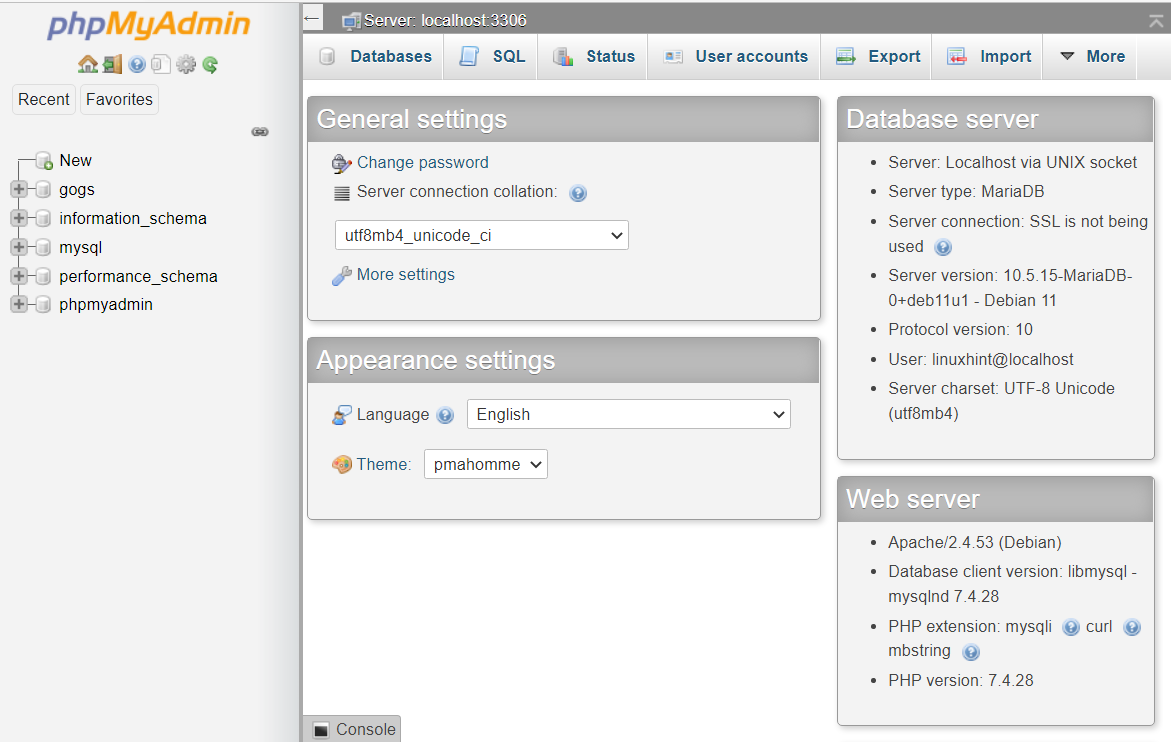
From now on, PHPMyAdmin is successfully running on your Raspberry Pi device.
Conclusion
PHPMyAdmin is a powerful application that enables users to manage several databases on a single platform. Its installation becomes quite simple after you manage to install some prerequisites such as Apache server, PHP, MySQL, or MariaDB. You can install these perquisites and perform a few additional steps to complete PHPMyAdmin installation on your Raspberry Pi device. Afterward, you can easily access the database web interface through the device’s IP address.