WordPress is an amazing platform to run a website and is used by the majority of the Bloggers to create blogs and personal websites to share their contents that can easily be read by anyone in the world. Installing WordPress on a Raspberry Pi device is not very complicated and it will be done with ease if you follow the guidelines provided in this article.
Installing WordPress on Raspberry Pi
If you are interested in installing WordPress on Raspberry Pi then you should perform the below steps to setup creating your personal websites on the go.
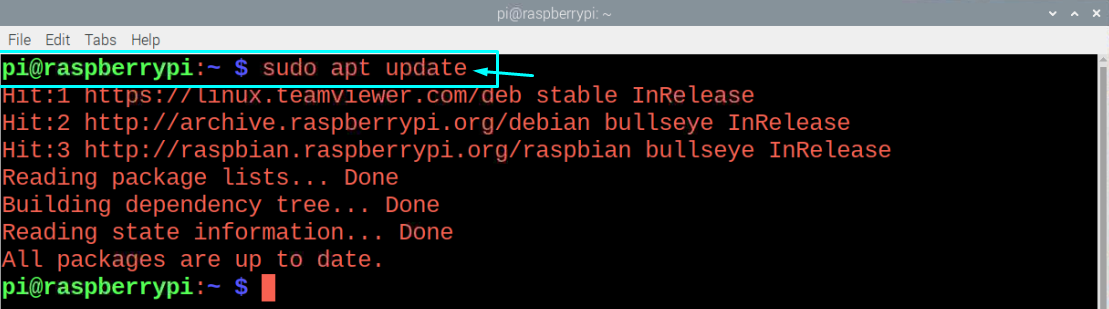
Step 1: To begin the installation of WordPress on Raspberry Pi, you will need to install necessary package updates and upgrades in order to enjoy the latest packages on your Raspberry Pi device. To do that, execute the following command-line in the terminal.
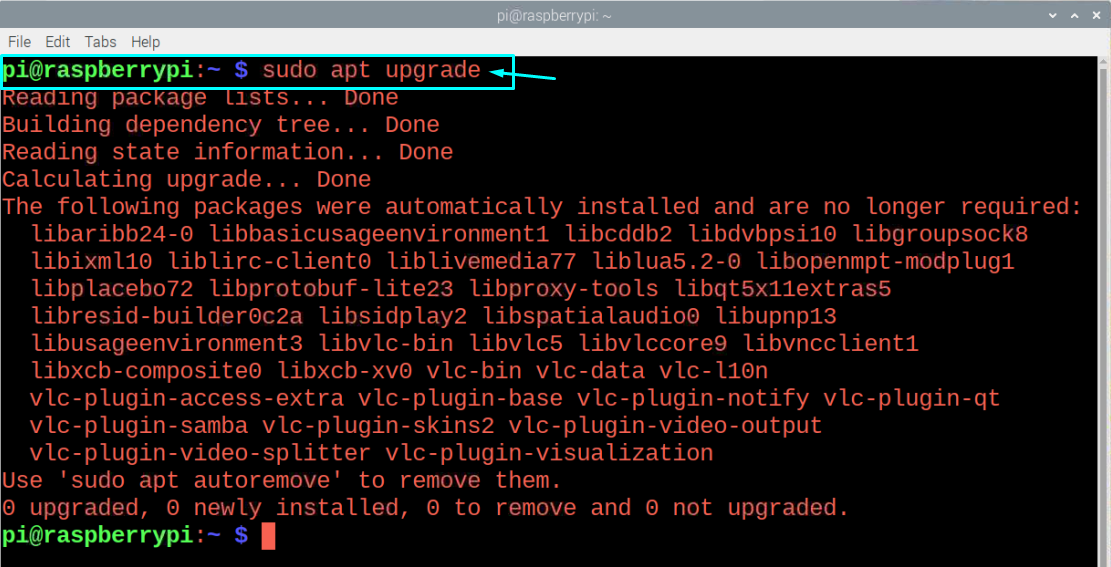
After executing the above command, run the upgrade command to confirm the packages are upgraded to the latest version.
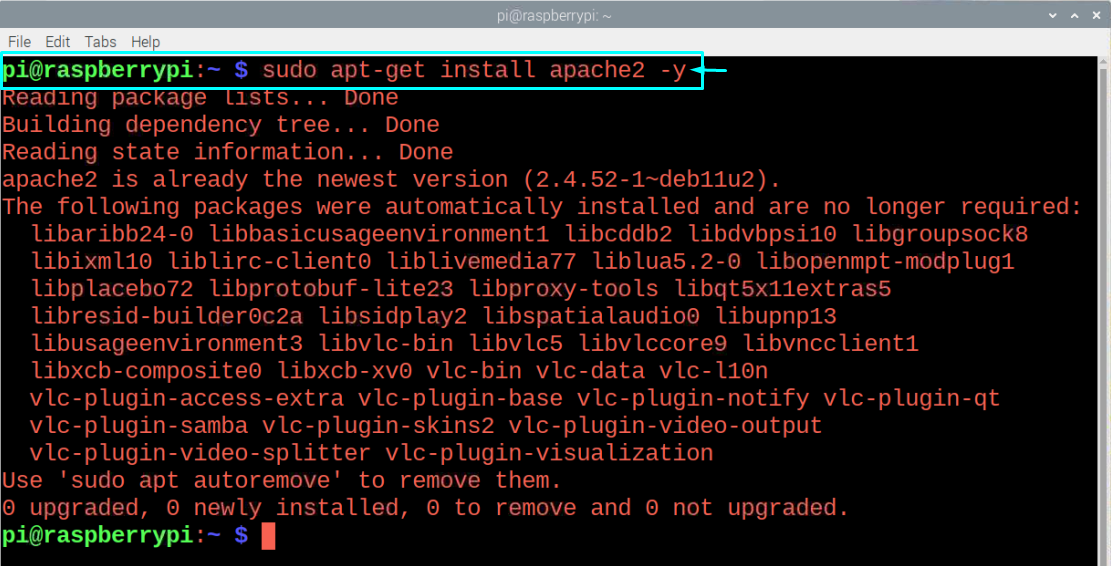
Step 2: In the next step, install Apache which is a powerful web server program that allows you to run secure websites and to do it you will require to execute the below mentioned command in the terminal.
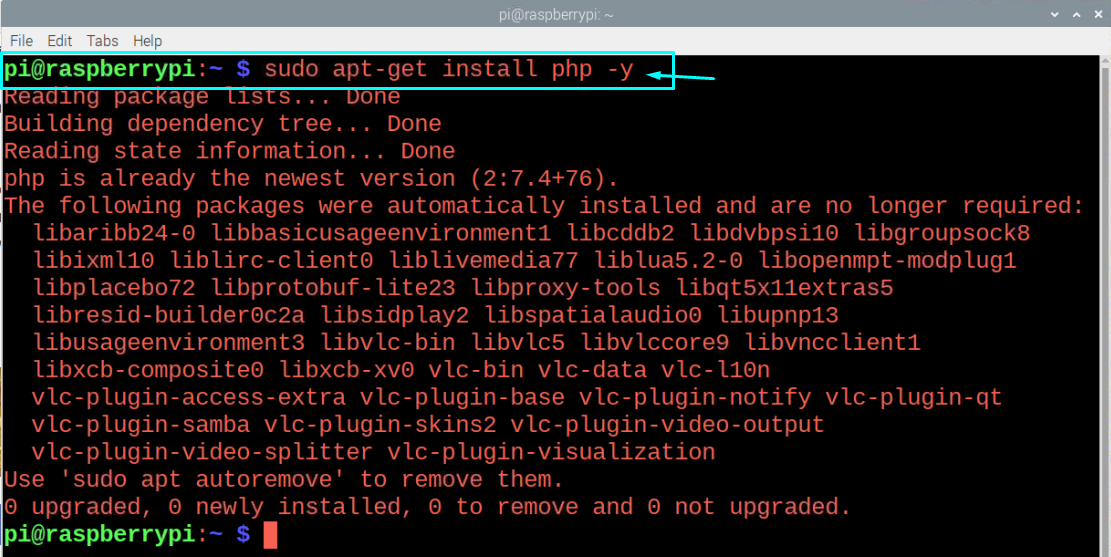
Step 3: Now, you will also need to install PHP which will perform WordPress hosting and to do it, enter the following command line in the terminal.
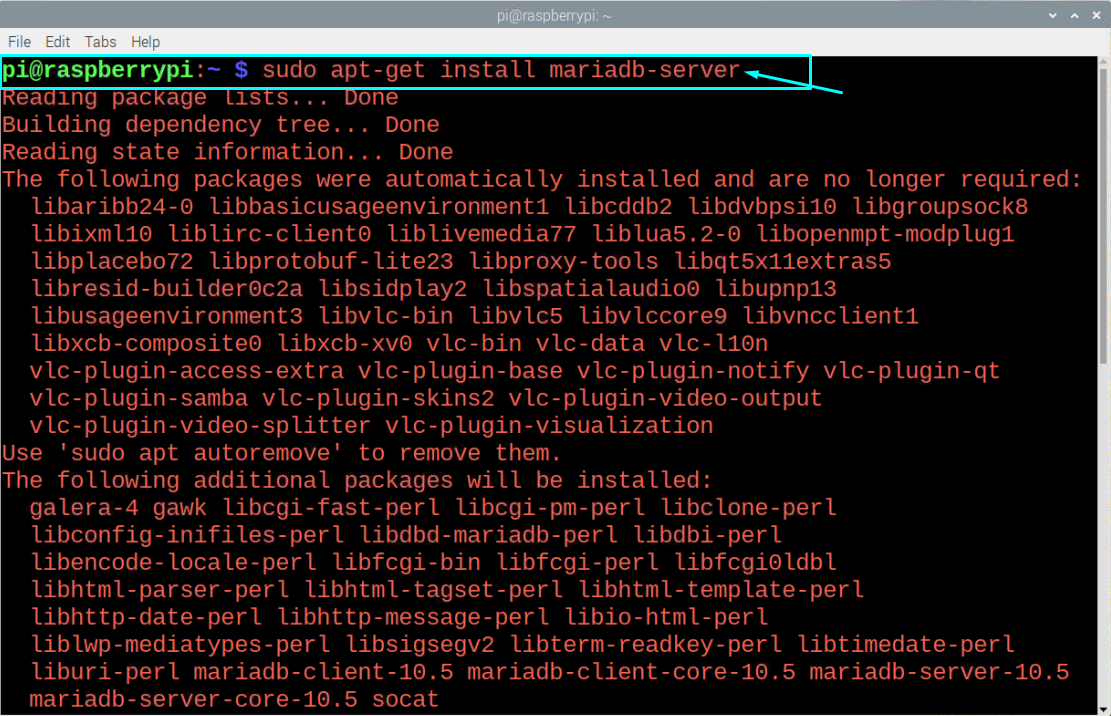
Step 4: Next, you will require to install a database management system called MariaDB through the following command line.
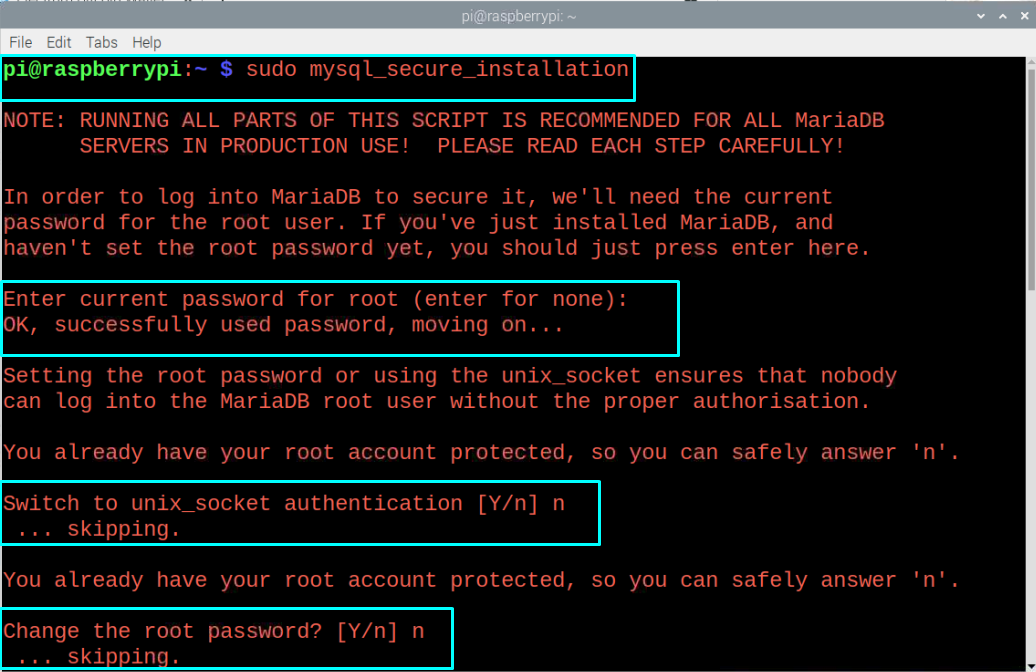
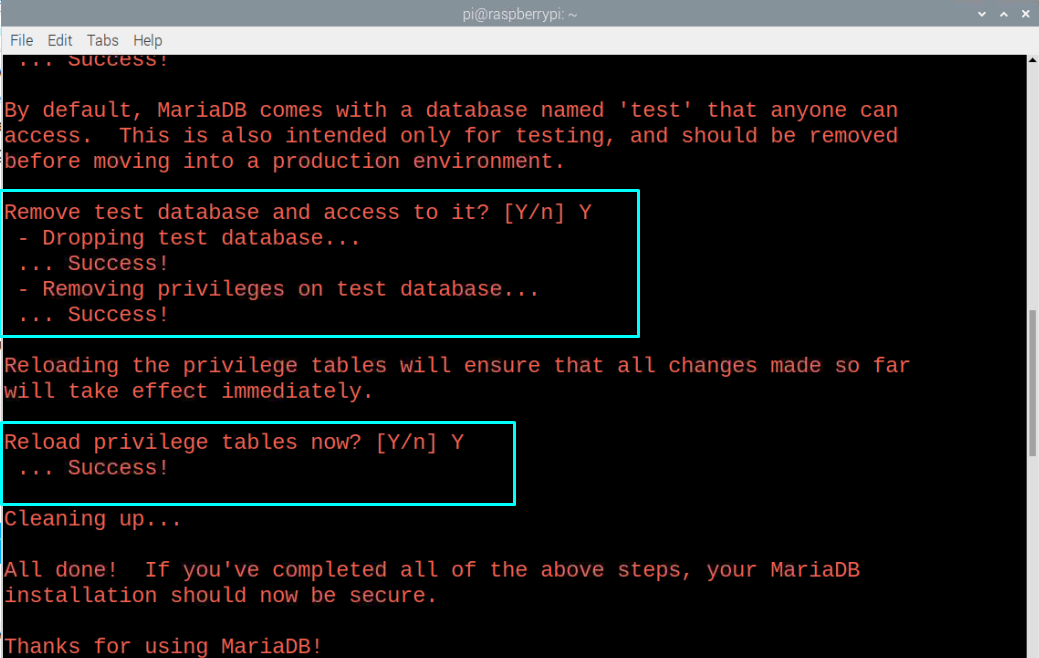
Step 5: Next, after installing MariaDB server, you will need to secure it by executing the below mentioned command in the terminal.
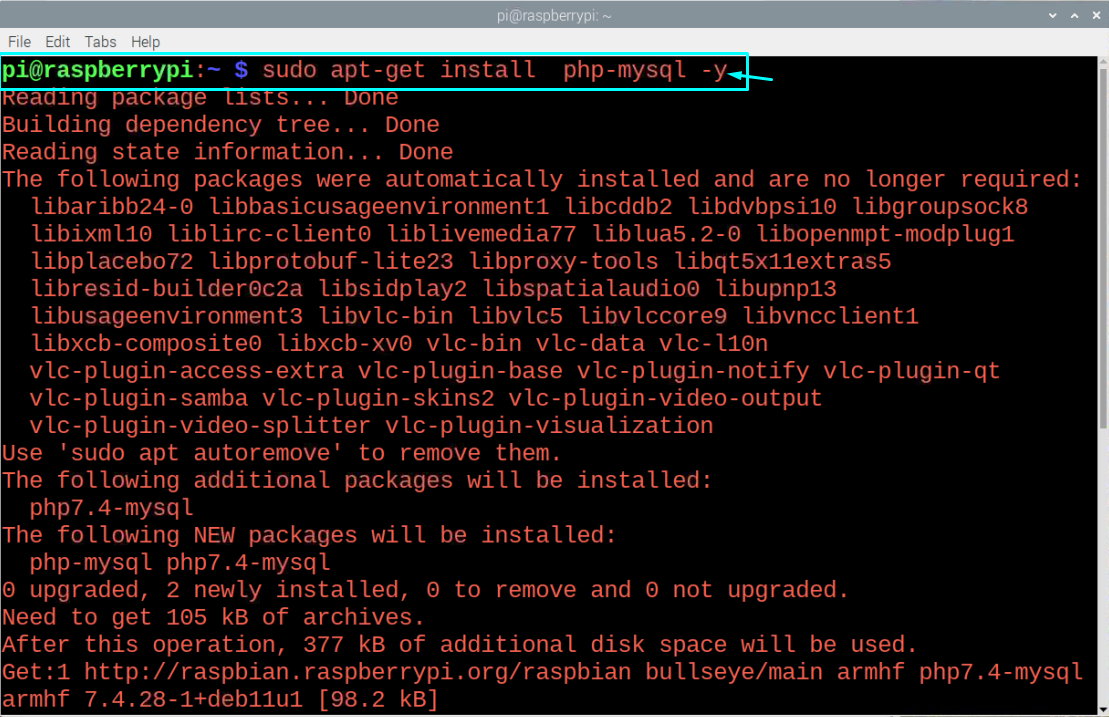
Step 5: Now the MySQL” should be integrated with your PHP and to do it, execute the command in the terminal which is given below.
Step 6: Restart the Apache service through the below given command line in the terminal.

Step 7: Once you have installed all the necessary programs, you will now ready to install WordPress on your Raspberry Pi. To perform the installation, first you will need to go to the directory “/var/www/html” by executing the following command.
Then use the below given command to remove all the files in the directory.

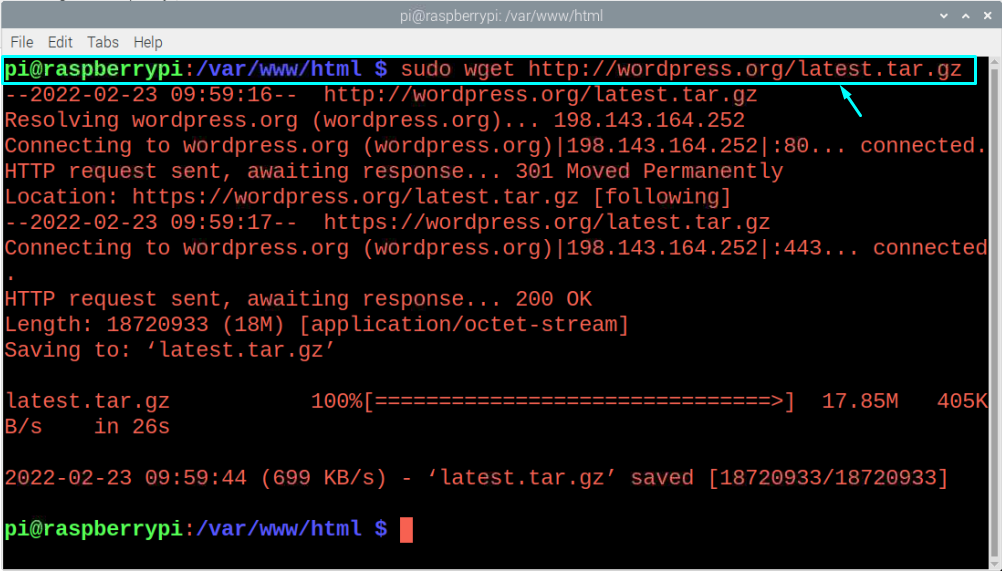
Step 8: Next, download the latest WordPress version using the following command in the terminal.
Step 9: Extract the tar.gz file by executing the following command.

Step 10: Next, ensure that the Apache user is the default owner of that directory and to do it use the below given command in the terminal.

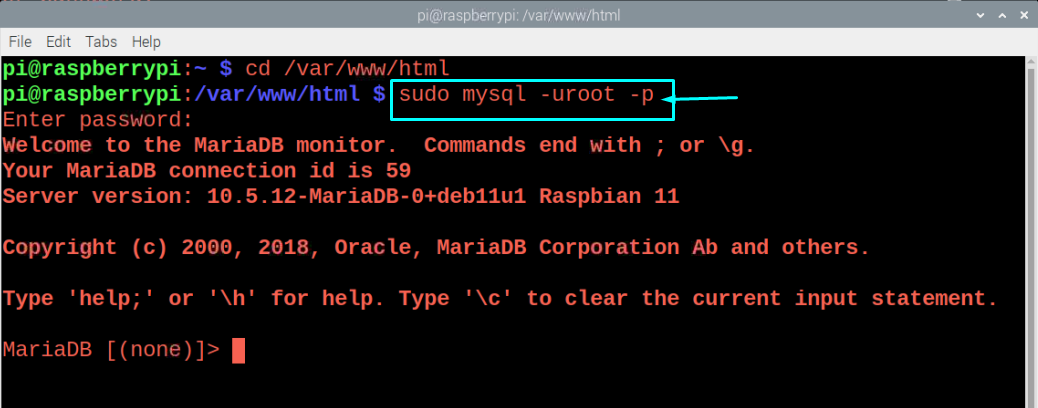
Step 11: Now, provide a username and password using the below command in the terminal.

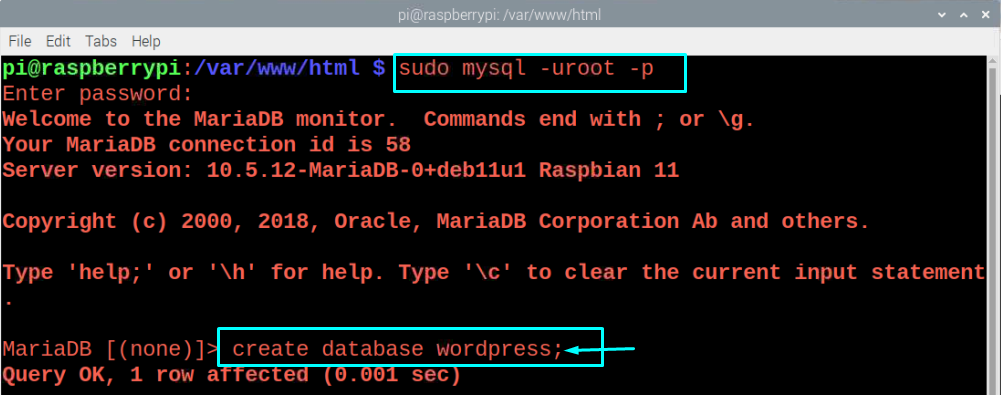
Step 12: Type the below line in the terminal as shown below.
If adding the above line worked, you will receive a message “Query OK”.
Step 13: Provide root username and password. You can set your root username and password according to your choice, just replace the “root” with your username and ‘YOURPASSWORD’ with the password of your choice.

Step 14: Once the above steps are completed, you will then need to open the browser and enter the address “http://localhost”. The local host will be the IP address of your Raspberry Pi device and if you want to access this from a different system’s browser then you will need to replace this localhost with the host’s IP address.

Step 15: Click on the “wordpress” option and it will take you to the WordPress setup.
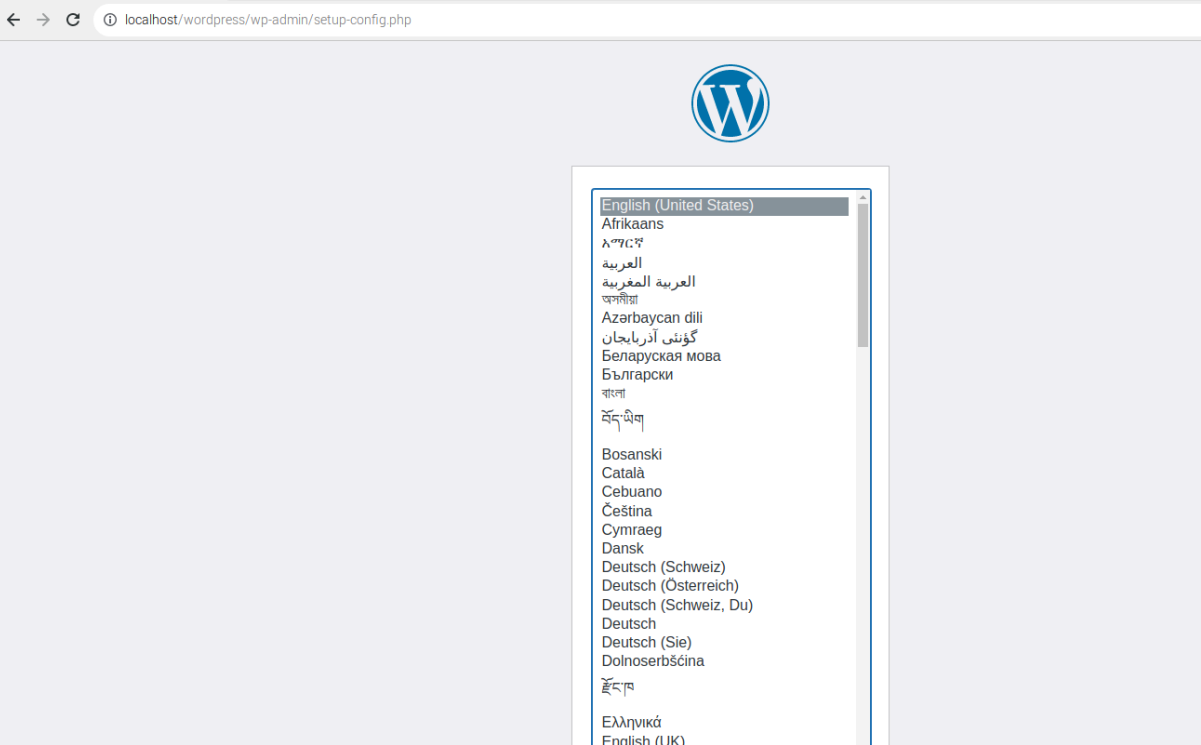
Step 16: Select the language and then click on the “Continue” option to move towards the WordPress page.
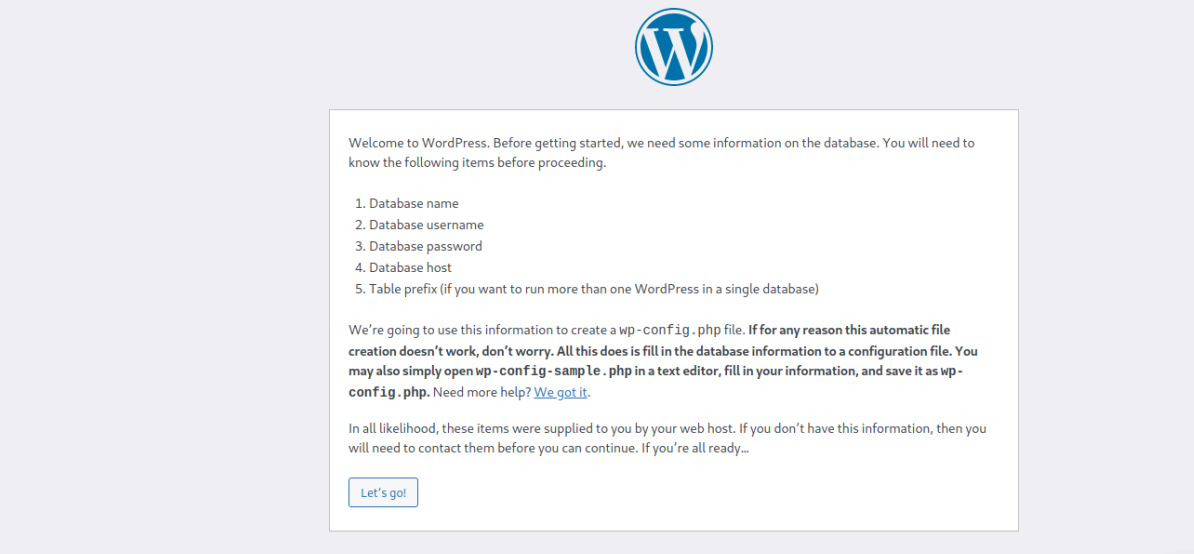
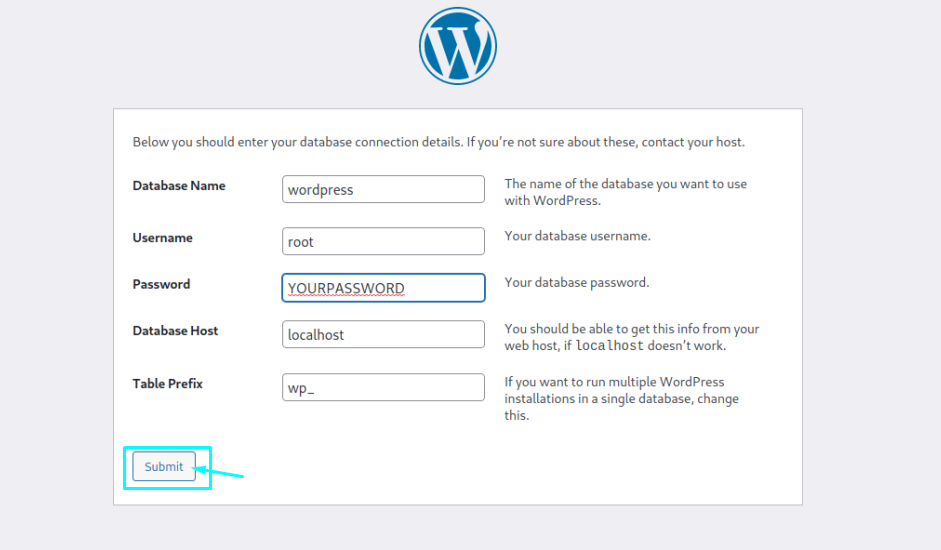
As soon as you click on the “Let’s go” option, you will find a page open up which requires your username and password. Enter the information which you have previously set in Step 13 and then click on the “Submit” option.
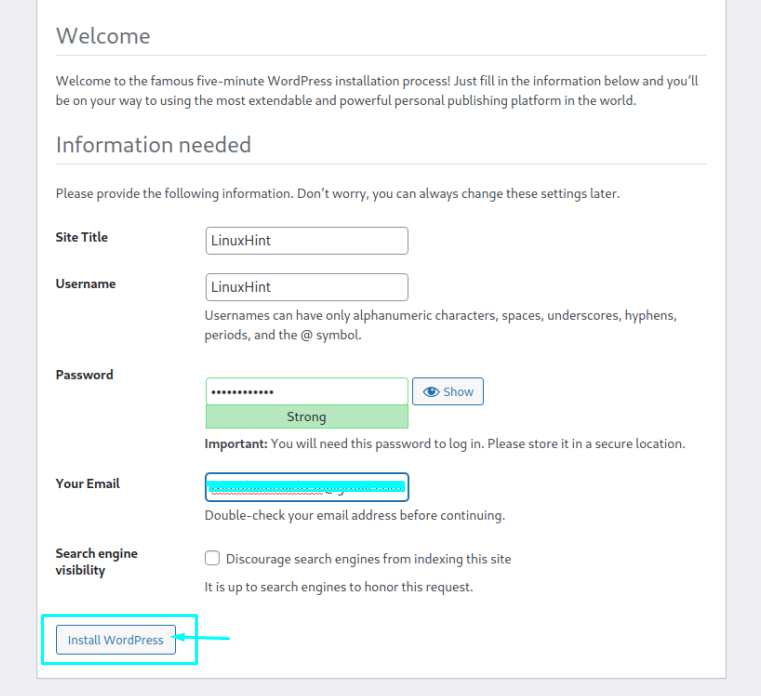
Step17: Fill the option carefully according to your choice and then click on the “Install WordPress” option to install it.
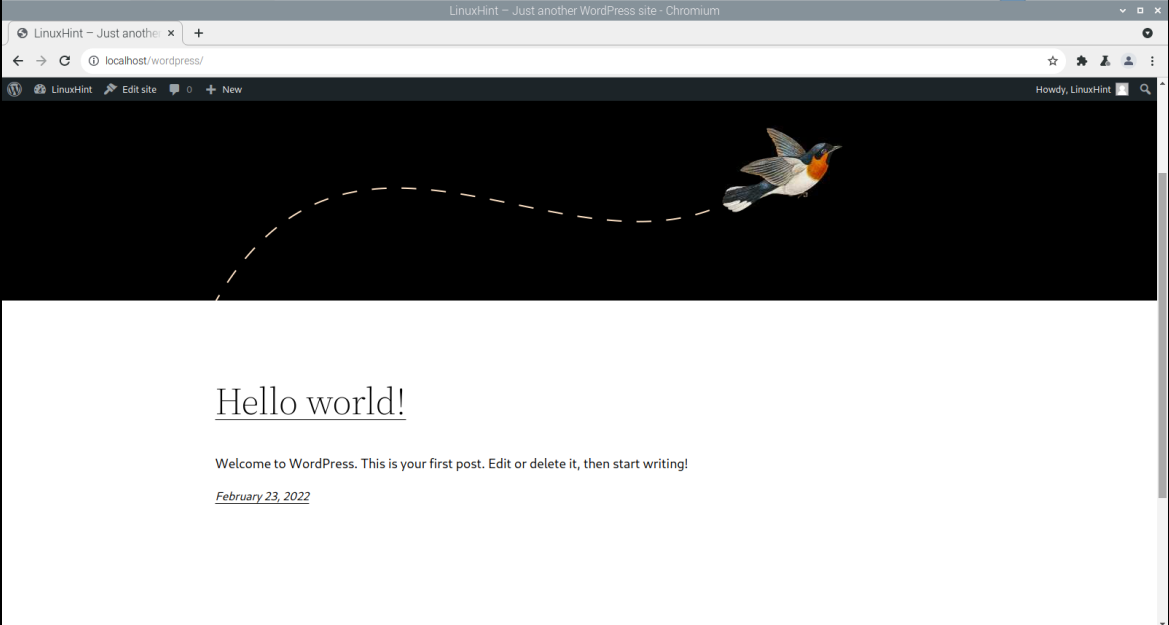
Step18: Login with the password you have set in the previous step.

That’s it, your website is now ready to go. You can edit or upload any content on the website.
Conclusion
If you are looking for a convenient web hosting platform then you should consider installing WordPress on your Raspberry Pi device which requires a few minutes installation and it will easily install on your device through above mentioned steps. After finishing the set up process, you will then be able to upload your contents on the website and make them accessible for public use.