Drupal is a free, scalable and open-source web management system (CMS) backed by a large community. Its applications are broad, ranging from building a professional blogging page to operating the official government site.
For a non-technical user who doesn’t have enough knowledge of web development, Drupal is a perfect platform to start their website-building journey since it offers creative website themes and tools to make a website from scratch easily.
For Raspberry Pi users, installing Drupal on the device isn’t a hard job, and this article will assist you in successfully installing Drupal on Raspberry Pi.
How to Install Drupal on Raspberry Pi
Here, in this guide, you will learn to install Drupal on a Raspberry Pi device so that you can begin hosting your website with ease.
To start using Drupal service on your Raspberry Pi device, you will need to perform the following steps:
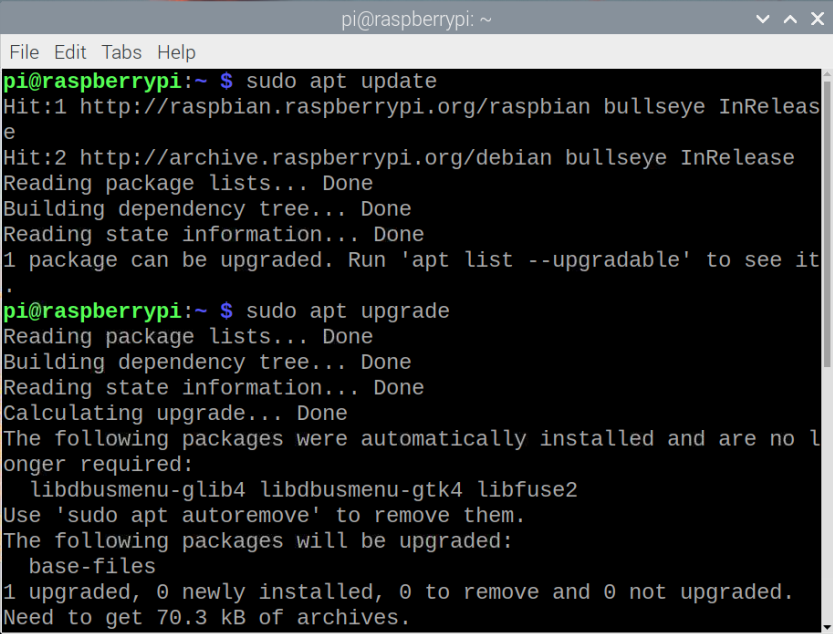
Step 1: The initial step required from your side is to confirm whether the Raspberry Pi packages are up to date and for this reason, you will have to execute the following commands in the terminal.
$ sudo apt upgrade
Step 2: Now you will need the following utilities on your Raspberry Pi:
- Apache web server
- PHP 5.2 or higher
- MySQL
If you don’t have these utilities set up on your Raspberry Pi device, don’t worry you can install them by visiting our previously published article: install Apache, PHP, MySQL.
Step 3: Once you complete Step 2, you will then need to open up the Apache Virtual host configuration file by executing the following command in the terminal.
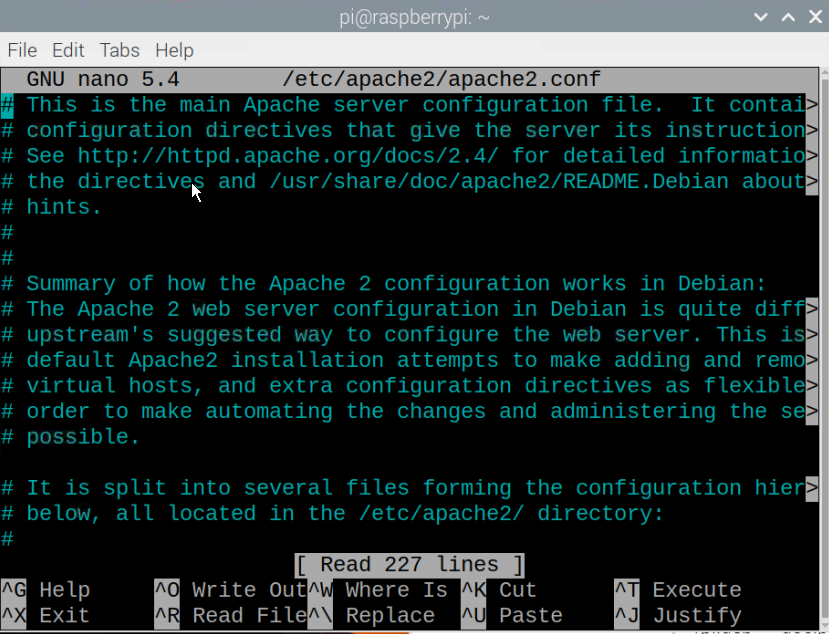
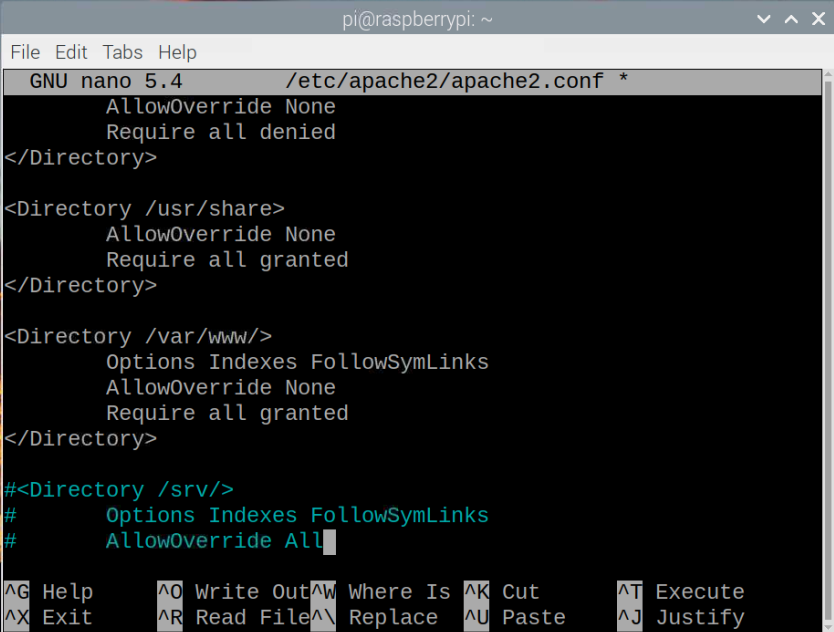
With the file open, you will need to identify the following configuration text referring “<Directory /var/www/>” in the file.

Step 4: Now, change the text “AllowOverride None” to “AllowOverride All”. To save the file, use “Ctrl+X”, press the “Y” button and move back to the command line window.
Step 5: After performing the above changes, you will also be required to execute the following command to rewrite the changes on apache2 module.

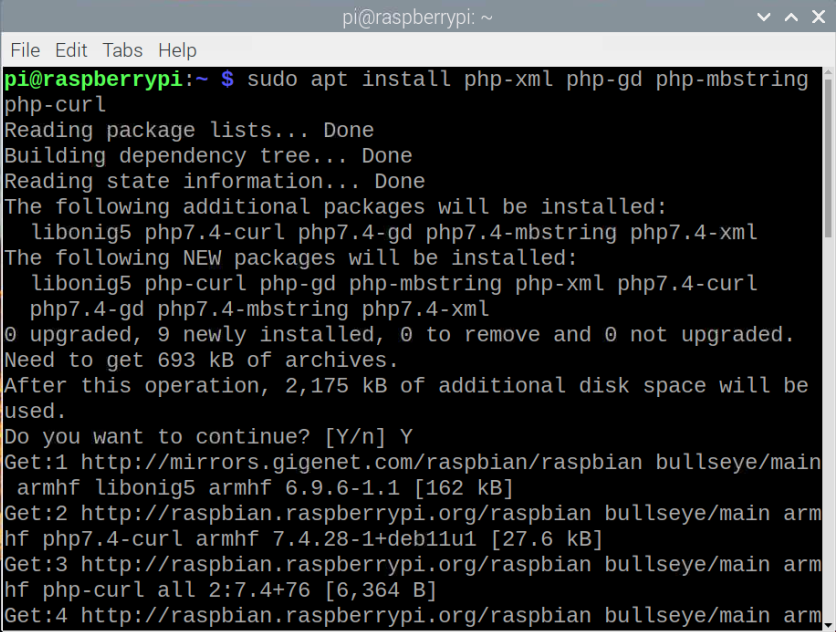
Step 6: After that, you will need to install the PHP using the following command.
Step 7: After the installation, restart the Apache service using the below mentioned command.
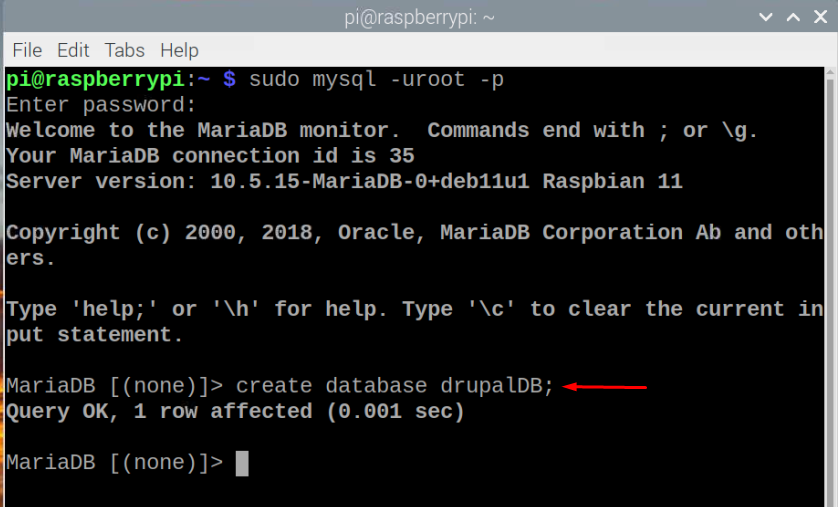
Step 8: In this step, you will need to create a Drupal database and credentials to allow Drupal to connect to your database. To do this, first you will need to connect to your database through the following command.


Step 9: Next, you will need to create a Drupal database using the following command.
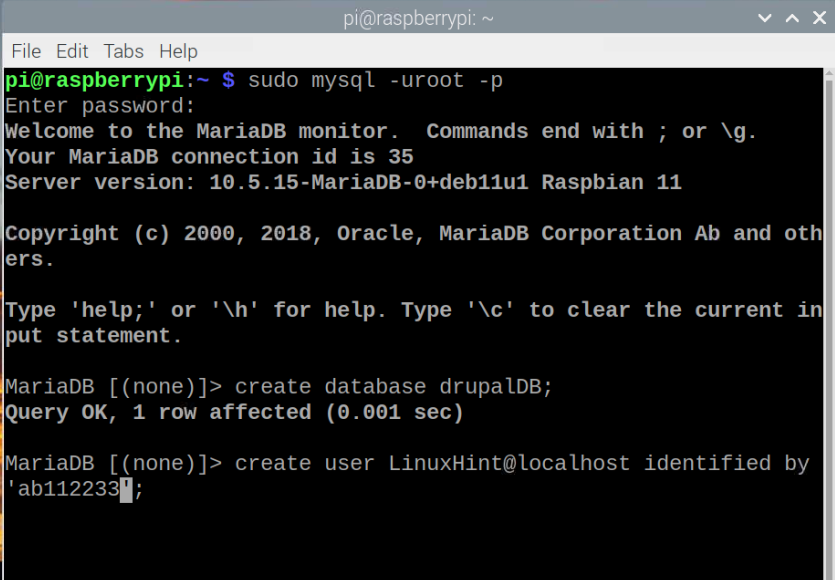
Step 10: Now, use the following commands to create a username and password which will be required later on when you connect to Drupal Database.
Once it is done, execute the following commands one by one to finish setting up the database.
flush privileges;

To quit the database use “quit”.
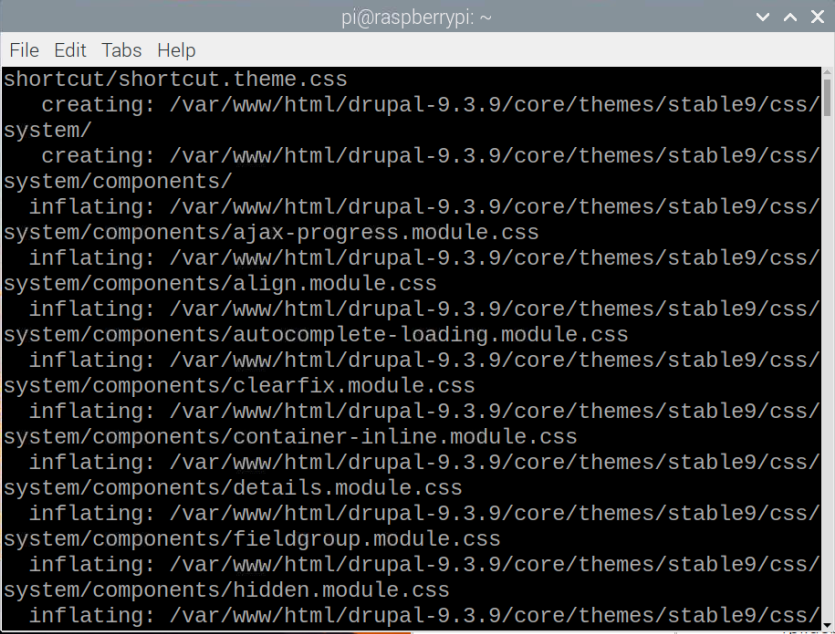
Step 11: Next up, you will need to install the latest version of Drupal on your Raspberry Pi device and to do that you will need to download the Drupal zip file using below mentioned command.

Step 12: Unzip the Drupal file into the root folder of Apache “/var/www/html” using:

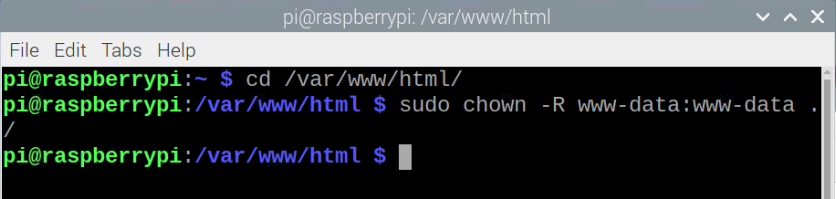
Step 13: Move to the Apache directory “/var/www/html/” using the following command.

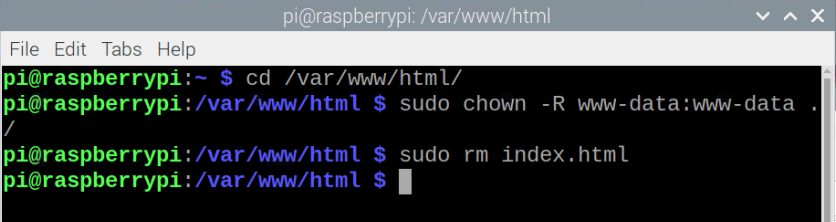
Step 14: Now, to change the file ownership to the default Apache user, execute the following command.
Step 15: Remove the previous Apache index template using the below given command.
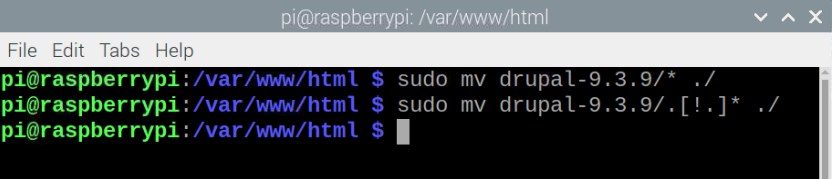
Step 16: Check your Drupal version first by going into the Apache folder “/var/www/html/” as it may vary. In our case it is Drupal-9.3.9 so, use the below given command to extract the file.

Also move the hidden files as well using the following command.
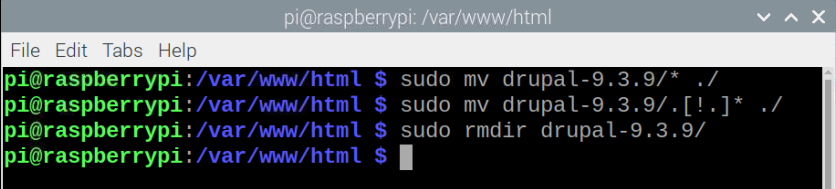
Step 17: Finally remove the old Drupal folder using the following command.
Step 18: After completing the above steps, go to your browser and enter your Raspberry Pi IP address in the URL bar to open the Drupal setting on your browser.
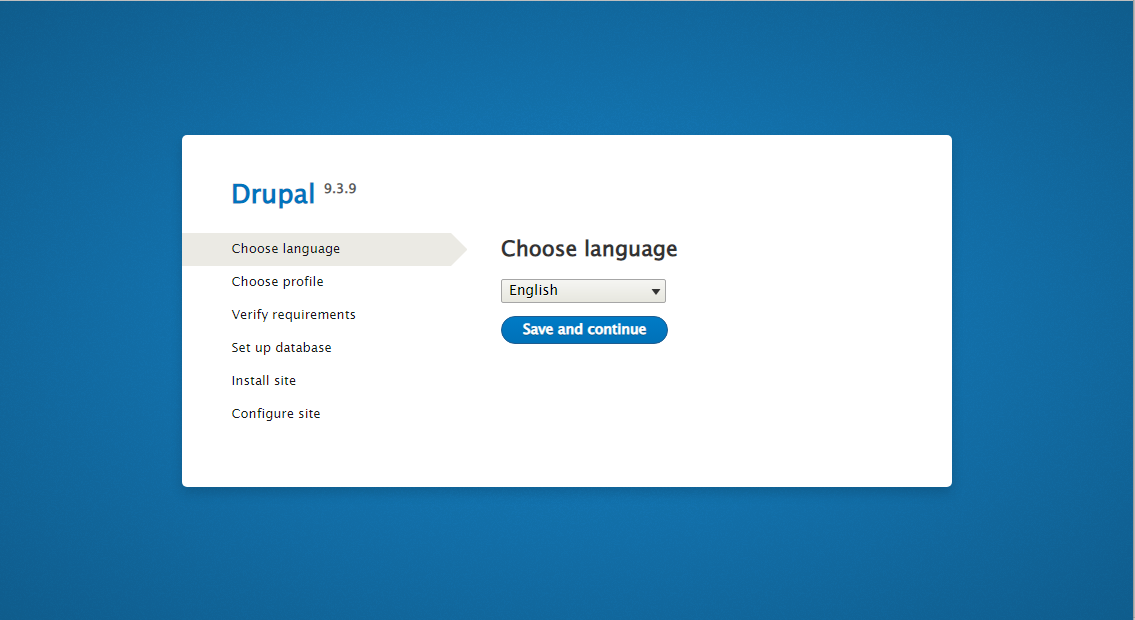
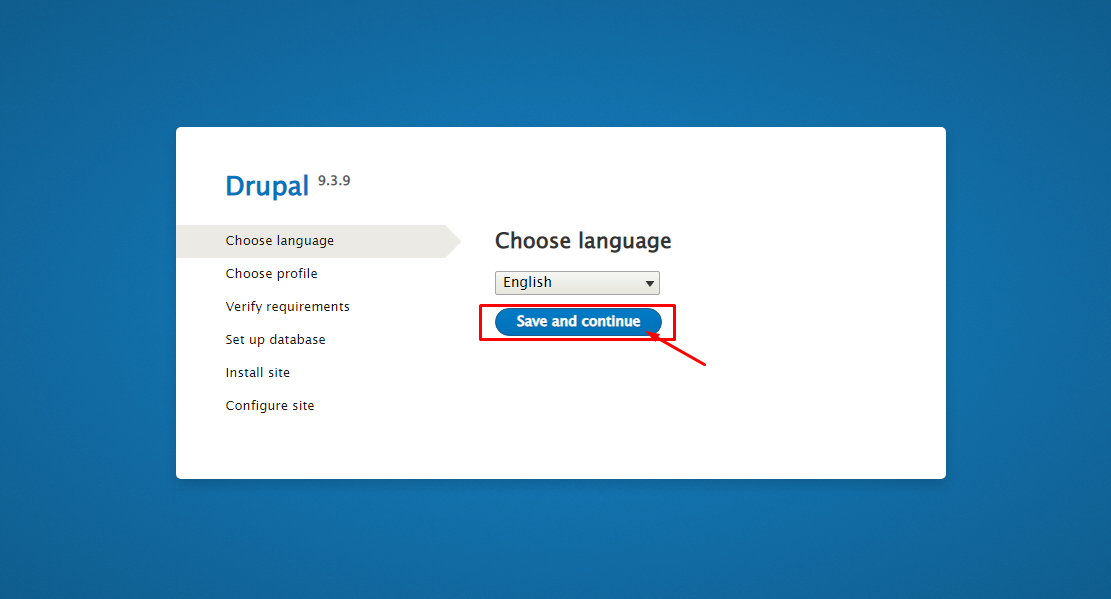
Step 19: You will need to choose your language setting according to your preference and once choosen, click on the “Save and continue” option.
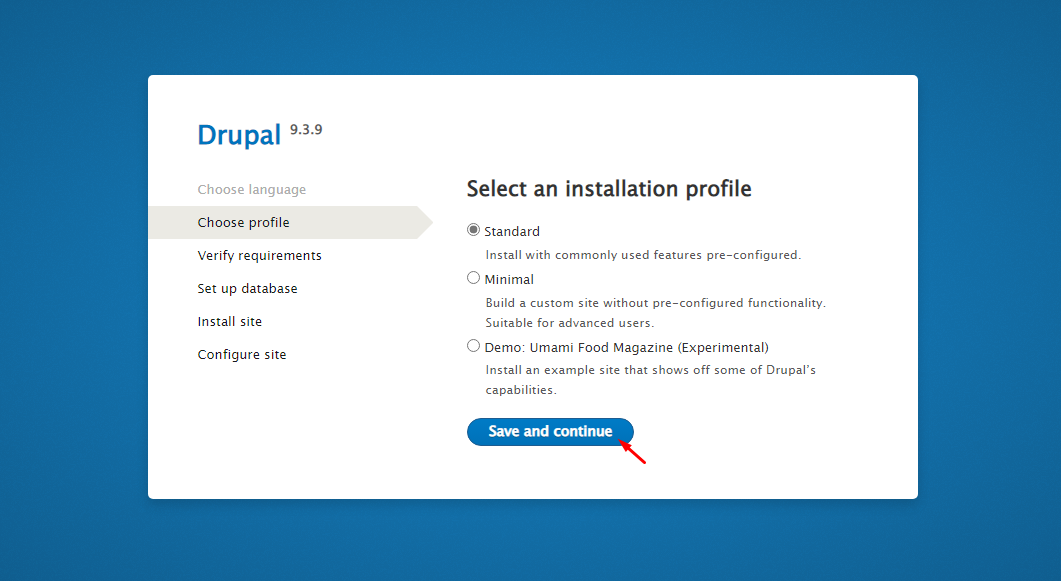
Step 20: Choose an installation profile as “Standard” and then click on the “Save and continue” option.
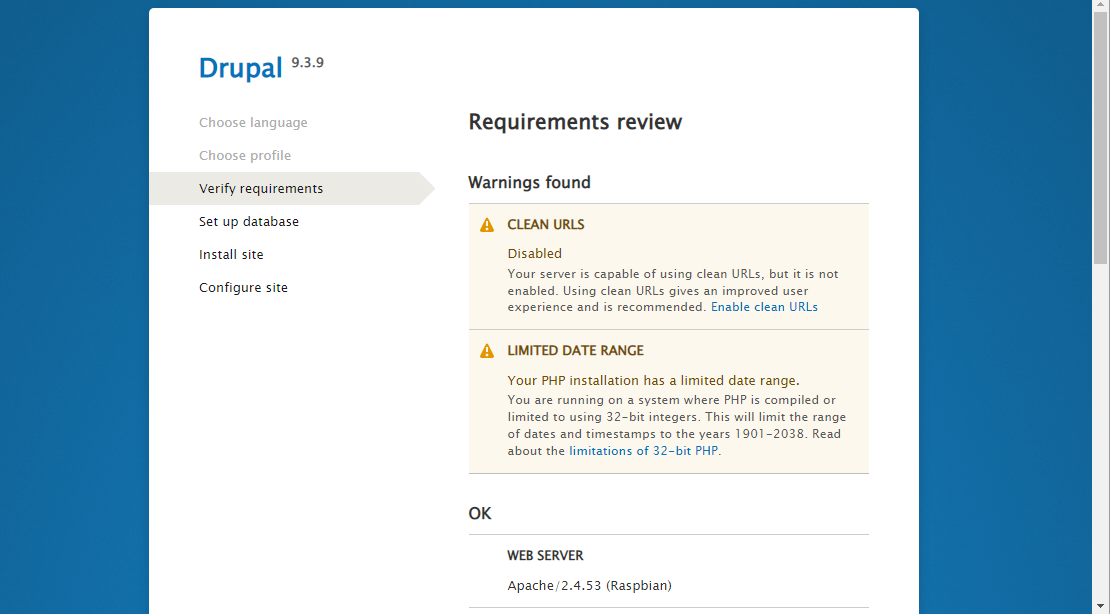
Step 21: In the next screen, you will review the requirements and enable the services that are required according to your preferences:
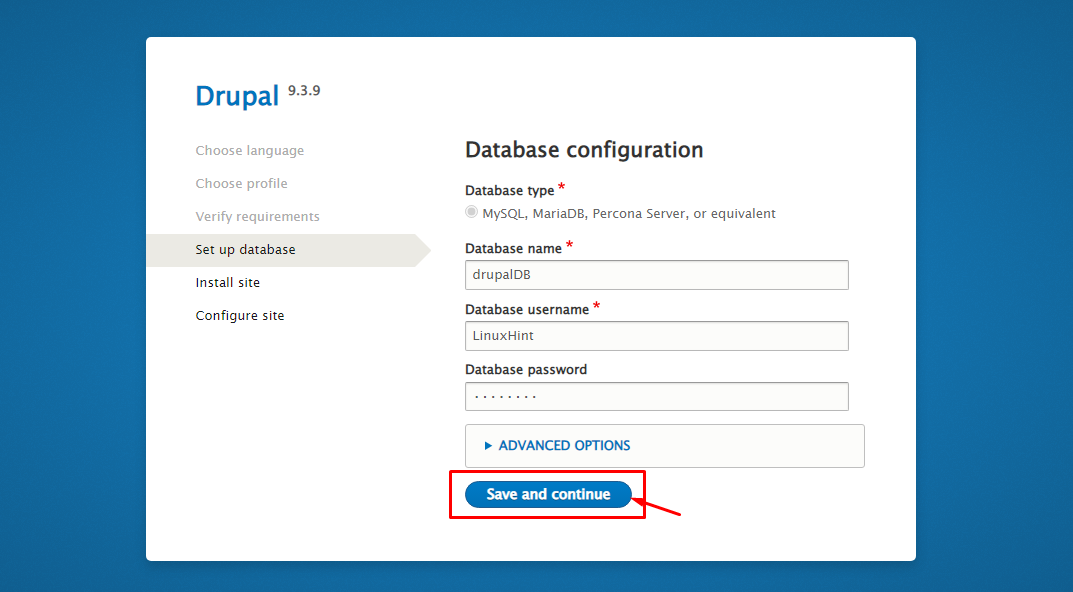
Step 22: Next up, fill the Database configuration you previously set in Step 9 and 10 and then click on the “Save and continue” option.

This will begin the installation of Drupal on the browser.

Step 23: Once the installation completes, you will need to configure your site with your choice. Fill the required information to set up your website.


Once you fill in the information and click on the “Save and continue” option, your website will appear on your browser as shown below.
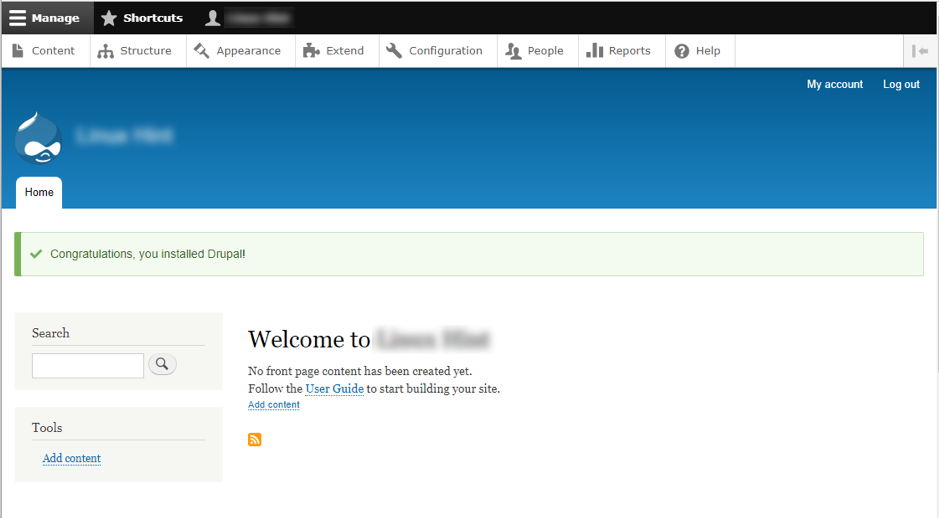
This also ensures that Drupal is successfully installed on your Raspberry Pi device and you can begin editing your website to give it a different look.
Conclusion
The installation of Drupal on Raspberry Pi will enable users the freedom to create and manage their websites without having the knowledge of HTML or web designing since it offers many templates that let you change the look of your website within no time. The installation steps are pretty simple and once you follow them carefully, you will then be able to run Drupal on your web browser and start editing your website with ease.