Wireshark is a cross-platform network analyzer tool used by Network Administrators, Security Engineers, Developers, and other stakeholders of the network analysis team in an organization. Wireshark analyzes the data packets and presents the details of each packet. One may consider it as a metric to analyze the efficiency of a network that is influenced by network packets.
Alongside its cross-platform support, Wireshark is a free and open-source tool for network analysis. Being a network analysis tool, this tool is not specific to an IT organization, it is also used by the organization/companies that are using network support.
In this writeup, we will provide an installation guide for Wireshark on Manjaro Linux and a basic user manual to get started with it.
How to install Wireshark on Manjaro
As it is open-source, it is included in the official repository of Manjaro. Now, there are two ways to get Wireshark on Manjaro:
- Using the graphical user interface
- Using Command-Line support of Manjaro
The methods mentioned above are pretty common while installing any package from the official repo of Manjaro. The upcoming sections provide a guide to install Wireshark on Manjaro by using both methods.
Method 1 : How to install Wireshark on Manjaro using the graphical interface
Manjaro comes with three desktop environments, that are KDE, GNOME, Xfce. We are using GNOME environment for our Manjaro. So, the steps included in this section are performed in GNOME.
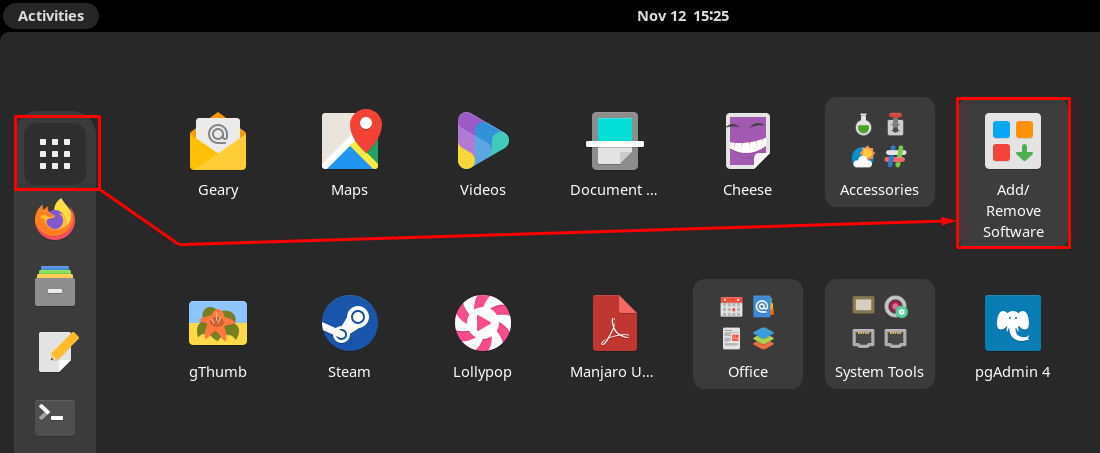
Step 1 : Click on the “Show Applications” option placed on the desktop. You will get all the applications of your Manjaro system. Locate “Add/Remove Software” and click on it.
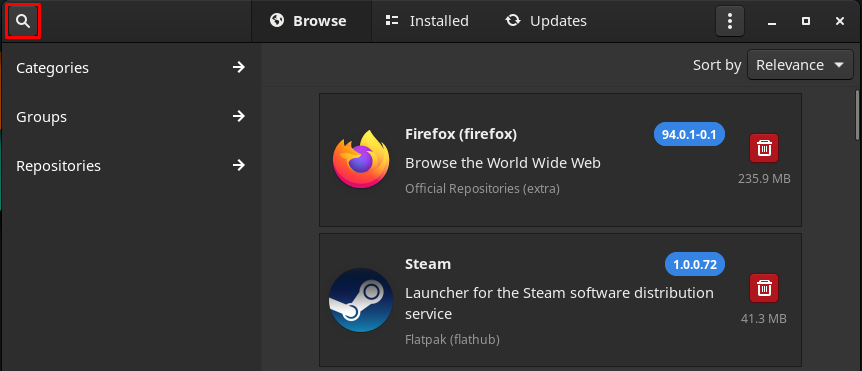
Step 2 : To enable the search box, click on the search icon.
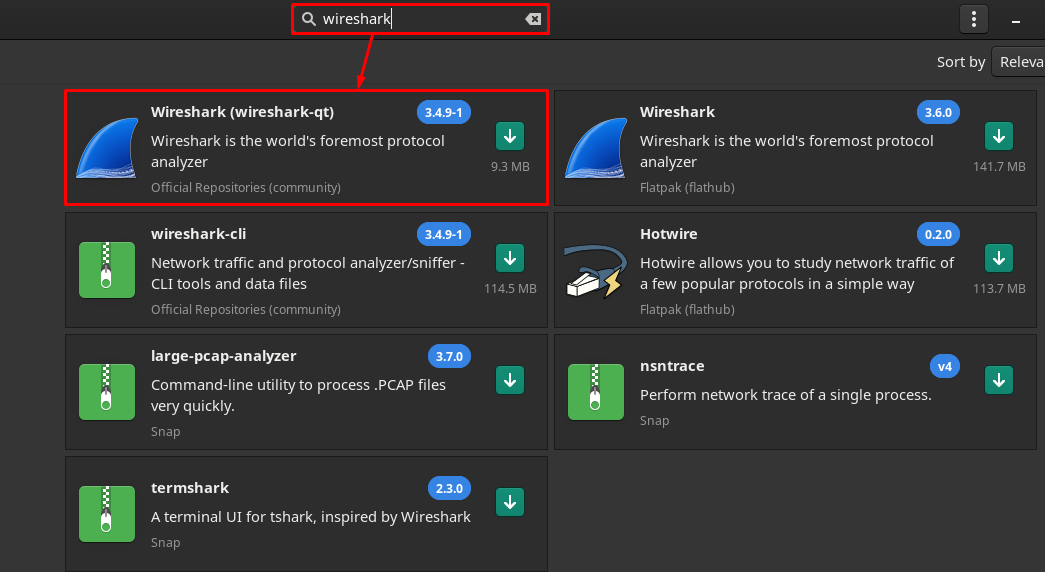
Type wireshark in the search box and press enter key to search. Now, navigate to the “Wireshark” (Official Repositories).
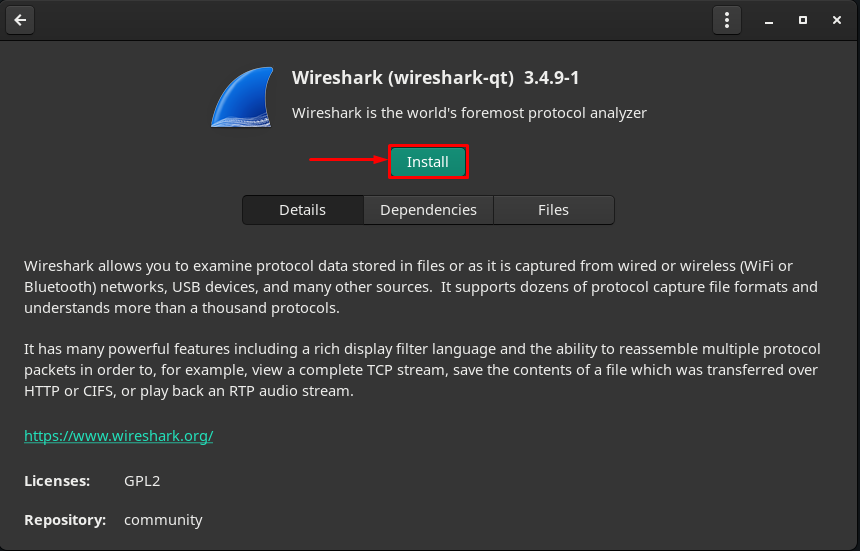
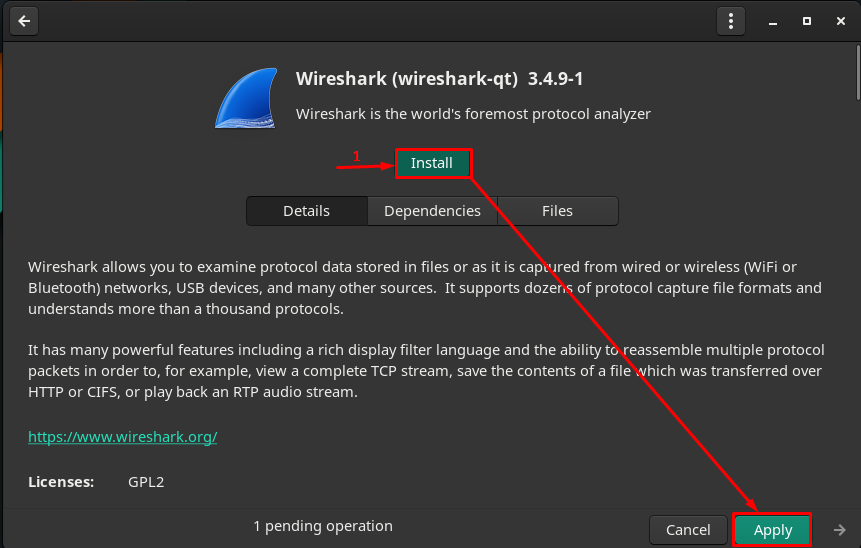
Step 3 : After clicking on “Wireshark“, you will get an Install button. Click on it to proceed:
The time you click on the Install button, an Apply button at the bottom of the window will be displayed. Click on it to continue :
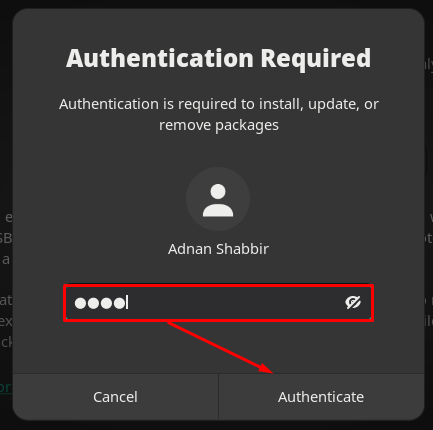
Step 4 : Now, authenticate by entering the password :
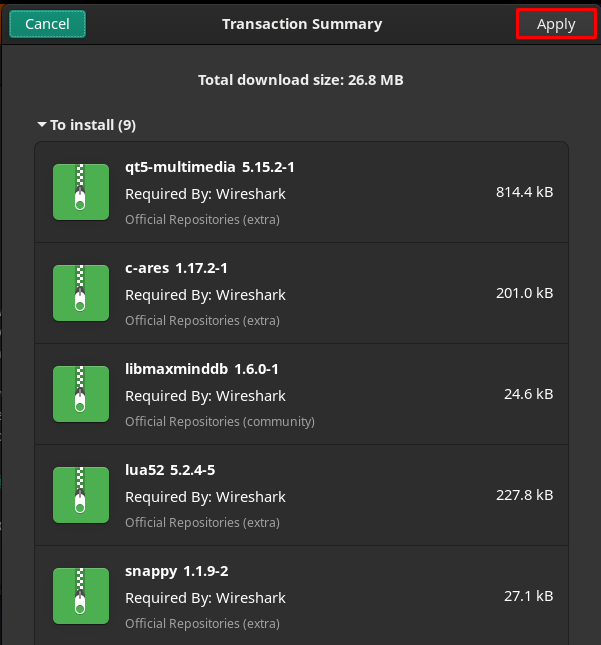
Step 5 : After authentication, click on Apply to start the installation of Wireshark and its dependencies.
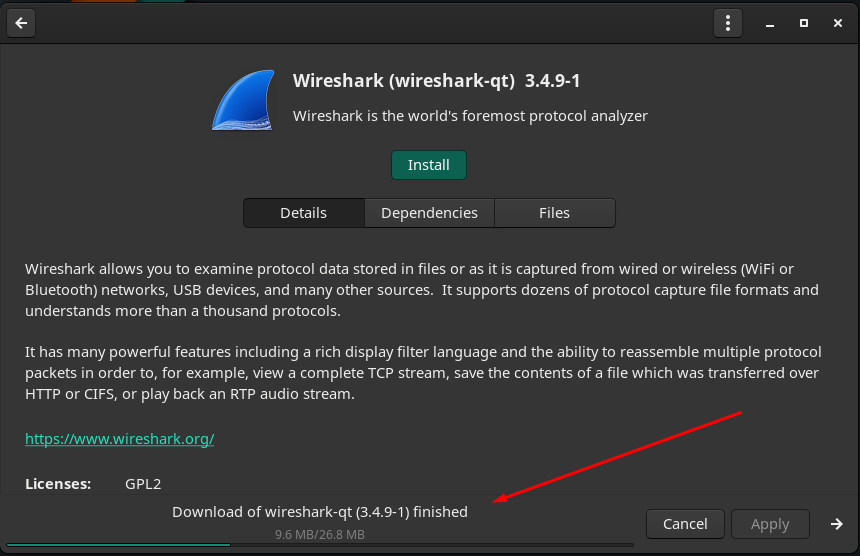
The installation will be started and will take few moments to complete
As soon the installation is completed, you will see Launch, Remove, and Reinstall buttons :
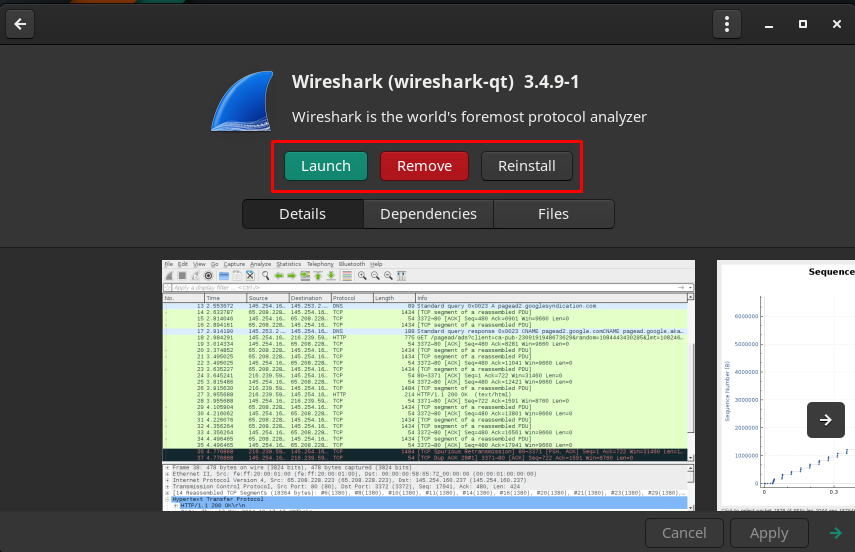
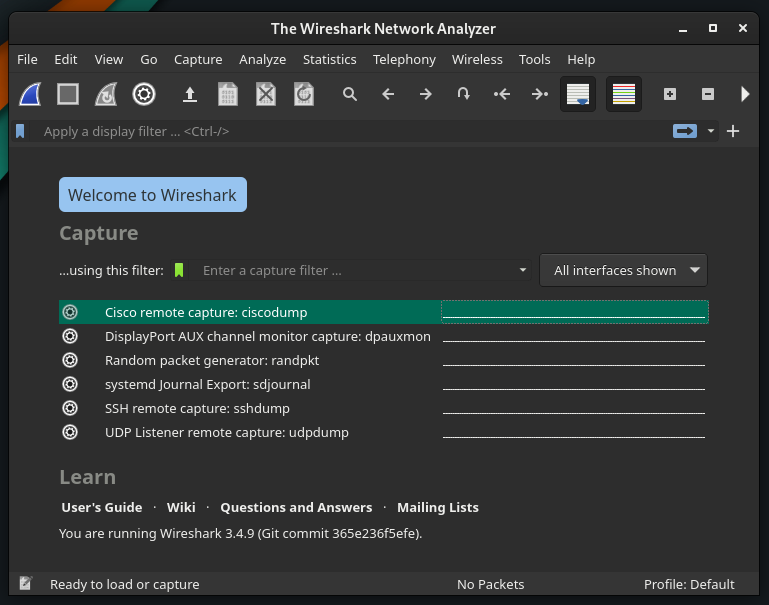
Click on the Launch button to start using the tool. The Wireshark application will be opened :
Note: It does not matter which environment you are using; the basic settings are the same across all the desktop environments of Manjaro.
Method 2 : How to install Wireshark on Manjaro using terminal
You can also install Wireshark using the Flathub repository as well. The official repository of Manjaro uses Pacman as a package manager, whereas the Flathub repository supports flatpak package manager. This section will provide the installation procedure using Pacman and flatpak.
How to install Wireshark using Pacman on Manjaro Linux
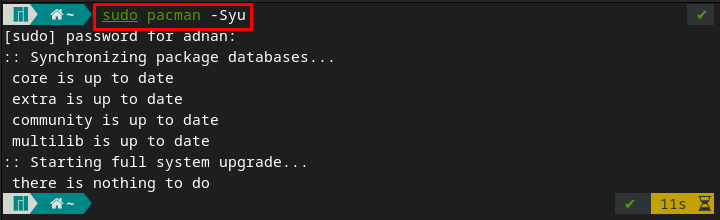
The Pacman manager helps to get the packages from the official repository of Manjaro. To get Wireshark, firstly synchronize and update the packages database with the help of the following command:
Now, execute the following command to install Wireshark on your Manjaro system :
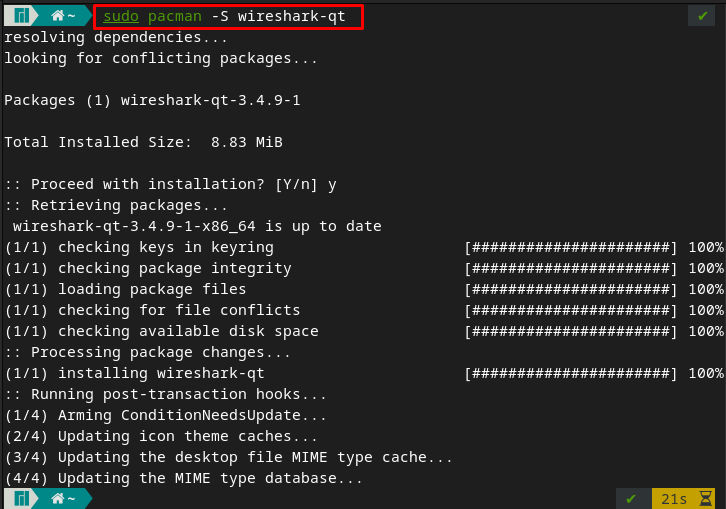
Once the package is installed, you can run it by providing the following keyword to your Manjaro’s terminal, and it will open Wireshark automatically.
How to install Wireshark using flatpak on Manjaro Linux
To install packages using flatpak, you must enable the Flathub repository first.
Step 1 : To use the Flathub repository, you must have flatpak installed on your Manjaro. The following command will install the flatpak.
Step 2 : After installing flatpak, enable the Flathub repository to get packages. To do so, use the below-mentioned command in Manjaro’s terminal.
Note : If you have already installed the flatpak and enabled the repository. You may skip the first two steps.
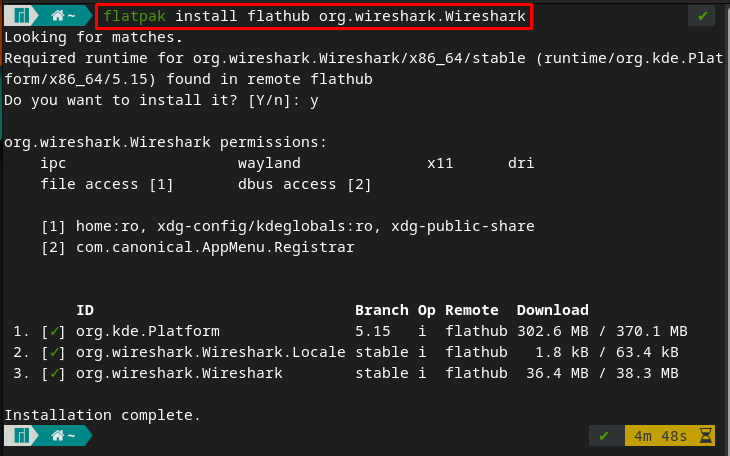
Step 3 : Once the repository is enabled, you can install Wireshark by issuing the command written below :
How to use Wireshark on Manjaro
This section briefly provides the usage of Wireshark on Manjaro Linux. Firstly, open the Wireshark by issuing the following keyword from your terminal :
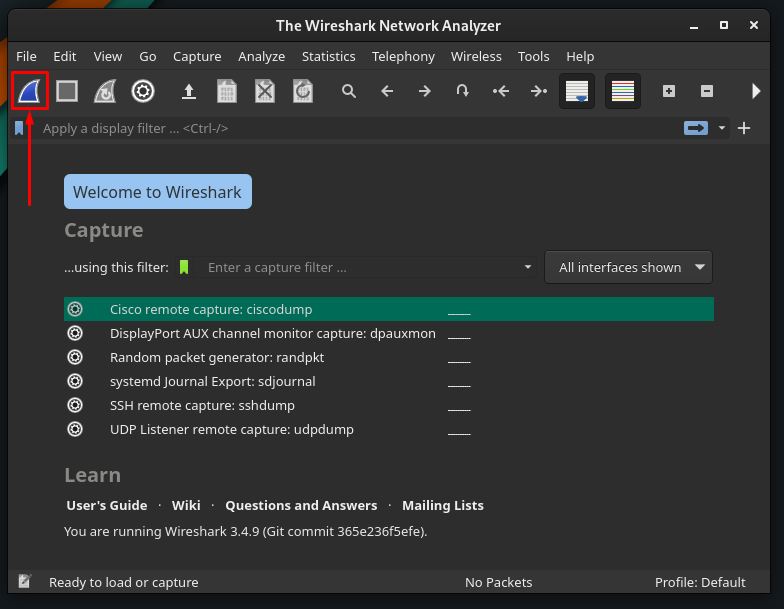
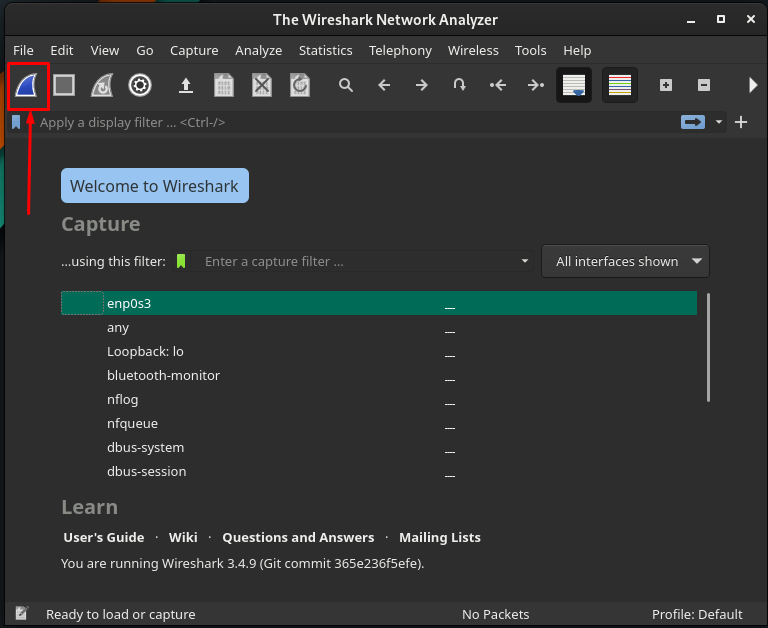
Capture the Data Packets : The primary purpose of Wireshark is to capture data packets over a network. Click on the Wireshark icon placed on the menu bar of the application.
The first time you will try to capture packets, you may encounter the following error.
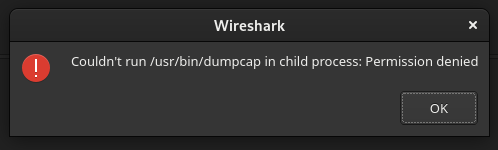
To solve this, you have to grant the execution permission to the file named /usr/bin/dumpcap. To do so, use the following command.

Now, restart your Wireshark application, and again click on the Wireshark icon to start capturing the packets.
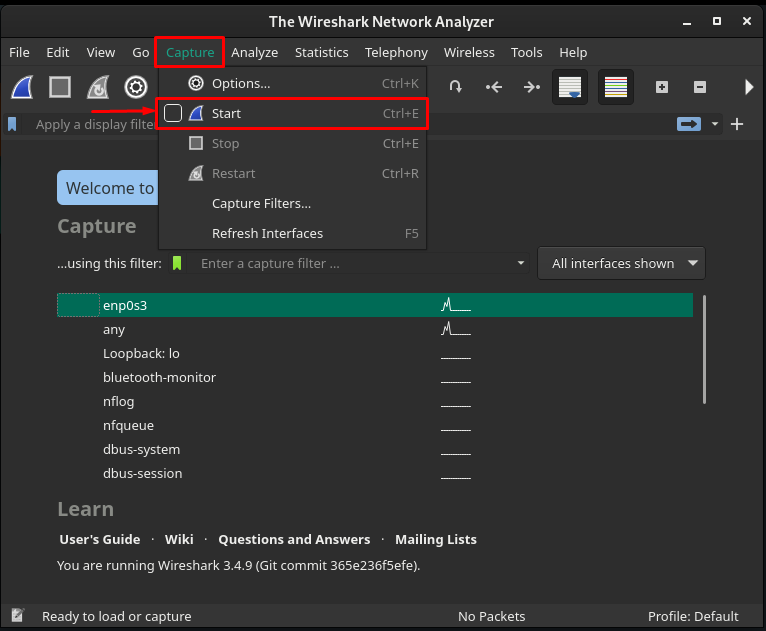
Or you can start the capturing by navigating to the Capture option on the menu bar and clicking on the Start option. Moreover, you can do the same by using the keyboard shortcut “Ctrl+E.
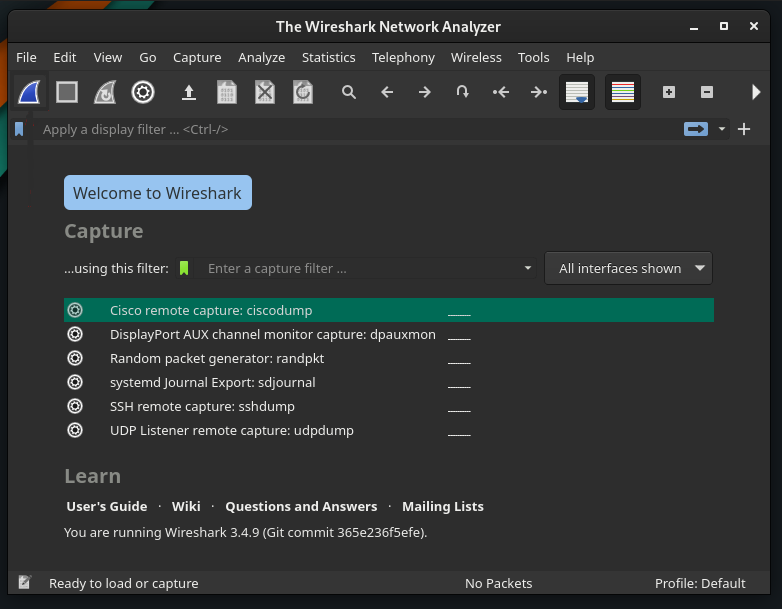
After starting the capturing process, you will get the following interface of Wireshark, and you can get detailed information about the packets being captured.
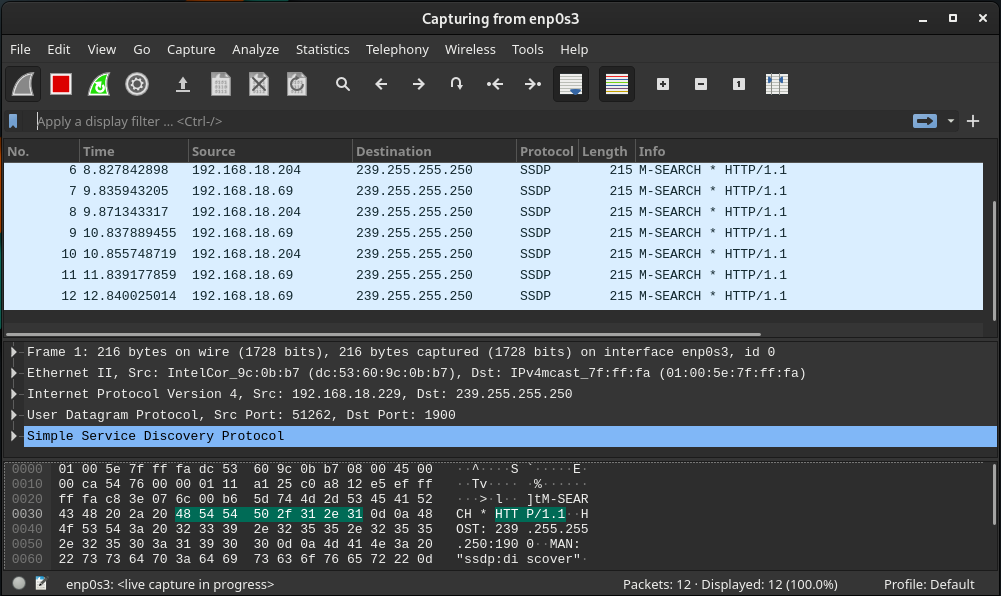
Analyzing Data Packets : The time you click on it, you will find an interface that shows the capturing of data packets. The packet information is divided into three panes. The first pane shows the total number of packets being captured time by time. The other two panes show the information of each packet when you click on it.
Moreover, on the foot bar of the Wireshark window, you will get the number of captured and displayed packets.

Default Columns of Wireshark : By default, the main pane of the window shows seven columns against each captured packet. And they are explained below.
- No : This column contains a numeric value that shows at which number the packet was captured.
- Time : You can get the time taken to capture each packet.
- Source : Represents the IP address of the device (from where the packet came).
- Destination : This shows the machine’s(to which a packet is sent) IP address.
- Protocol : This shows the type of each sent packet. And it can be DNS, MDNS, TCP.
- Length : Represents the size of each packet in bytes
- Info : The last column represents the detailed information of each packet and may vary according to the nature of the packets.
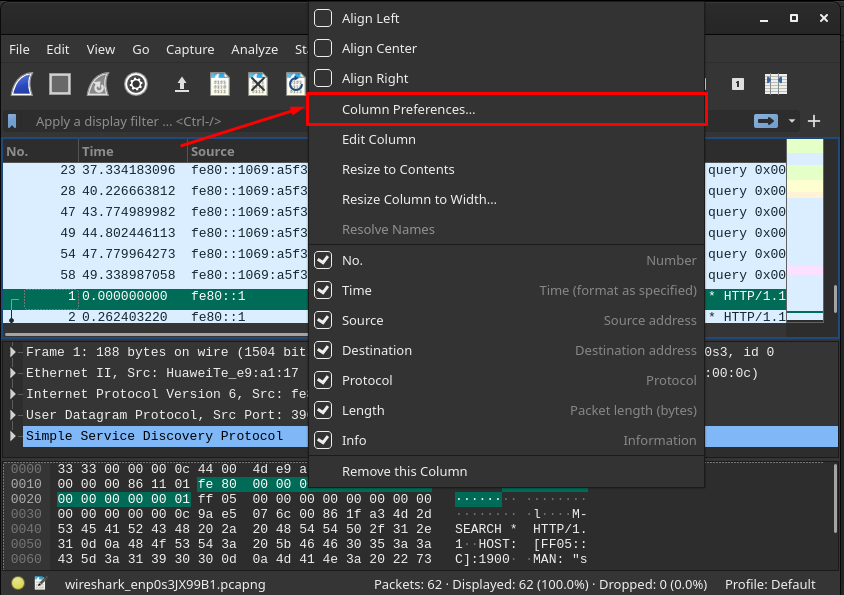
Customize the Columns : Apart from the default columns, you can customize the columns as per your requirement. To do so, Right-click on the columns of the main pane and choose “Column Preferences“.
The following windows contain “+” and “–” sign options at the foot bar. To add columns, click on “+“:
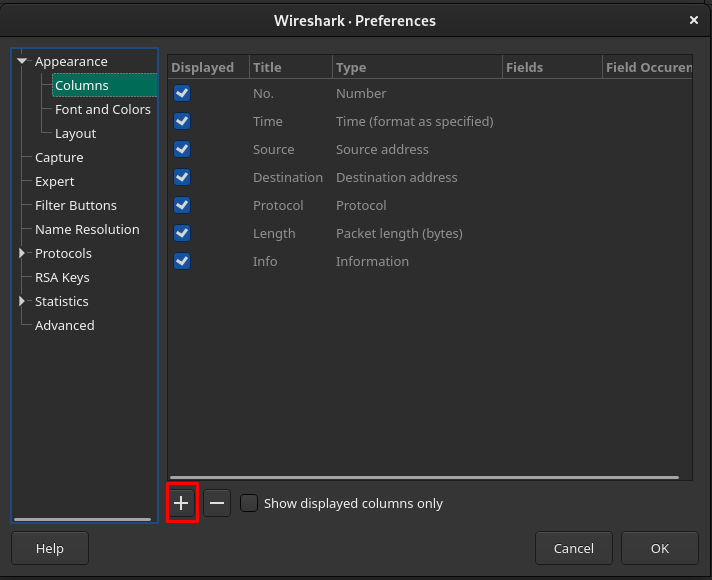
After that, a new column will be added to the list and you can set the title and type of that packet. After that click on “OK” to change the settings.

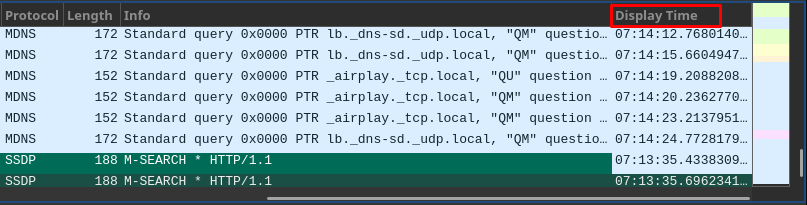
After doing so, you will get a new column after the “Info” column, and it will show the results according to its Type. For instance, we have added a new column and set the Type to “UTC time”. So, the captured time of each packet will be displayed.
Manage the captured file : The displayed results are referred to as a Capture file. So, one can perform several actions on this file. For this, you have to navigate to the options bar as highlighted in the image shown below.
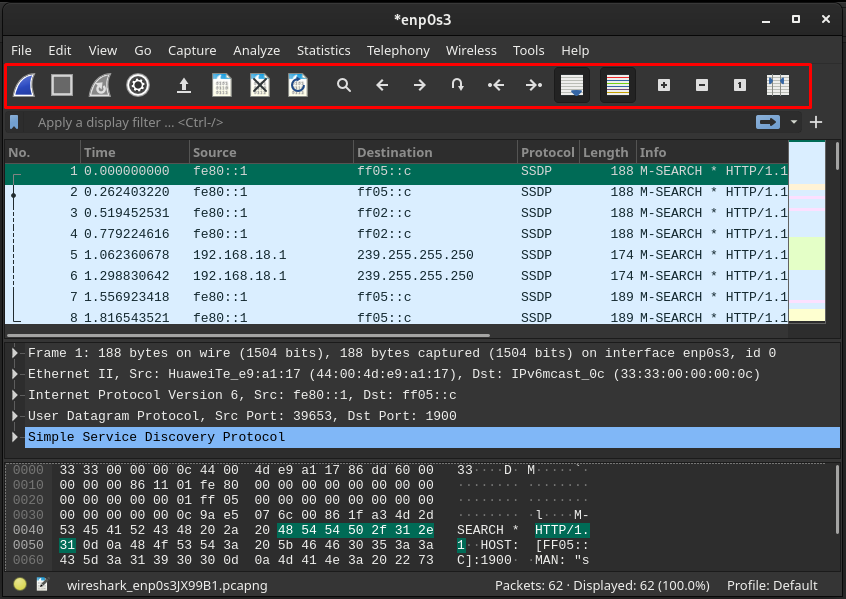
You can save, close, and reload the current file by navigating to the options shown below:
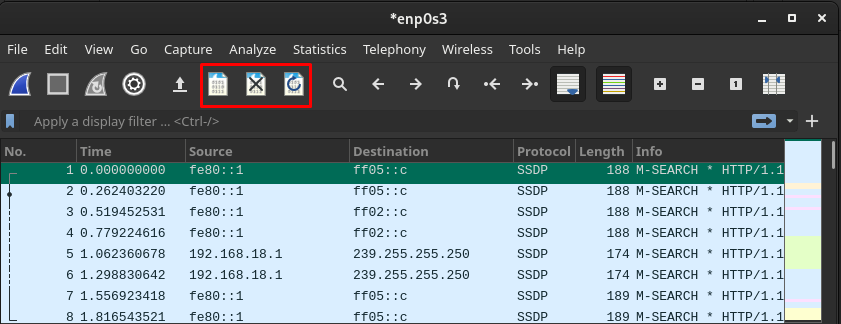
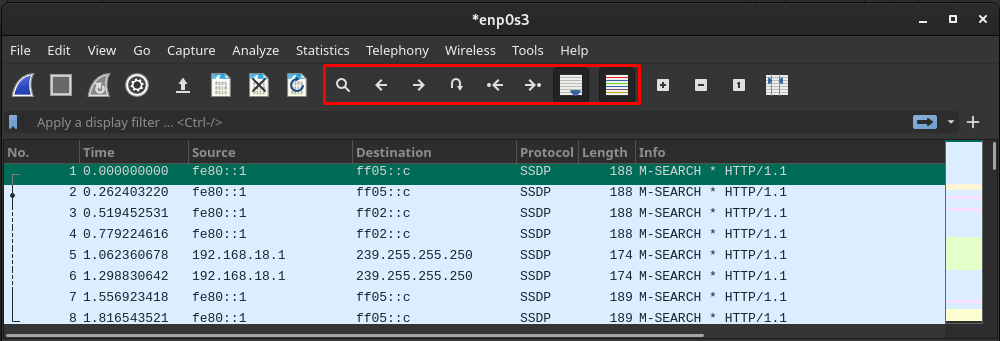
Moreover, you can navigate to any packet by using the options highlighted in the image below:
These options allow you to :
- Search for any packet by clicking on the search icon
- Move to previous/next packet
- Jump to first/last packet
- Automatically scroll to the last packet
Conclusion
Wireshark is an open-source and cross-platform tool to analyze data capturing of your network. The open-source and cross-platform support enables the users to use it on Linux-based systems as well. In this article, we have presented a brief installation guide as well as the usage of Wireshark on Manjaro Linux. The installation guide contains graphical and command-line methods to build a choice for users. This descriptive manual is useful for Network Administrators, Network Security professionals, and users who have just started using Manjaro for Network management purposes.