This blog will explain the methods to implement auto scroll in JavaScript.
How to Implement Auto Scroll in JavaScript?
To implement auto scroll in JavaScript, the following methods can be applied:
The following approaches will demonstrate the stated concept one by one!
Method 1: Implement Auto Scroll in JavaScript Using window.scrollTo() Method
The “scrollTo()” method scrolls the Document Object Model(DOM) according to the specified coordinate values. This method can be implemented to auto scroll any HTML element according to the given coordinate values.
Syntax
In the given syntax, x and y refer to the “X” and “Y” coordinates, respectively.
Let’s check out the below-given example to understand the stated concept.
Example
In this example, we will create a button with an “onclick” event invoking the function autoScroll():
Now, include a heading in the “<h2>” tag:
After that, we will add two images with their paths and set their dimensions using the height and width properties:
<img src= "sample.JPG" height= "855" width= "355">
Lastly, define a function named “autoScroll()”. In its function definition, apply the “window.scrollTo()” method and set the coordinates according to your requirements. In our case, we have set “0” as the X coordinates and “200” as the Y coordinates:
window.scrollTo(0, 200);
}
The corresponding output will be:
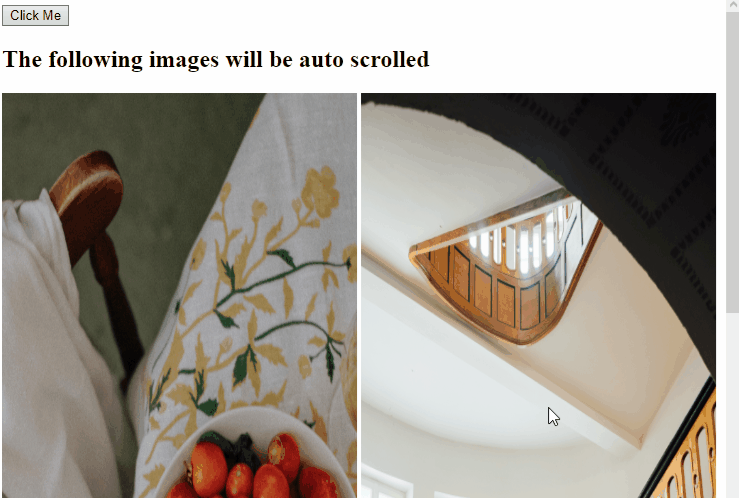
In the above output, it can be observed that the scroll bar is scrolled to a certain location according to the set values in the scrollTo() method.
Method 2: Implement Auto Scroll in JavaScript Using window.scrollBy() Method
The “scrollBy()” method scrolls the document according to the given number of pixels in the argument. More specifically, we will utilize this method to auto scroll the DOM to the bottom upon the button click.
Syntax
In the above syntax, “x” and “y” refers to the horizontal and vertical pixel values utilized for scrolling.
Example
Firstly, create a button with an “onclick” event redirecting to the function “autoScroll()”:
Next, include the following heading as discussed in the previous method:
Similarly, use the “src” attribute to add the images path and set their dimensions:
<img src= "sample.JPG" height= "655" width= "425">
<img src= "template.JPG" height= "655" width= "425">
Now, we will include two paragraphs in the “<p>” tag:
<p>Template literals use the backtick (`) characters and are mainly used for string interpolation. This technique can be utilized to display the specified string value against the corresponding template literal utilized for it. It will be placed in the original function definition along with the value of the callback function.
</p>
Finally, define the function named “autoScroll()”. Here, apply the “window.scrollBy()” method and set the number of pixels such that it auto scrolls to the required location of the DOM:
window.scrollBy(0, 500);
}
In our case, auto scroll will scroll down towards the bottom of the page:
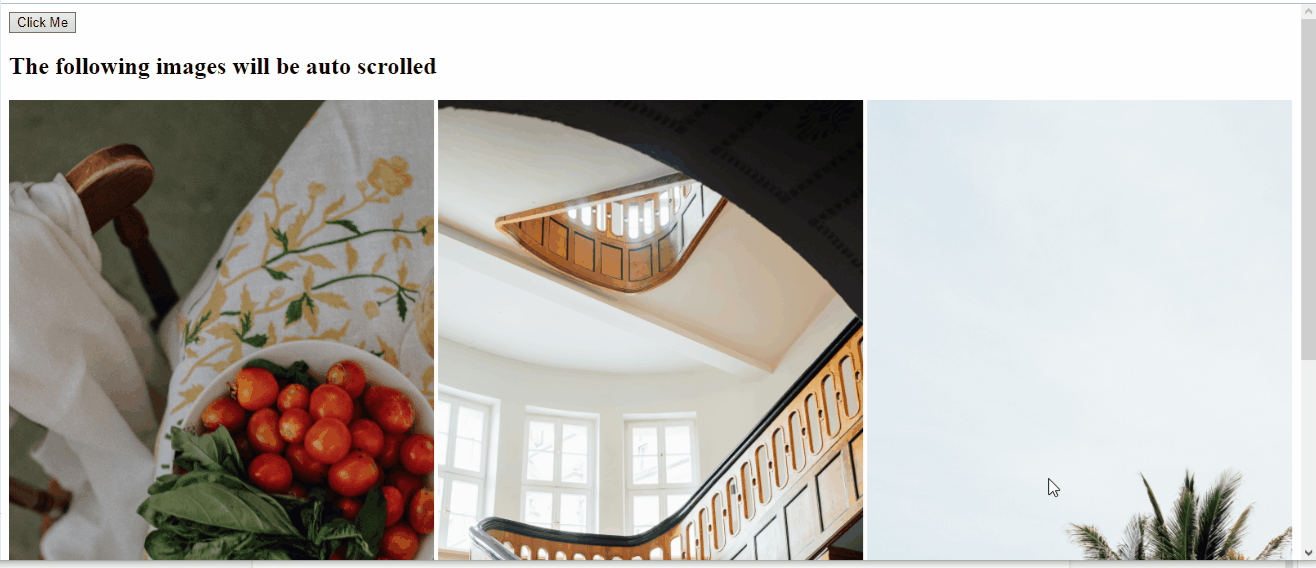
In the above output, it can be seen that the DOM is auto scrolled till the bottom upon the button click.
Method 3: Implement Auto Scroll in JavaScript Using jQuery
This technique can be implemented to auto scroll the specified image by including the “jQuery” library and its methods, such as scrollTop() and height(). More specifically, we will use the scrollTop() method to set the vertical scrollbar position for the selected elements.
Syntax
Here, the “selector” indicates the “document” in the below discussed example.
The following example illustrates the stated concept.
Example
First, specify the source of the “jQuery” library in the script tag:
Next, apply the “$( document ).ready()” method which will function once the page Document Object Model (DOM) is ready for the JavaScript code to execute and the “scrollTop()” method will return the vertical scrollbar position in the DOM.
$(document).scrollTop($(document).height());
});
Lastly, we will add two headings in the “<h1>” tag and an image using the “src” attribute:
<h1>This image will be auto scrolled</h1>
<img src= "sample.JPG" height= "855" width= "355">
Output

We have discussed various methods to implement the auto scroll using JavaScript.
Conclusion
To implement auto scroll in JavaScript, utilize the “window.scrollTop()” method to scroll the DOM according to the given coordinates values, the “window.scrollBy()” method to scroll the document with respect to the given number of pixels in the argument, or the jQuery “scrollTop()” method for setting the vertical scrollbar position of the selected element. This manual discussed the methods for implementing auto scroll in JavaScript.