This write-up will demonstrate the method for uploading the image using JavaScript and HTML.
How to Upload a Simple Image Using JavaScript/HTML?
To upload a simple image using JavaScript, first, we will add an image tag in the HTML page and then utilize the JavaScript code to load and select the image into the web page.
For practical implications, try out the stated instructions.
Example
First of all, follow the given instructions:
- Insert the “<input>” element and specify the type of the input as “file”.
- This “file” type determines the field in the file-select and a “Browse” button for uploading the files.
- “<br>” tag inserts a line break.
- Then, insert an “<img>” HTML tag and add the “id” attribute to specify the unique id with a particular name.
- “src” attribute used to add the URL of the media file:
<br>
<img id="myImg" src="#">
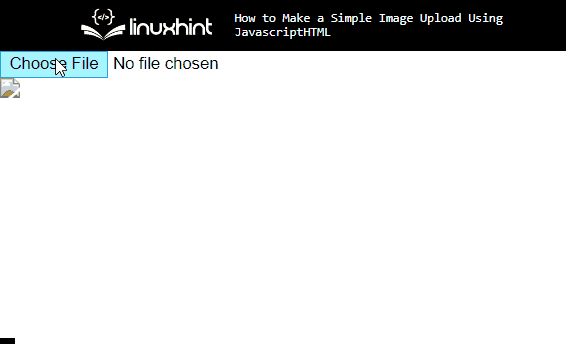
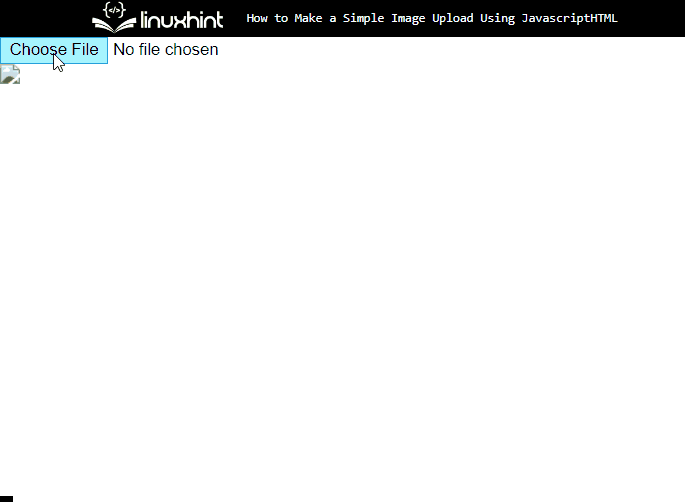
It can be noticed that a file option has been created, and it can only display the image name after accepting it an input:
Now, inside the “<script>” tag, utilize the following code:
window.addEventListener('load', function () {
document.querySelector('input[type="file"]').addEventListener('change', function () {
if (this.files&&this.files[0]) {
varimg = document.getElementById('img_content');
img.onload = () => {
URL.revokeObjectURL(img.src);
}
img.src = URL.createObjectURL(this.files[0]);
}
});
});
</script>
In the above code snippet:
- “addEventListener()” JavaScript method permits inserting or attaching a defined event handler to an element.
- “querySelector()” is a method that is used to return the first item in the particular document that links with the particular selector.
- “getElementById()” method is utilized for getting the element by using the defined id. For that purpose, the value of the is passed as the parameter.
- “revokeObjectURL()” releases an existing object URL created by using the URL. To do so, the URL of the image is passed as the parameter of this method.
- “createObjectURL()” is a JavaScript static method that makes a particular string have a URL that represents the object passed in the parameter.
Output
It can be noticed that we have successfully uploaded a simple image.
Conclusion
To upload the simple image using JavaScript, use the “addEventListener()” method that permits inserting or attaching a defined event handler to an element. Then, access the defined element by id and utilize the “revokeObjectURL()” and “createObjectURL()” methods. This post stated the simple image upload method using JavaScript/HTML.