This guide explains how to develop a resizable div using JavaScript.
How to Develop a Resizable Div Using JavaScript?
To develop a resizable div use the built-in JavaScript “resize” property. The “resize” property allows the users to resize an element both horizontally or vertically by dragging its bottom right corner.
Note: The “resize” property cannot implement on inline and block elements whose “overflow” property is set to “visible”. This is because the overflow “visible” property automatically changes the element size depending on its content. So, the user needs to set the “overflow” property values other than “visible” like “scroll”, “auto”, or “hidden”.
Let’s use the above-defined property practically to develop a resizable div.
Example 1: Applying the “resize” Property
First, look at the stated HTML code that creates a sample div element.
HTML Code
Resize Me!
</div>
In the above code block, the “<div>” tag adds a div element with an id “myDiv”, and is styled with the help of the following (height, width, border, and padding-top) styling properties.
Now, “resize” the created div element both “horizontally and vertically”.
JavaScript Code
var elem = document.getElementById("myDiv");
elem.style.resize = 'both';
elem.style.overflow = 'auto';
</script>
In the above code lines:
- The “elem” variable applies the “getElementById()” method to access the added div element using its assigned id “myDiv”.
- Next, the “elem” variable uses the “style.resize” property having value “both” to make the given div element resizable in both directions(horizontal and vertical).
- Lastly, associate the “elem” variable with the “style.overflow” property with the “auto” value that adds a scroll bar if required.
Output
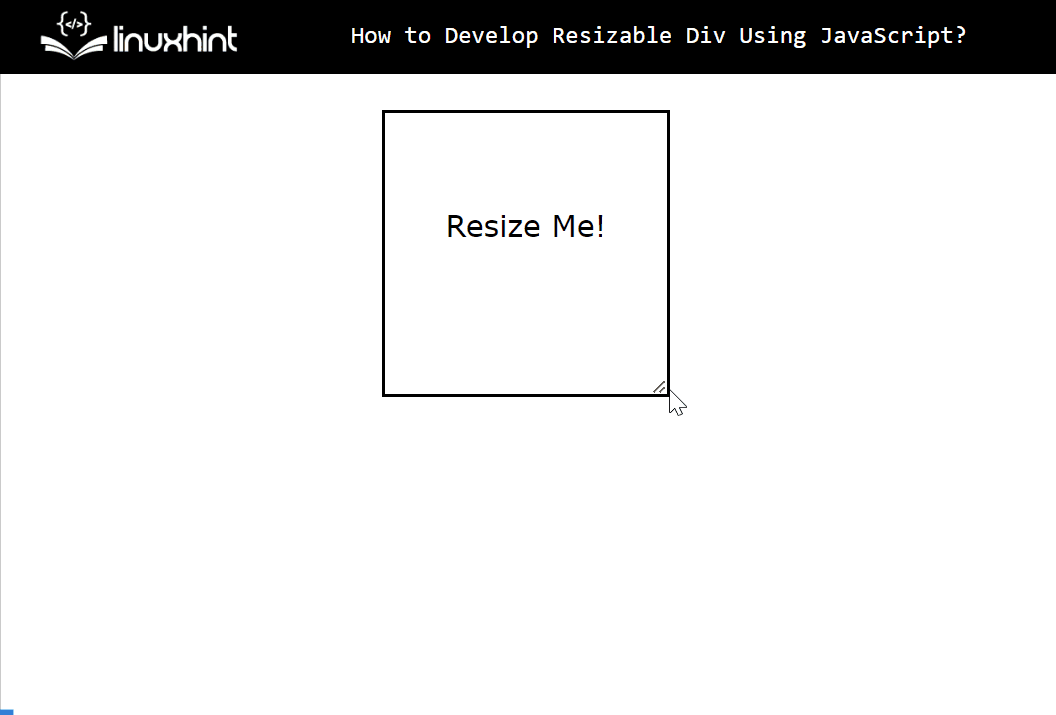
It can be seen that the given div element is now a resizable element that can be resized in both directions(horizontal and vertical) by dragging its bottom right corner.
Example 2: Resizing Div Horizontally
The user can also resize the div element in only a horizontal direction by specifying the “resize” property with a “horizontal” value like this:
var elem = document.getElementById("myDiv");
elem.style.resize = 'horizontal';
elem.style.overflow = 'auto';
</script>
Output
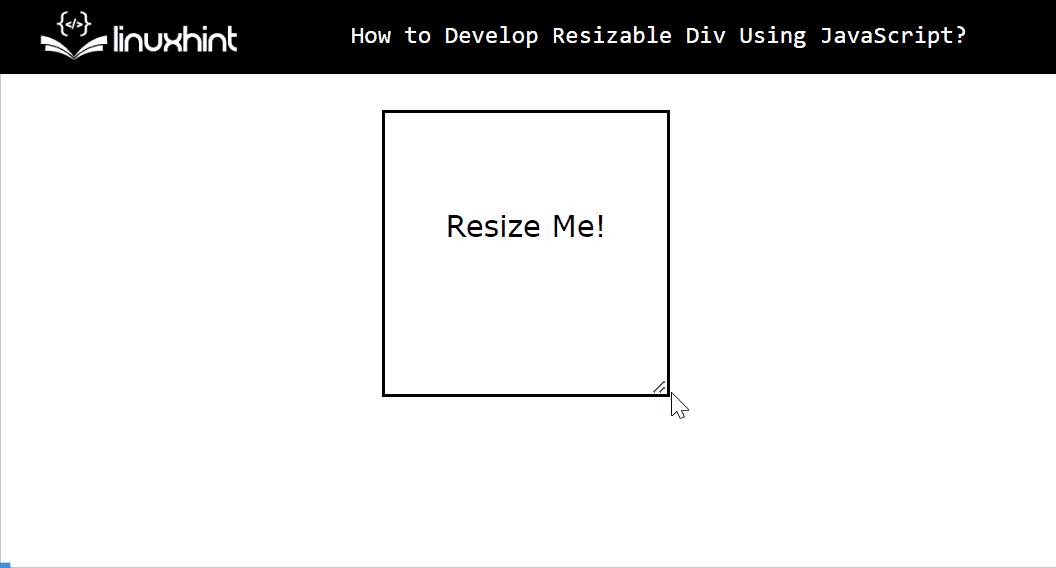
This time the given div element is only resized in the horizontal direction.
Example 3: Resizing Div Vertically
Similar to “horizontal”, the div element can also be resized in a “vertical” direction:
var elem = document.getElementById("myDiv");
elem.style.resize = 'vertical';
elem.style.overflow = 'auto';
</script>
Output
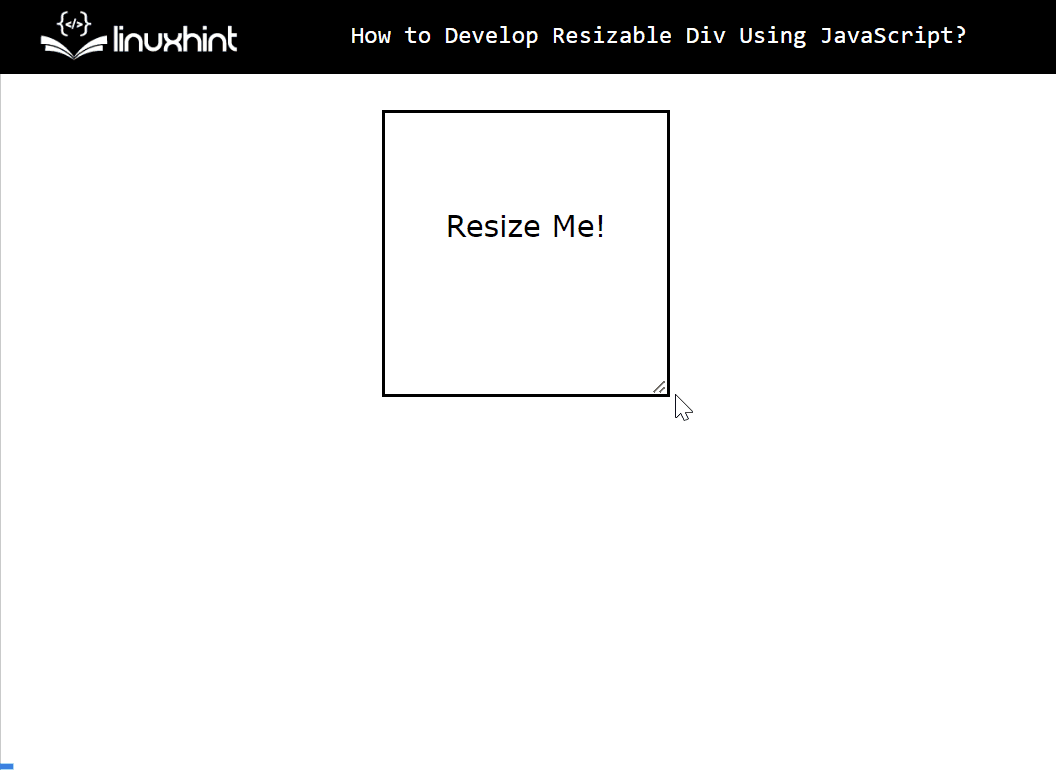
This time, the div element only changes its size vertically.
Conclusion
JavaScript offers the “resize” property of the “Style” object to develop a resizable div. This property resizes the div element in both directions i.e. horizontal and vertical. However, it can also be utilized to resize a div in a specific direction(horizontally or vertically). This guide demonstrated the complete procedure to develop a resizable div using JavaScript.