You can download an ISO image of Kali Linux from the official website of Kali Linux and install it on your computer. You can also run Kali Linux Live without installing it on your computer.
You can build your own Kali Linux ISO image as well. You can use the official Kali Linux build-scripts to add new packages, change the default desktop environment, overlay new files, etc. to your Kali Linux ISO image. You can configure almost every aspect of your Kali Linux ISO image.
In this article, I am going to show you how to build your own Kali Linux ISO image. So, let’s get started.
Table of Contents:
- Requirements
- Installing Dependency Packages
- Cloning the Kali Linux build-scripts Repository
- Changing the Desktop Environment
- Configuring the Included Packages
- Overlaying Files in Your Custom ISO Image
- Use a Custom Package Mirror for Building Kali Linux ISO Image
- Building a Kali Linux ISO Image
- Conclusion
- References
Requirements:
To build your own Kali Linux ISO image, you need to have Kali Linux installed on your computer. You can also boot Kali Linux in Live mode and use it to build a custom Kali Linux ISO image.
NOTE: You can build your own Kali Linux ISO image in other Debian-based Linux distributions as well. But, that’s out of this article’s scope.
If you need any assistance on installing Kali Linux on your computer, check out the following articles:
Installing Dependency Packages:
First, update the APT package repository cache with the following command:
The APT package repository cache should be updated.
Run the following command to install all the packages that are required to build a custom Kali Linux ISO image:
To confirm the installation, press Y and then press <Enter>.
The APT package manager should start downloading all the required packages from the internet. It may take a while to complete.
Once the packages are downloaded, the APT package manager should install them. It may take a while to complete.
At this point, all the required packages should be installed.
Cloning the Kali Linux Build-scripts Repository:
Now, navigate to the ~/Downloads directory as follows:
Run the following command to clone the Kali Linux build-scripts Git repository:
The Kali Linux build-scripts repository is being cloned. It may take a few seconds to complete.
The Kali Linux build-scripts repository should be cloned at this point.
A new directory live-build-config/ should be created in the ~/Downloads directory.
Now, navigate to the live-build-config/ directory as follows:
In the live-build-config/ directory, you should find the following files and folders:
In the live-build-config/ directory, you should find the build.sh script. This is the script that is used to build a Kali Linux ISO image. There are many command-line options that you can use to customize the Kali Linux ISO image. In the next few sections, I will talk about the available command-line options of the build.sh script.
Changing the Desktop Environment:
At the time of this writing, Kali Linux uses the XFCE desktop environment by default. So, the Kali Linux ISO image will boot the XFCE desktop environment in live mode and can be used to install the XFCE desktop environment variant on your computer.
You can build a different variant of the Kali Linux ISO image if you want to use a different desktop environment.
To change the desktop environment of the Kali Linux ISO image, use the –variant command-line option of the build.sh script followed by the Kali Linux variant you want to use.
At the time of this writing, the supported variants are:
- xfce – This is the default Kali Linux variant. This variant uses the XFCE desktop environment.
- gnome – This variant uses the GNOME 3 desktop environment.
- kde – This variant uses the KDE desktop environment.
- lxde – This variant uses the LXDE desktop environment.
- mate – This variant uses the MATE desktop environment.
- e17 – This variant uses the Enlightenment desktop environment version 17.
- i3wm – This variant uses the i3 window manager. This is a tiled window manager.
Configuring the Included Packages:
The list of packages that will be included in your Kali Linux ISO image will be in their own directory in the kali-config/ directory.
Each variant has its own directory as you can see in the screenshot below.
As you can see, the variant-default/ directory is a symbolic link to the directory variant-xfce/. I have told you that Kali Linux uses the XFCE desktop environment by default. So, xfce is the default variant. Any changes you make to the variant-default/ directory are actually the changes you’re making to the variant-xfce/ directory.
Note that I will make changes to the default variant (variant-default/ directory) of the Kali Linux in this article just to keep things simple. You can make changes to any other variant you desire.
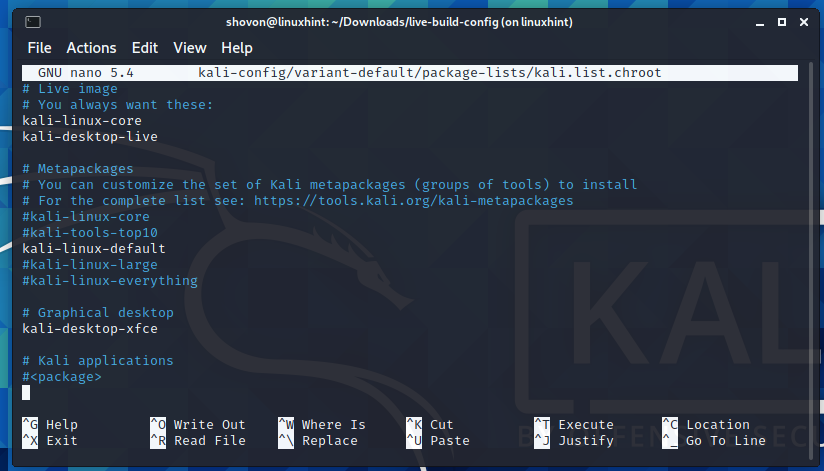
In each of the variant-*/ directory, you will find a package-lists/ directory and in there you will find a kali.list.chroot file as you can see in the screenshot below. In the kali.list.chroot file, all the packages that are to be included in the Kali Linux ISO image should be listed.
To add new packages to your Kali Linux ISO image, open the kali.list.chroot file from your desired variant directory with the nano text editor as follows:
The kali.list.chroot file should be opened.
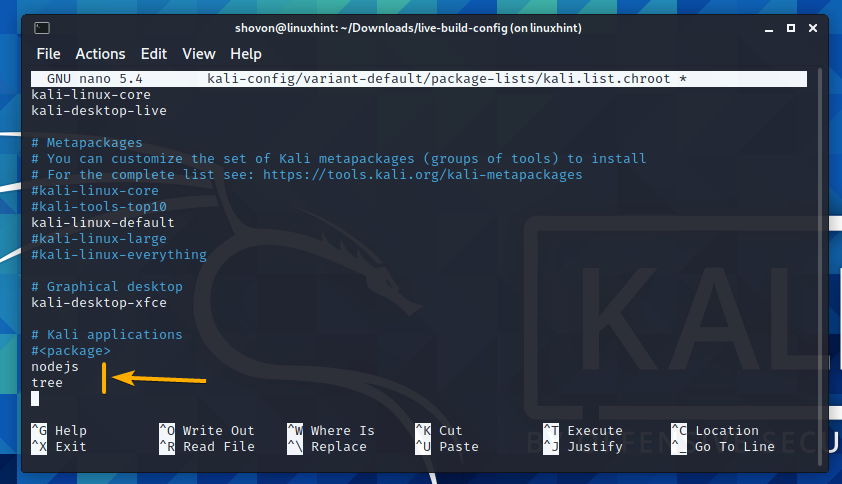
Let’s say you want to add the packages nodejs and tree to your custom Kali Linux ISO image.
Type in the name of the packages (nodejs and tree for example) that you want to add at the end of the kali.list.chroot file. Each package in its own separate line as marked in the screenshot below. Once you’re done, press <Ctrl> + X followed by Y and <Enter> to save the kali.list.chroot file.
That’s it. When you build the Kali Linux ISO image, the packages that you’ve included will be there.
Overlaying Files in Your Custom ISO Image:
You can overlay files or directories (add new files/folders on top of the existing Kali Linux files/folders) to your Kali Linux ISO image and the root filesystem of your Kali Linux ISO image.
There is a difference between overlaying files or directories on top of the Kali Linux ISO image and the root filesystem of your Kali Linux ISO image.
If you overlay files or directories on top of the Kali Linux ISO image, the files or directories will be available when you mount the Kali Linux ISO image in read-only mode. The files or directories will not be copied to your Kali Linux installations. The files or directories will not be available in the root directory (/) of your Kali Linux installations. They will also not be available in the root directory (/) when you boot Kali Linux in Live mode using the custom Kali Linux ISO image.
If you overlay files or directories on top of the root filesystem of your Kali Linux ISO image, the files or directories will be available in the root directory (/) of your Kali Linux installations. They will also be available in the root directory (/) when you boot Kali Linux in Live mode using the custom Kali Linux ISO image.
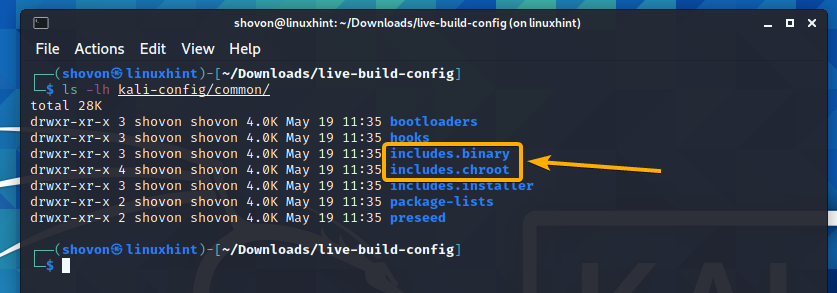
In the kali-config/common/ directory, you should find the includes.binary/ and includes.chroot/ directory as marked in the screenshot below.
includes.binary/ – Any files or directories you put in this directory will be overlayed on top of your Kali Linux ISO image.
includes.chroot/ – Any files or directories you put in this directory will be overlayed on top of the root filesystem of your Kali Linux ISO image.
Use a Custom Package Mirror for Building Kali Linux ISO Image:
Every time you build a Kali Linux ISO image using the official Kali Linux build-scripts, you need to download a lot of packages from the internet. This may take a lot of time to complete which in turn will increase the time you need to build a custom Kali Linux ISO image.
So, if you’re building a lot of Kali Linux ISO images, then you may want to use your own local Kali Linux package mirror to speed up the downloads. This in turn will speed up the build process of the Kali Linux ISO image.
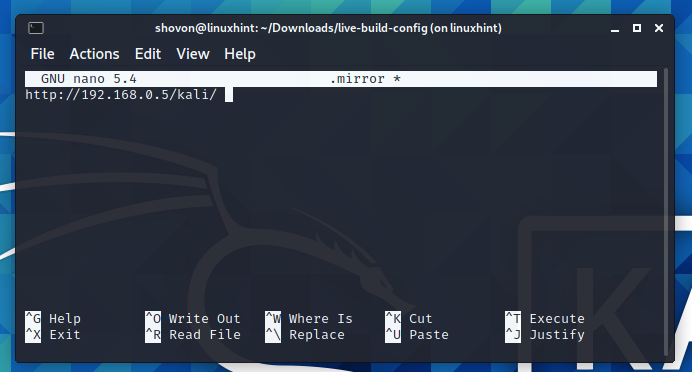
To use your own package mirror for building Kali Linux ISO images, create a new file .mirror in the root of the official Kali Linux build-scripts directory as follows:
Now, type in the URL of your local Kali Linux mirror.
Once you’re done, press <Ctrl> + X followed by Y and <Enter> to save the .mirror file.
From the next Kali Linux ISO build, your local Kali Linux package mirror should be used.
Building a Kali Linux ISO Image:
Now that you know the most common command-line options and methods of customizing the Kali Linux ISO image, you can finally build your own Kali Linux ISO image.
To build a Kali Linux Live ISO image that uses the default desktop environment, you can run the build script as follows:
If you don’t want to run Kali Linux in live mode and instead build a Kali Linux ISO image for only installing Kali Linux on your computer, then run the build script with the –installer command-line option as follows:
If you want to build a Kali Linux Net Installer ISO image, then run the build script with the –variant netinst command-line option as follows:
In the same way, if you want to build a different variant of the Kali Linux ISO image, just append the –variant command-line option followed by the variant you want as follows:
NOTE: Replace <your-variant> with one of the supported Kali Linux variants.
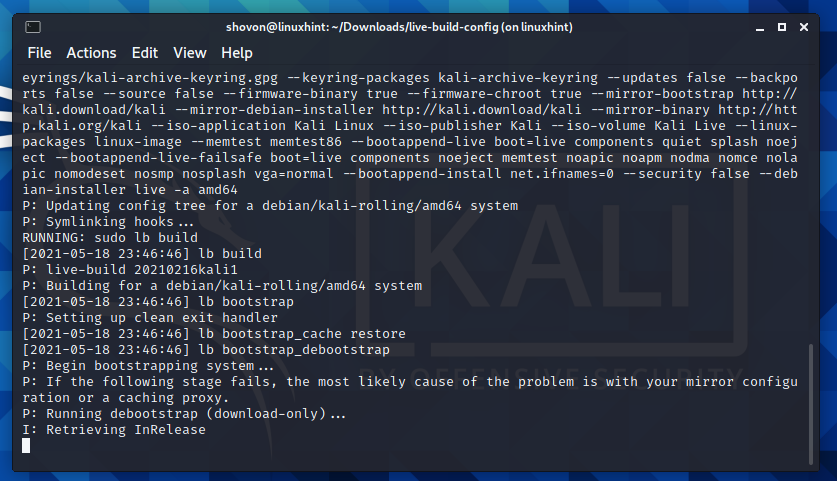
The build process should start right away as you can see in the screenshot below. It may take a while to complete.
The build script is building a custom Kali Linux ISO image.
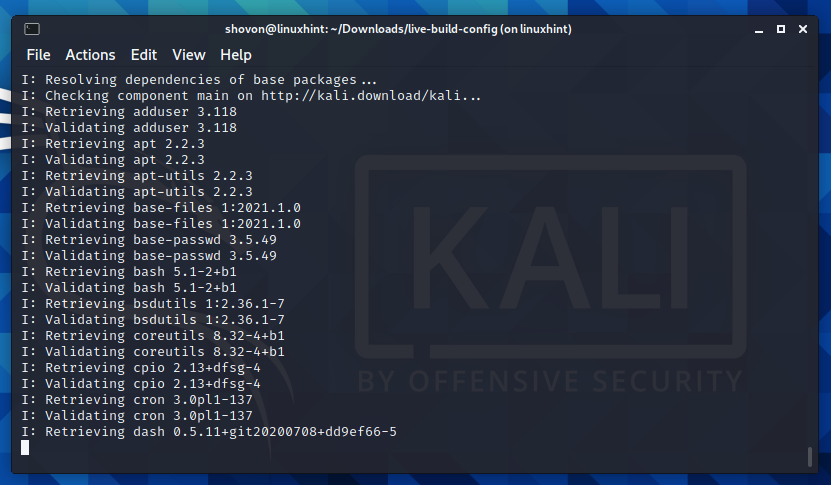
A custom Kali Linux ISO image is being built as show in the image below.
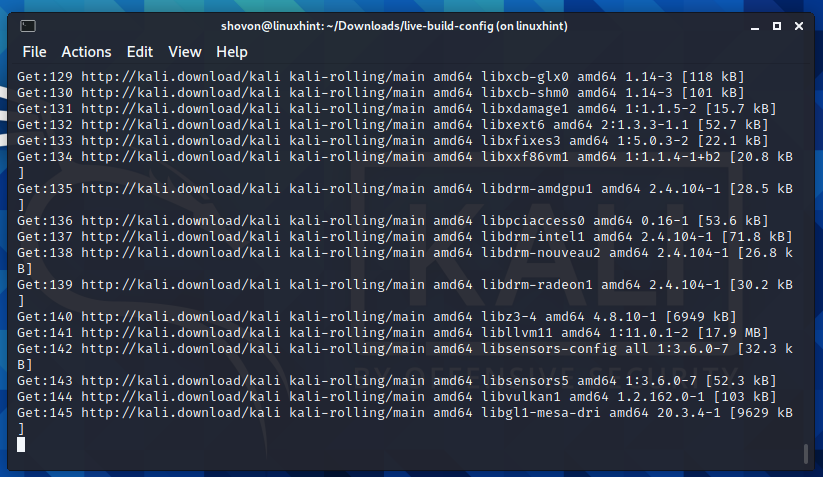
A custom Kali Linux ISO image is being built as shown below.
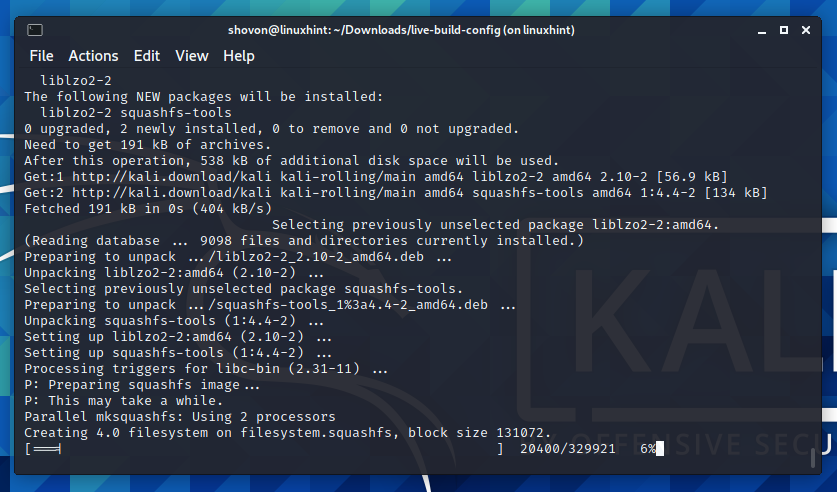
A custom Kali Linux ISO image is being built as show in the screenshot below.
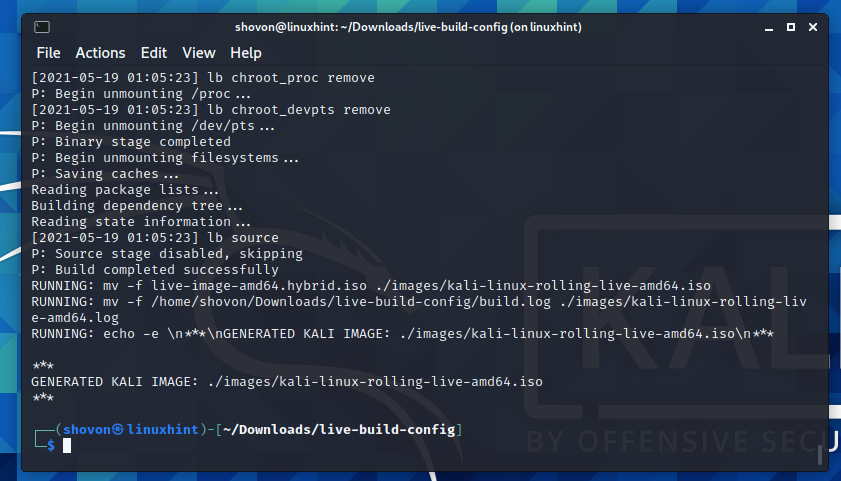
At this point, a custom Kali Linux ISO image should be built.
The custom Kali Linux ISO image should be in the images/ directory as you can see in the screenshot below.
Now, you can flash the custom Kali Linux ISO image on your USB thumb drive and boot from it. You can use Kali Linux in Live mode or install it on your computer.
If you need any assistance on creating a Kali Linux bootable USB thumb drive using the custom Kali Linux ISO image, read the following articles.
- Creating a Kali Linux ‘Live’ USB Drive
- Making a Bootable USB Thumb Drive on Windows section of the article Installing Ubuntu Server 20.04 LTS
Conclusion:
In this article, I have shown you how to build your own Kali Linux ISO image using the official Kali Linux build-scripts. I have also shown you how to change the desktop environment of the Kali Linux ISO image and how to configure what packages to be included in the Kali Linux ISO image and overlay files to the Kali Linux ISO image as well.
References:
[1] Creating a Custom Kali ISO | Kali Linux Documentation


