
Kali Linux is a security testing distribution derived from Debian Linux. It enables us to use different applications and tools just like other major OS(Windows, MacOS, Ubuntu). It is specifically used by Cybersecurity professionals and students for security auditing and pen-testing.
While working with Kali Linux OS, users need to update and upgrade the Kali system, its tool, and its package from time to time. If the system is not updated, many tools may not work properly and may encounter unexpected problems and errors such as the internet not working problem, broken package errors, and many more.
This writeup will illustrate:
How to Update Kali Linux Manually?
Like Debian and other Linux distributions, Kali Linux also supports “apt update” and “apt upgrade” commands to keep the Kali system up to date. Updating the Kali system to the latest release is beneficial in that way that saves the user from different trouble able errors and provides up-to-date security and testing tools.
There are different ways to update the Kali Linux repository, packages, and system. To keep the Kali Linux updated, try out the following methods:
- Using “apt update && apt upgrade” Commands
- Using apt upgrade-full Command
- Using apt upgrade-dist Command
Method 1: Update Kali Using “apt update && apt upgrade” Commands
The “apt update && apt upgrade” commands are universally used to update and upgrade the Kali Linux packages. To update the Kali system through these commands, go through the following steps.
Step 1: Check Kali’s Source List File
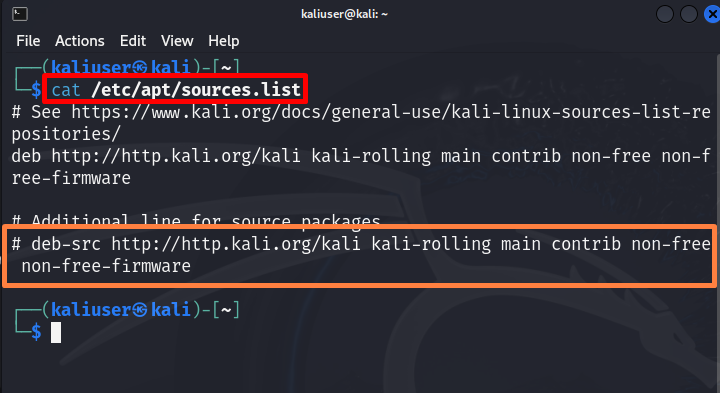
First, verify if the Kali system is connected with a remote repository or not, and be able to update the system packages. For this purpose, first, launch Kali’s terminal using the “CTRL+ALT+T” key. After that, utilize the below command. Here, the “cat” command is used to read and display the content of the “sources.list” file:
Here, you can see the file contains the valid Kali sources for updating the packages. However, by default “deb-src” repository URL is commented. It means we are unable to download and update any package using the “deb-src” repository:
Step 2: Enable the Remote Repositories
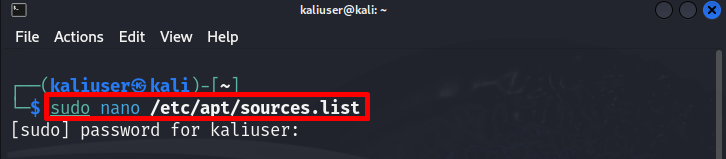
To update the packages from the “deb-src” repository, the user needs to uncomment the “deb-src” URL. To do so, open up the “sources.list” file in the nano editor using the given command:
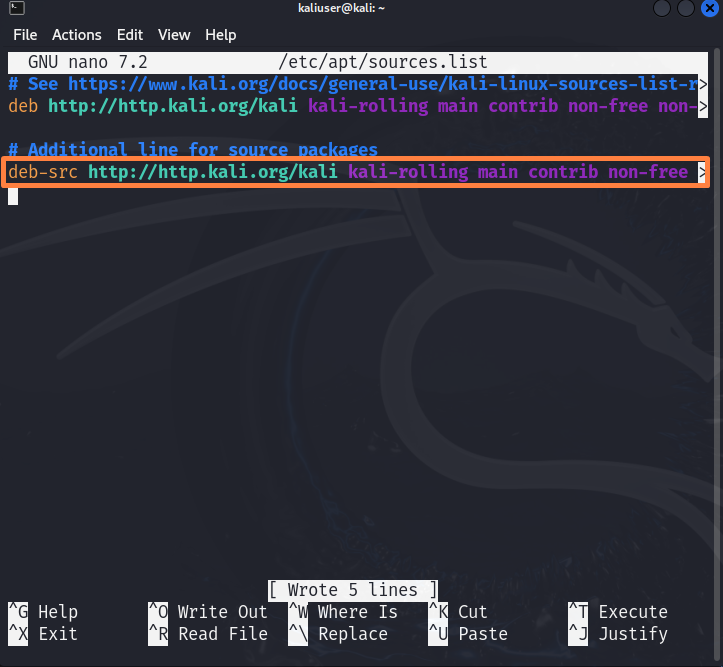
Uncomment the Kali remote repositories URL by removing the “#” sign from the start of the line and save the file using “CTRL+S”. To quit the editor, press “CTRL+X”:
Step 3: Login as Root
To update or upgrade the system, the user may need root user permissions to save the changes in the Kali system. For this purpose, log in to the Kali system as a root user using the “sudo su” command:
Here, you can see we have logged in to Kali as a root user:

Step 4: Run Update Command
To update the Kali system and packages, utilize the “apt update” command. This will update the Kali system repository from remote repository URLs:
The output shows that is system is updated and “11” packages are needed to upgrade:

Step 5: Run Upgrade Command
To upgrade the Kali’s packages, execute the “apt upgrade” command:
Here, the “-y” option is utilized to automatically assign the required system space to upgrade the packages:
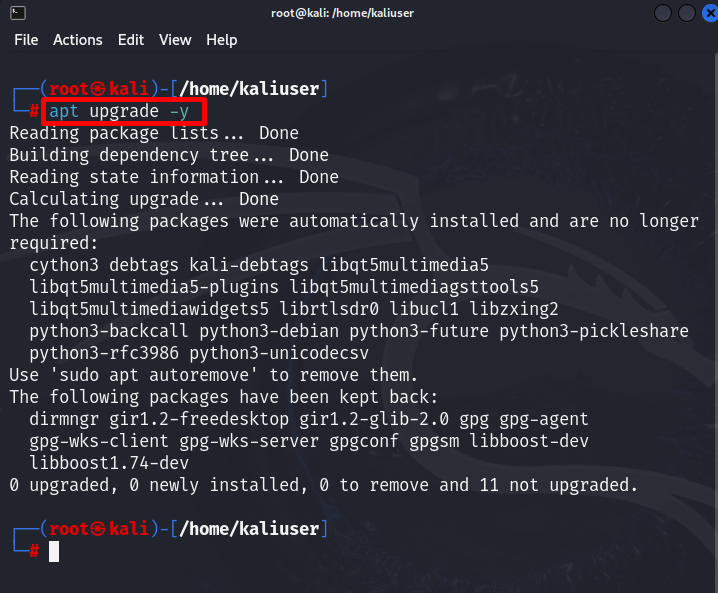
This method will possibly update the system but sometimes fails to upgrade the packages as shown in the above screenshot. To fully upgrade Kali’s system and its package, follow the below method.
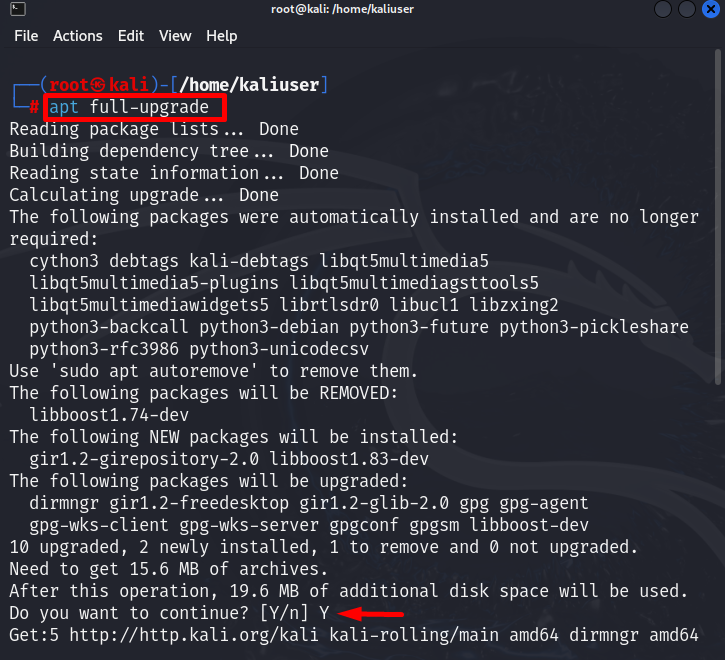
Method 2: Update Kali Using the “apt full-upgrade” Command
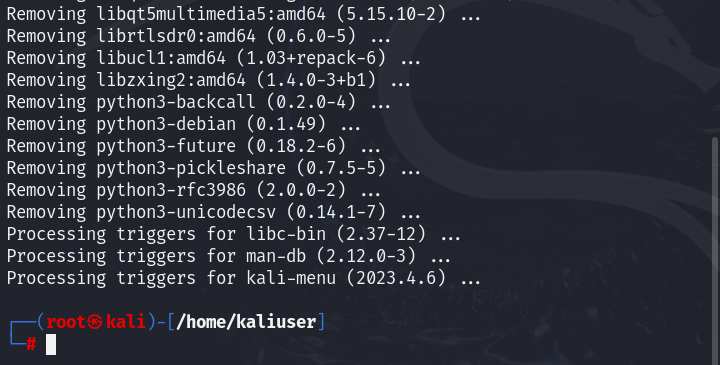
Sometimes, the upgradation of packages is dependent on the removal of some packages. To upgrade Kali’s package by removing other unused and dangling packages, the user can utilize the “apt full-upgrade” command:
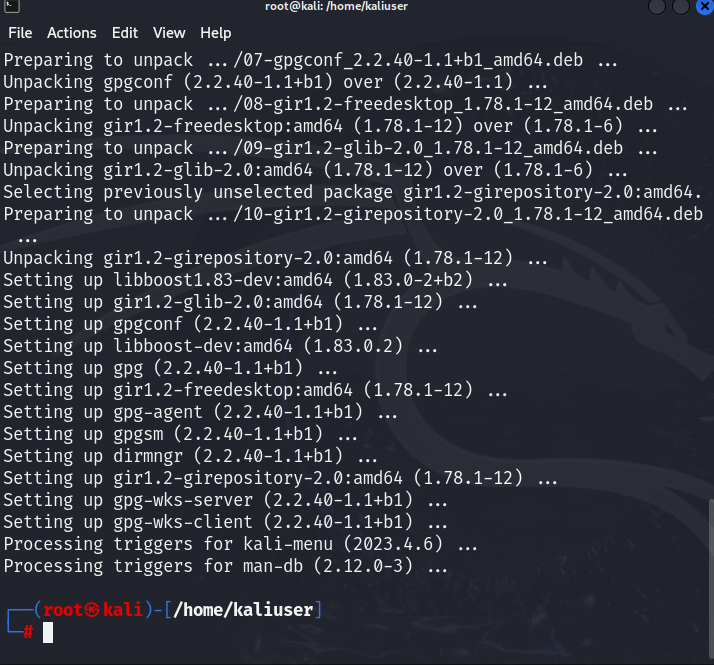
The above command will remove unnecessary packages from Kali and fully upgrade Kali’s system:
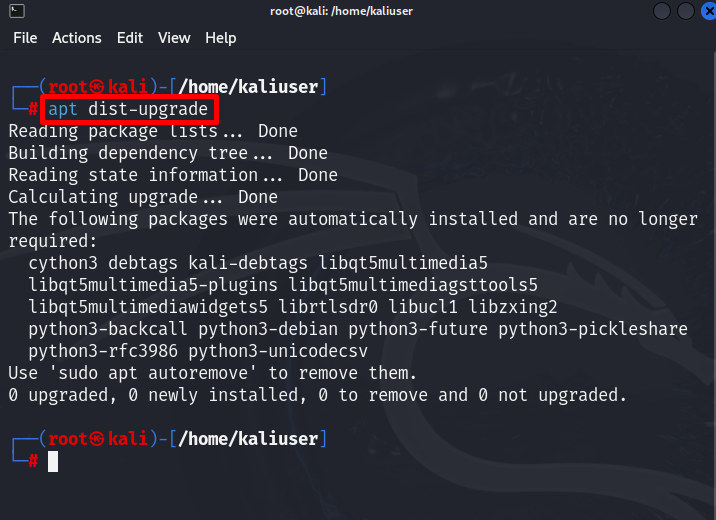
Method 3: Update Kali Using the “apt dist-upgrade” Command
Sometimes upgradation of packages is dependent on some essential dependencies and the removal of some unused packages. To carefully install and upgrade the packages along with essential dependencies in Kali, the user can use the “apt dist-upgrade” command:
This command will upgrade Kali’s package along with installing essential dependencies:
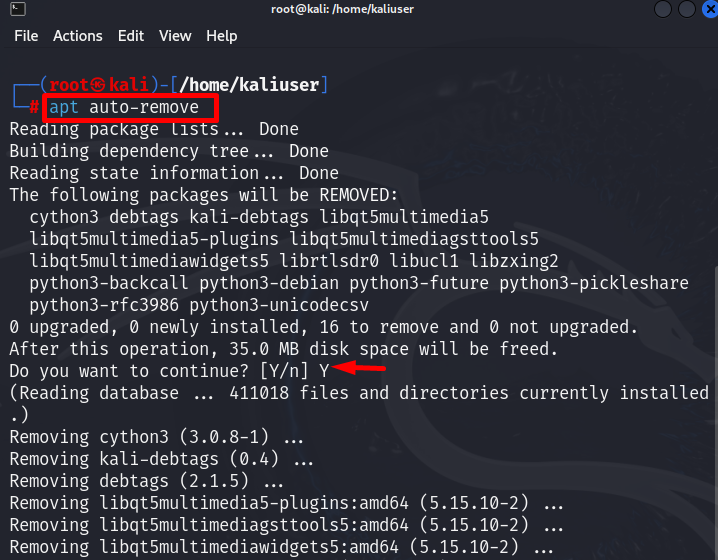
Clean the Kali Linux System
After updating and upgrading the Kali Linux, users may need to free up disk space by removing the unused dependencies from the system. For this purpose, simply run the “apt auto-remove” command:
This operation also requires permission to free up disk space. To complete the process, press “Y”:
Here, we have updated the Kali Linux manually. To schedule the automatic update of the Kali system, follow the below section.
How to Automatically Update the Kali Linux?
Like all other major operating systems, the Kali Linux is also required to be updated timely. However, every time manually updating the system may take users time and may forget to update the system on time. In this regard, the user can schedule the automatic Kali Linux system update using the following methods:
Method 1: Automatically Update the Kali Using “unattended-upgrades” Package
The “unattended-upgrades” package is utilized to keep the Linux system and security tool up to date. This can save the user time from manually updating the Kali system. To automatically update and upgrade the Kali, utilize the following instructions.
Step 1: Install the “unattended-upgrades” Package
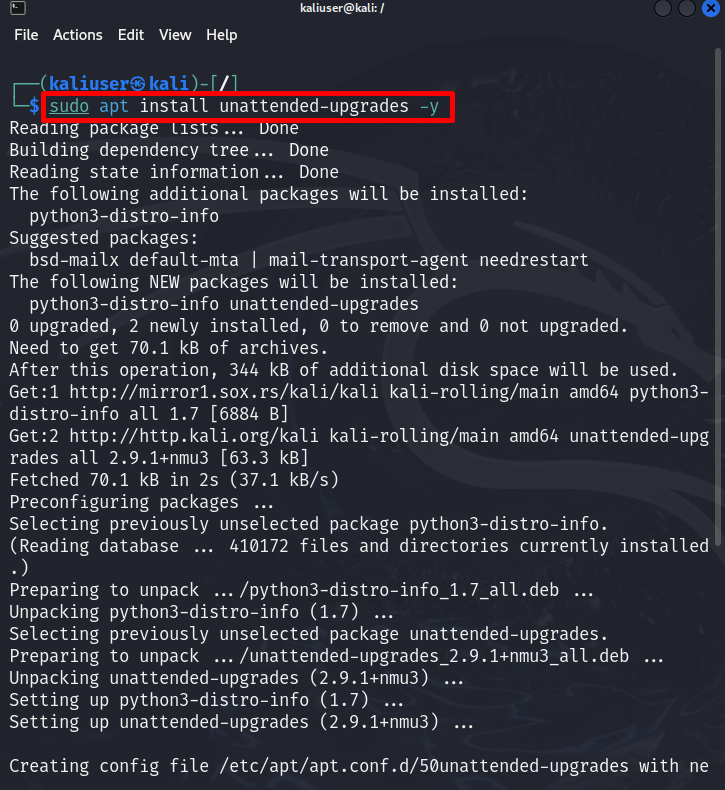
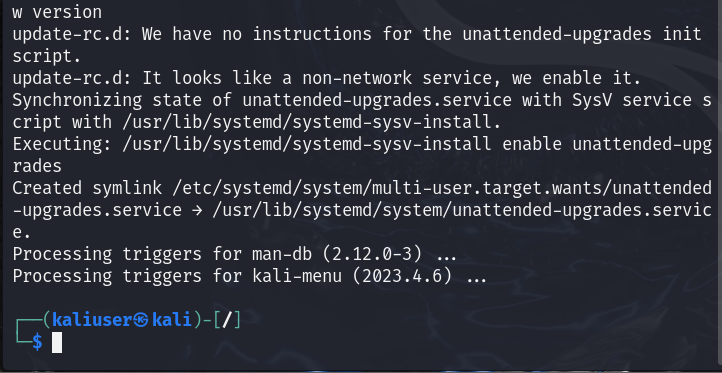
First, install the “unattended-upgrades” package by executing the below command:
Step 2: Configure Kali’s Automatic Update
After installing the package, reconfigure the “unattended-upgrades” package by using the “dpkg-reconfigure” utility. For this purpose, run the below command with “sudo” user rights:

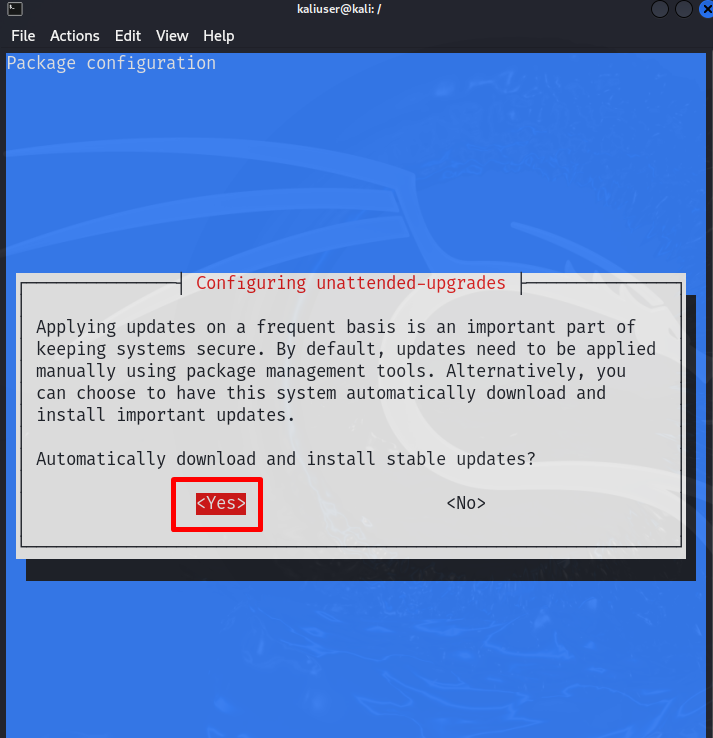
This command will pop up the “Package Configuration” wizard. To automatically install the stable updates of Kali Linux, choose “Yes” by using the “Left arrow” key. Then, press the “Enter” key:
This will run the automatic update for Kali Linux:
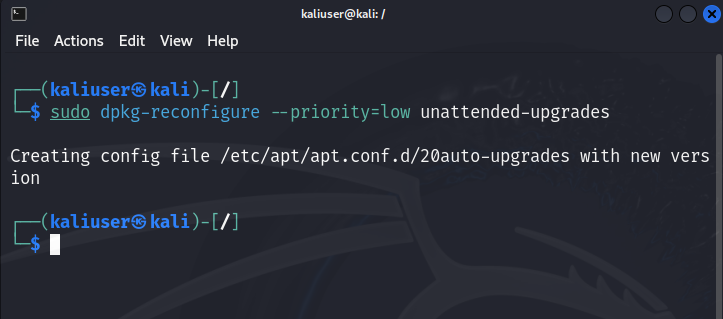
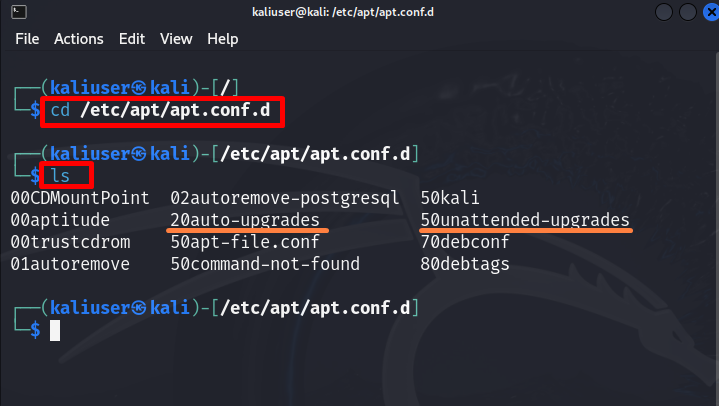
By running the above commands, the “50unattended-upgrades” and “20auto-upgrades” files will be generated. To check the file, first open the “/etc/apt/apt.conf.d” directory:
Then, run the “ls” command to view the files of the opened directory:
The below-pointed files will be used in the automatic update of Kali Linux:
By default, the “50unattended-upgrades” and “20auto-upgrades” files work well and effectively update the Kali Linux system. However, to read or edit the files to make changes according to your preferences, utilize the “sudo nano /etc/apt/apt.conf.d/<file-name>” command:
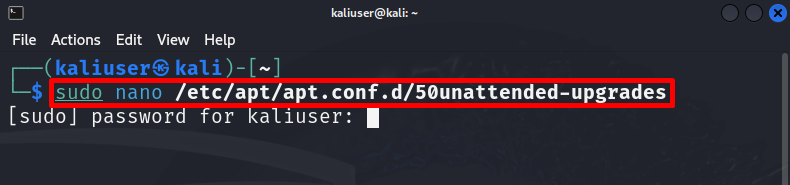
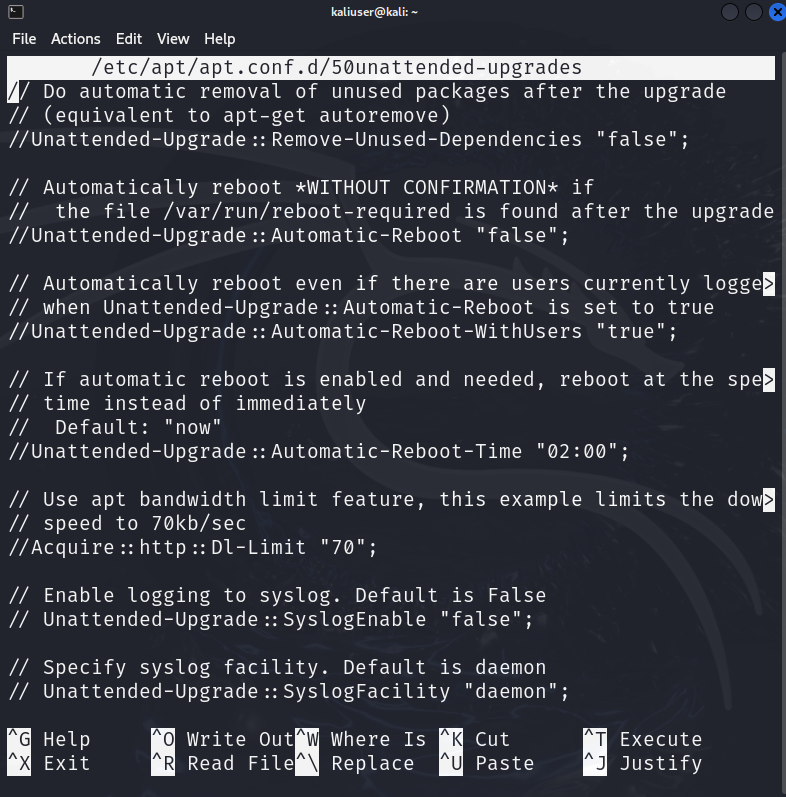
The above command will open the “50unattended-upgrades” file in the nano editor. You can make changes according to your need:
Method 2: Automatically Update the Kali by Scheduling the Cron Job
Another possible way to update the Kali Linux system is by scheduling the cron job. This job will execute the Kali update screen at a specific time. To schedule the cron job for automatically updating the Kali system, go through the given steps.
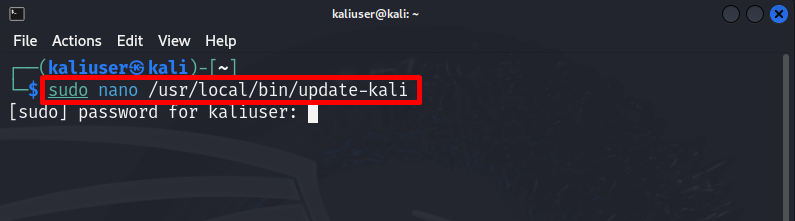
Step 1: Create Kali Update Script
First, create the Kali update script that contains the commands to update and upgrade the Kali Linux. For this purpose, use the below command to create and open the “update-kali” file in the nano editor with “sudo” user rights:
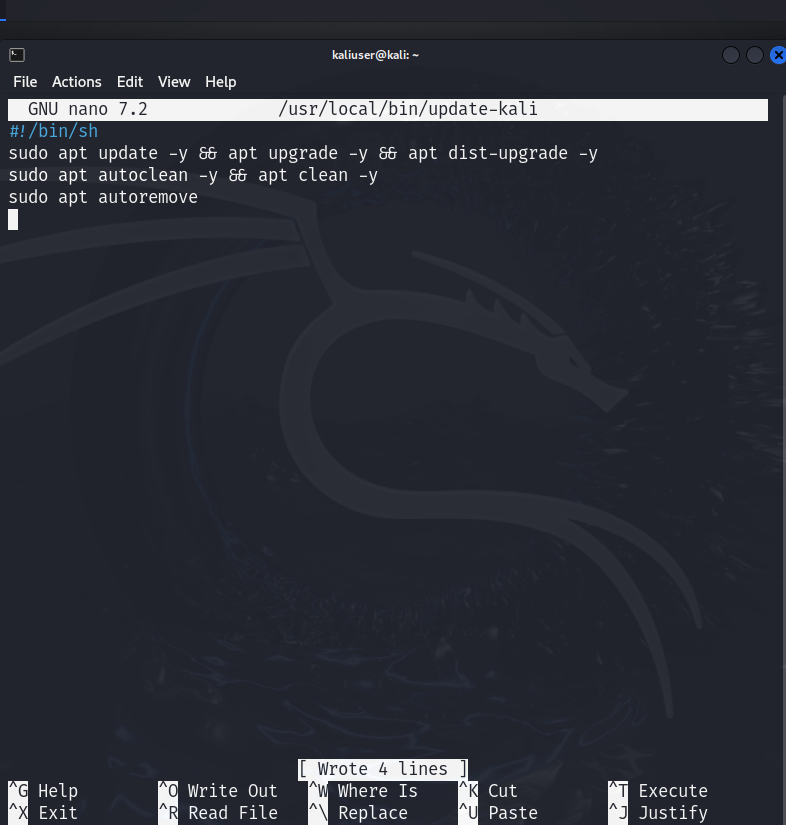
After that, paste the following Linux commands into the script file:
sudo apt update -y && apt upgrade -y && apt dist-upgrade -y
sudo apt autoclean -y && apt clean -y
sudo apt autoremove
After that, to save the changes press “CTRL+S” and to exit the editor, hit the “CTRL+X” key:
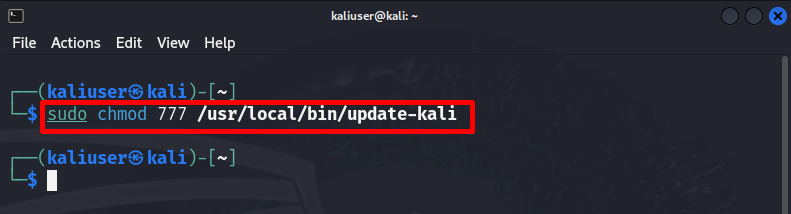
Step 2: Make the Script Executable
After creating the “kali-update” script, make it executable using the “chmod” command:
In the given command, the “777” code is utilized to assign all permissions(read, write, execute) to the script file:
Step 3: Schedule the Cron Job
Now, schedule the cron job using the “crontab -e” command with “sudo” privileges:
This may ask you to select the editor or directly promote you to the default selected editor:

After selecting the editor, add the following lines in the opened file to schedule the cron job:
The above-scheduled job will execute the “update-kali” script every day at “10 am”. Users can adjust the scheduled time according to their will:
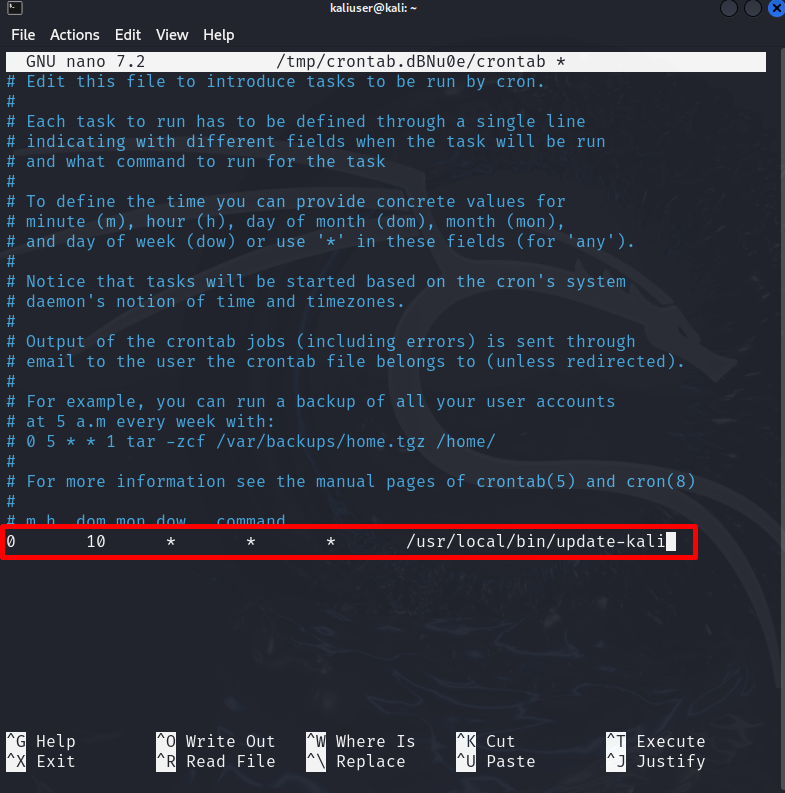
Here, you can see we have effectively scheduled the automatic update of Kali Linux by running the cron job:

We have covered the methods to update the Kali Linux manually and automatically.
Conclusion
To update the Kali Linux, the user can update it manually by executing the “apt update && apt upgrade” commands. To fully upgrade the Kali Linux along with removing unused packages and dependencies, utilize the “apt full-upgrade” or “apt dist-upgrade” commands. To schedule the automatic updates of Kali Linux, the user can utilize and reconfigure the “unattended-upgrades” package or schedule the cron job by creating and executing the Kali update script. This writeup has covered the approaches to update Kali Linux.