
The Kali Nethunter is an Android version of Kali Linux Os. It is mostly used by cybersecurity students for ethical hacking, testing, and security management.
This post will illustrate:
- Prerequisites
- How to Install Kali Linux on Android?
- How to Connect Kali NetHunter VNC Server to Access Kali Graphical Interface on Android?
- Conclusion
Prerequisites
To install and set up Kali Linux on an Android device, the user must fulfill the following prerequisites:
- Android Storage: To use Kali Linux on an Android device, the user must have at least “6 GB” of extra storage space for basic setup and “4GB” of system RAM.
- Terminal Emulator: Android is Linux based OS that can install terminal emulators and run the Linux commands. To install the Kali Nethunter, the user must have a terminal emulator to run Linux commands such as Termius, Termux, CommandBot, and many more. For demonstration, we will use “Termux”.
- Nethunter KeX: The Nethunter KeX is Kali’s key exchange tool that connects the VNC server to give us access to Kali’s graphical interface.
The procedure to install Kali Nethunter, Nethunter Kex, and Termux is explained in the below sections.
How to Install Kali Linux on Android?
To install Kali Linux on an Android device, the user needs to install the Kali Nethunter Android version of Kali. To install and run Nethunter, the user must have a Termux terminal emulator. For proper illustration, go through the following steps.
Step 1: Install Termux
Launch the Chrome browser on mobile and search for “Termux” in the search bar. After that, open the “F-Droid” website to download Termux APK:
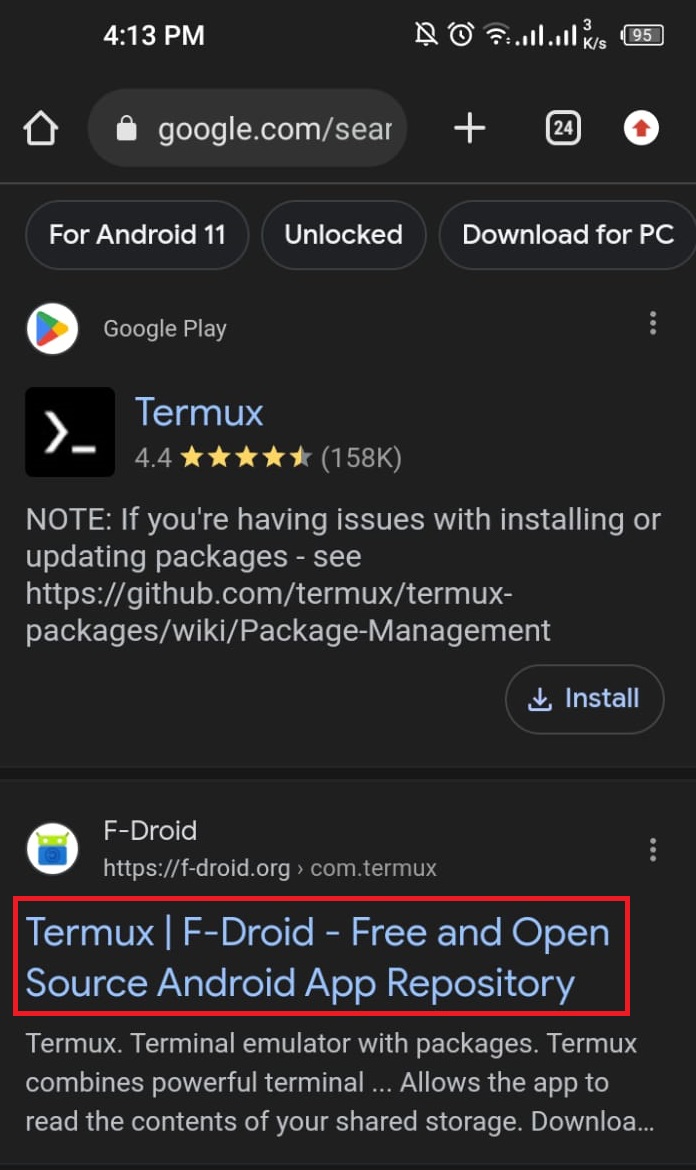
Note: Google Play also offers us Termux but an older version. To install the latest version of Termux, download and install its APK file.
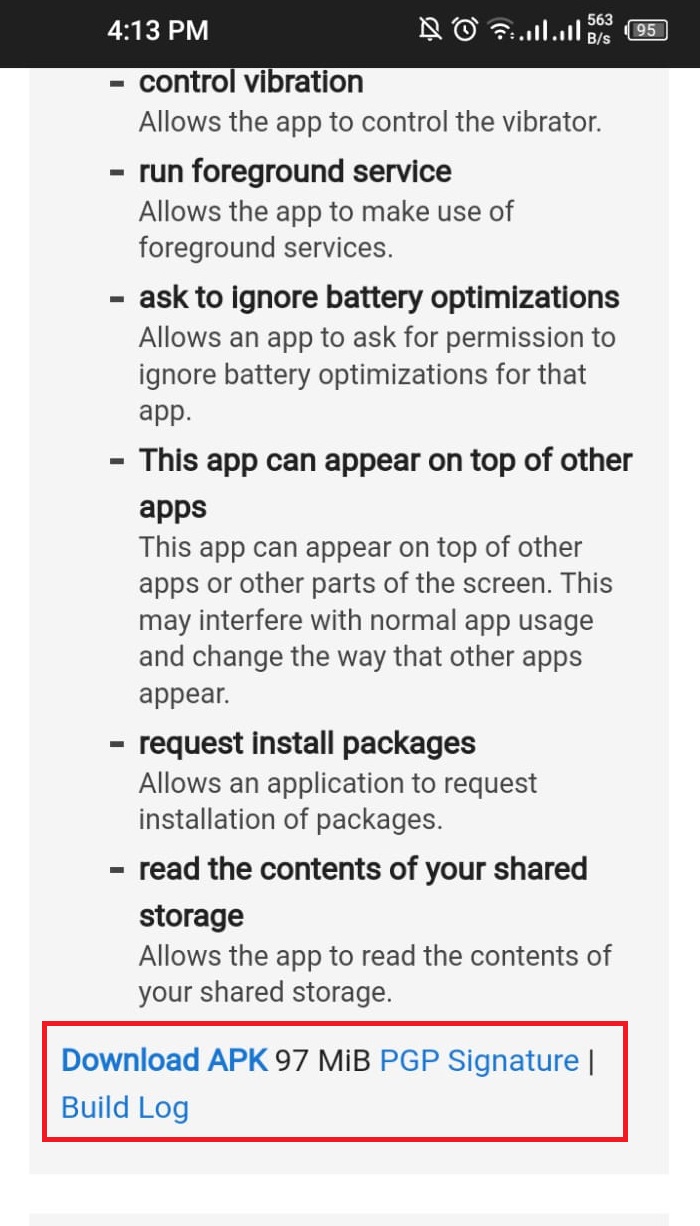
Scroll down to the end and click on the “Download APK” link to download Termux APK:
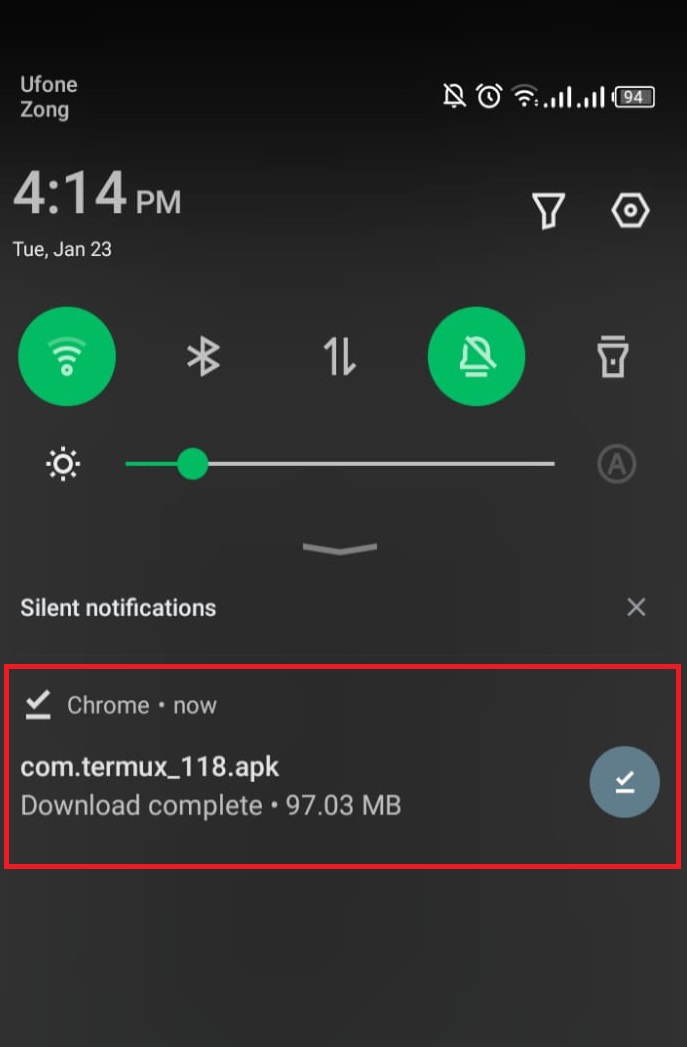
Here, the Termux APK is downloaded. Open the APK by clicking on it and install Termux:
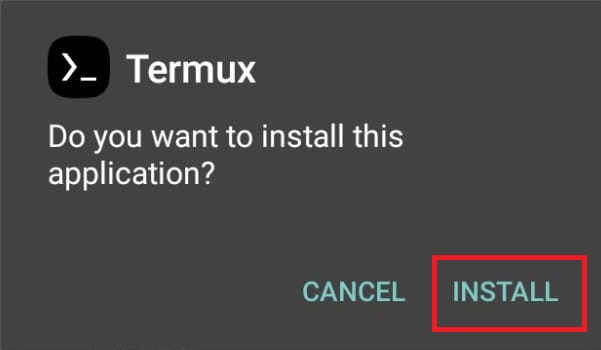
Next, hit the “INSTALL” button to install the Termux:
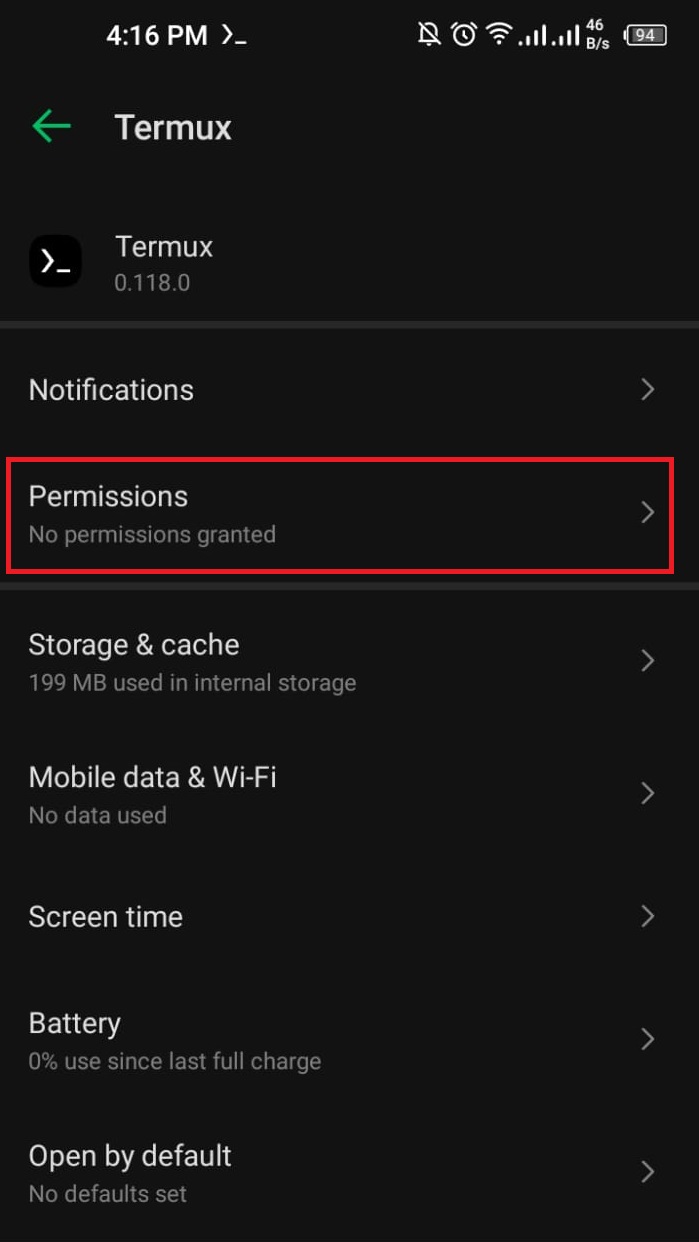
After completing the installation, the user needs to grant storage permission to the Termux terminal. For this purpose, search for “Termux” in the search bar, press and hold the below pointed icon, and click on the “App info” button:

Open the “Permissions” option to grant the required permission:
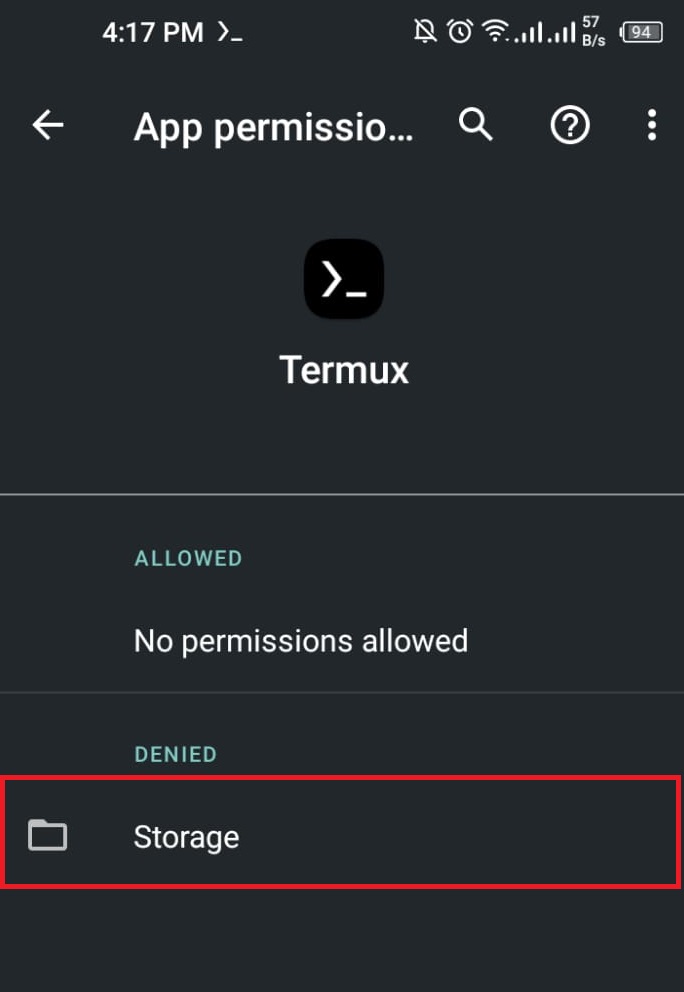
Next, choose the “Storage” option to enable the storage access for Termux:
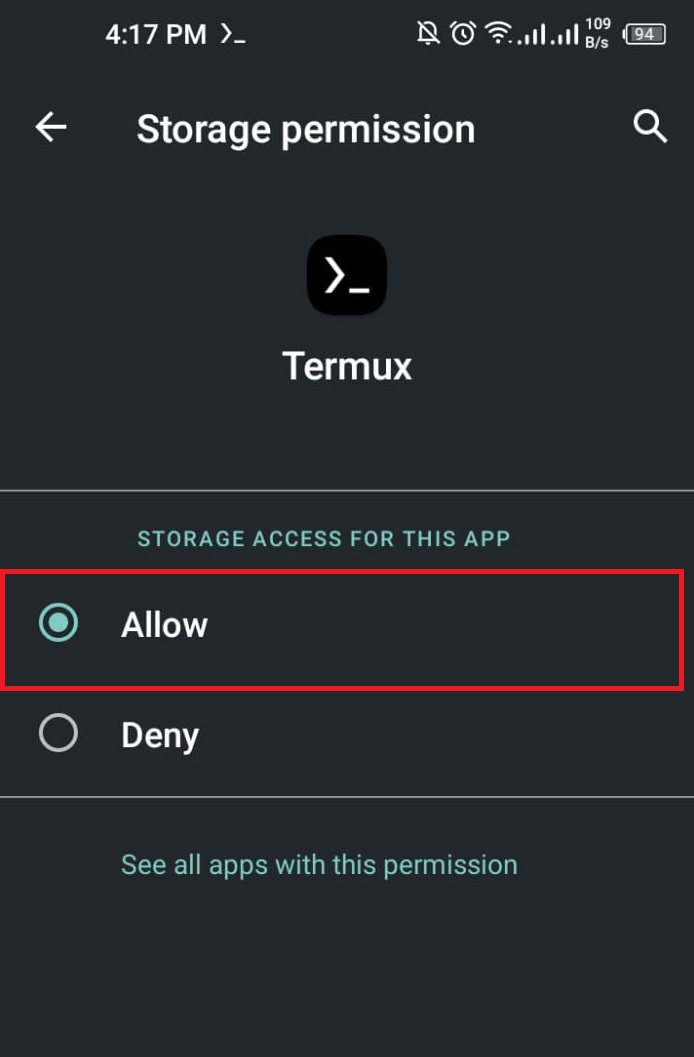
Now, press the “Allow” radio button to grant the access:
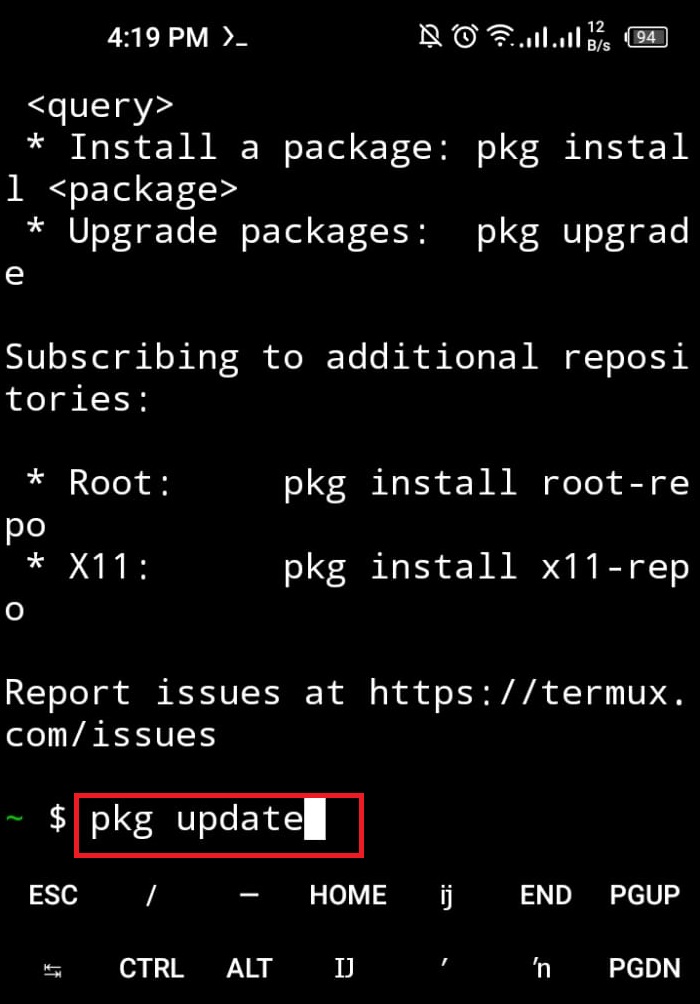
Step 2: Update Repository
After granting the required permissions, launch the Termux application on Android. Update the repository using the “pkg update” Linux command:
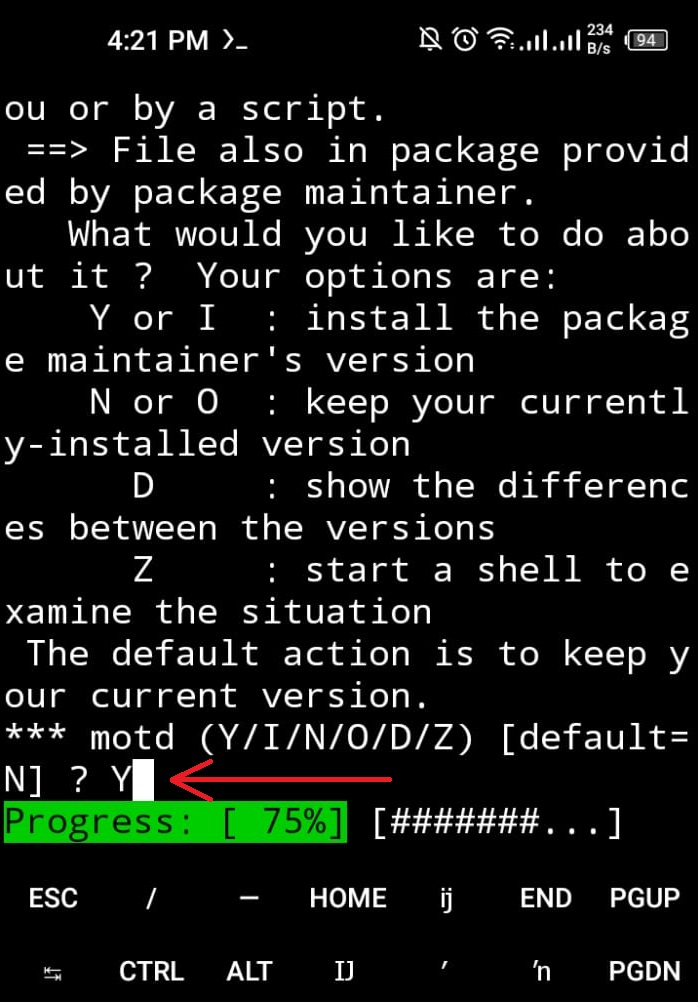
This process will ask you for several permissions. Keep assigning the required permission by pressing the “Y” key:
Here, the Termux repository is updated successfully:

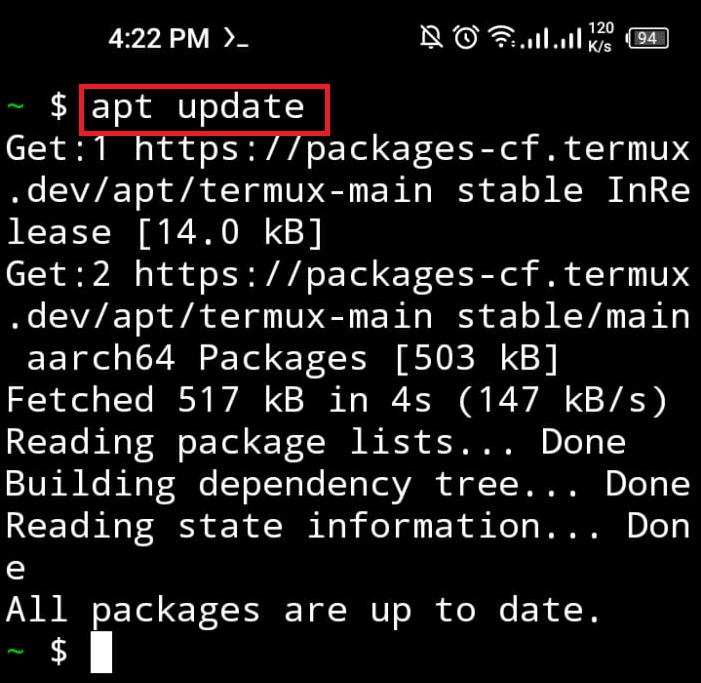
Alternatively, the user can update the repository using the “apt update” command:
Step 3: Install “wget” Command
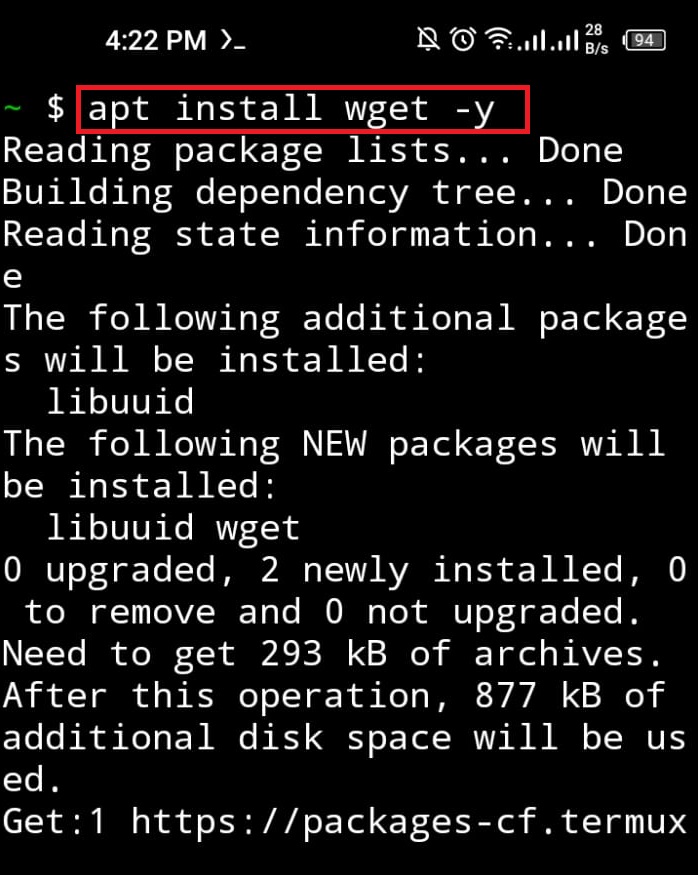
Now, install the “wget” Linux utility. It is used to download the package installer scripts from online URLs. To install the “wget” command, utilize the “apt install wget” command:
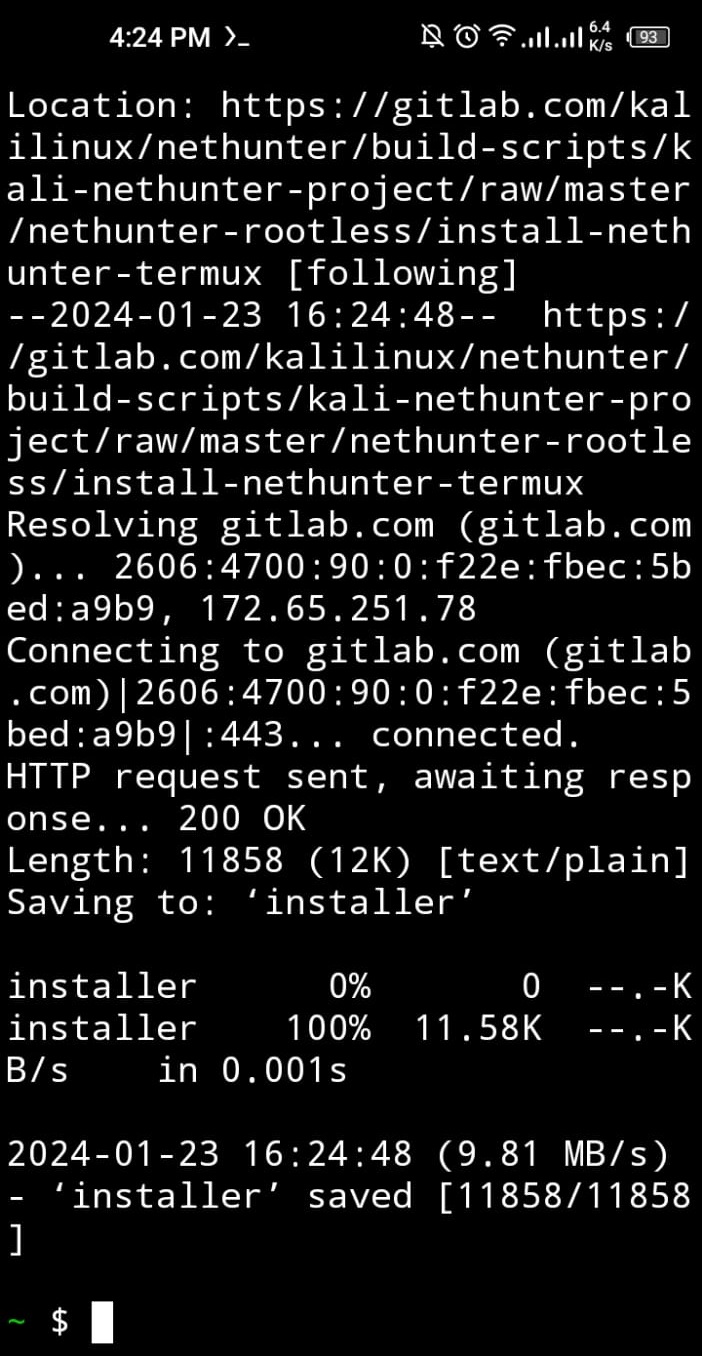
Step 4: Download Kali Nethunter Installer Script
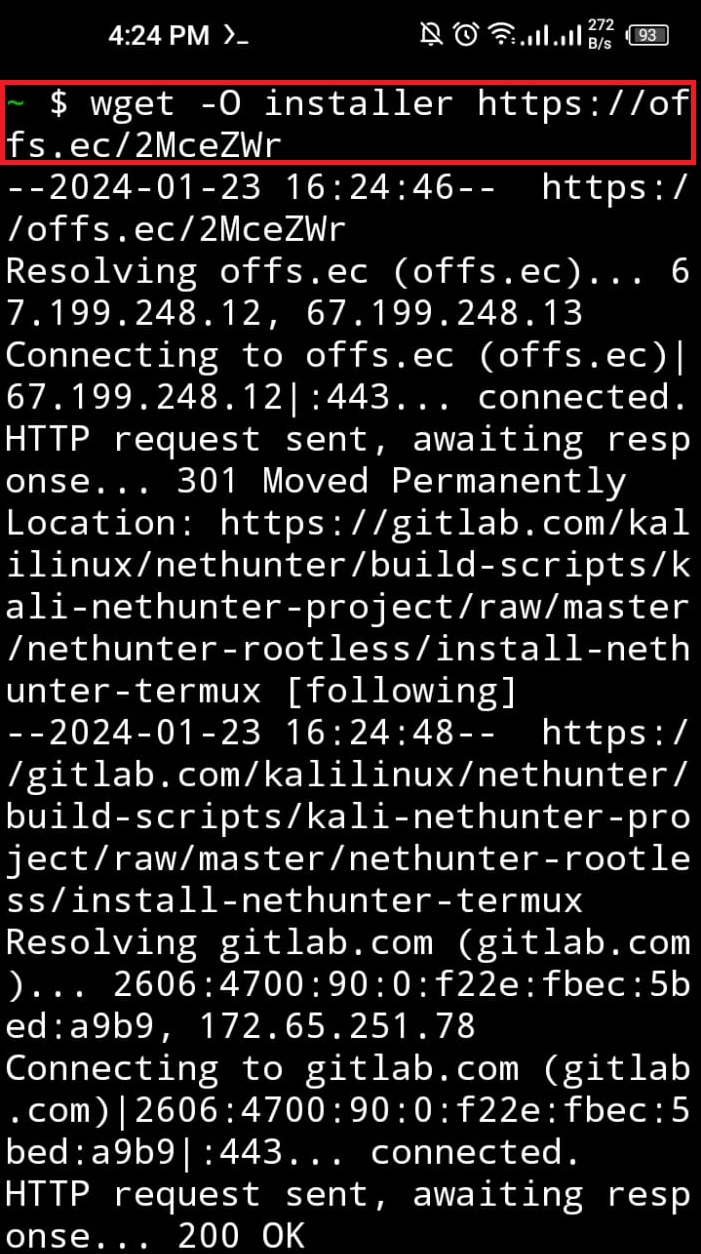
After installing the “wget” command, download the “Nethunter” installer script and overwrite it in the file named “installer”:
Step 5: Set Nethunter Installer Permissions
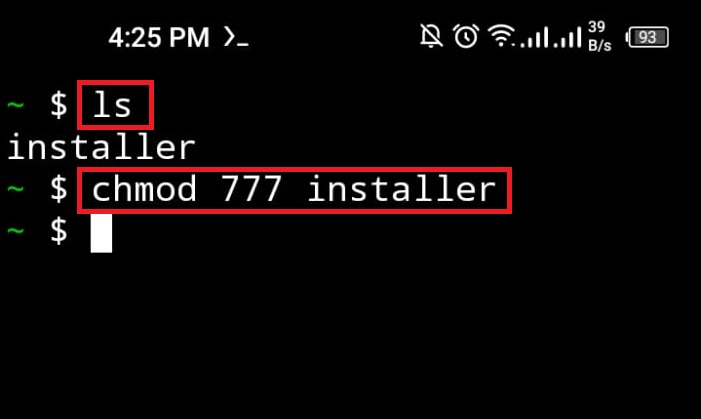
After installing the file, run the “ls” command for verification:
The output shows that we have downloaded the Nethunter installer. To make the “installer” file executable, run the “chmod” command with “777” code to assign all read, write, and executable permissions to the file:
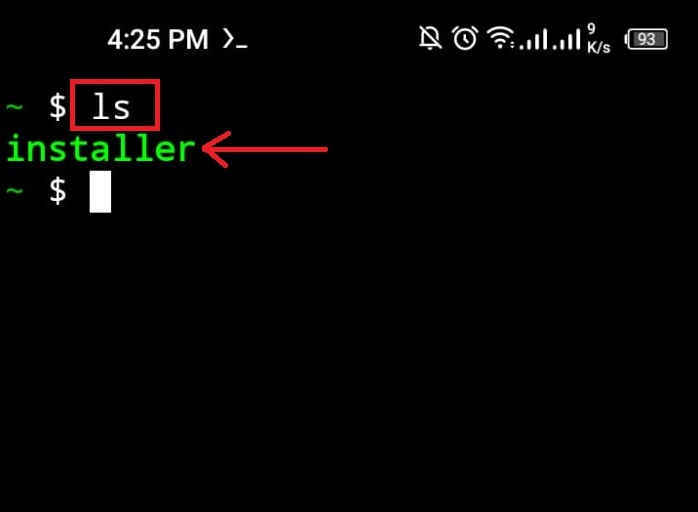
Again, list down the files of the current directory and check if we have marked the file executable or not:
File name in “Green” color indicates that we have set the file permissions as executable:
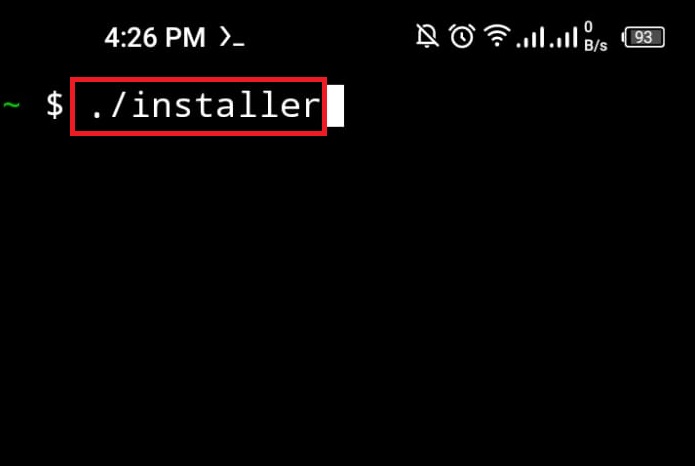
Step 6: Install Kali Nethunter
Now, run the Kali Nethunter installer by executing the “installer” file:
This command will start installing Kali on Android. The prompt will ask you to either install Kali’s full, minimal, or nano version. To install the Kali’s full version, press “1” and hit Enter:

This will install the full Kali Linux version on Android.
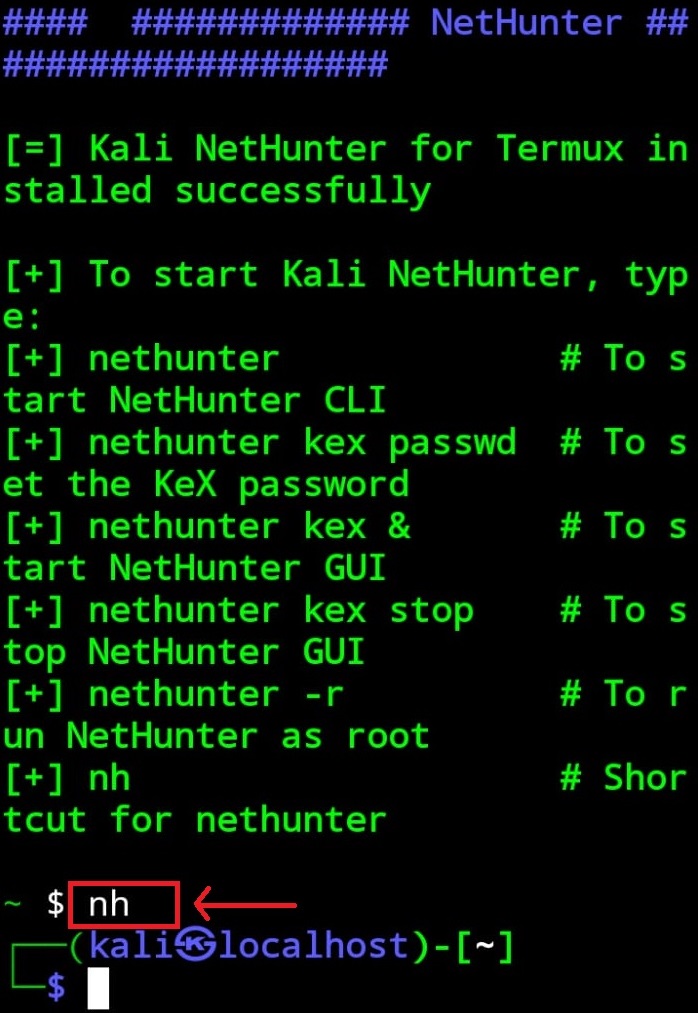
Step 7: Launch Kali
To launch Kali, execute the “nh” or “nethunter” command:
The below result shows that we have installed the Kali Linux on Android:
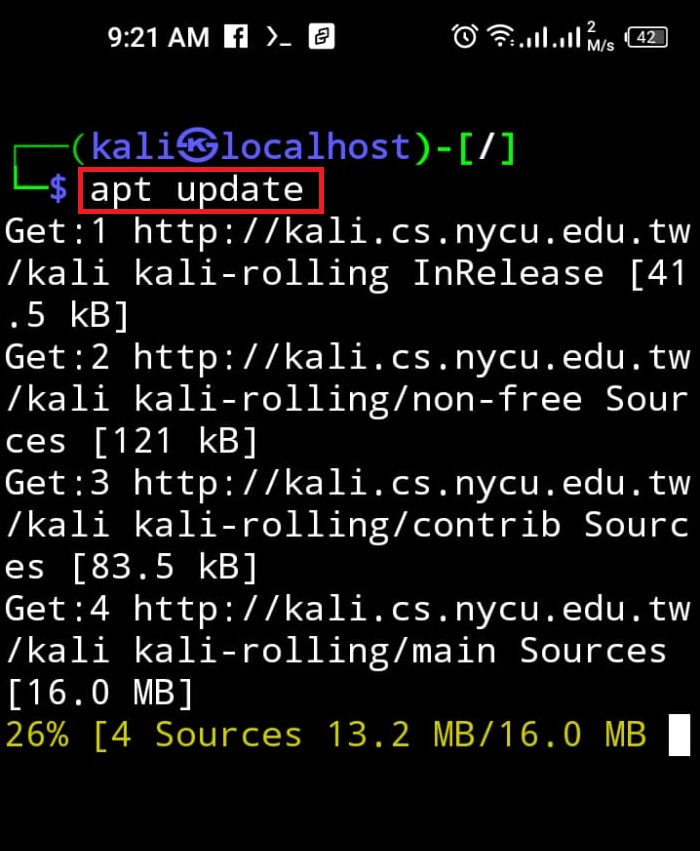
Step 8: Run Update Command
Now, update the Kali’s official repository by utilizing the “apt update” command:

The output shows that “776” packages are required to be upgraded.
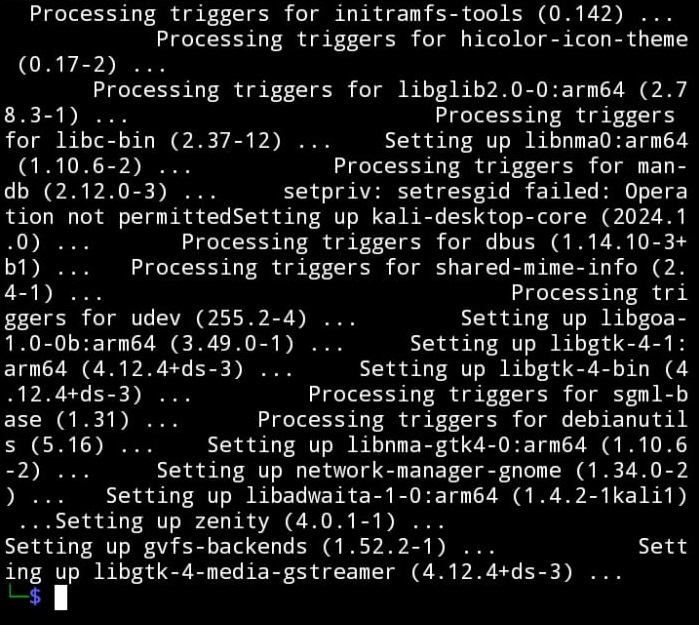
Step 9: Run Upgrade Command
After upgrading the Kali’s packages, run the “apt upgrade” command. This command may require “sudo” privileges to make changes in Kali’s repository:
The “-y” option will allocate the permission to utilize the extra device space to install the package:

Note: While updating and upgrading Kali’s packages on Android, users may encounter errors and are unable to update and upgrade the package. This is due to Kali not finding any source URL to update and upgrade Kali’s packages or Kali not having access to device’s internet. To fix these issues, follow our associated “Fix update && upgrade Command Error on Kali Android” article.
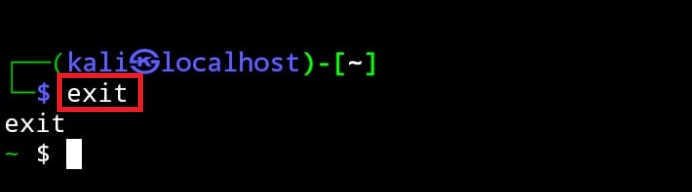
Step 10: Exit Kali Nethunter
To exit Kali’s terminal, utilize the “exit” command. If the exit command does not work for your device, utilize the “CTRL+C” or “CTRL+Z” key:
How to Connect Kali NetHunter VNC Server to Access Kali Graphical Interface on Android?
Nethunter VNC server is a graphical desktop sharing system that enables us to remotely control the Kali desktop. To connect the Kali Nethunter VNC server to access the Kali’s graphical interface, look at below provided steps.
Step 1: Setup KeX
First, set the Nethunter Kex (Key Exchange) password using the below command:
This command will ask you to set and verify the password. This password will be used to access Kali’s VNC. After that, press the “N” key to avoid setting the “view-only” password. The “view-only” password will only permit the user to view remote Desktop:

Step 2: Start KeX Server
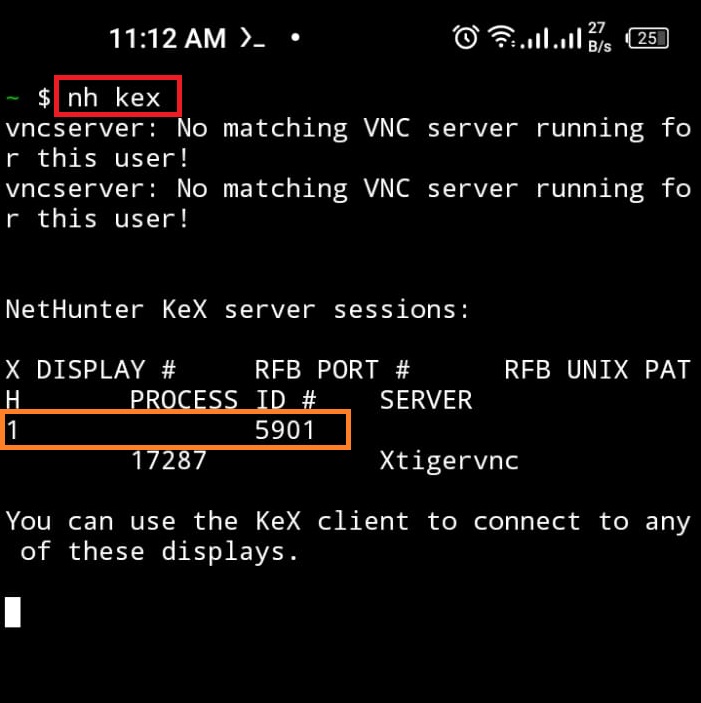
Next, start the Nethunter Kex server by utilizing the “nh kex” command:
This will allocate the display number and port on which Kali’s remote desktop will be accessible:
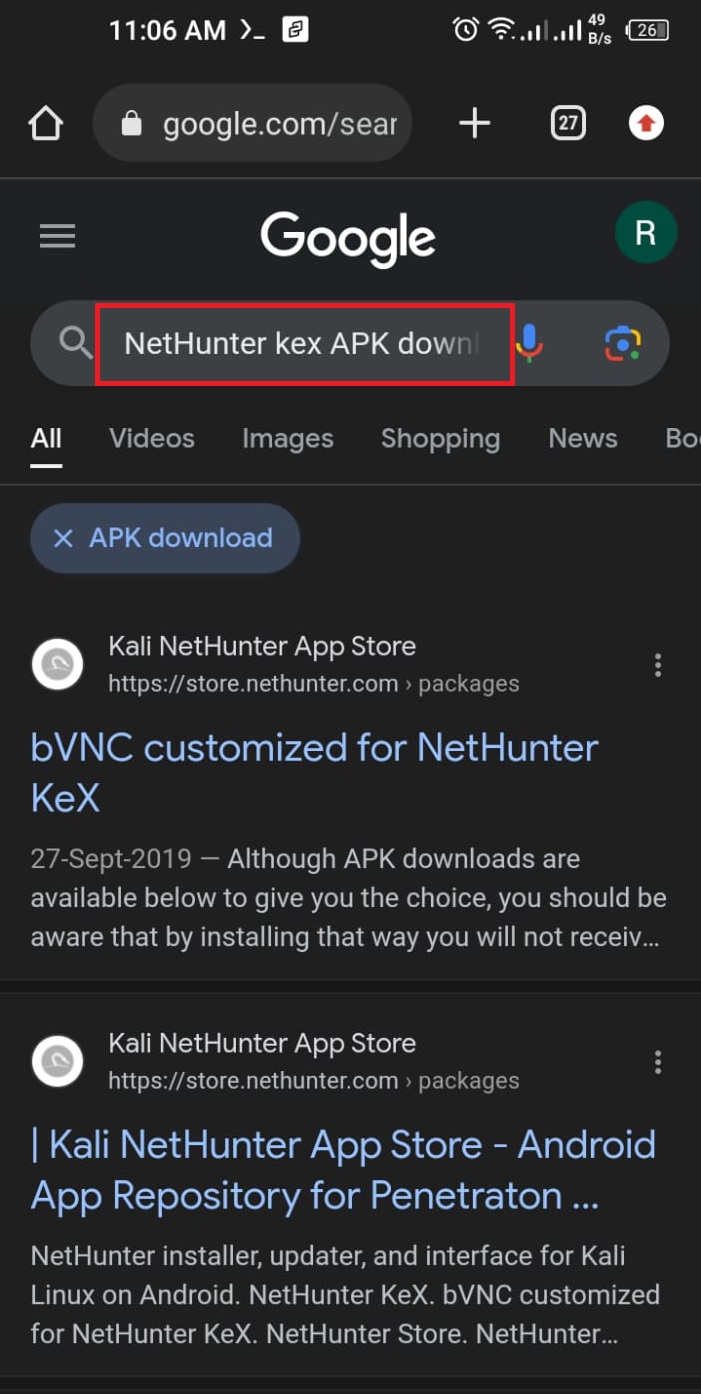
Step 3: Download NetHunter Kex APK File
Next, download the Nethunter Kex app to access Kali’s Kex VNC. For this purpose, open the Chrome browser and download the NetHunter Kex APK file from the Nethunter store:
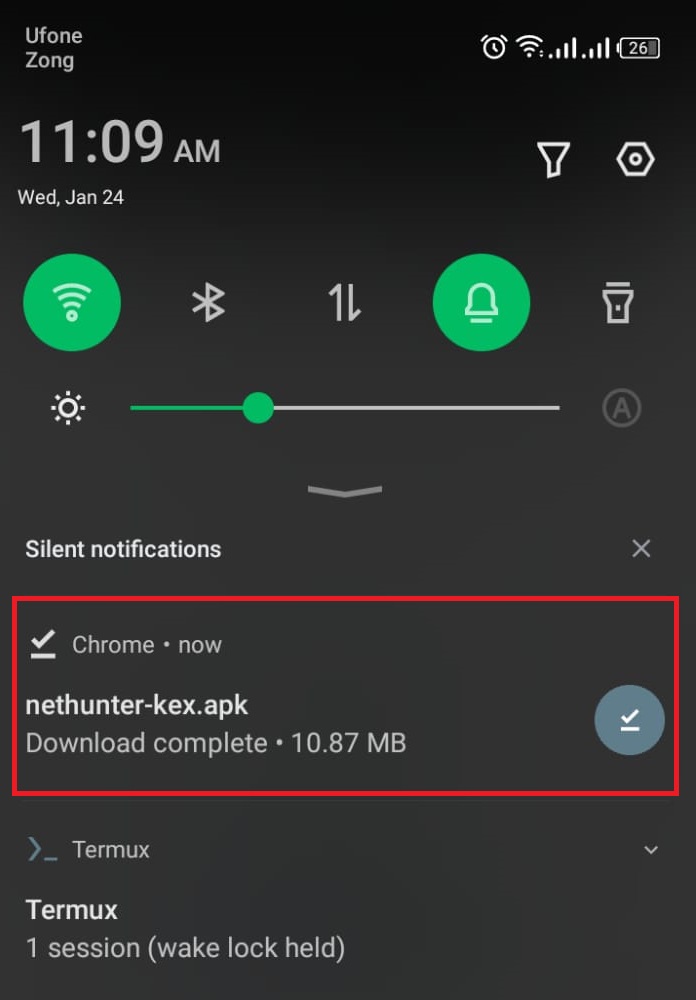
Step 4: Install NetHunter Kex
After downloading the APK file, click on the file to install Nethunter Kex:
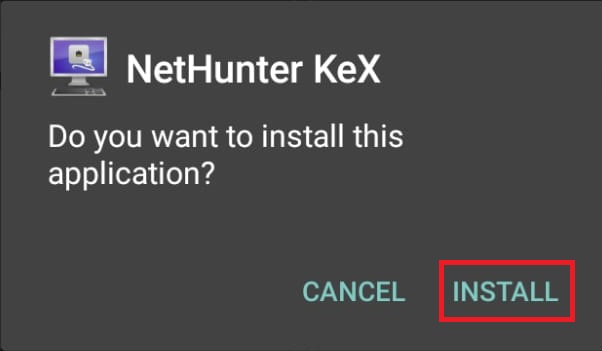
Now, press the “INSTALL” button to install the NetHunter Kex application:
To launch the application on Android, press the “OPEN” button:
Step 5: Connect to Kali Nethunter Kex Server
Now, provide the “localhost:<display no>” and port number that is automatically assigned for Kali Nethunter Kex VNC server in step 2. After that, enter the password that is set in step 1 of this section and press the “Connect” button. This will connect the Kali remote Desktop on Android:

Here, you can see we have effectively accessed the Kali’s desktop by connecting with Kali’s Nethunter VNC server:
We have elaborated on the installation method of Kali Linux on Android.
Conclusion
To install the Kali Linux on Android, first, install the Terminal emulator on mobile devices such as Termux. After that, download the Kali Nethunter installation script using “wget -O installer https://offs.ec/2MceZWr” command and make it executable. After that, execute the installer script in Termux and install the Kali on Android. To launch the Kali’s terminal interface, run the “nh” or nethunter command.
To access the Kali remote desktop, start the Nethunter Kex server in Termux. Next, install and open the Nethunter Kex app, provide the display number, port number, and Kex password and connect to Kali’s remote desktop. We have covered the installation procedure of Kali Linux on Android.